How to Create a Private WordPress Site
Do you want to make your WordPress site completely private?
You can make your website private so only you and your chosen visitors can see your published content.
Many website owners need a private site for different reasons. However, the main objective is restricting access to the entire website to only authorized users. Alternatively, it could happen because the website is not ready to launch or to prevent hackers.
Web Developers restrict access to a site while it’s being developed and do not want users to see the incomplete site. At the same time, some companies use WordPress for their intranet and do not want outsiders to have access to their private content/materials.
In some cases, the site will still be indexable by search engine crawlers. Still, some WordPress website owners want a total restriction that blocks even search engine crawlers from indexing their websites.
The following tutorial will guide you through restricting access to your WordPress to only logged-in users.
Creating a Private Members-Only WordPress Website
For this guide, we will use ProfilePress to create a members-only WordPress site to restrict access to your sites to only logged-in users.
Restricted visitors or unauthorized users can be redirected to the login page or a custom page, or you can display a message—an excellent solution for Intranets or staging sites.
Installing the ProfilePress Plugin
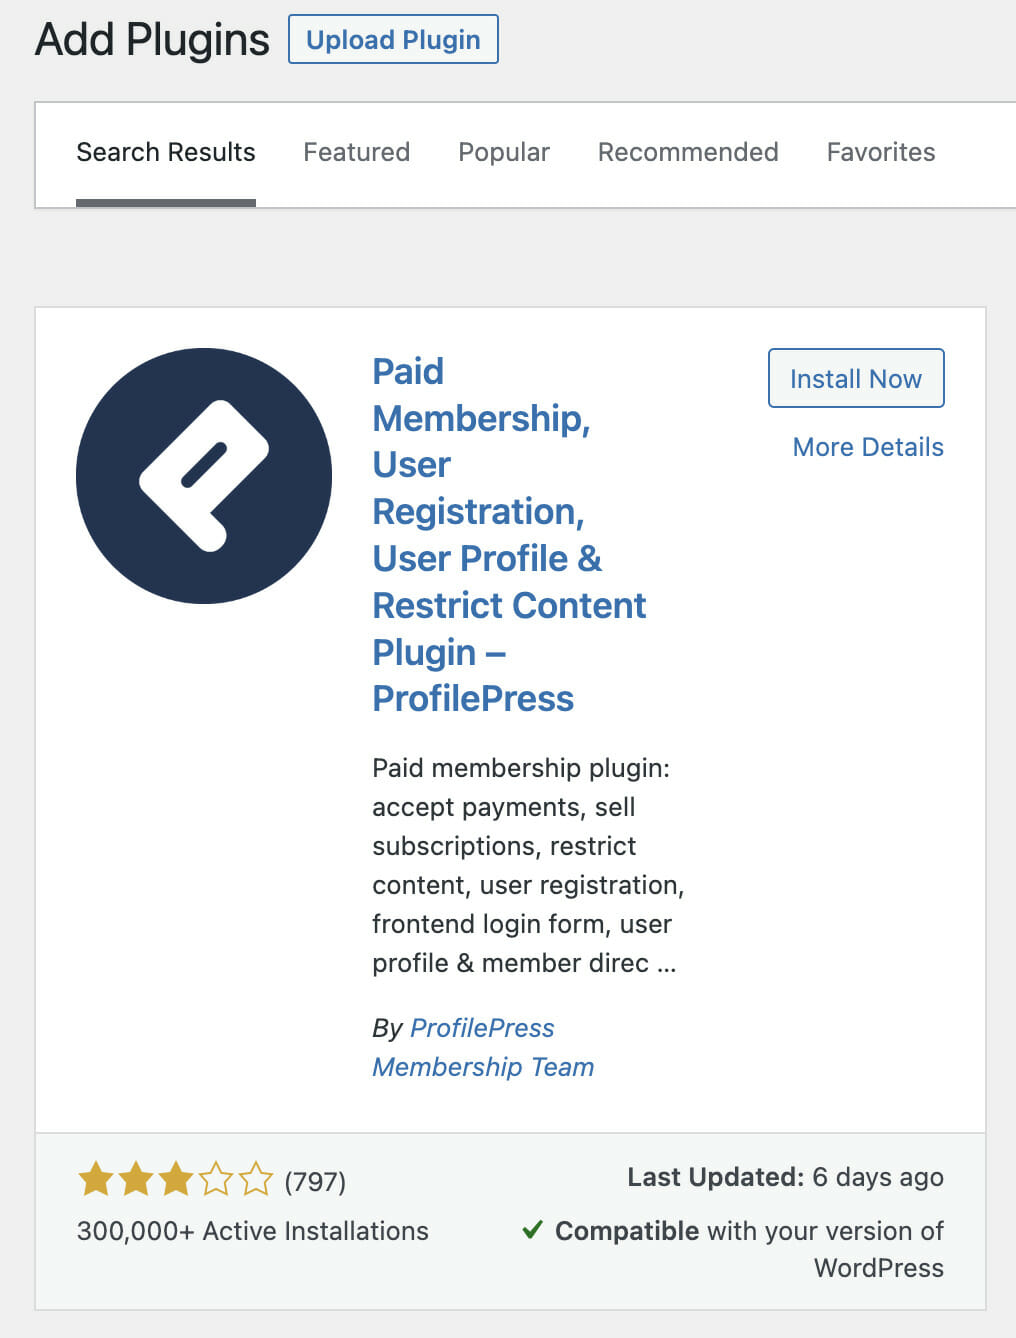
First, you must install and activate the ProfilePress plugin from the WordPress repository.
Go to Plugins>>Add New and search for “ProfilePress” in your WordPress dashboard.
Making your Entire WordPress Site Private
To make your entire WordPress website private, Go to ProfilePress>>Settings>>Access and select the Accessible to logged-in users option.
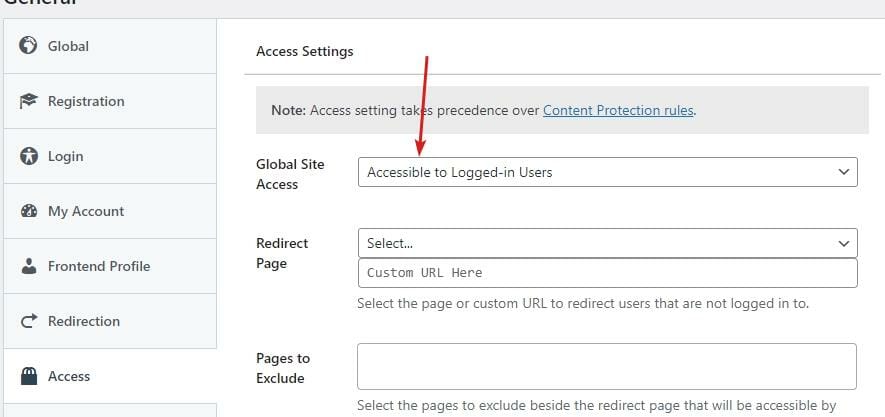
Next, you must redirect users accessing the site to another page or custom URL. Select the page from the drop-down or provide a custom URL to redirect users that are not logged in.

NB: For this to work, you MUST set a redirect page or custom URL.
You might need to exclude some pages besides the redirect page that will be accessible to everyone. You can select as many as you want here.

Sometimes, the homepage might be used as a landing page and must be accessible to all. ProfilePress allows you to do just that. Just go to ProfilePress>>Settings>>Access and tick the checkbox to activate.

Hiding your WordPress Site from Search Engines
If you hide your WordPress site from search engines like Google, Bing, etc., it will not be indexed by them and will not appear on the Search Engine Results Pages (SERP). This is particularly important if you are building an intranet site or in the early stages of new website development.
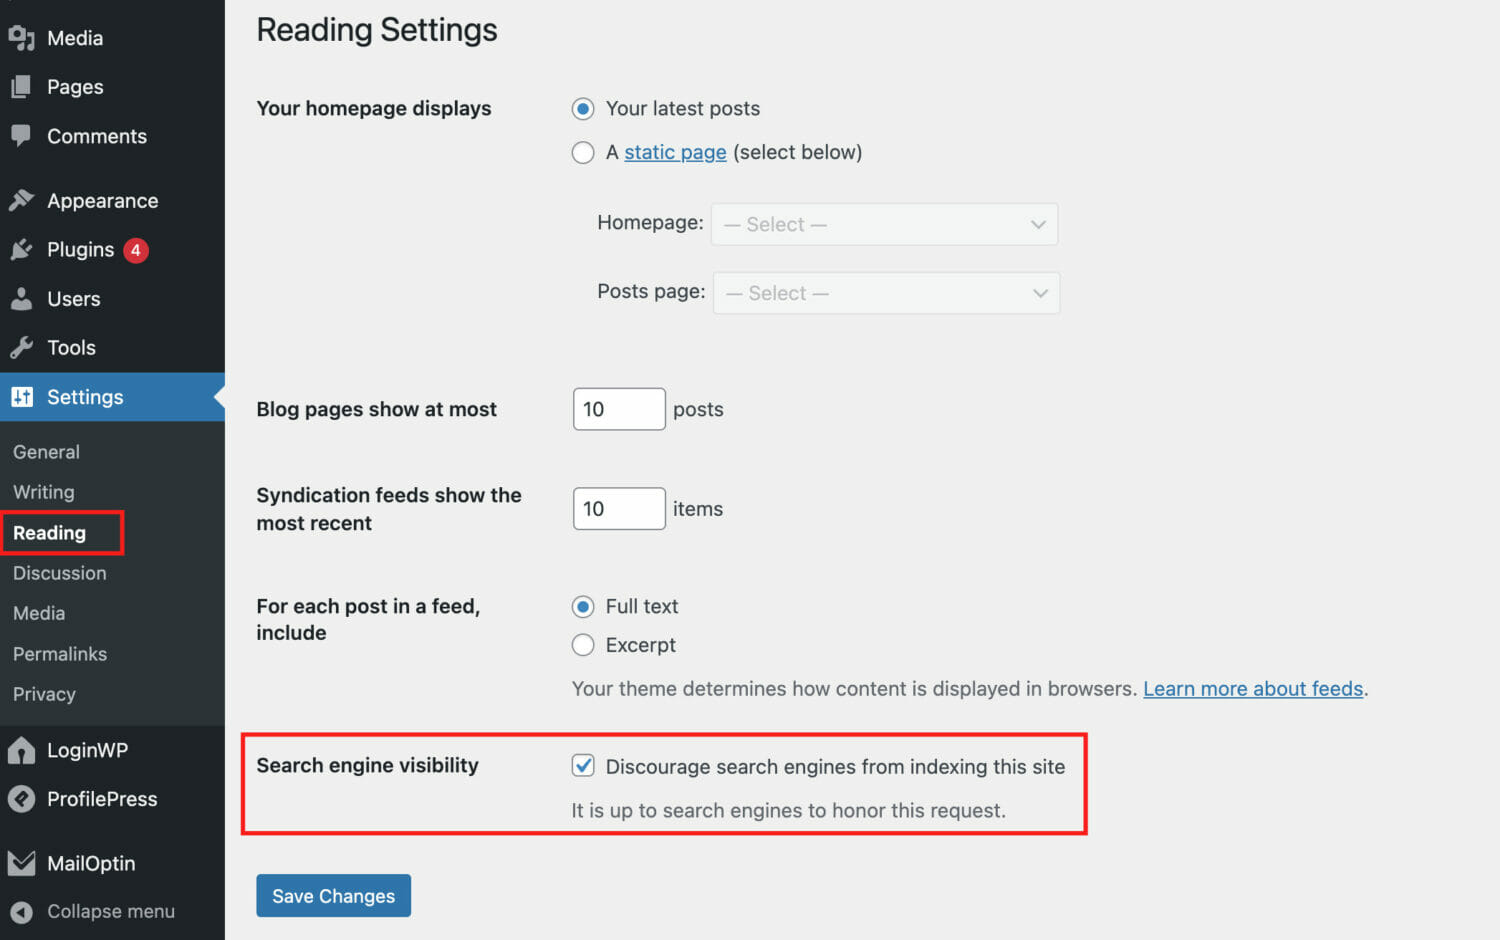
To achieve this, go to Settings>>Reading and scroll to Search Engine Visibility in your WordPress dashboard. Next, check the option to Discourage search engines from indexing this site and click on save changes.
We hope you have learned how to make your entire WordPress site private and stop Search Engines from accessing it with the ProfilePress plugin.
If you want users to sign up or become members before viewing your content, see our guide on how to paywall WordPress content.