Let Users Select Campaign Monitor List to Subscribe in WordPress
Want to let visitors and users select the Campaign Monitor email list or audience to join when registering to your WordPress site?
Allowing visitors to opt into your email list is a great way to build a subscription list that you can use to grow your business further.
In this article, we will show you how to create a Campaign Monitor email list and then how to connect that email list with your site’s WordPress registration form. After that, anyone registering to your site can opt into your Campaign Monitor email list.
Let’s begin with the tutorial.
Letting Users Select Campaign Monitor List to Join
To let WordPress users subscribe to a Campaign Monitor subscription list, you will need to take the following steps:
- Create a Campaign Monitor account.
- Install a plugin to connect your website with the Campaign Monitor account.
- Create an email subscription list in the Campaign Monitor account.
- Connect the email subscription list with your website.
- Create a custom registration form & allow people to choose the email list to join.
Let’s start with the first step, i.e. creating a Campaign Monitor account.
1. Create Campaign Monitor Account
Sign up with Campaign Monitor and activate the new account. The steps are very straightforward. First, go to the registration page and sign up. Upon registering, you will get an email from Campaign Monitor asking you to activate the account. Please open it and click on the Activate Account button.
And that’s it. You now have a Campaign Monitor account.
The next step is to install a plugin to help connect your WordPress website with the new Campaign Monitor account.
2. Install ProfilePress & Connect Plugin With Campaign Monitor
We will use ProfilePress to connect your Campaign Monitor account with your WordPress website. Besides connecting with your site, the plugin will also help you create custom WordPress forms which is an essential step in this article.
ProfilePress is a premium plugin; you must buy a license to use it.
Purchase the plugin, install it and then add the license to activate the plugin.
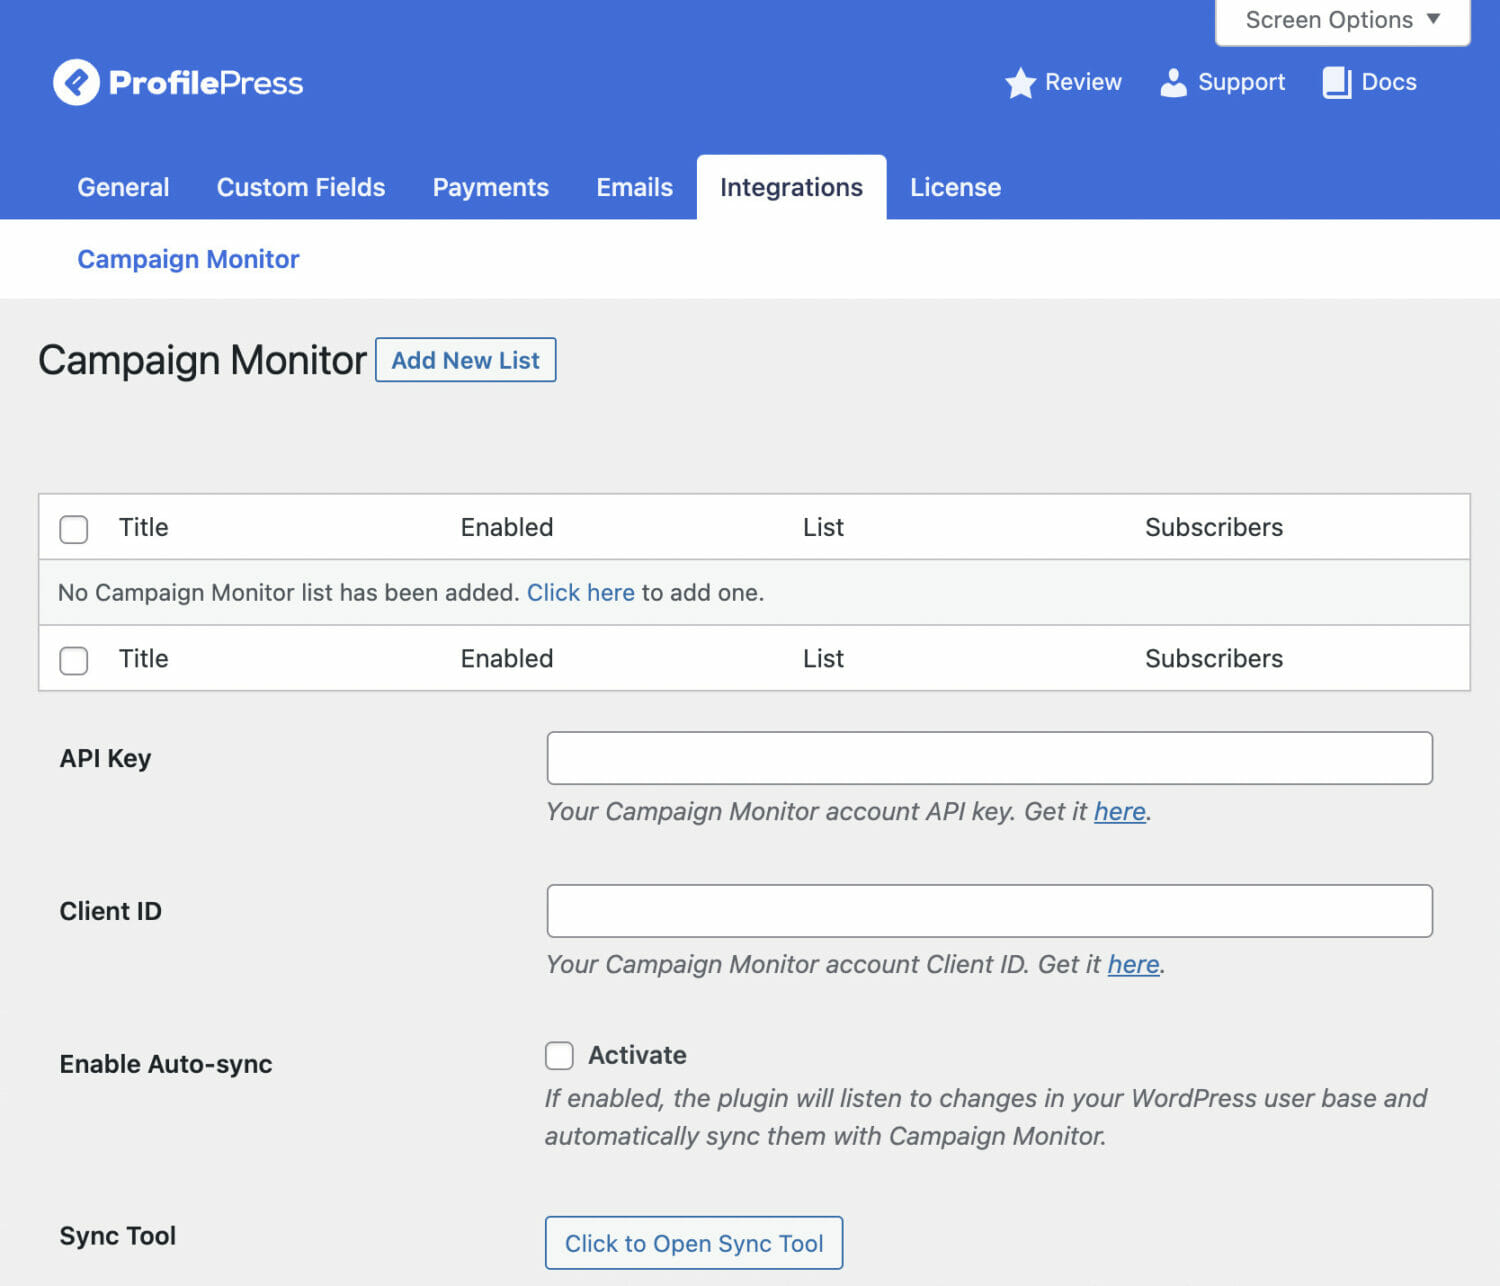
After installation, go to ProfilePress > Settings > Integrations. You should be able to see an option for adding an API key.
You will need to generate an API key from your Campaign Monitor account. This guide will help you do just that.
Once you have the API key, go back to the Integration page and add the key to connect the Campaign Monitor account with your WordPress website.
3. Create a Campaign Monitor Email List
The first step is to create a subscriber list in your Campaign Monitor account. Then, use this dedicated help doc created by the Campaign Monitor team.
4. Connect New Campaign Monitor Email Subscription List to Your Site
ProfilePress will help you connect the new Campaign Monitor email subscription list to your WordPress website. Here’s how:
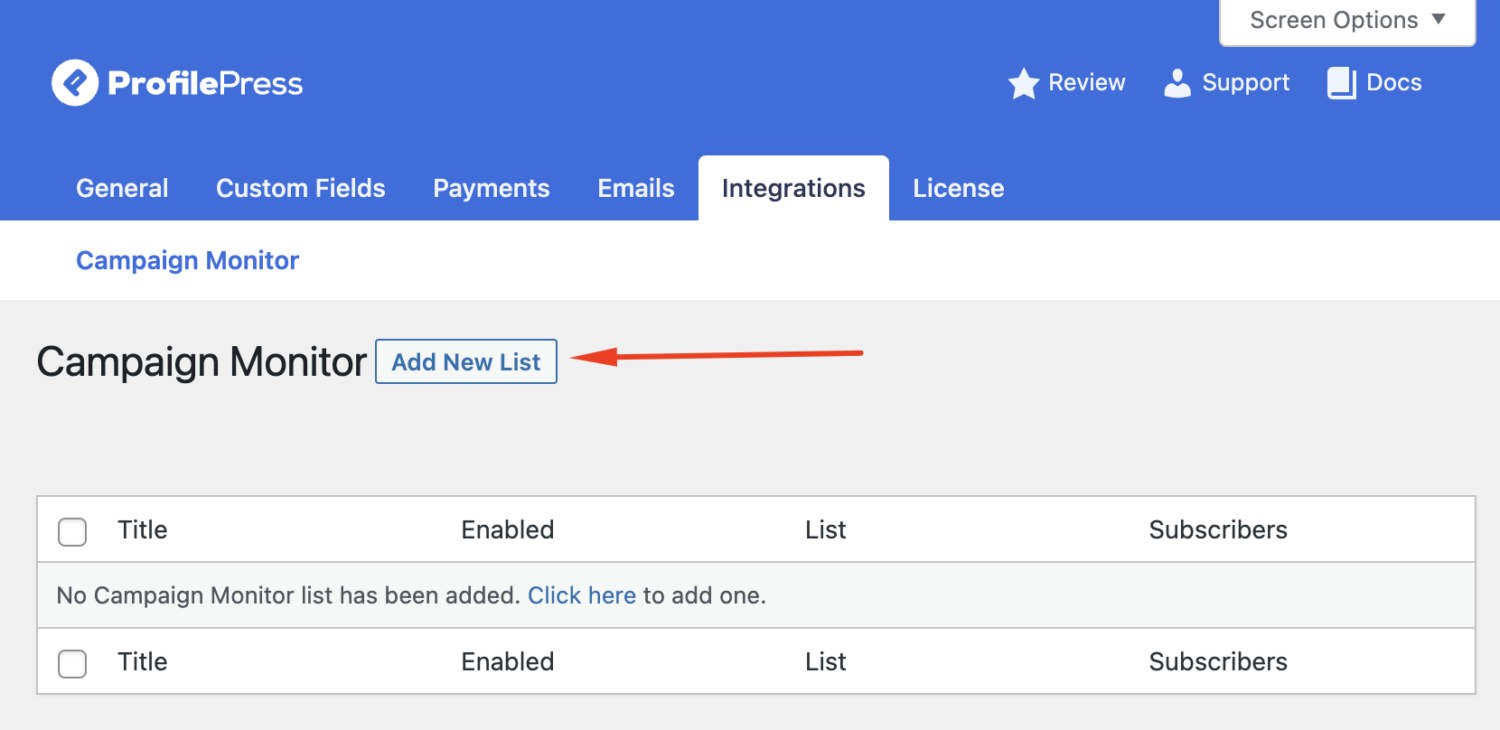
Go to the ProfilePress Integration page on your WordPress dashboard and select the Add New Audience option.
On the next page, select Enable Audience. Then add a Title. This is the text that will appear before the visitors who are trying to register on your website. For example, you might want to add something like “Marketing Emails” to the title.
Next, from the dropdown in the Audience option, select the new Campaign Monitor email subscription list.
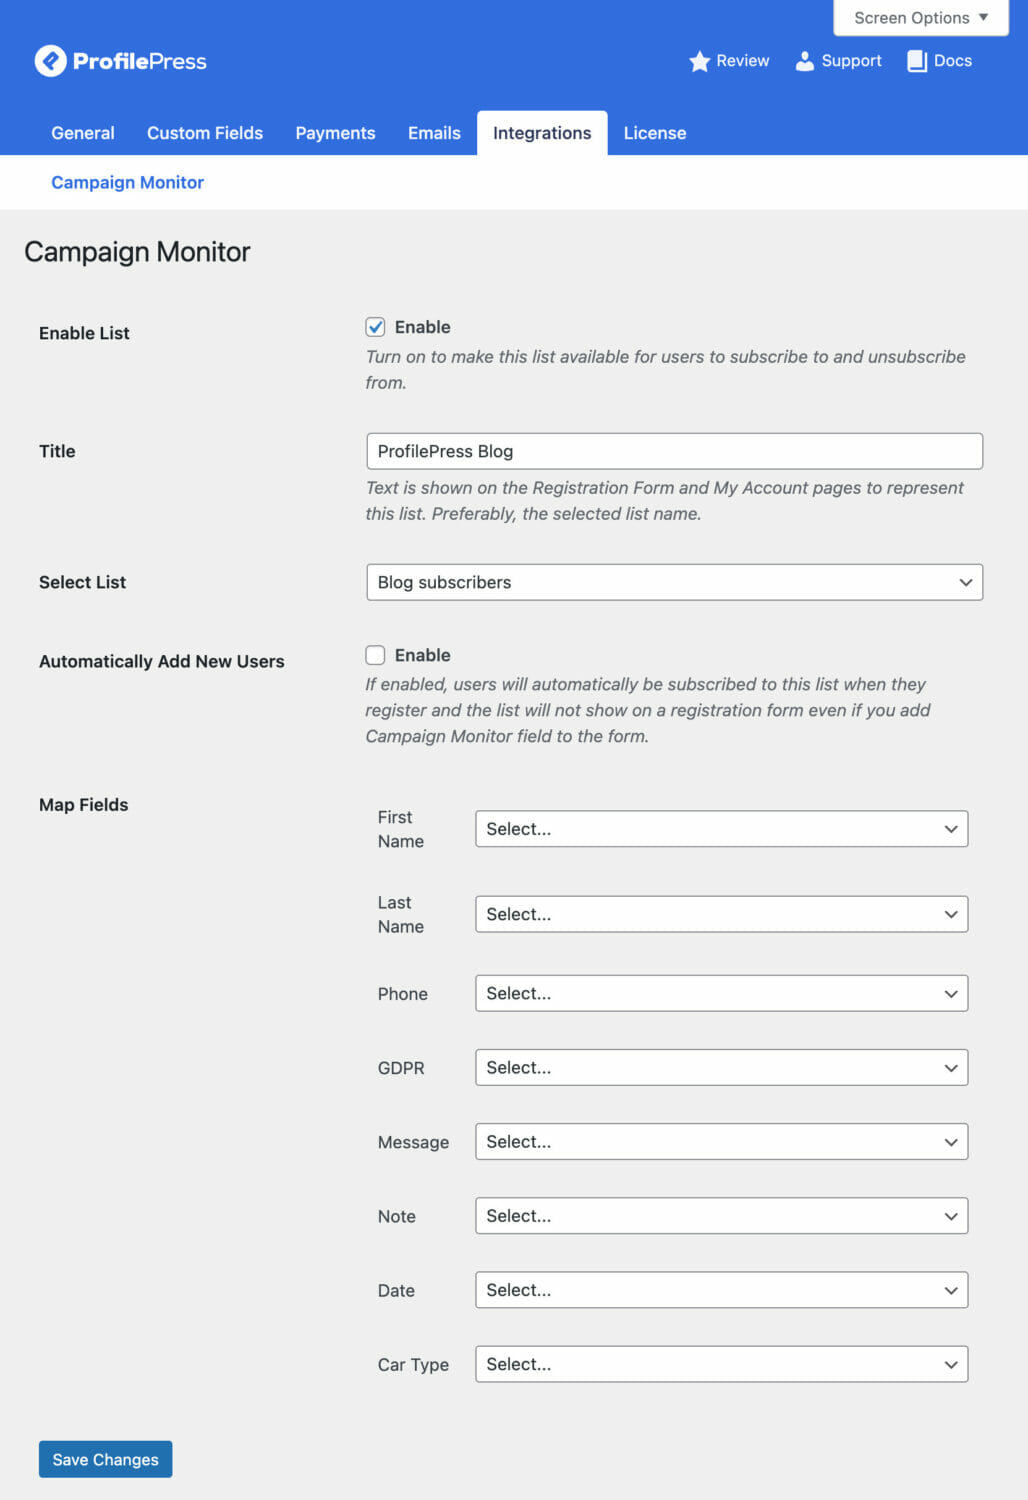
The Map Fields option allows you to map the fields to their respective attributes in Campaign Monitor.
After mapping the fields, hit the Save button. You now have a Campaign Monitor email subscription list. All left to do now is add the email subscription option to the registration form.
5. Create a Custom Registration Form & Allow People to Opt For Email Subscription
There is no way to add an email subscription option to the default WordPress registration form. Instead, you need to create a custom user registration form to be able to add the email subscription option to your site’s registration form.
Luckily, you don’t need to install a different plugin. Instead, ProfilePress will help you create a custom form.
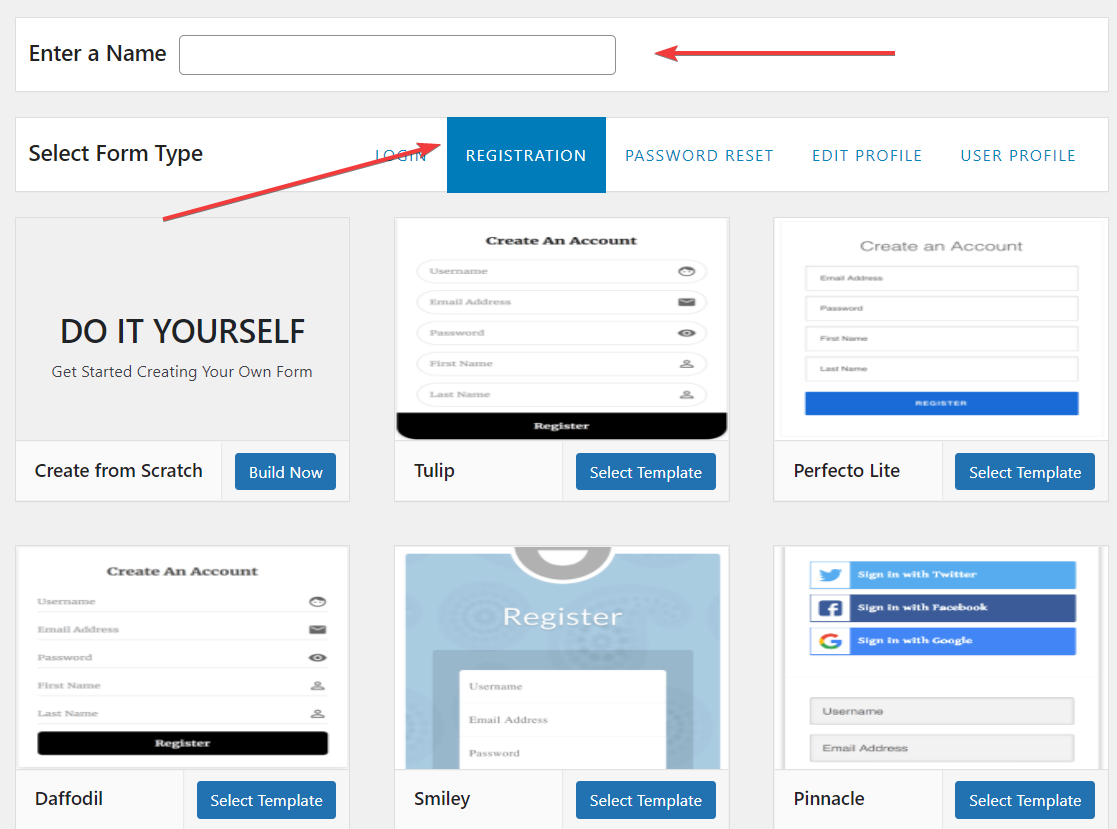
Go to ProfilePress > Forms & Profiles > Add New > Registration. Enter a name for the form and choose a prebuilt template for your registration form.
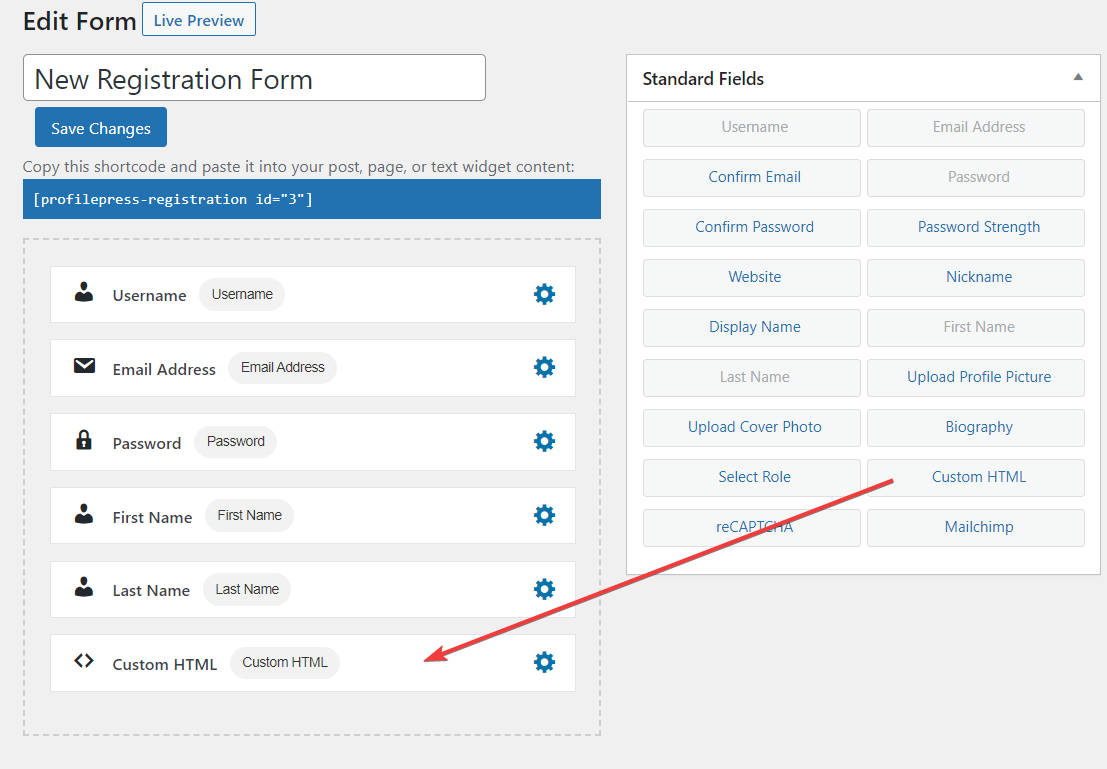
The next page will reveal a drag-and-drop builder that you can use to add or remove fields from the registration form.
The fields that appear on the right side of the builder are the ones that will appear on the form. You can keep the ones you need and delete the ones you don’t.
On the right side of the builder, there are fields that you can add to the form. We will use one of the fields to add an email subscription option to the registration field. Next, drag and drop the Custom HTML field to the left side of the form builder.
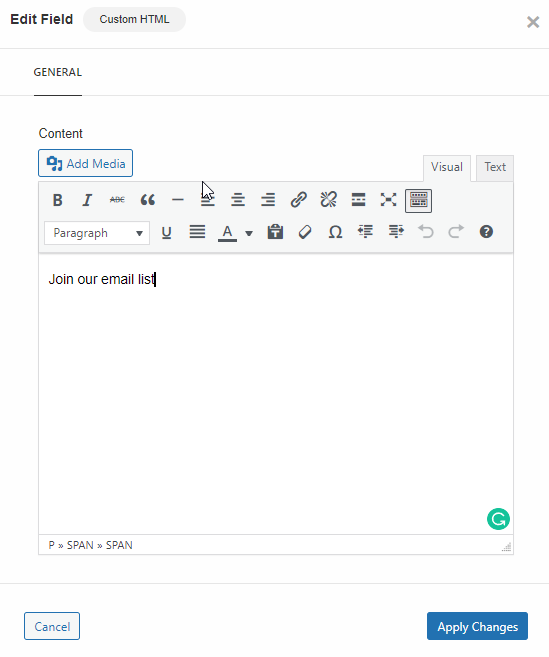
Next, click on the gear icon, and a popup will appear. In the content field of the popup, write a call-to-action like “Subscribe to our newsletter” or “Join our mailing list.”
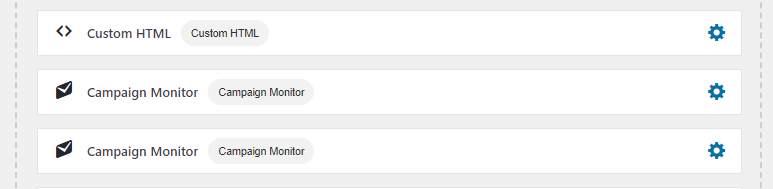
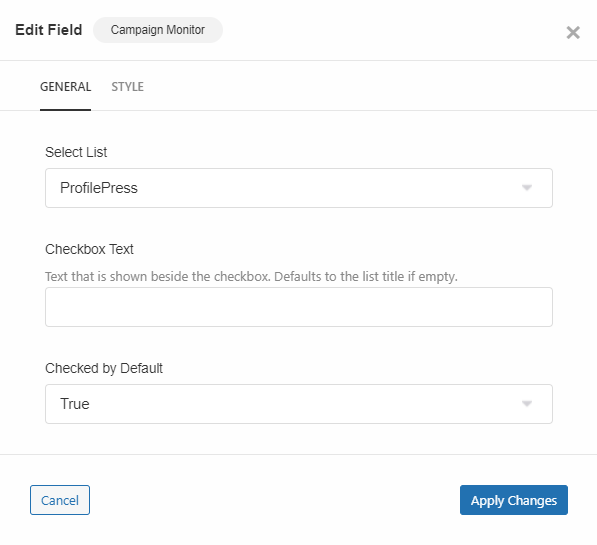
Next, drag and drop the Campaign Monitor field underneath the Custom HTML. Next, click on the gear icon for the popup to appear, and you should see a Select Audience option with a dropdown menu. You can add as many audiences or email lists to the form as you want.
Select your Campaign Monitor email subscription list from the dropdown menu and save.
You now have a custom registration form allowing visitors to opt for an email subscription. The next and final step is to publish the registration form.
Using Mailchimp Instead of Campaign Monitor
ProfilePress is also compatible with Mailchimp. You can use Mailchimp instead of Campaign Monitor and allow your site visitors to opt for an email subscription list. The process is similar except for some noticeable differences. For instance, instead of adding an API key for Campaign Monitor, you will need to add one from Mailchimp. Also, while creating the custom registration form, you must select the Mailchimp field, etc.
If you need further assistance, take a look at these help docs.
6. Publish Custom Registration Form
To publish the form on your WordPress website, copy the shortcode on top of the drag-and-drop builder. It should appear right below the name of the form.
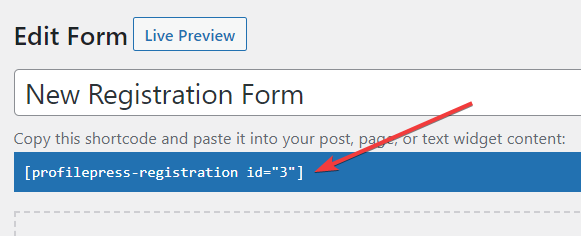
Next, create a new page by going to Pages > Add New and paste the shortcode on the page. Finally, name the page and hit the Publish button.
And that’s it. The form is now live on your WordPress website.
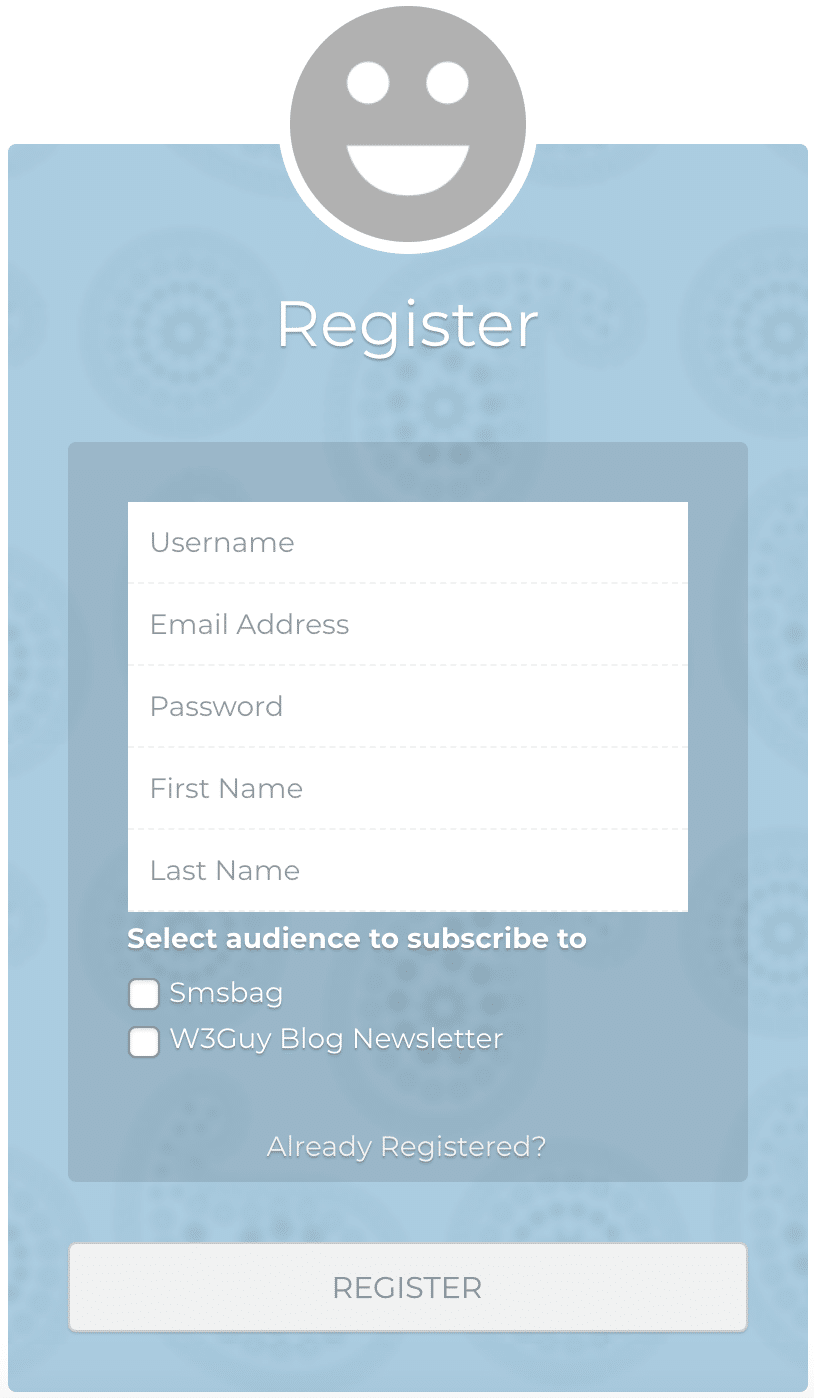
This is how the registration form looks on our demo site. As you can see, there’s a subscription option that visitors to our site can select while registering.
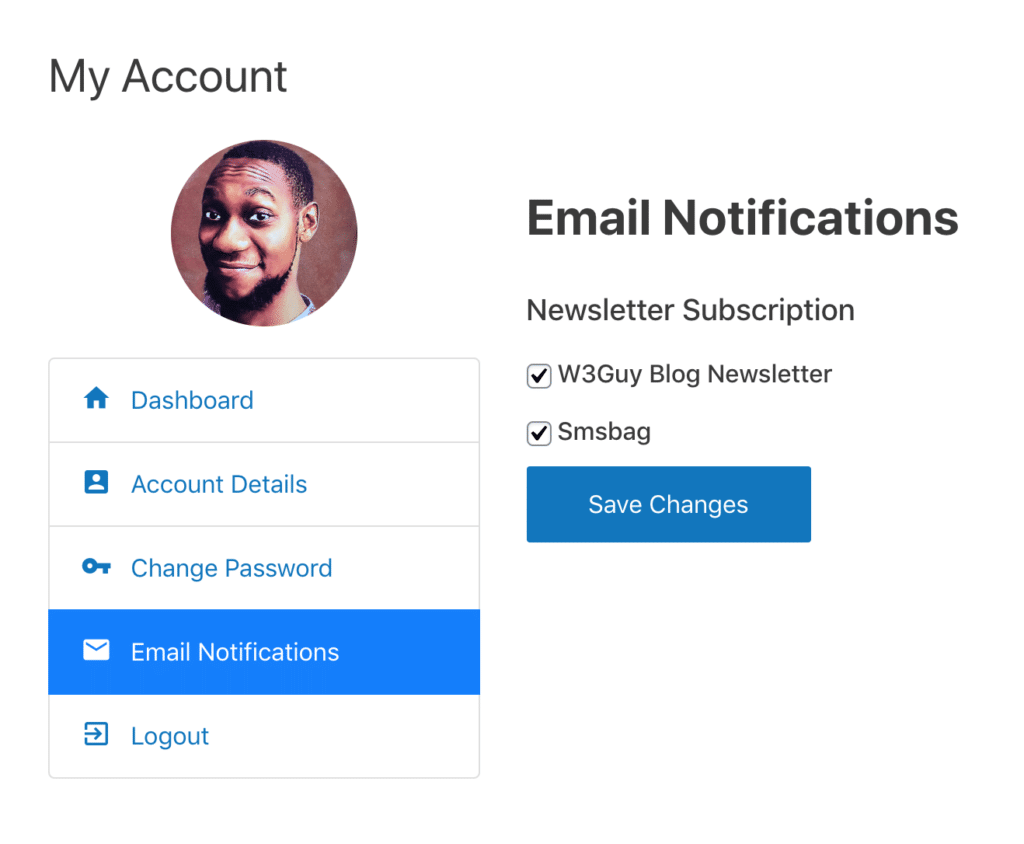
ProfilePress also provides a “manage my subscriptions” page where logged-in users can manage their email preferences from the My Account page. That is, they can unsubscribe or subscribe to some of your emails and not others.
Using Generic Opt-in Forms Instead of a Registration Form
You will need a different plugin to use a generic opt-in form instead of a registration form. We recommend using the MailOptin plugin.
Like ProfilePress, MailOptin is super easy to use. It’s a dedicated lead generation plugin to help you convert website visitors into subscribers and customers.
Here’s an opt-in form created using MailOptin that includes a selection of email lists your users can choose from.
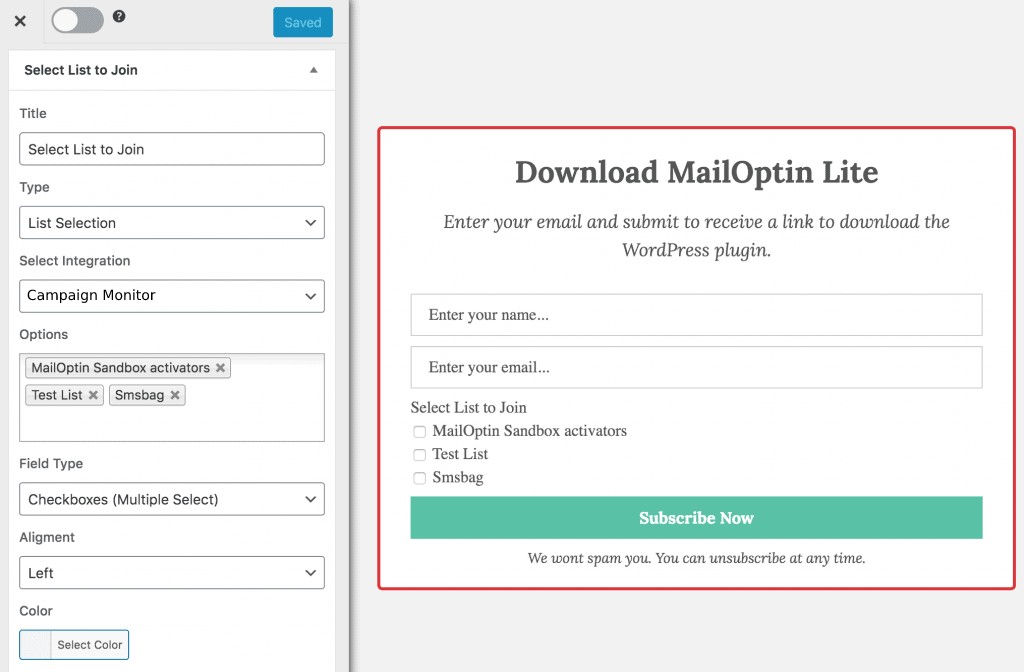
To build a similar opt-in form, you will need to follow the instructions in this article.
Conclusion
Enabling your site visitors to subscribe to your email list is a great idea. You can use the list to boost your sales, earn more revenue and grow your business further.
This article covered building a Campaign Monitor email subscription list using ProfilePress. But if you want, you can use Mailchimp instead. ProfilePress supports both email services.
The above tutorial shows that building an email subscription list involves creating a custom registration page. ProfilePress has got you covered on that front too. But instead of a custom registration page, if you want to use an opt-in form, you will need an opt-in plugin like MailOptin. It’s the best opt-in plugin out there, and it’s super easy to operate.
Try ProfilePress and MailOptin today!