Add reCAPTCHA to Protect WordPress Login, Registration Forms & Checkout
Do you want to learn how to add reCAPTCHA to protect your WordPress registration and login forms against spam and bots?
Protecting your website from spam and automated bot attacks is crucial. Bots can overwhelm your registration and login forms with fake submissions, compromising user data and damaging server resources. Fortunately, integrating Google reCAPTCHA into your forms can significantly reduce these risks and help create a secure user experience.
Adding reCAPTCHA to your WordPress registration and login forms is straightforward, and with ProfilePress, you can set it up in just a few steps.
In this guide, you’ll learn about reCAPTCHA, its types, and how it benefits WordPress forms. We’ll explain how to activate the ProfilePress Google reCAPTCHA add-on, configure settings, and integrate it into your WordPress login and registration forms, including your checkout page, to improve security and reduce spam.
What is reCAPTCHA?
reCAPTCHA is a security system developed by Google to protect websites from automated spam and abuse. It’s designed to differentiate between human users and bots (automated software).
Types of reCAPTCHA
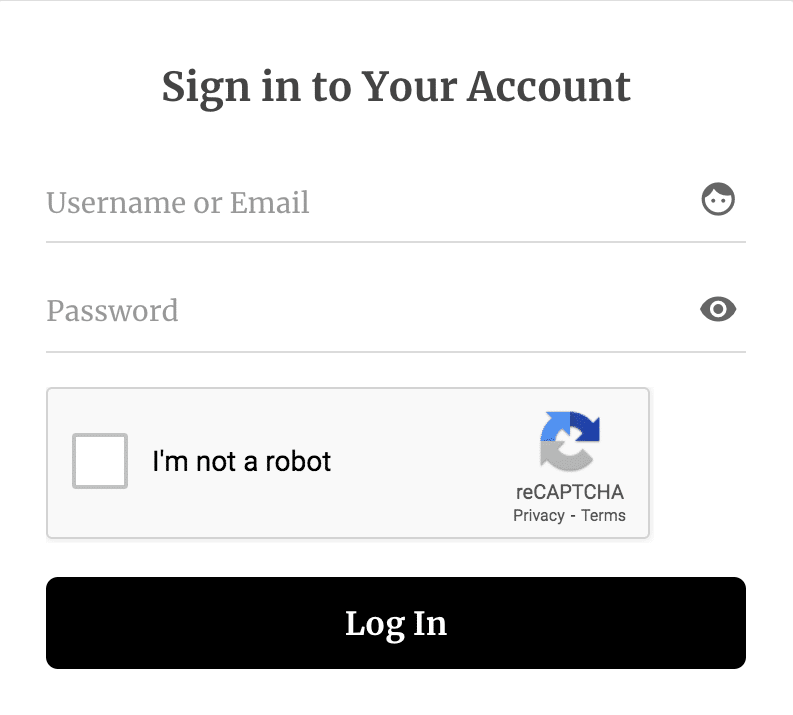
ProfilePress reCAPTCHA addon supports the score-based (v3) and checkbox challenge (v2 or “I’m not a robot”) versions.
The checkbox challenge (version 2) reCAPTCHA requires the user to check a checkbox indicating they are not a robot.
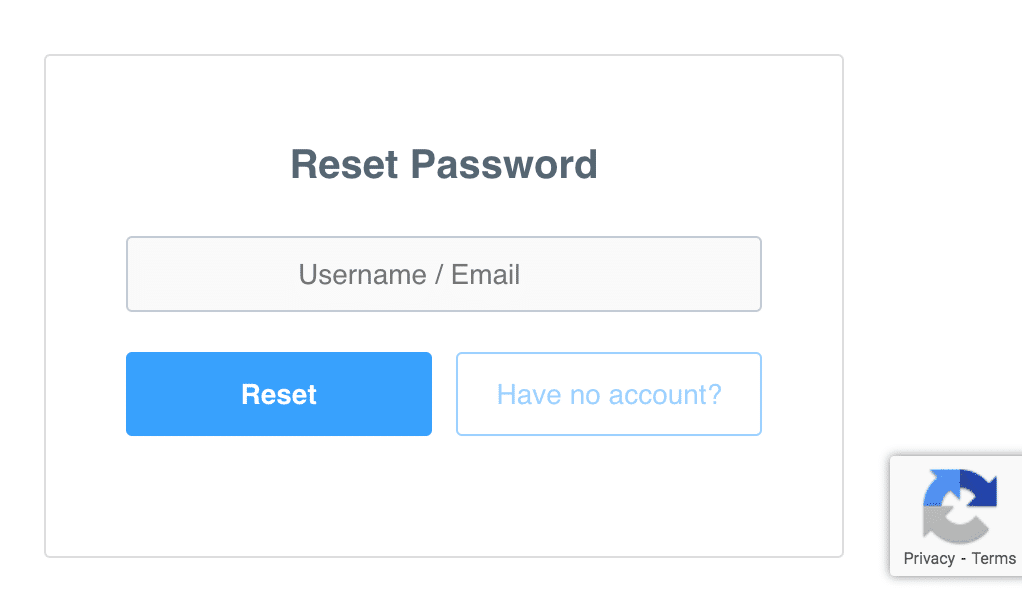
V3 (score-based) verifies whether an interaction is legitimate without user interaction and will never display a CAPTCHA, unlike version 2 (checkbox challenge). Instead, users will only see a badge in the lower right corner of the screen.
Benefits of Adding reCAPTCHA to Your WordPress Forms
Enhanced Security Against Bots: Bots can easily access websites with open registration and login forms, often leading to spam, fake accounts, and potential data breaches. reCAPTCHA offers a robust defense by filtering out non-human traffic, ensuring that only real users can access your forms.
Improved Server Performance: Spam submissions can strain server resources, slowing your site’s performance and potentially increasing hosting costs. Google reCAPTCHA helps your website run more smoothly and efficiently by filtering out bots.
Better User Experience: Google reCAPTCHA, especially in its latest versions, is designed to be non-intrusive for legitimate users. It can operate in the background, meaning users can register or log in without friction, while bots are detected and blocked.
Setting Up The Google reCAPTCHA Addon
To protect your WordPress forms from spam submissions, ensure you have installed and activated the ProfilePress plugin on your WordPress site.
Next, in your WordPress dashboard, go to ProfilePress > Addons. This page contains a list of available ProfilePress addons, including the Google reCAPTCHA addon.
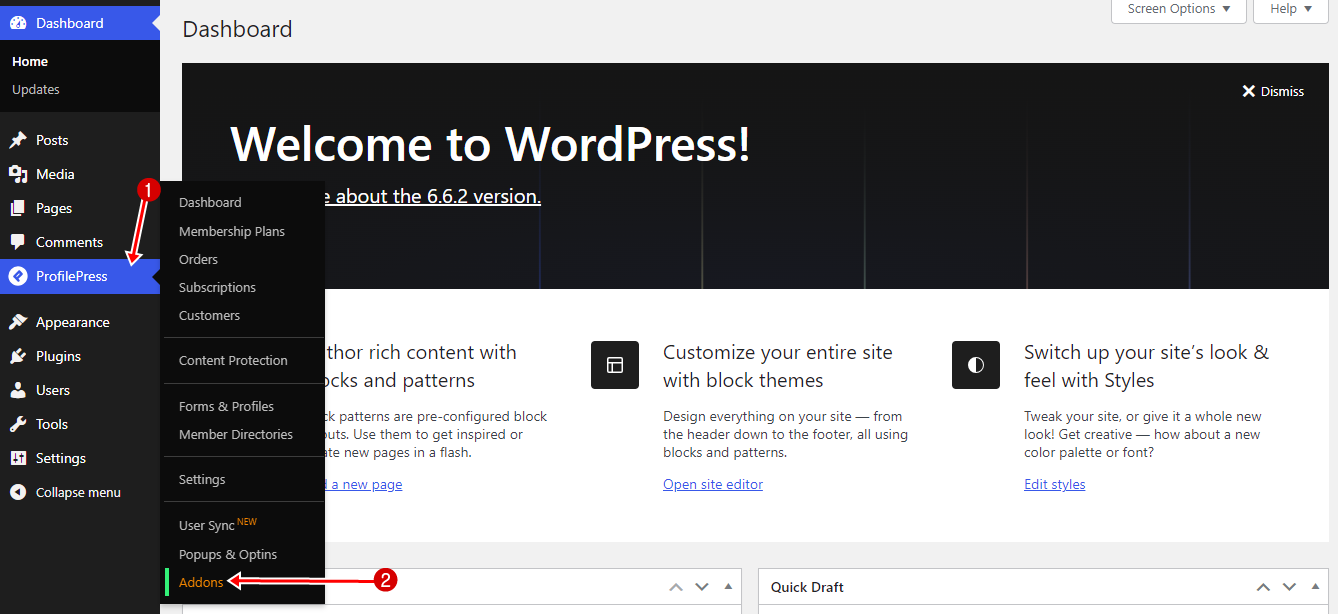
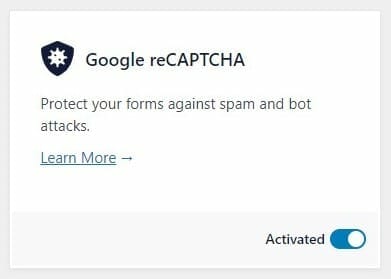
Scroll to Google reCAPTCHA and switch it ON.
Google recently moved the reCAPTCHA dashboard to Google Cloud. They now call the previous method, which uses the old API, reCAPTCHA Classic, while the new approach through Google Cloud is called reCAPTCHA Enterprise.
Please use reCAPTCHA Enterprise when setting this up for the first time as we plan to remove the Classic implementation in a future version.
Getting reCAPTCHA Enterprise Keys
Log in to the Google Cloud Console with your Google account and go to the reCAPTCHA page.
If you have not created a project before, you will need to create one from the project picker on the top-left corner to access the reCAPTCHA page.
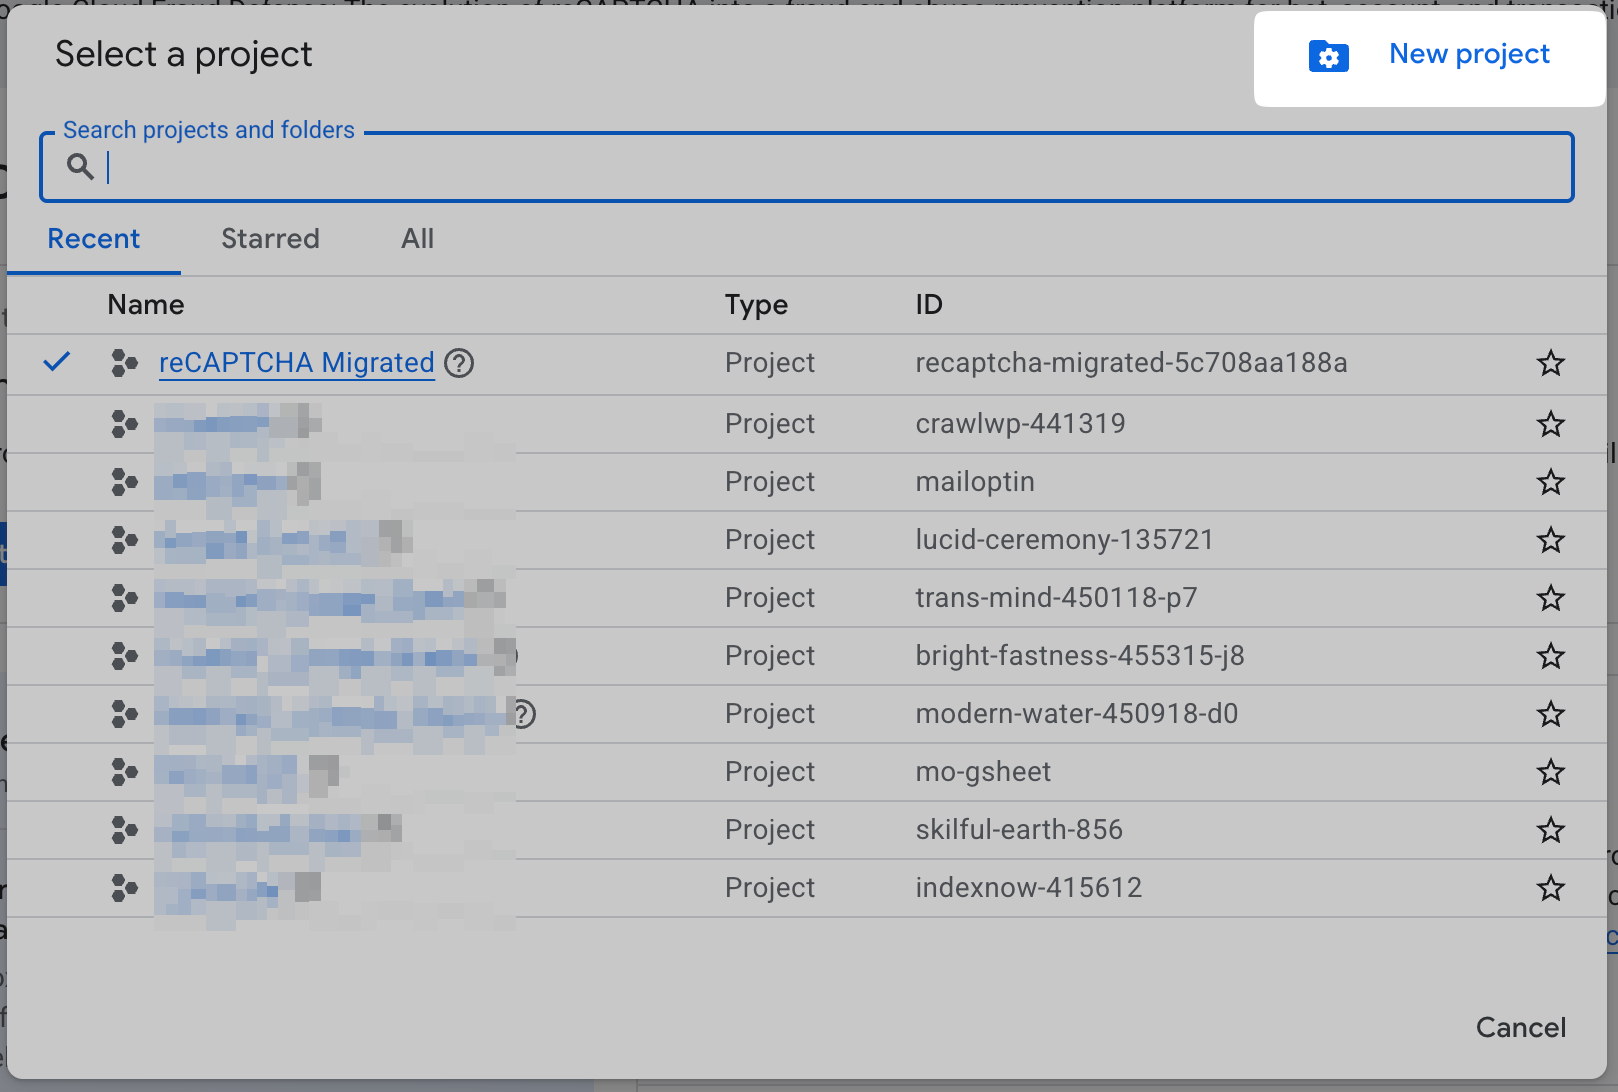
Please take note of the ID of your project displayed in the project picker (in the screenshot above) as we will be needing it.
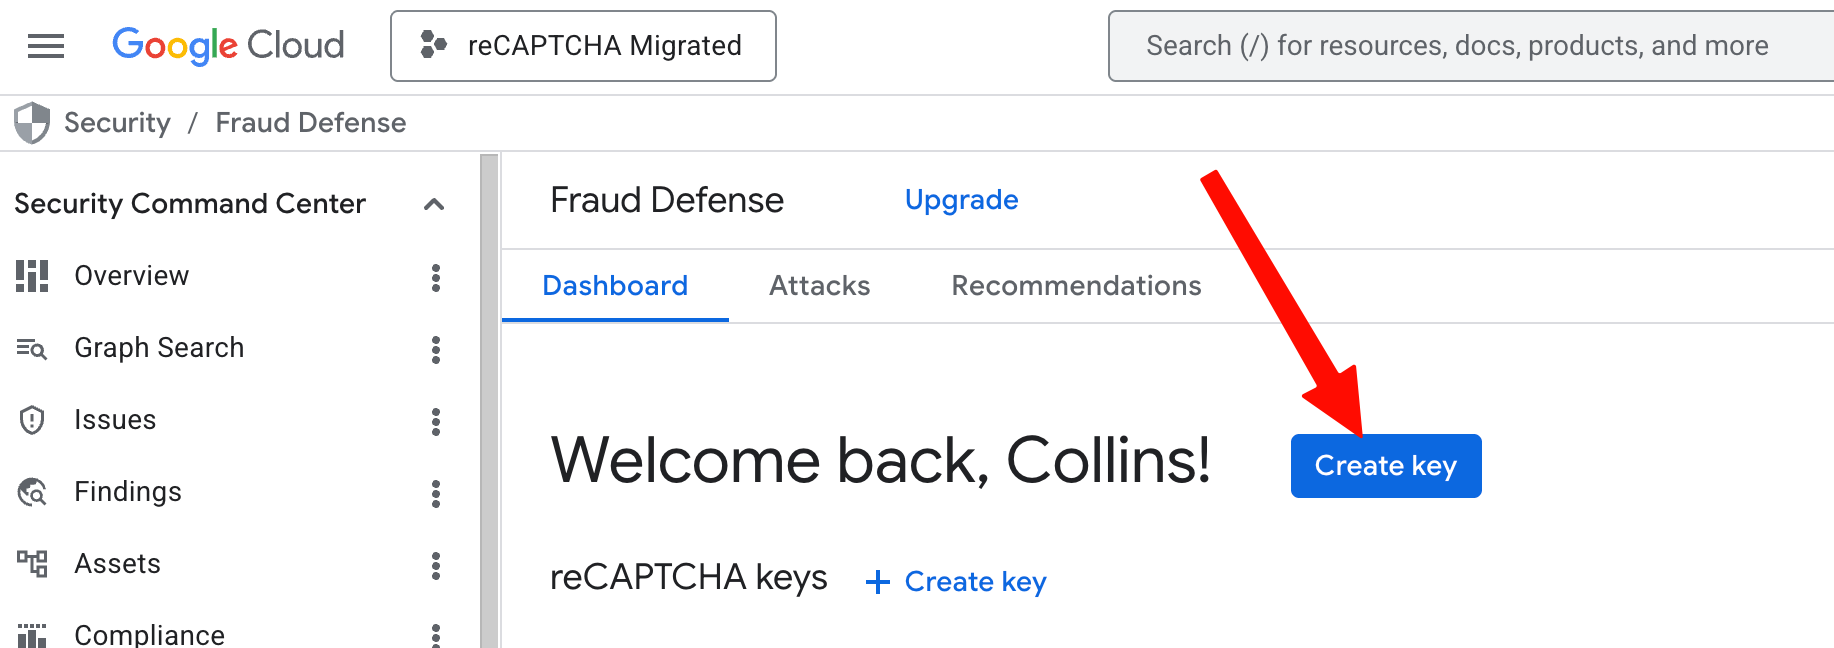
On the reCAPTCHA page, click on the button to create a key.
Enter a display name, select Application type as Web, add your domain, and submit the form.
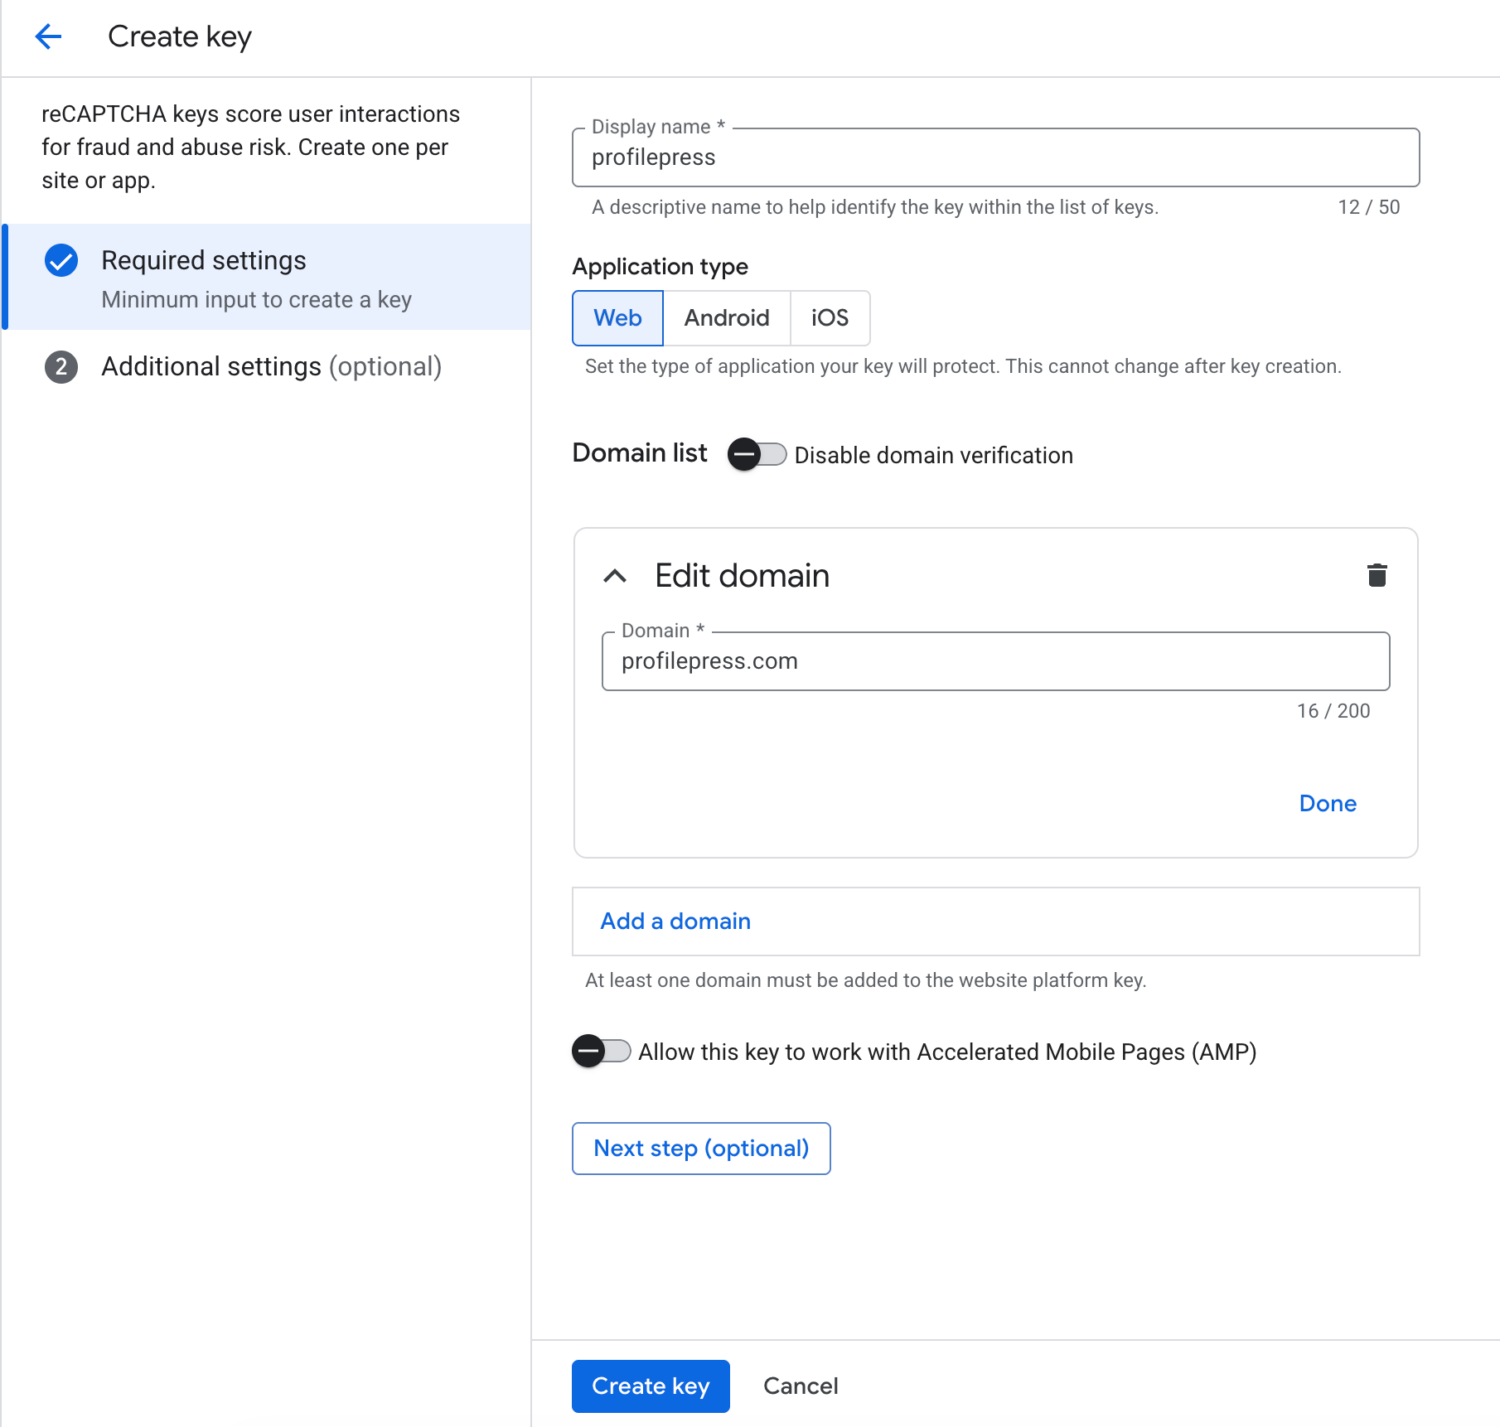
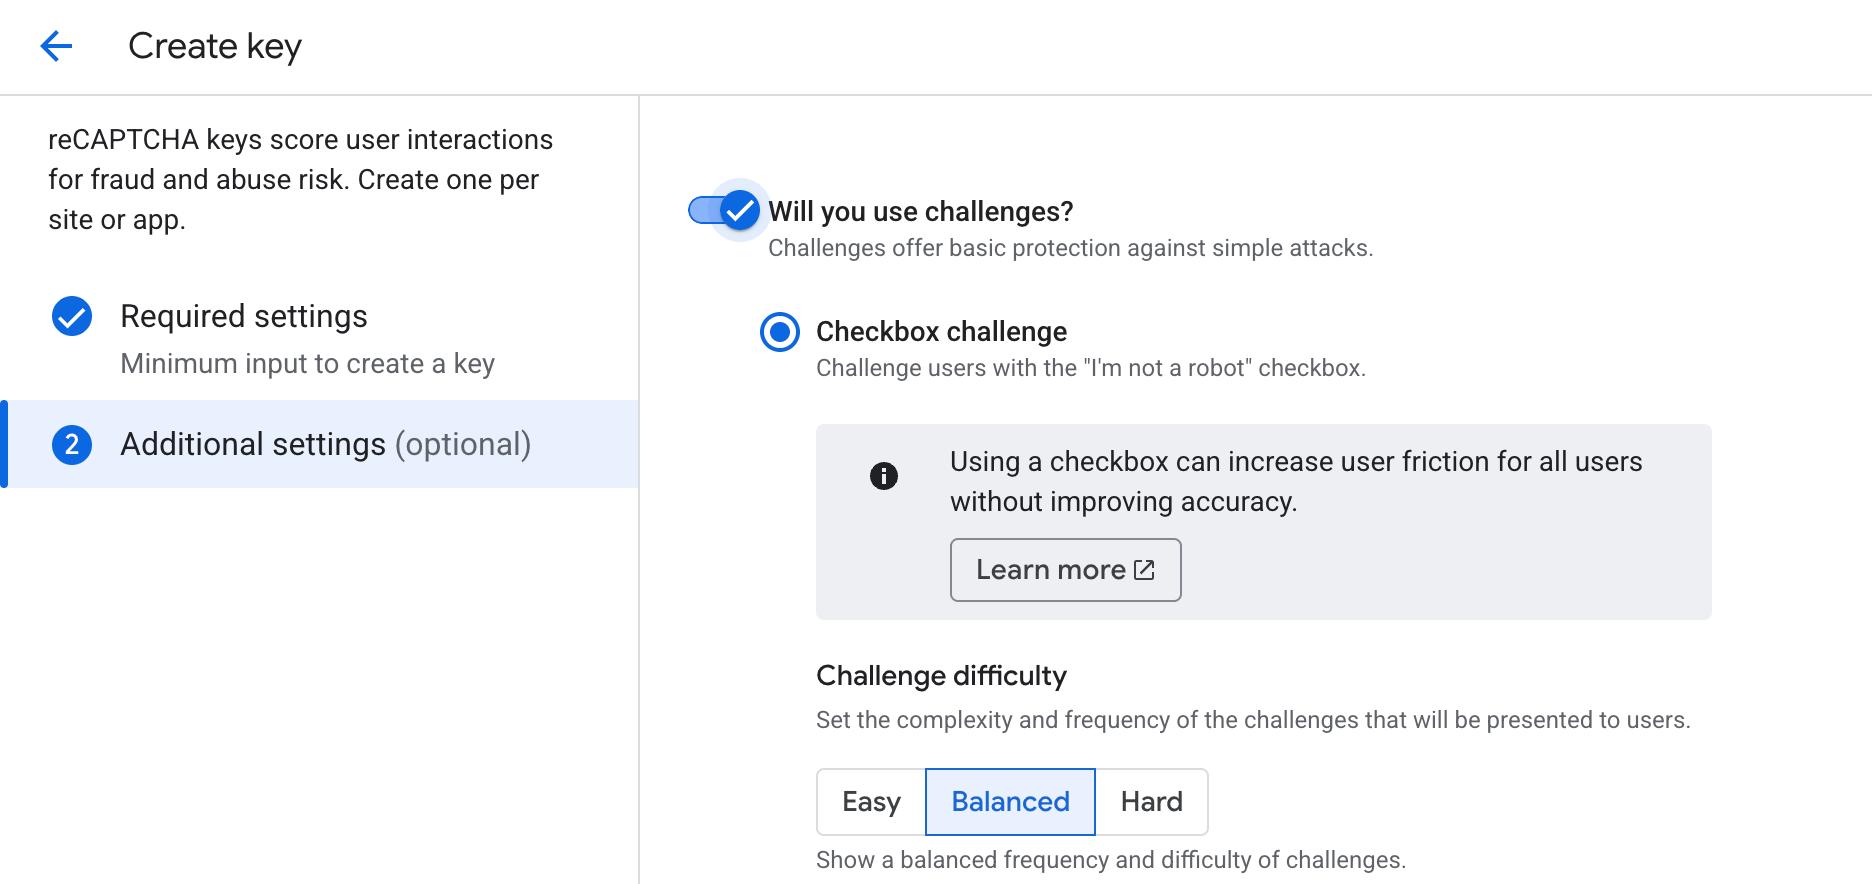
By default, the key will be for score-based (v3) reCAPTCHA. If you prefer a checkbox challenge type, open the “Additional settings” section and enable “Will you use challenges?“.
After submitting the form, you will be redirected to the key details page where you will see the key’s ID. Copy it somewhere as we will be needing it when integrating with ProfilePress.
The final step is to create an API key, following the guide below
In the Google Cloud console, go to the Credentials page, click on Create credentials and select API Key.
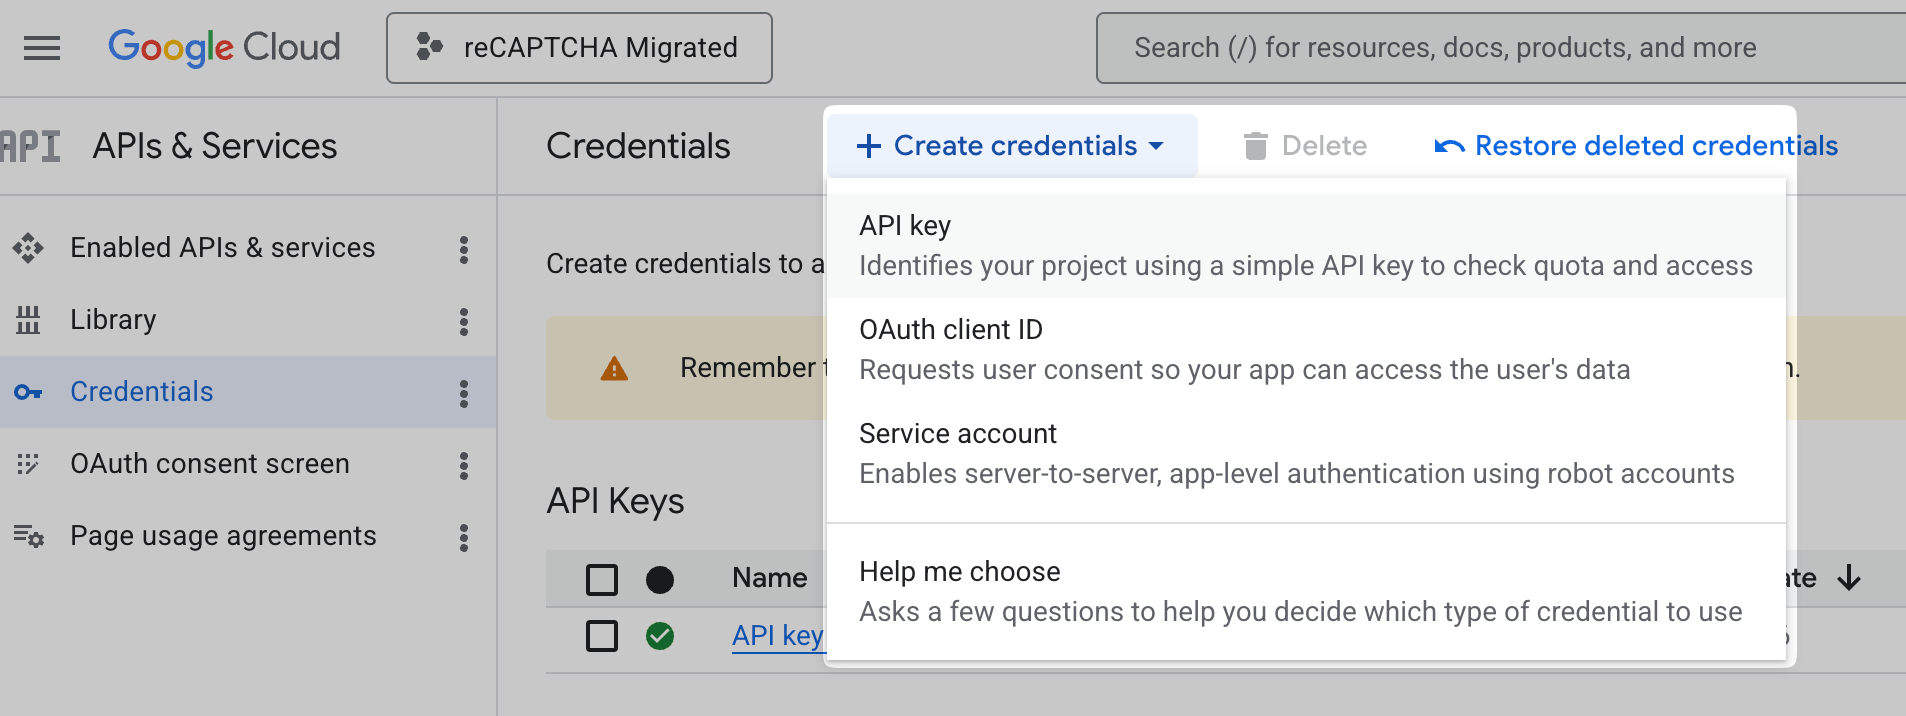
Enter a name for the API key and select reCAPTCHA Enterprise API as an API restriction.
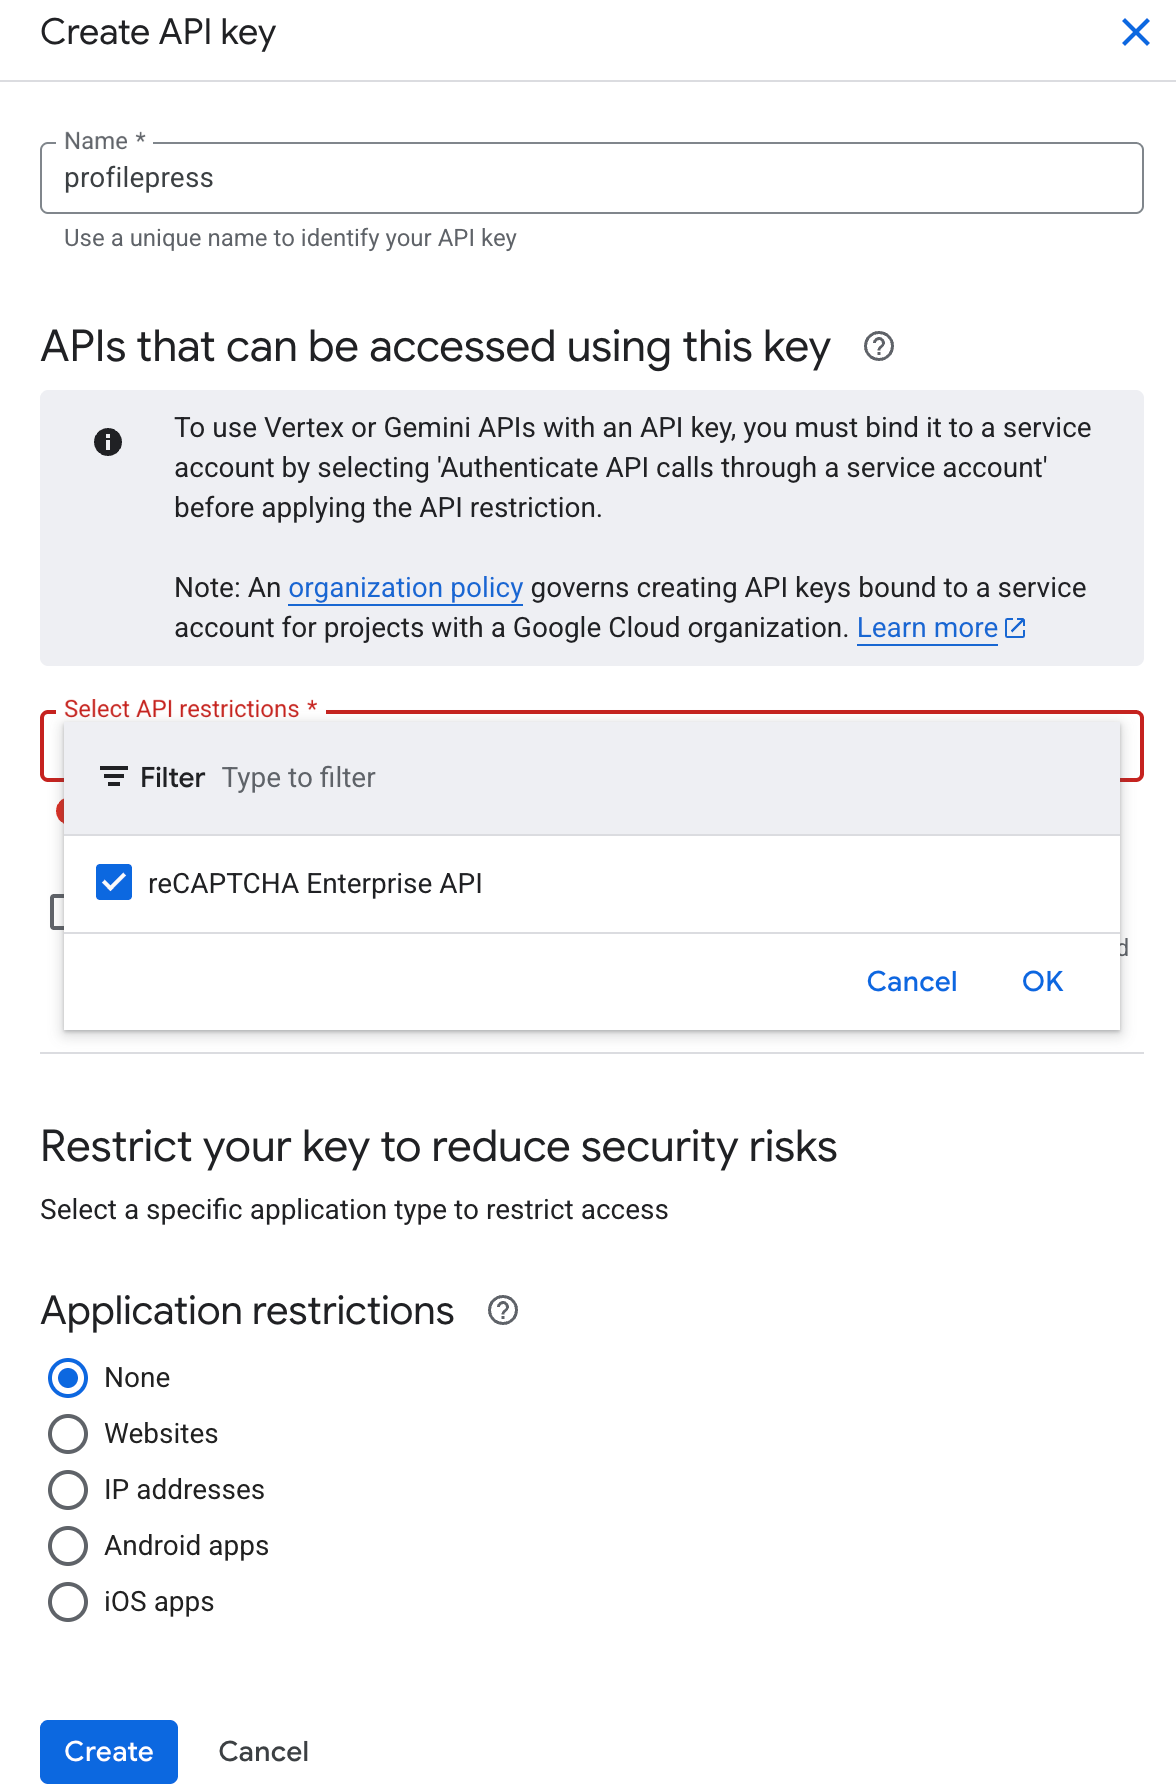
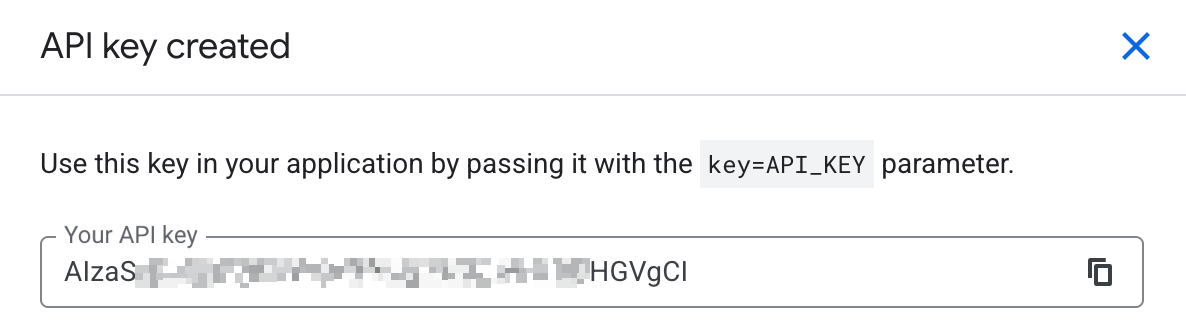
Submit the form to get your generated API key.
Getting reCAPTCHA Classic Keys
To set up reCAPTCHA on your website, you must obtain a site and secret keys specific to your domain. You can acquire these keys by registering your site at the official reCAPTCHA Classic admin console
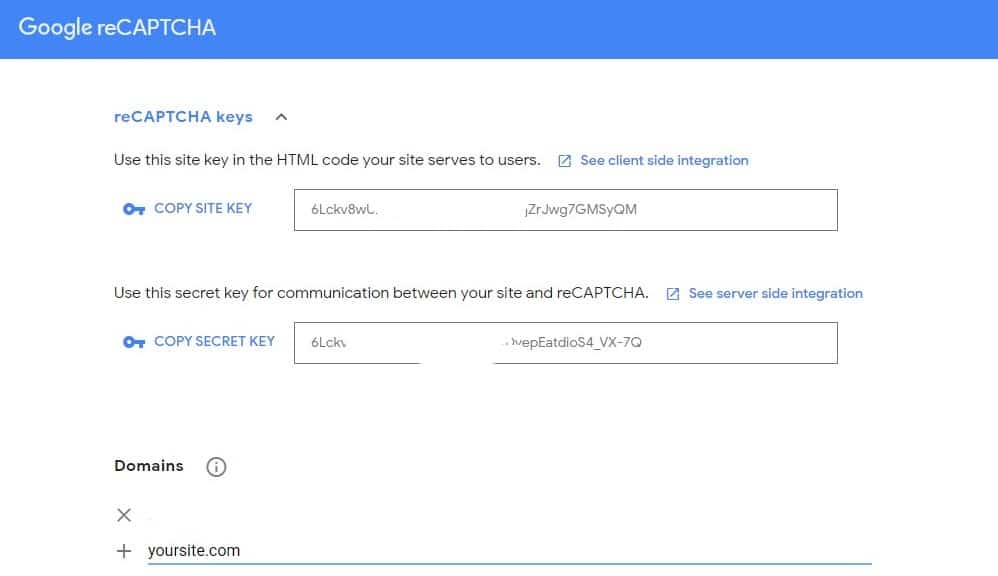
NB: Make sure you add your domain under the domains section
Setting Up reCAPTCHA in ProfilePress Settings
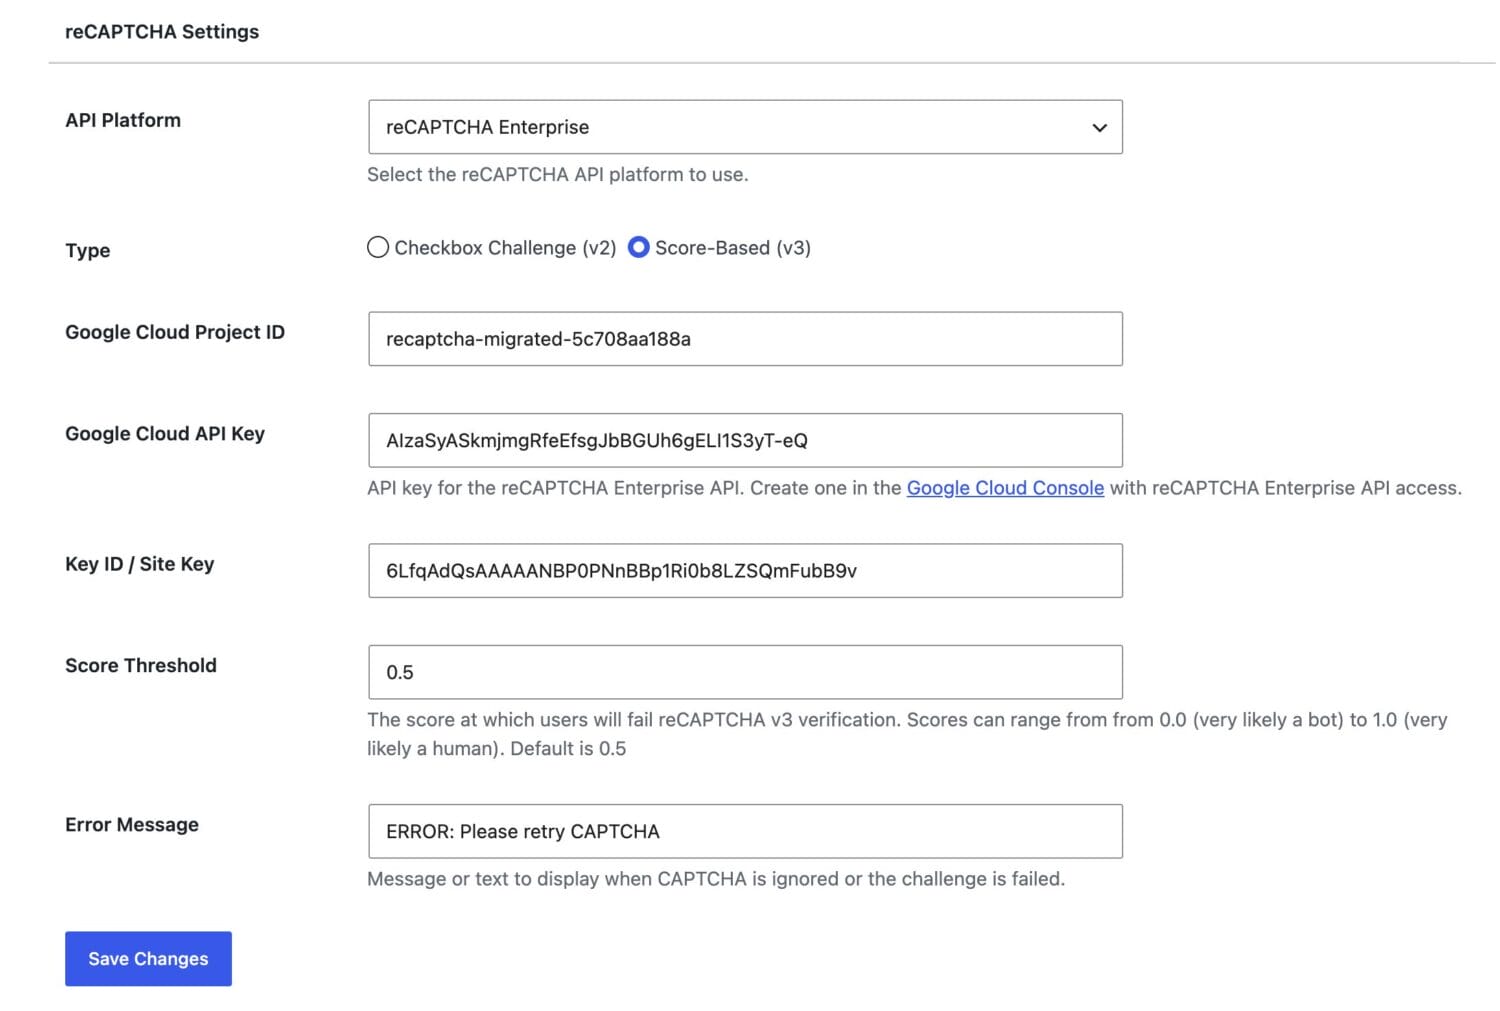
Head to ProfilePress>>Settings>>reCAPTCHA and follow these steps.
- Select the API platform. Options are reCAPTCHA Enterprise (recommended) and Classic.
- Select reCAPTCHA type – Checkbox challenge (v2) or Score-Based (v3).
- Enter your Google Cloud Project ID, API Key, and Key ID if using reCAPTCHA Enterprise or your Site and Secret keys if using reCATCHA Classic.
- Set the score threshold if using Score-Based (v3) type. Scores can range from 0.0 (very likely a bot) to 1.0 (very probably a human). Default is 0.5
- Set the error message—the message or text to display when CAPTCHA is ignored, or the challenge is failed.
Adding reCAPTCHA to your WordPress forms
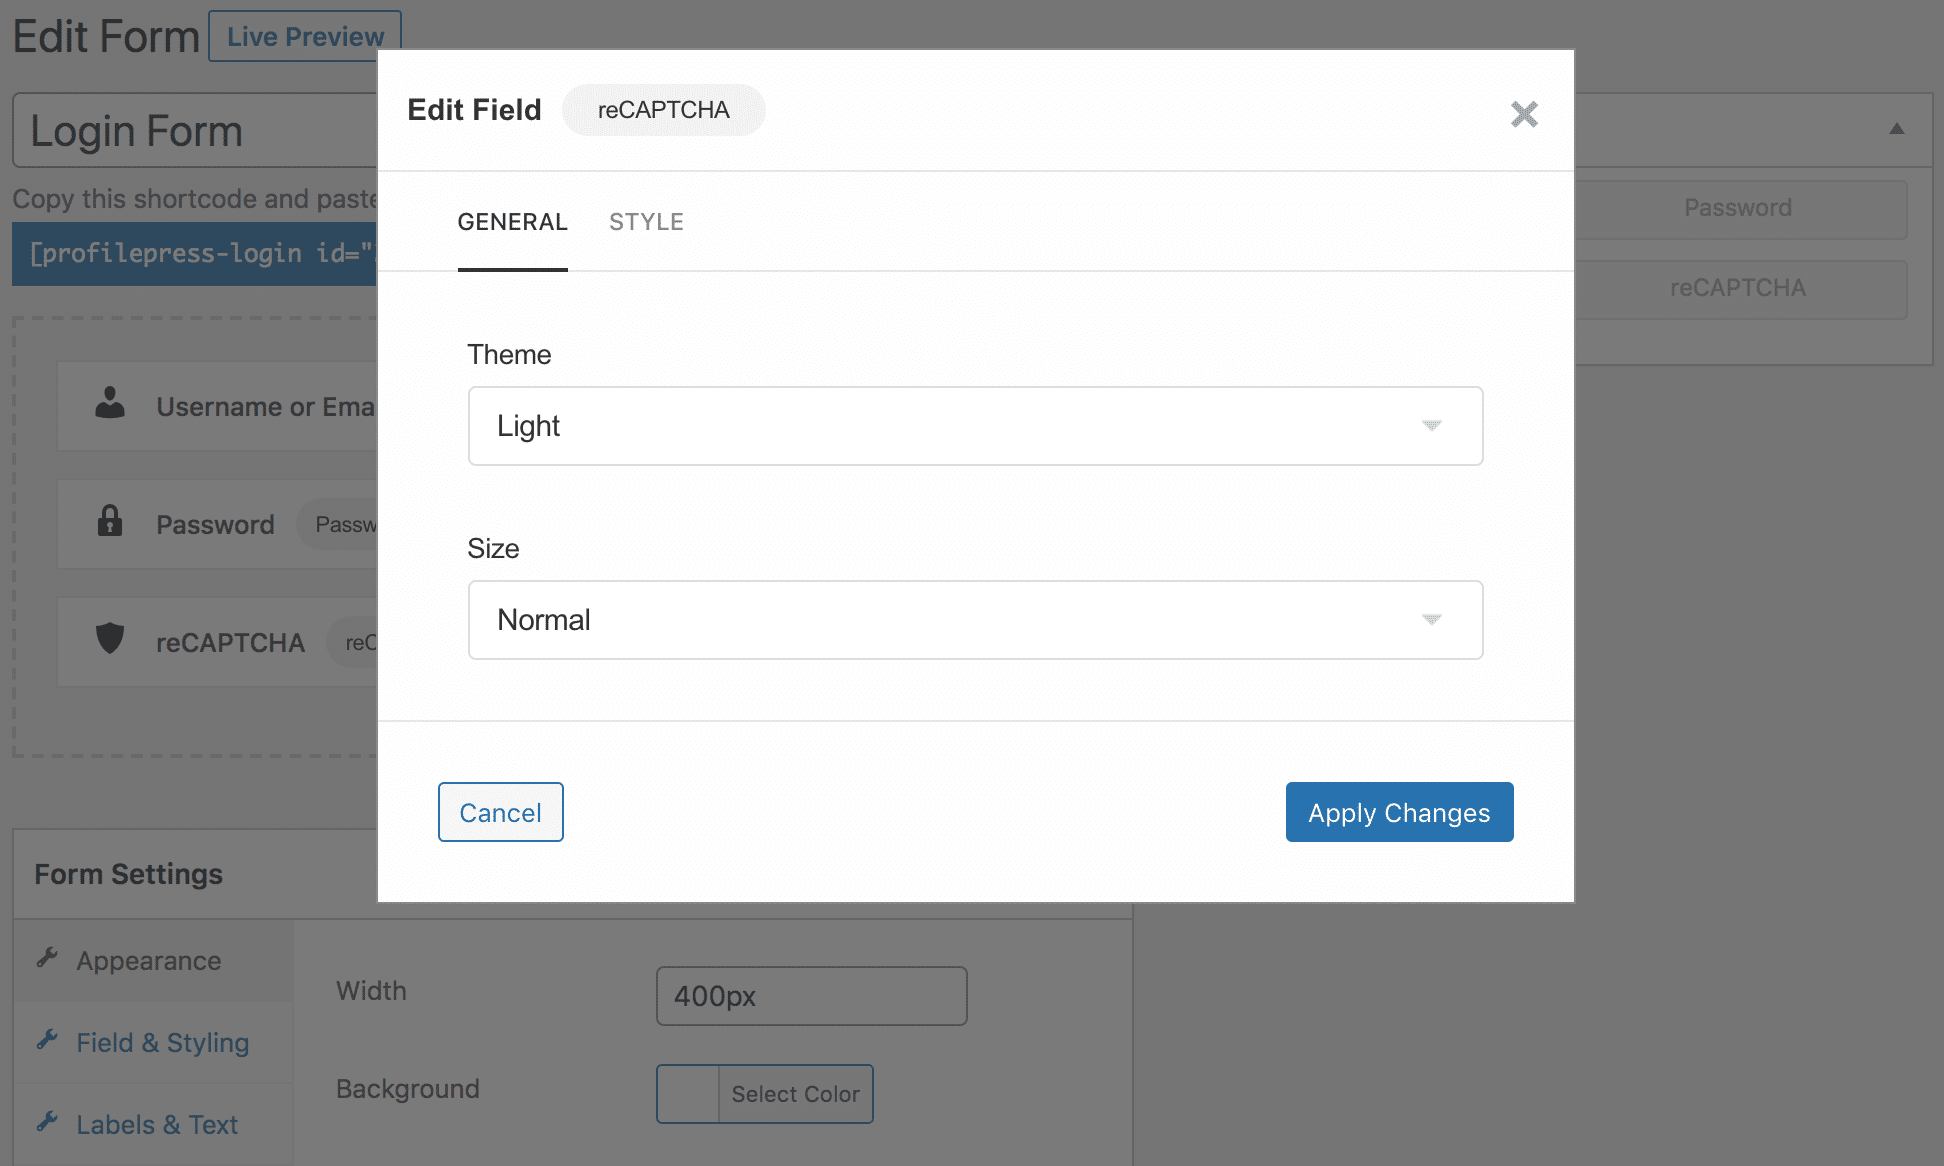
To add reCAPTCHA to your login, registration, and password reset forms, click on the form title to open up the form builder.
If using the Drag-and-drop builder, add the reCAPTCHA block to the form.
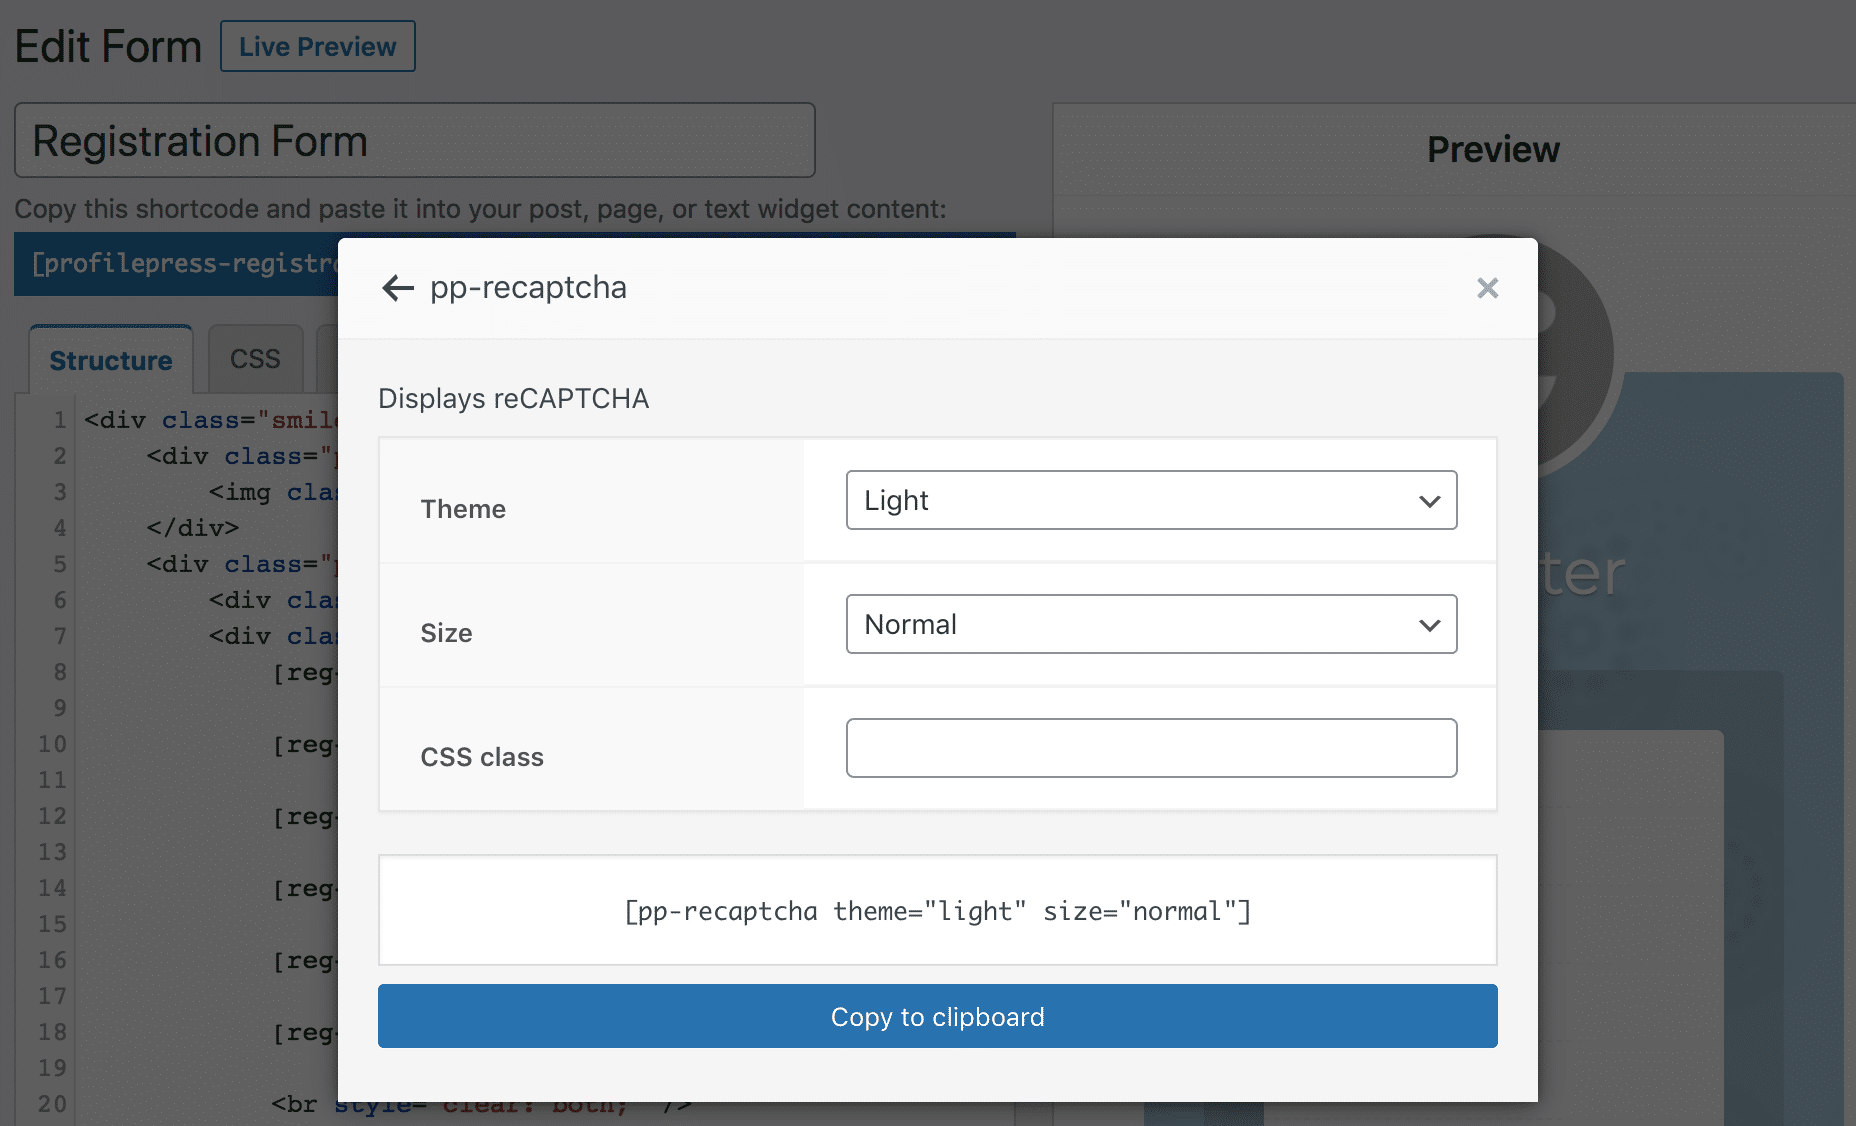
If using the shortcode builder, add the reCAPTCHA shortcode to the form.
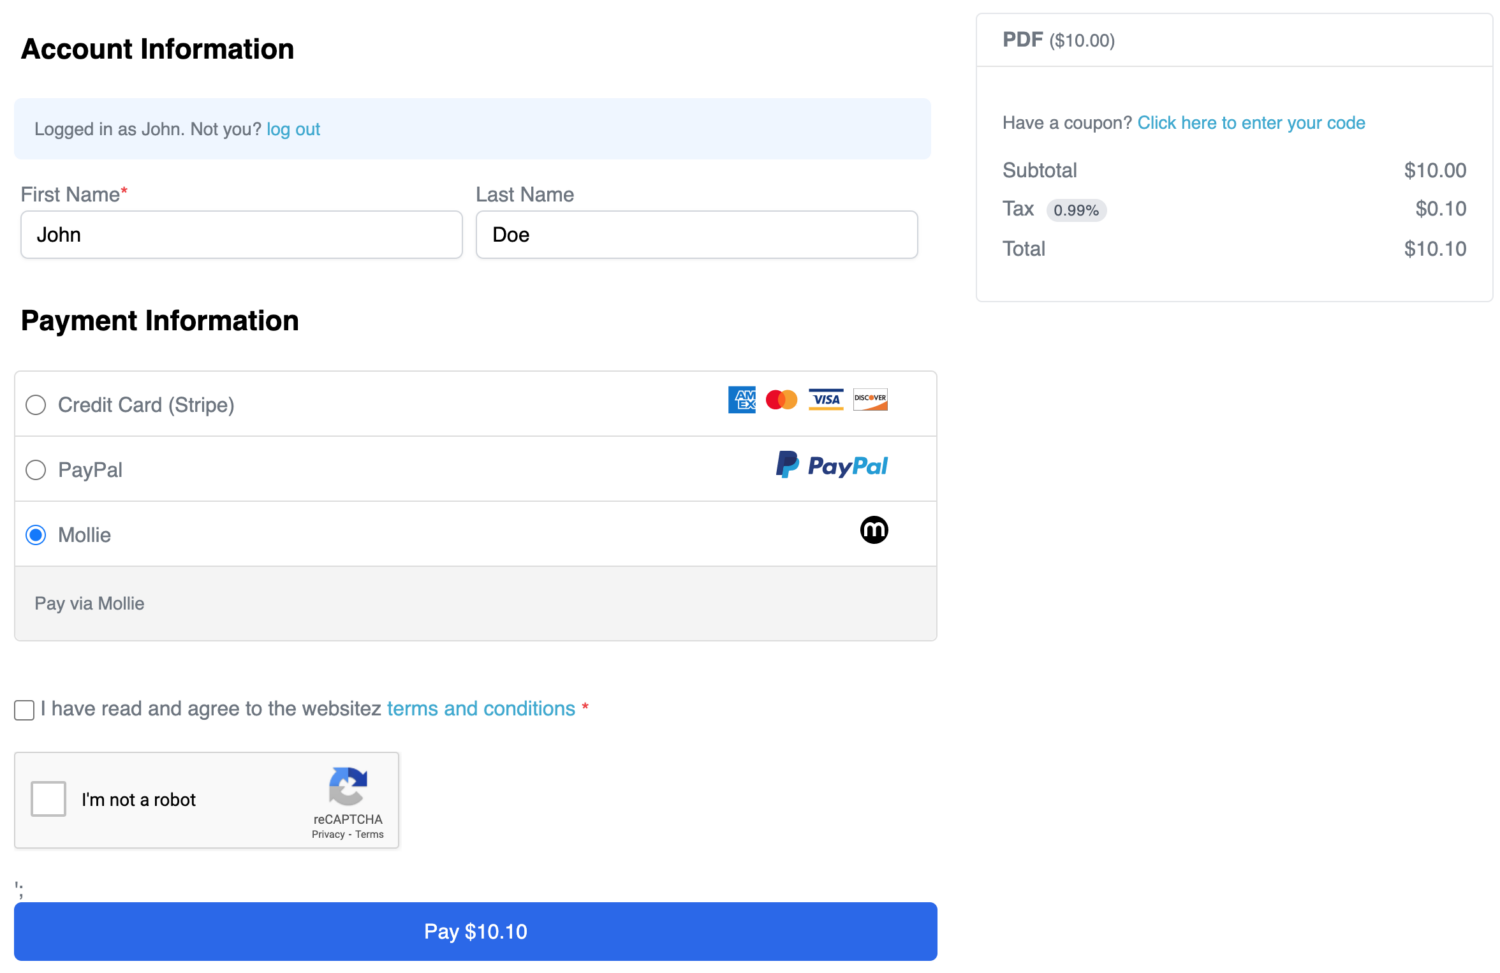
Adding reCAPTCHA to your Checkout Form
To add reCAPTCHA to the checkout to prevent credit card fraud and other forms of checkout abuse, go to Settings >> Payments >> Checkout Settings and enable the “Checkout reCAPTCHA” setting.
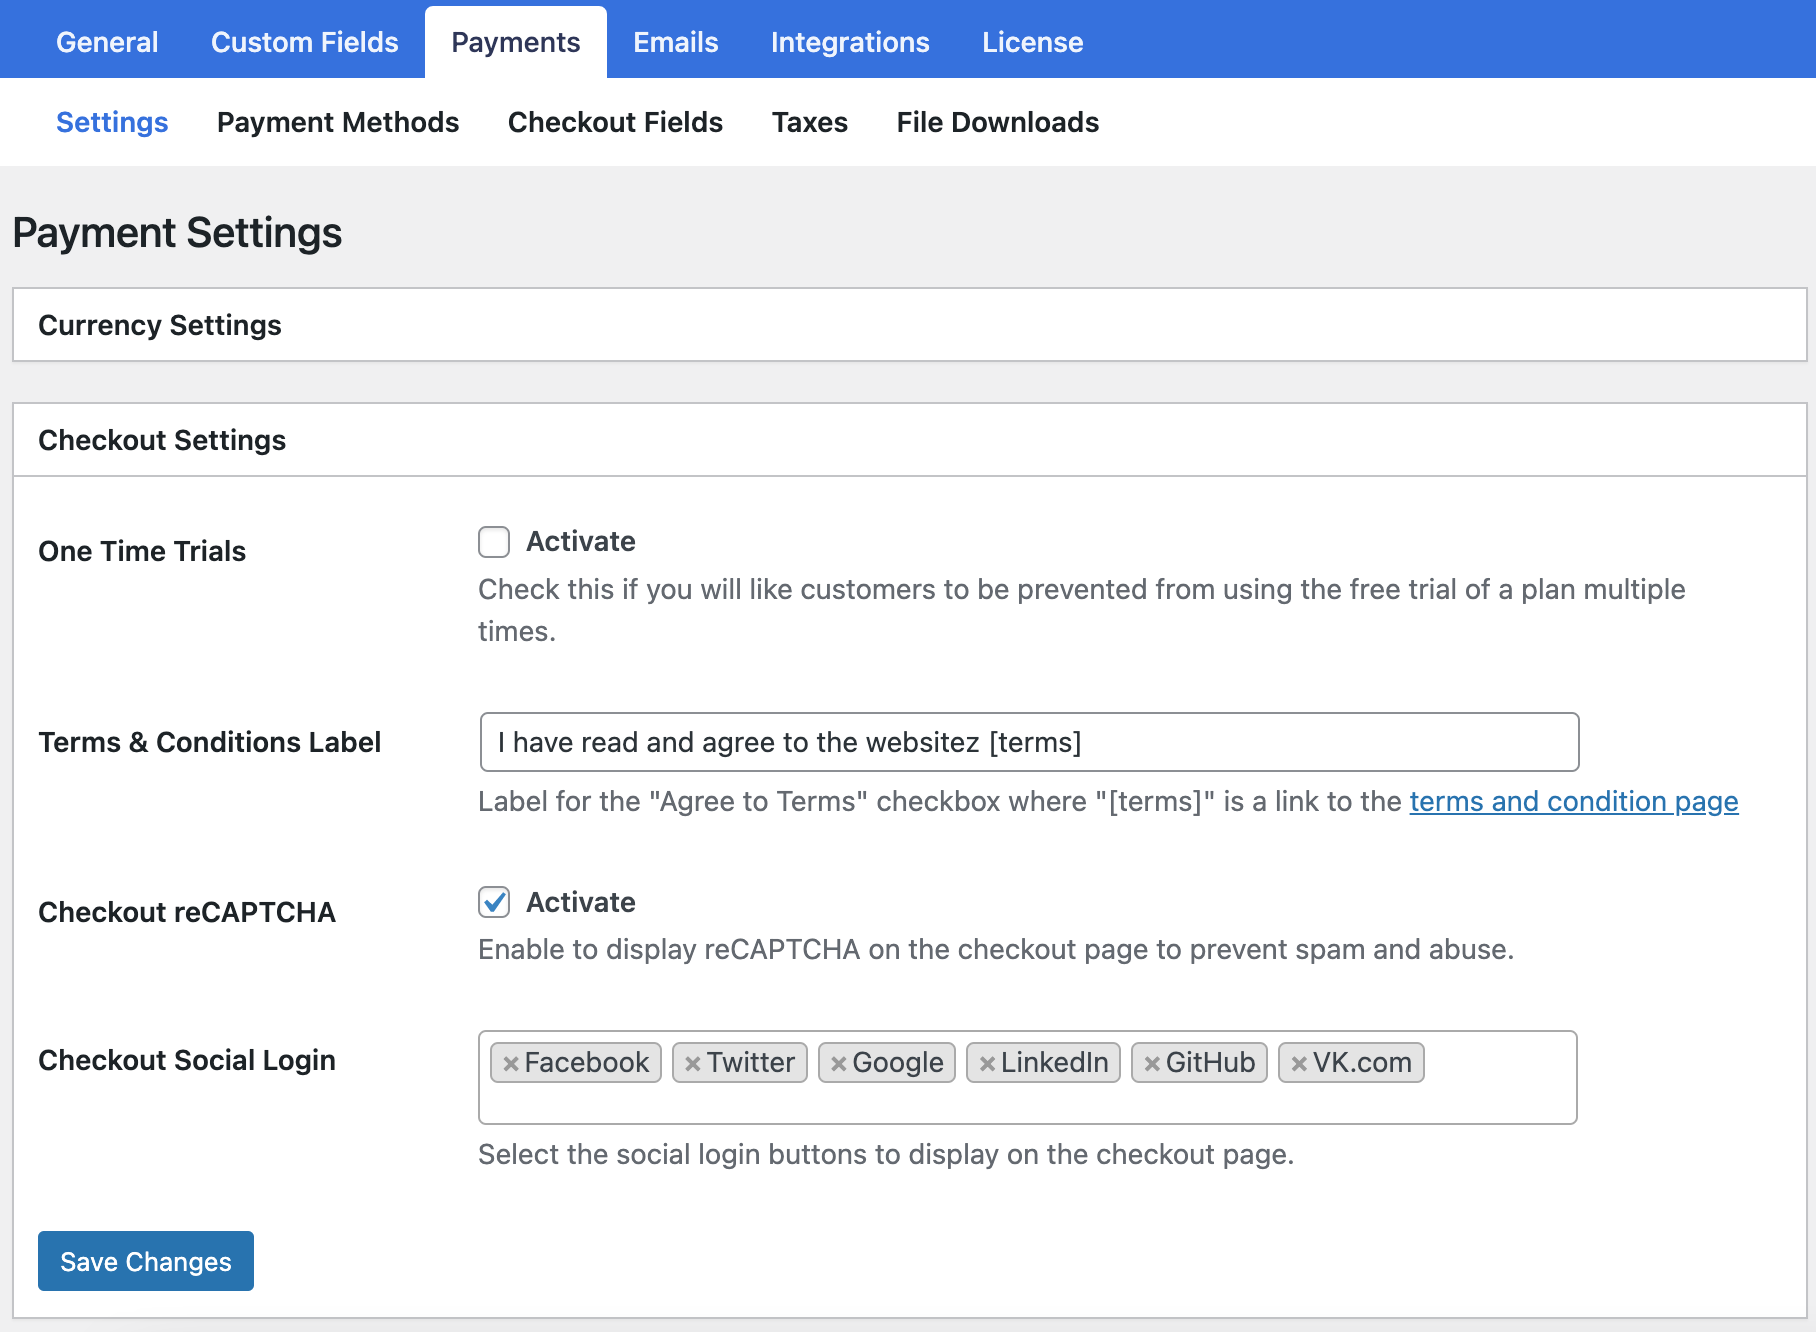
Don’t forget to save your changes.
Secure Your WordPress Site with Google reCAPTCHA.
Don’t leave your WordPress site vulnerable to spam and bot attacks any longer. By implementing reCAPTCHA on your registration and login forms, you’re taking a crucial step towards fortifying your website’s security.
Activate the ProfilePress Google reCAPTCHA addon today, configure your settings, and safeguard your forms. Your users will appreciate the enhanced security, and you’ll enjoy peace of mind knowing your site is better protected against automated threats.