Creating a Custom Student Registration Form for Tutor LMS
Do you want to create a custom WordPress registration form for registering Tutor LMS students?
In the realm of online learning, creating a seamless and engaging user experience is paramount. As e-learning platforms evolve, the demand for tailored registration processes and personalized user interactions is growing. One platform that has gained popularity recently is Tutor LMS, a powerful learning management system designed to facilitate online education.
In this article, we will explore the process of building a custom student registration form for Tutor LMS, empowering educators to gather the necessary data and streamline the enrollment process. By customizing the registration form, you can enhance the user experience, create a sense of personalization, and ensure that students provide the information needed to deliver a tailored learning experience.
Building a Custom Student Registration Form for Tutor LMS
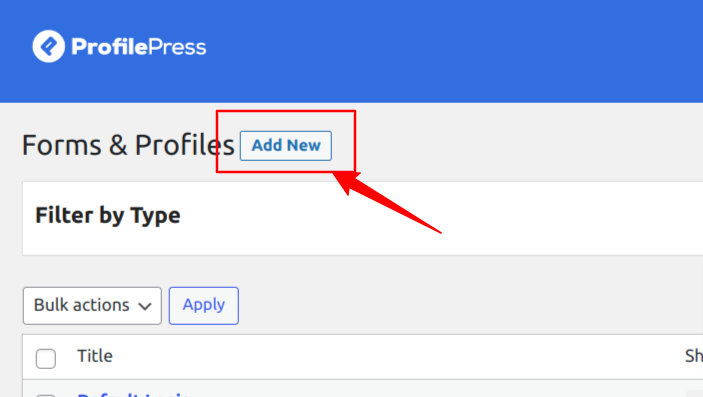
Navigate to ProfilePress>>Forms & Profiles and click the Add New button.
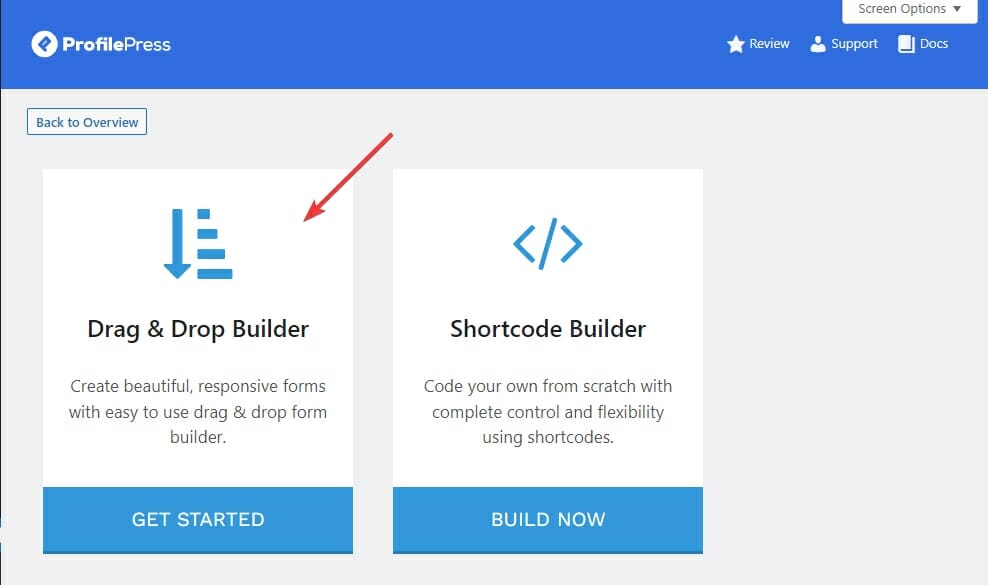
Here, you can choose between the Drag & Drop Builder and the Shortcode Builder. In this section, we will cover using the Drag & Drop Builder, so go ahead and click on the “Get Started” button beneath it.
Type in the desired name for your form and click on the Registration tab.
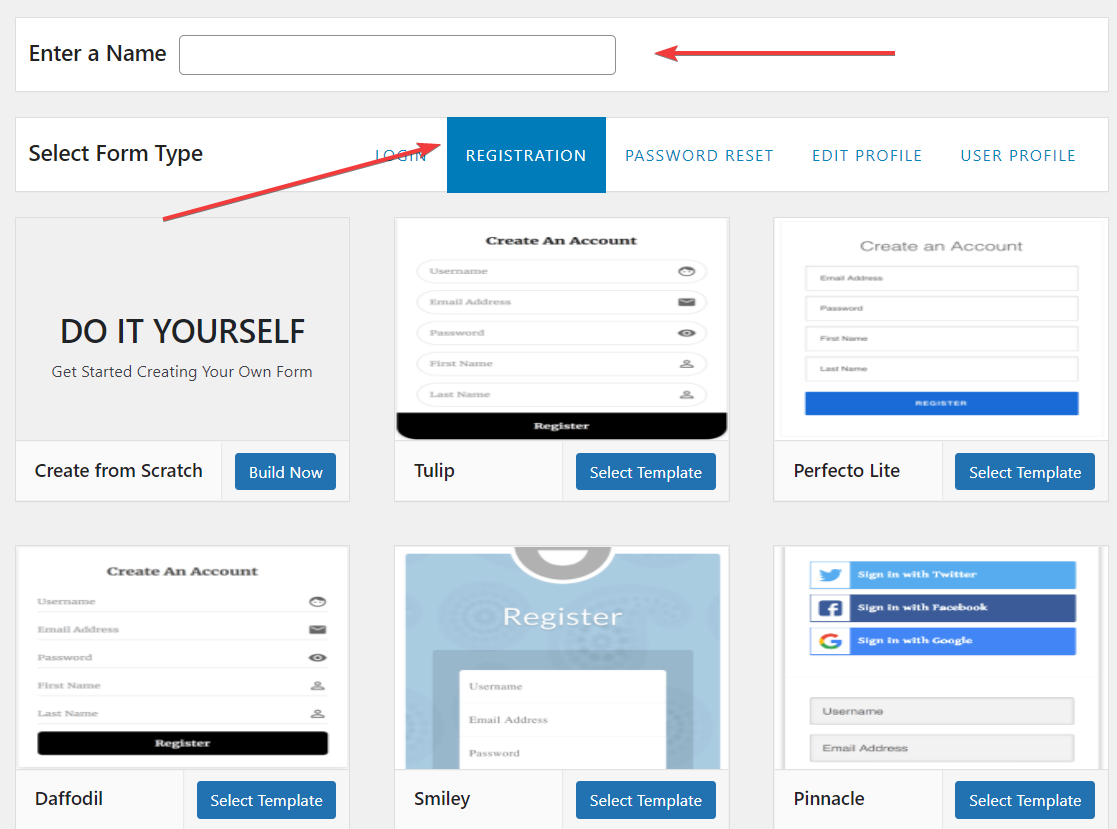
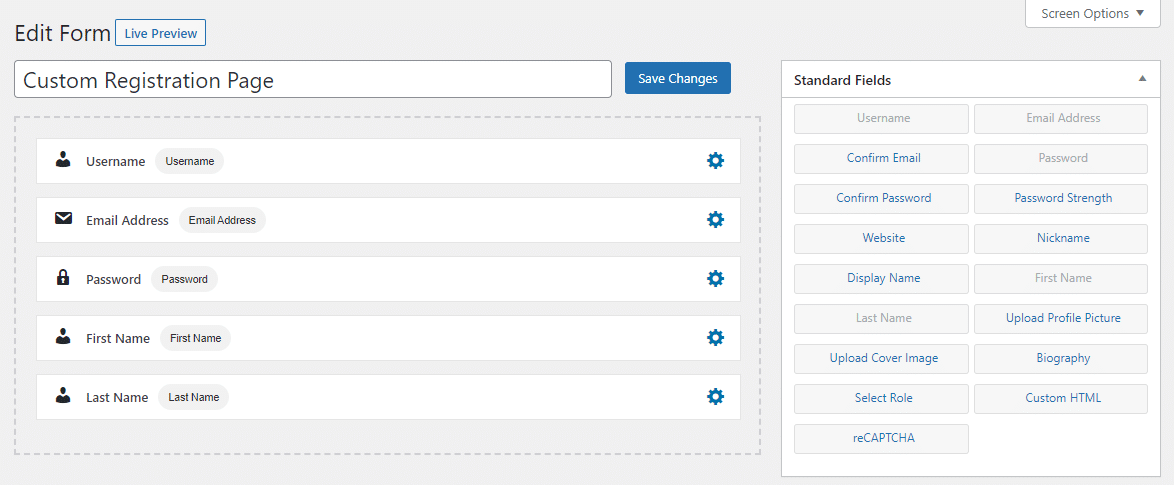
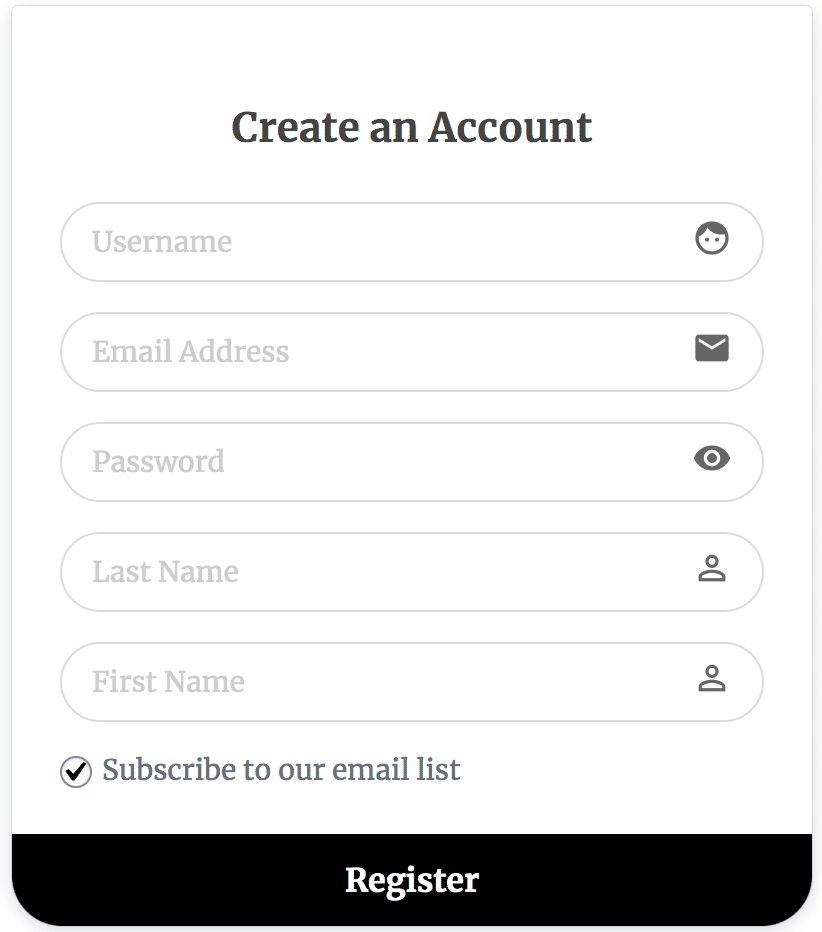
Next, select your desired template and use the drag & drop builder to customize the form using the intuitive drag & drop builder.
This powerful tool allows you to effortlessly rearrange the form elements, such as text fields, checkboxes, dropdown menus, and more, simply by dragging and dropping them into place.
If you activate the custom fields addon, you can create and add custom registration fields to the form to collect additional profile information from the registering students.
You can preview how the form will look by clicking on the “Live Preview” button.
Customize Your Form’s Settings
In Form Settings, you can completely customize various aspects of your form to align with your preferences. You can effortlessly modify the form headline to craft a compelling message that resonates with your users.
You can modify the form headline, colors, button labels, and registration settings. You can also select the user role to assign to the new users and disable the username requirement.
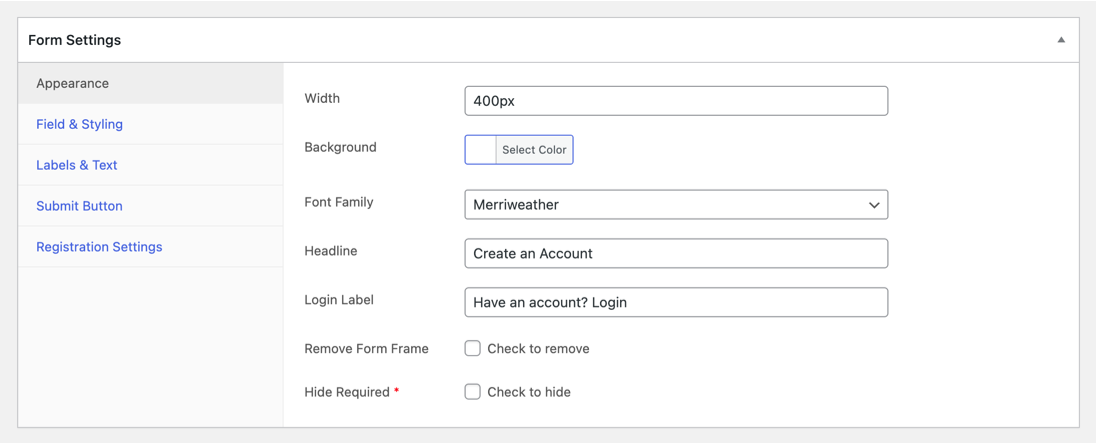
Additionally, you can fine-tune the colors and appearance of the form elements to match your website’s branding and aesthetic. You can tailor the button labels according to your desired call-to-action, encouraging users to complete the registration process with clear and persuasive instructions.
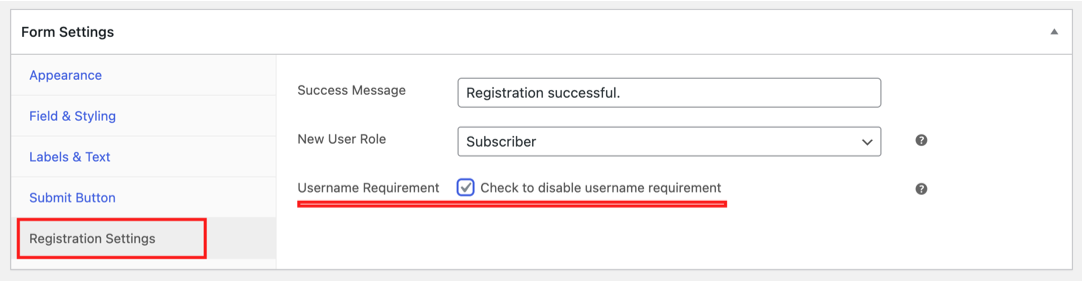
The Form Settings also grant you control over crucial registration settings. You can specify the user role that new registrants will be assigned, allowing you to segment and manage your user base effectively. Moreover, if you prefer not to require a username during registration, you can turn off this requirement, streamlining the process and simplifying the user experience.
Once you have finished customizing your form, click on the “Save Changes” button to save your form.
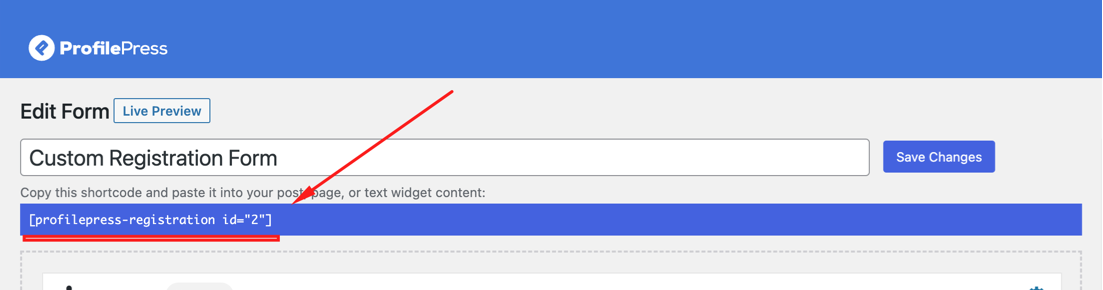
After saving the form, copying the shortcode conveniently displayed directly below the form title is crucial. This shortcode will be used in the next step, allowing you to seamlessly embed the form into any desired location on your website.
Creating the Custom Student Registration Page
To showcase your newly created custom registration form on your WordPress website, you’ll need to embed it into a new page. Follow these step-by-step instructions to create a new page:
In your WordPress dashboard, go to Pages>>Add New

Type in a suitable name for the registration page. If you use the block editor, click the plus icon and search for a ‘shortcode’.
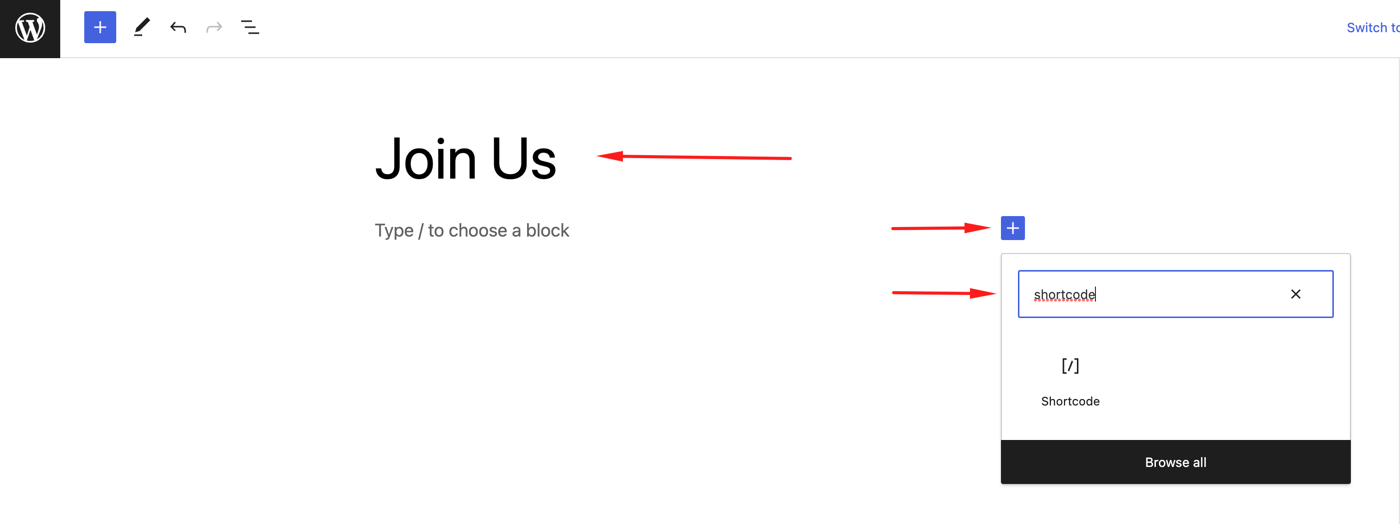
Click on the shortcode icon to insert the shortcode block on the page. Then, paste the custom registration form shortcode you previously copied above.
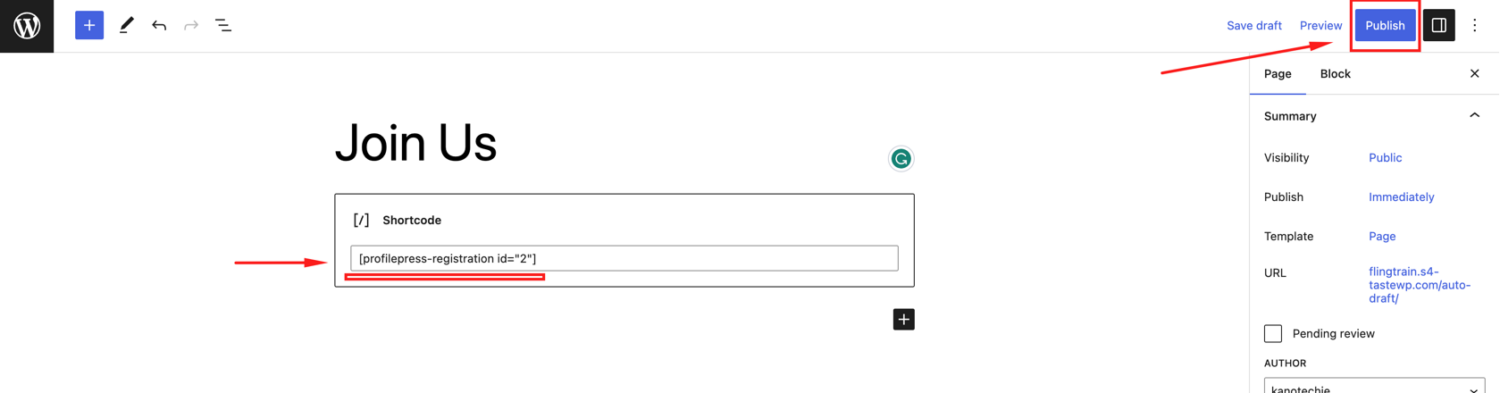
Click on the ‘Publish ‘button to save your page.
Overriding Tutor LMS Default Student Page
To make the page, we recently created the default student registration page for Tutor LMS; follow the guide below.
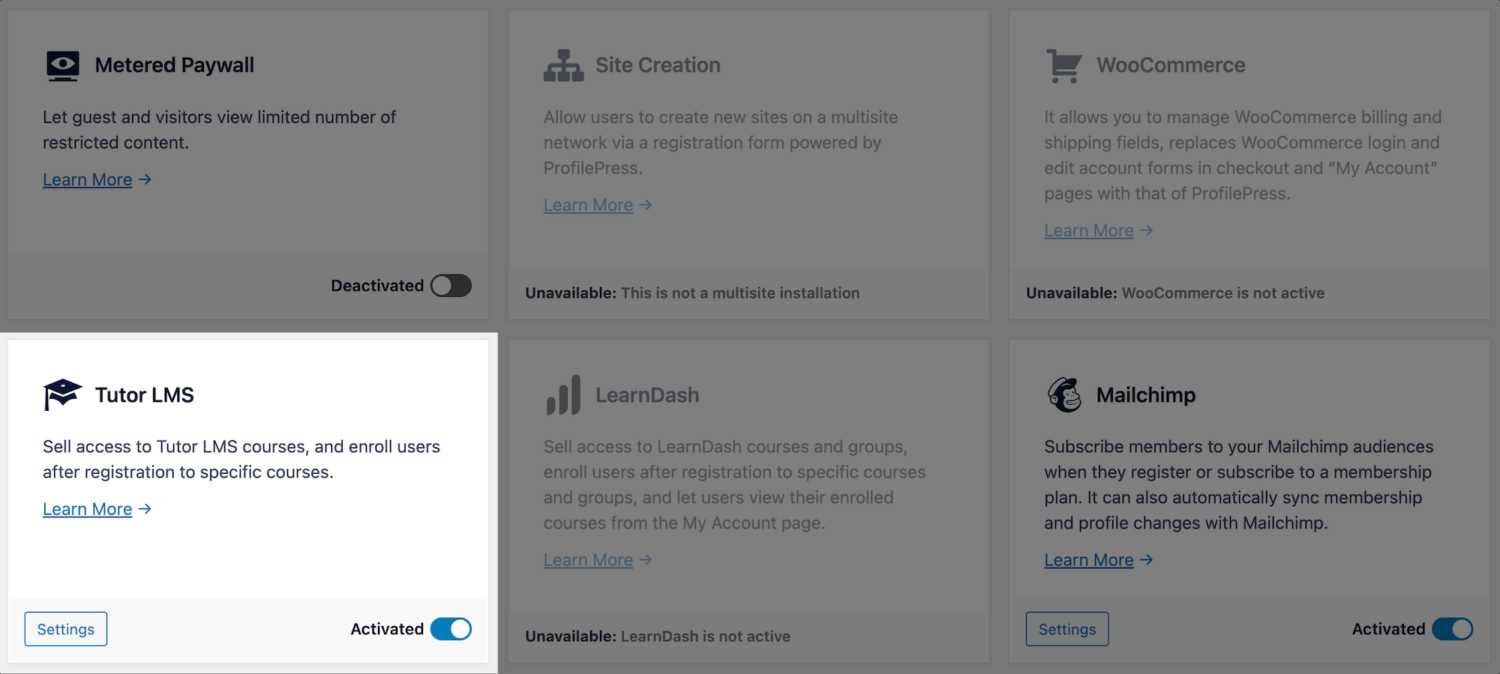
Firstly, ensure the Tutor LMS addon is enabled.
Navigate to ProfilePress >> Settings >> Tutor LMS and select the created student registration page at the “Custom Student Registration Page” setting.
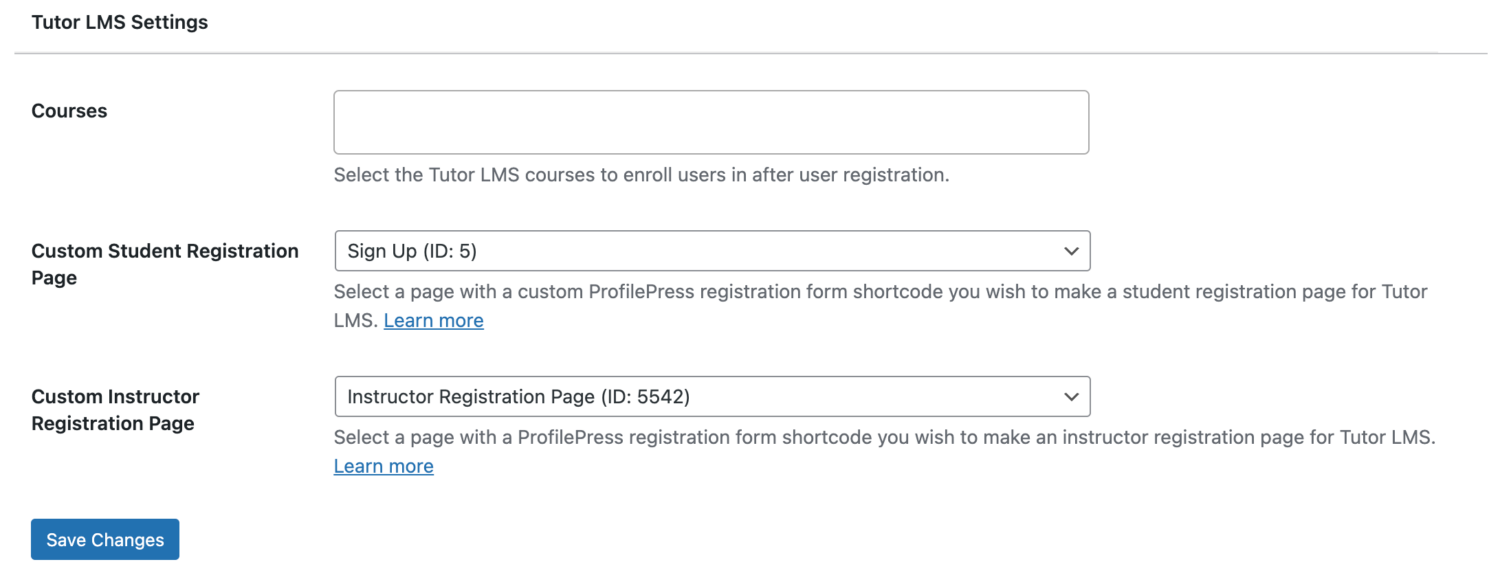
Save your changes when done.
In conclusion, you can tailor your student WordPress registration forms to your specific requirements by harnessing the flexibility and extensive features of ProfilePress, ensuring a seamless and personalized student experience.