Creating Plan Groups & Everything You Need to Know
Plan Groups is a feature in ProfilePress that lets users select a membership plan from a list of plans to purchase during checkout. It also prevents members from inadvertently subscribing to more than one plan at a time since they can only subscribe to one plan in a Plan Group.
Plan Groups also allow members to switch (upgrade & downgrade) between plans in the same group.
Creating Plan Groups
In your WordPress dashboard, go to ProfilePress > Membership Plans >> Groups and click the Add New button to create a new group.
Enter a name for the group and select the membership plans you would like to include in it.
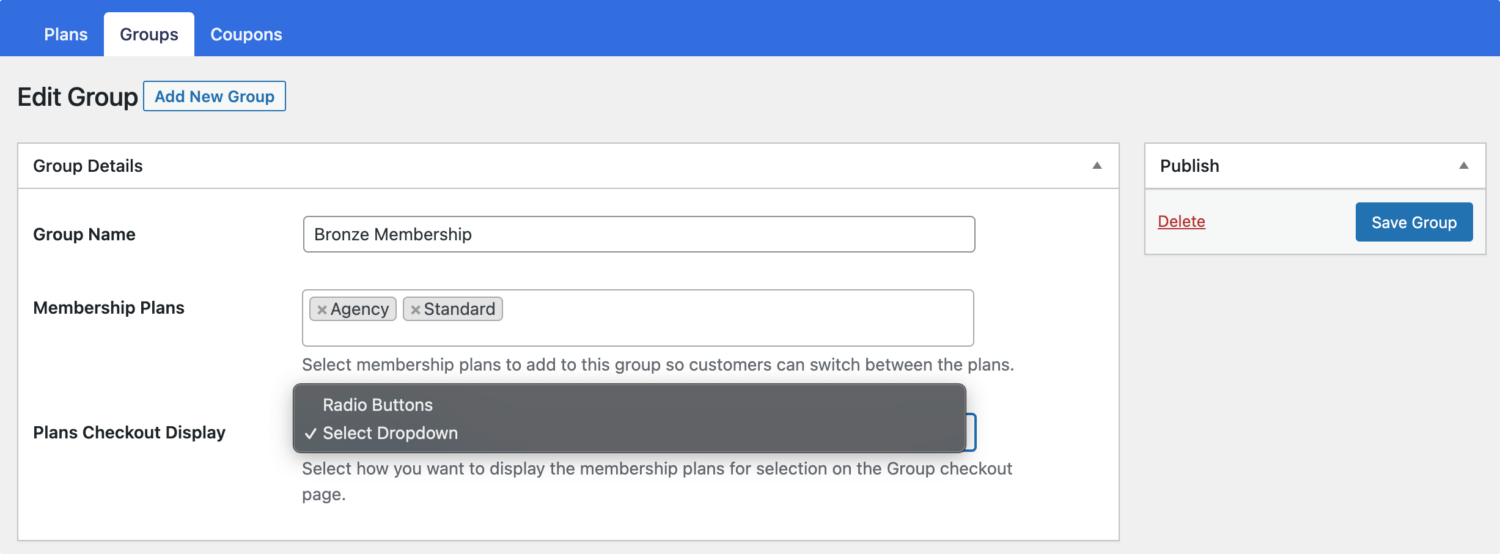
You can also choose how the membership plans will be displayed on the group checkout page. Available options are Radio buttons and Select Dropdown field types.
Finally, save your changes.
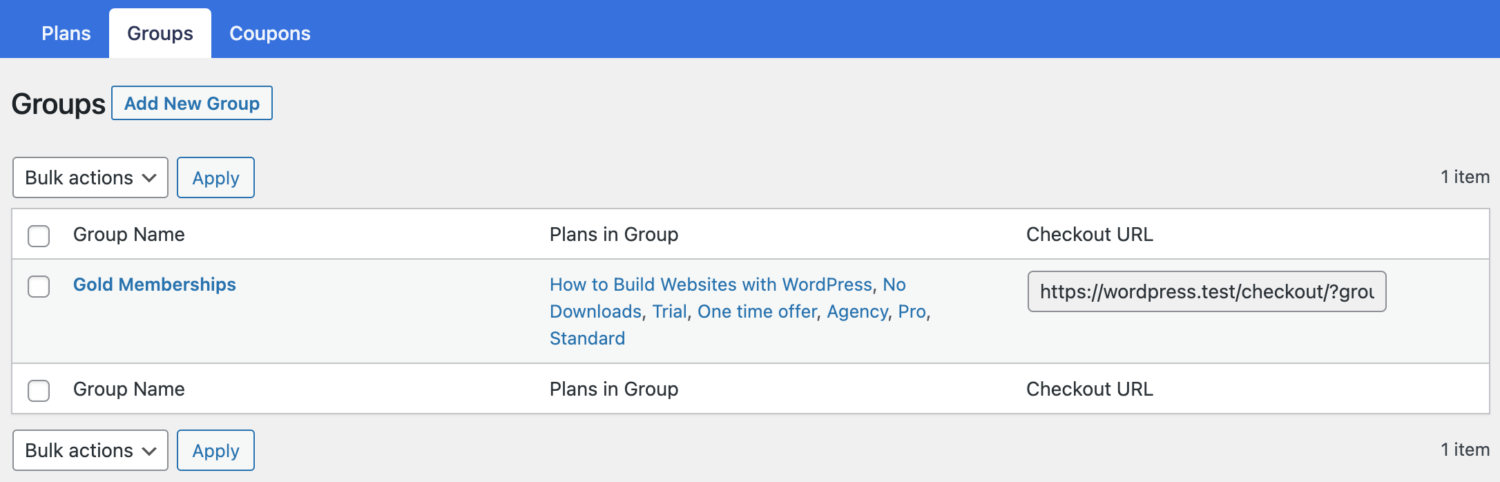
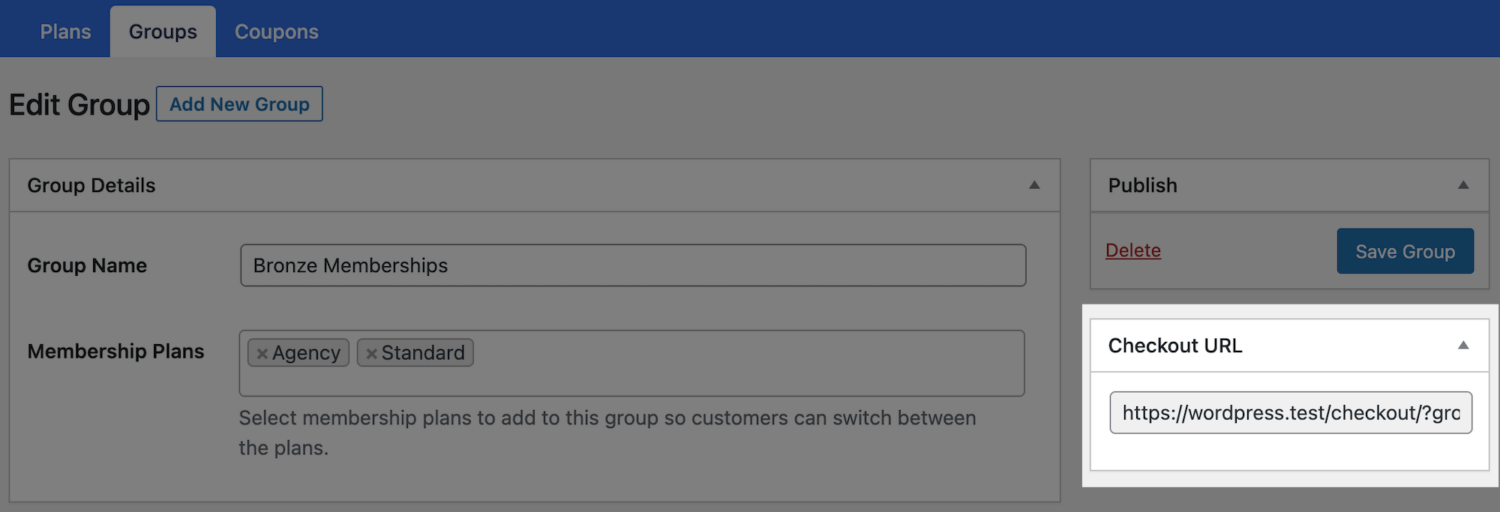
Group Checkout
When you create a group, a corresponding checkout URL is also created so your users, members, or customers can select a membership plan to purchase from the list of plans during checkout.
You can send the checkout URL via email or text to your prospective customers or add it to the pricing page of your membership or e-commerce website.
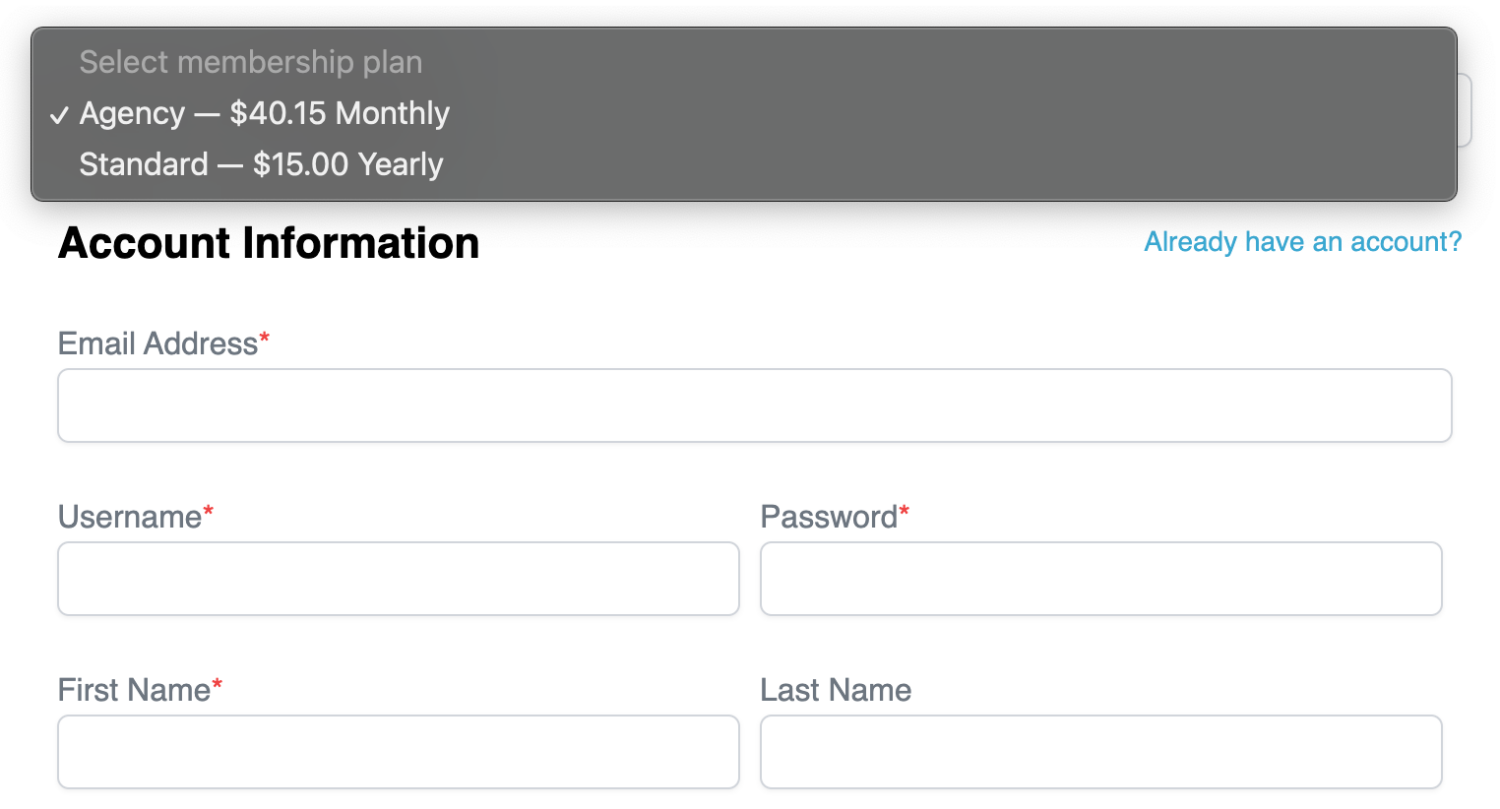
Below is a preview of the Group checkout page.
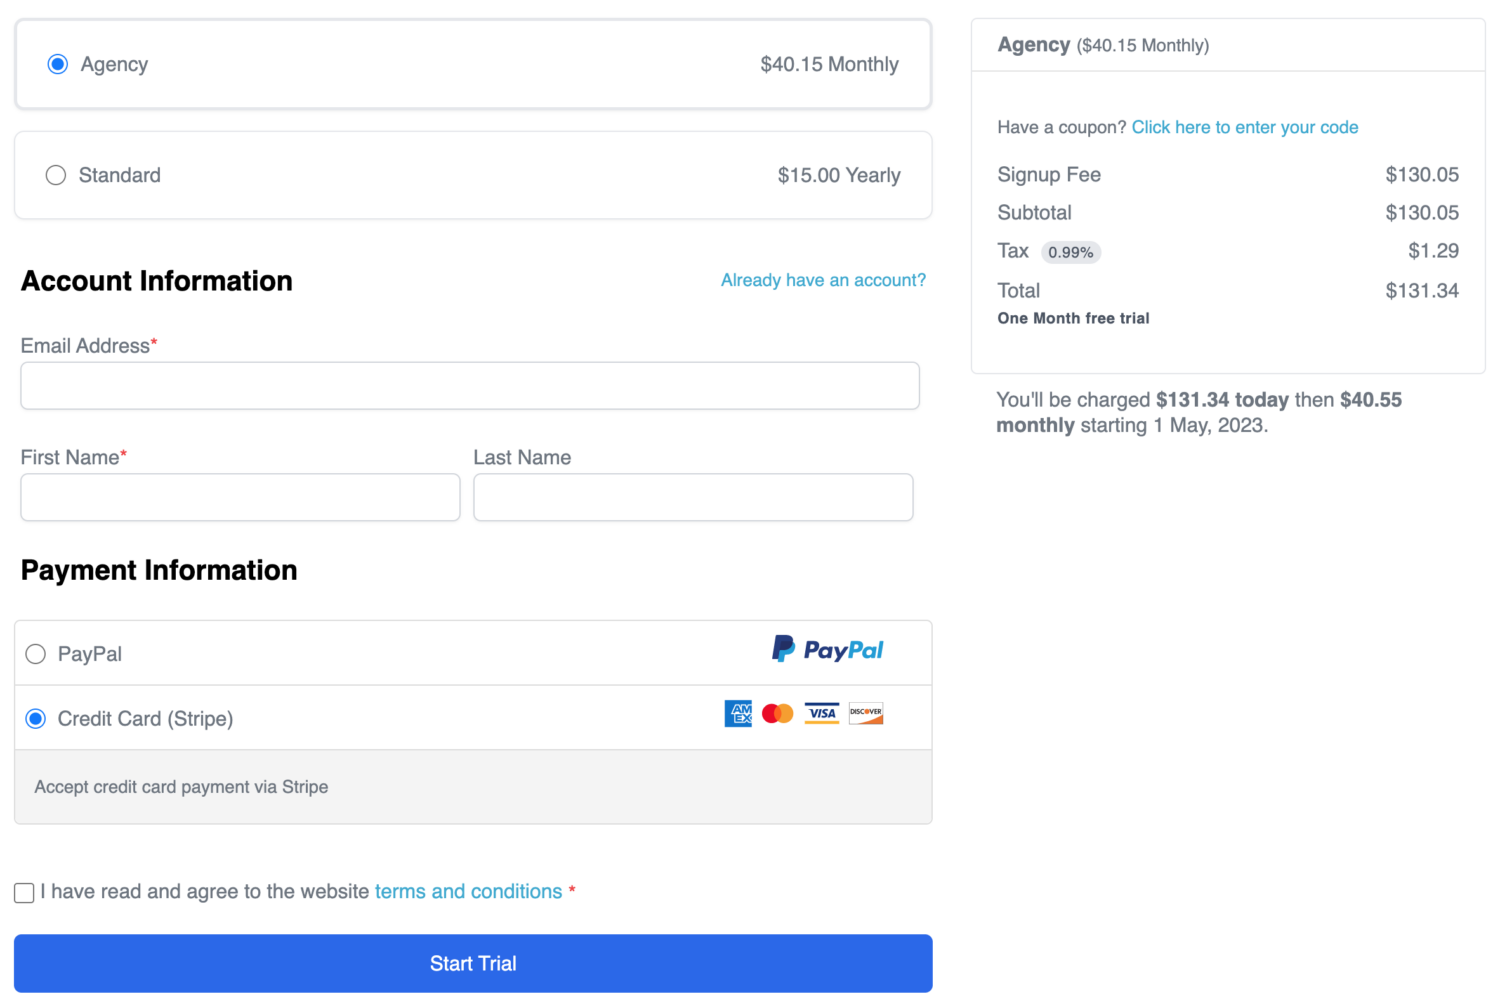
Below is a preview of the membership plan selection displayed as a select dropdown field.
To make a specific plan selected by default in a group checkout, add the query parameter &default=22 where 22 is the plan ID to make selected by default. Below is a complete URL example.
https://yourwebsite.com/checkout/?group=55&default=22Switching Plans (Upgrades & Downgrades)
When a user is upgrading to a plan that costs more than their current plan, the fee they pay would be prorated. That is, they only pay the price difference.
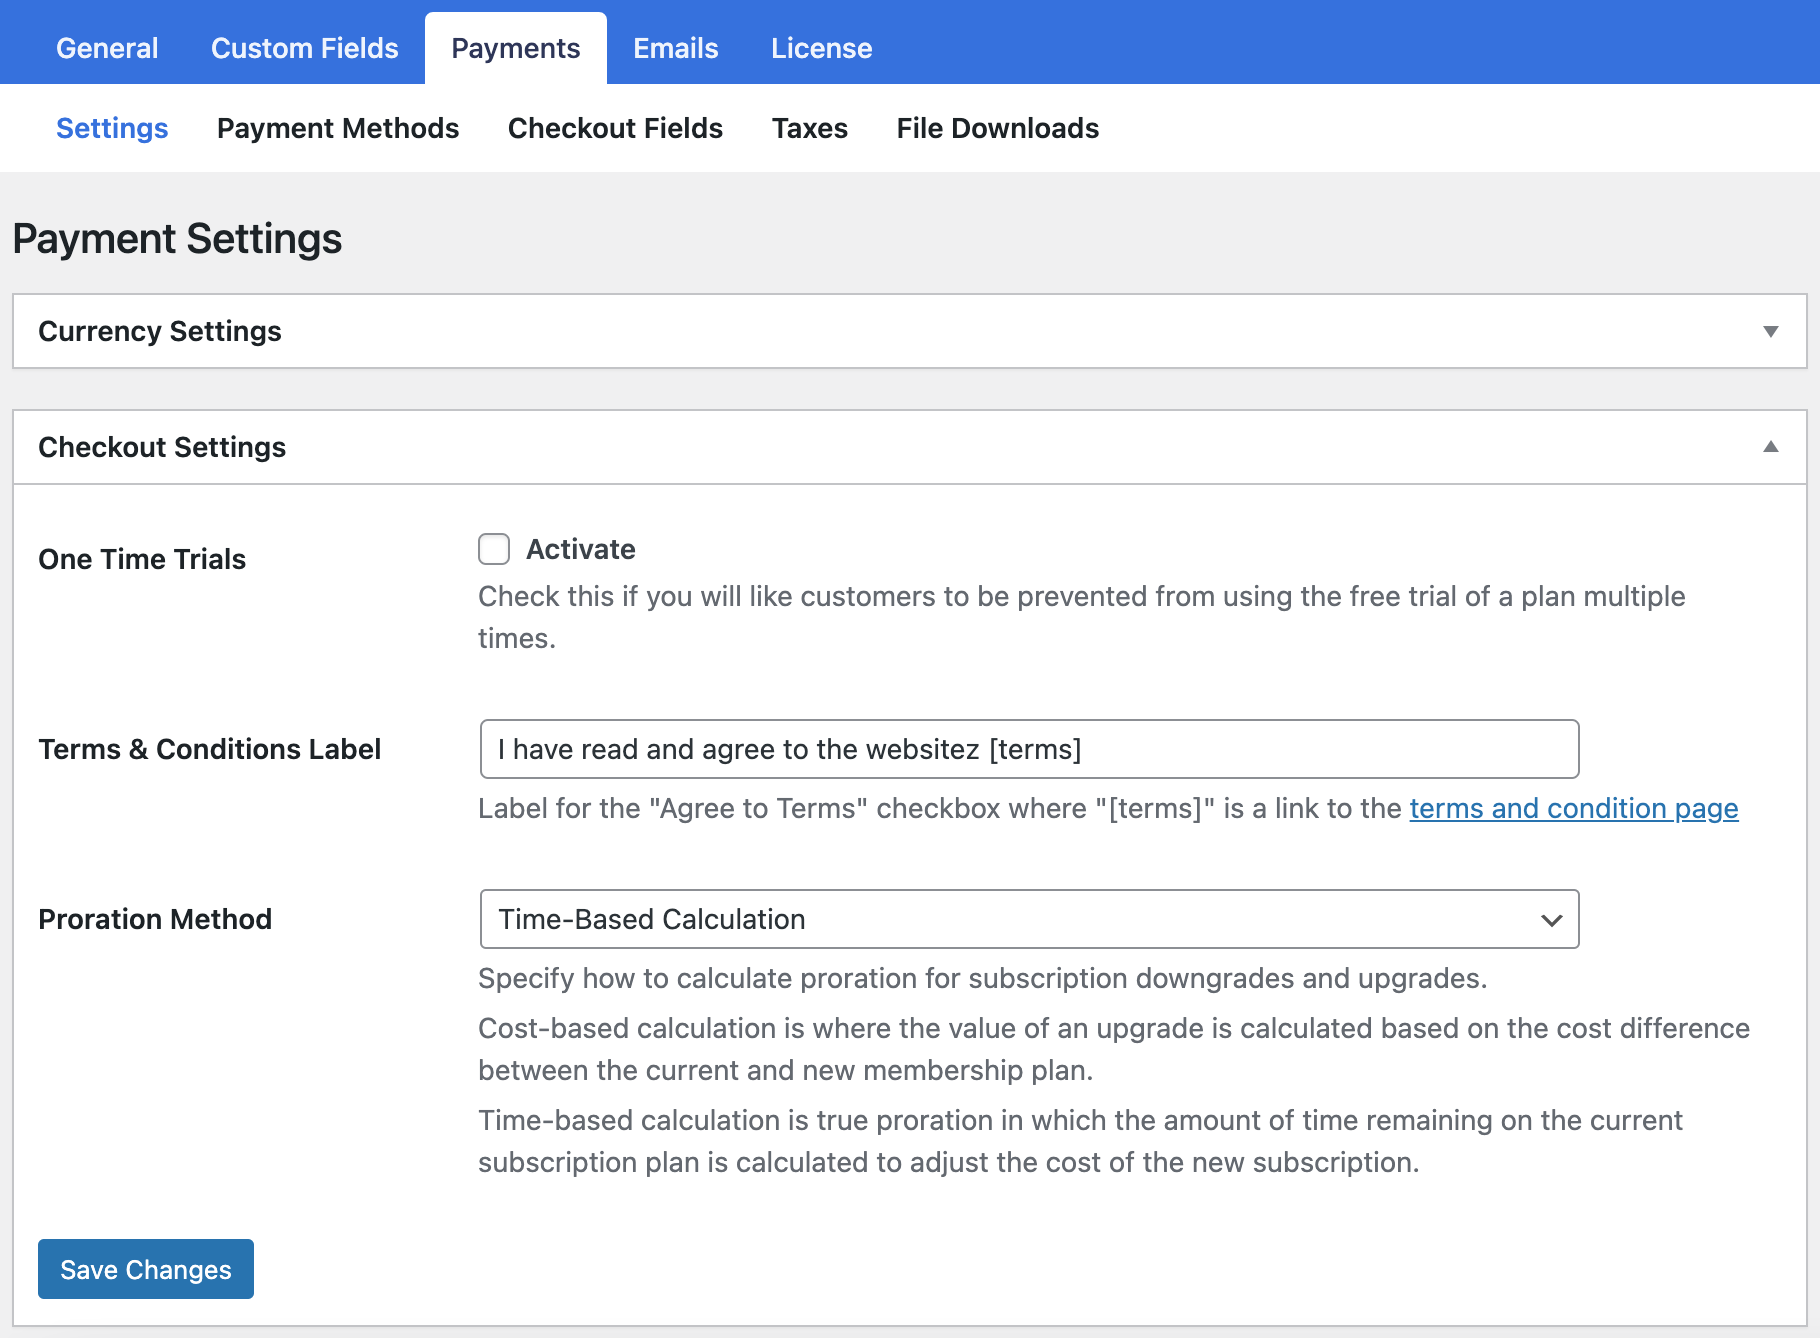
ProfilePress provides two proration methods, Time-based and cost-based calculations.
The cost-based calculation is where the value of an upgrade is calculated based on the cost difference between the current and new membership plans. While the time-based calculation is true proration in which the amount of time remaining on the current subscription plan is calculated to adjust the cost of the new subscription.
To configure the proration method to use on your membership or e-commerce website, go to ProfilePress >> Settings >> Payments >> Checkout Settings.
How Users Can Switch Plans
Your users can upgrade and downgrade between plans from the My Account page.
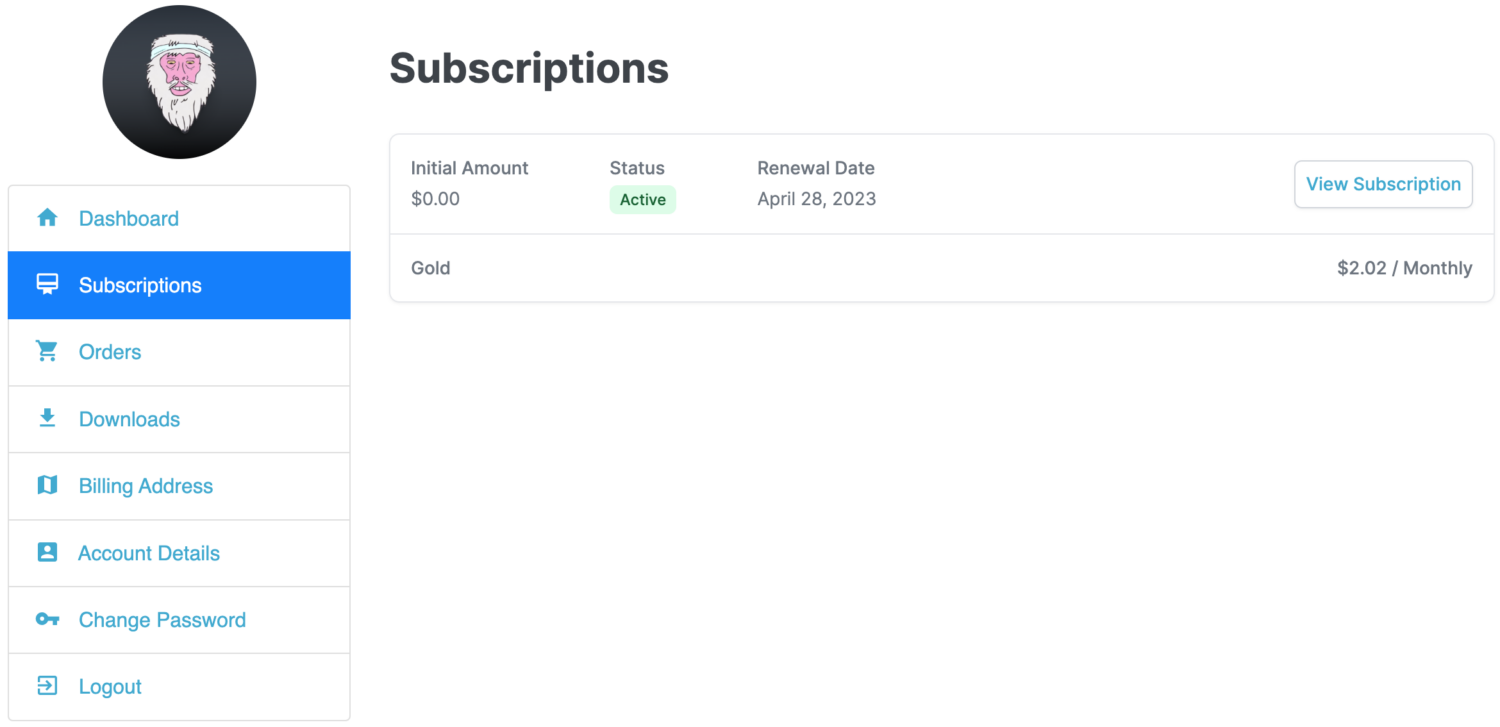
On the My Account page, they will need to click the Subscriptions menu item.
Next, they need to click on the “View Subscription” button on the subscription they want to switch from or upgrade/downgrade from.
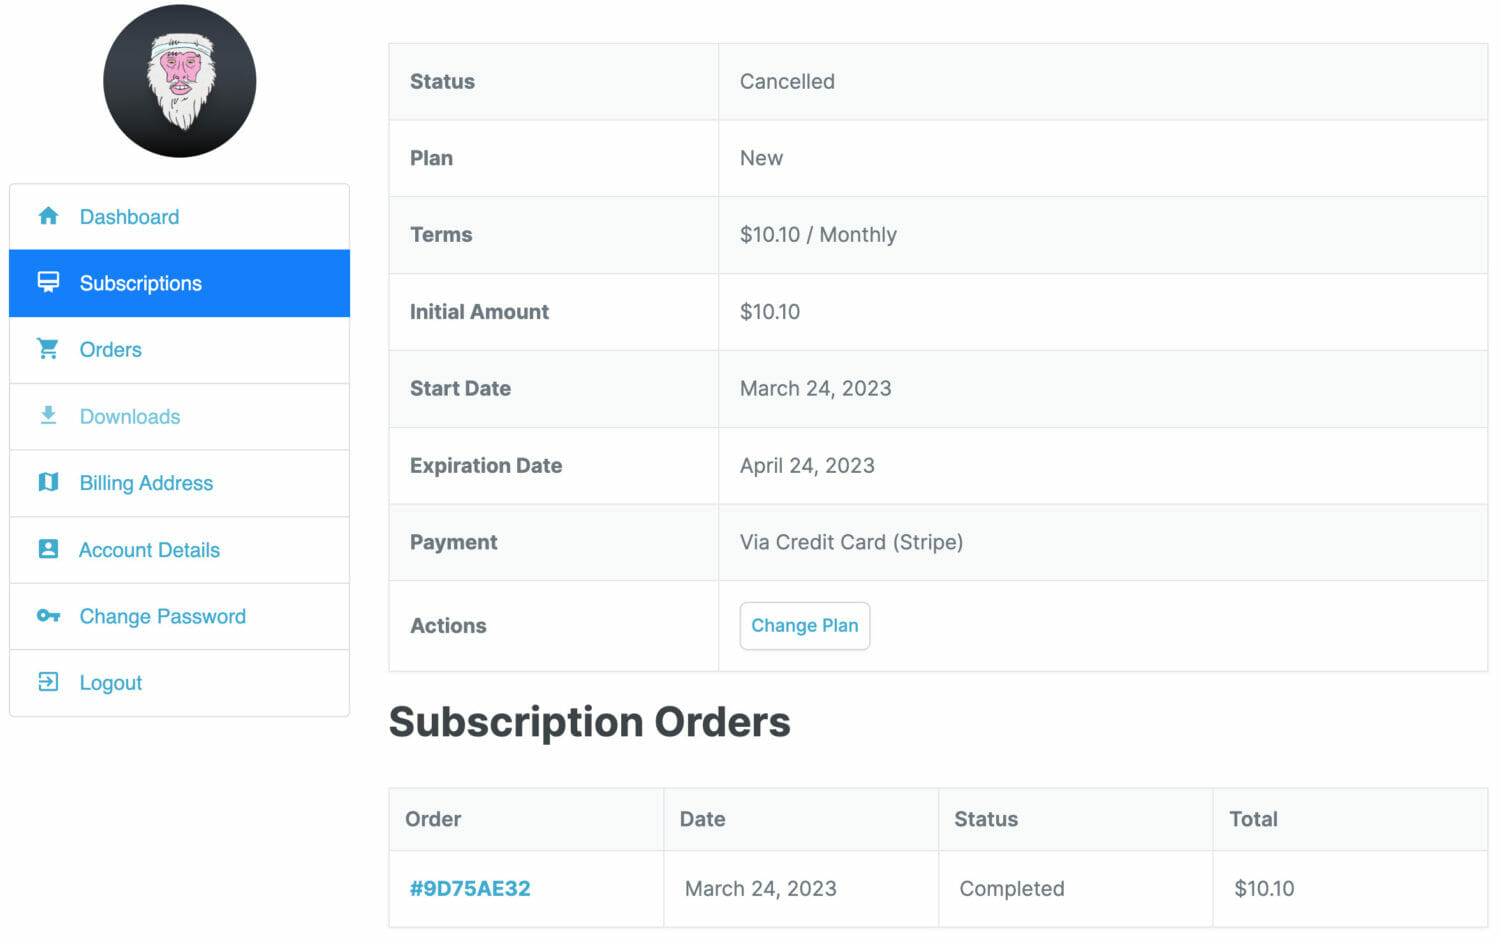
On the subscription page, they would see the “Change plan” button, which they need to click on that would redirect them to the checkout page where they can select a plan to upgrade to.
And below is the checkout page where they can select the plan to switch to.
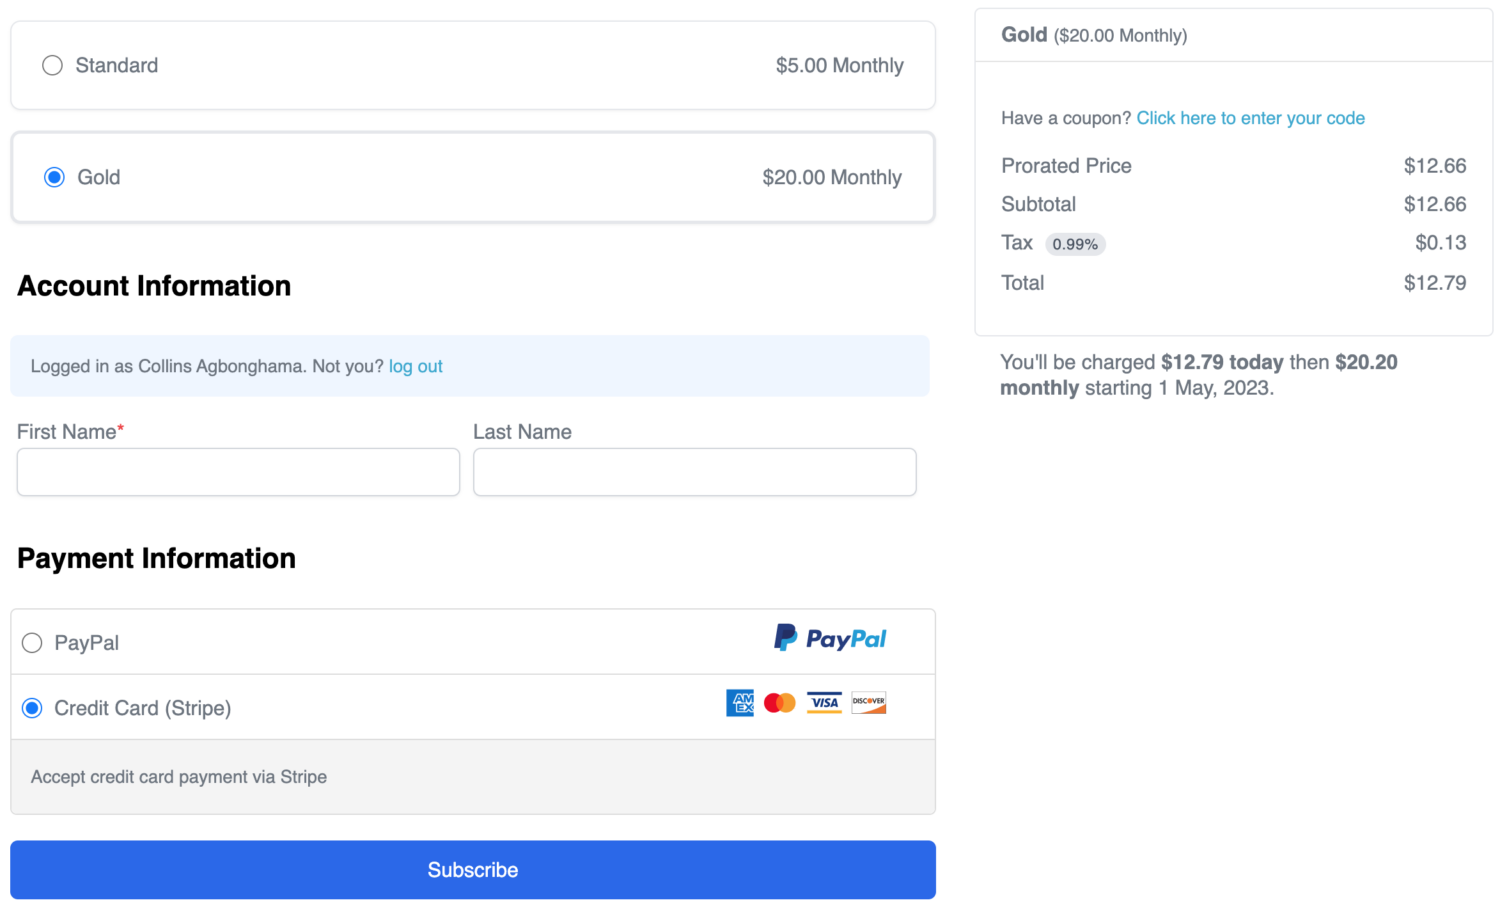
After they go through the checkout, their subscription to the previous membership plan would be canceled while they become active on the new membership plan.
If you have any questions, let us know.