How to Create a Pricing Table in WordPress
Looking for how to create a pricing table in WordPress to display and sell your membership plans?
In this article, you will learn how to create a pricing table using the Pricing Table by Supsystic WordPress plugin.
Let’s say we are selling a service or a product to the visitors of our demo site. Here’s what we need to do to get our online business up and running:
- Create Membership or Subscription Plans
- Build a Pricing Table
- Add Membership or Subscription Plans to the Table
- Create a Pricing Page
Before we examine each step in detail, we need to install and activate the pricing table plugin on our WordPress site.
Installing the Pricing Table WordPress Plugin
To create a pricing table in WordPress, log in to your website dashboard. Click on the Add New option under Plugins, then click on the Add New button at the top, and type in “Pricing Table by Supsystic” in the search bar.
When it appears in the search results, click on the Install button beside it and then the Activate button.

Creating Membership or Subscription Plans
You need a membership plugin to create membership or subscription plans. There are plenty of plugins out there, but very few match ProfilePress. It offers many features and is super easy to use.
In a separate article, we have covered how to create membership or subscription plans using ProfilePress.
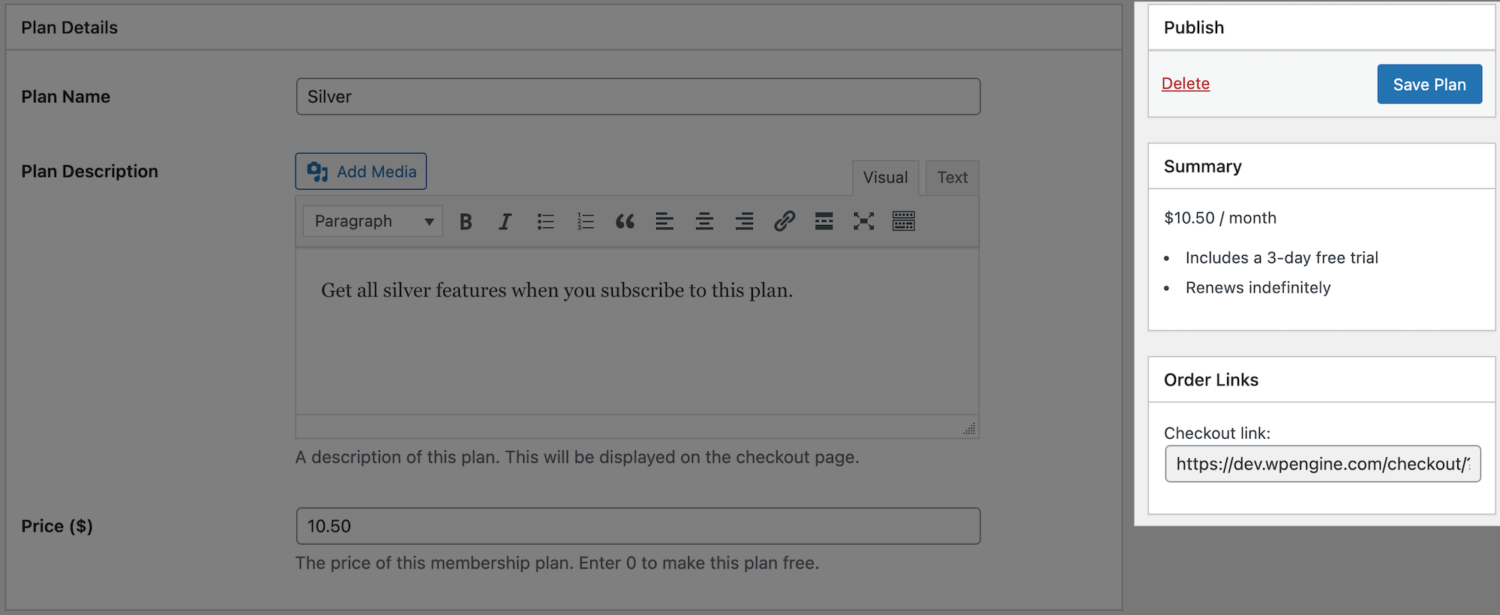
By the end of that tutorial, you would have created two or three plans with separate checkout links for each plan.
Copy those links. You will be inserting them into the pricing table.
Building the Pricing Table in WordPress
We will use the Pricing Table by Supsystic to create a simple pricing table on our demo site.
Install and activate the plugin on your WordPress site.
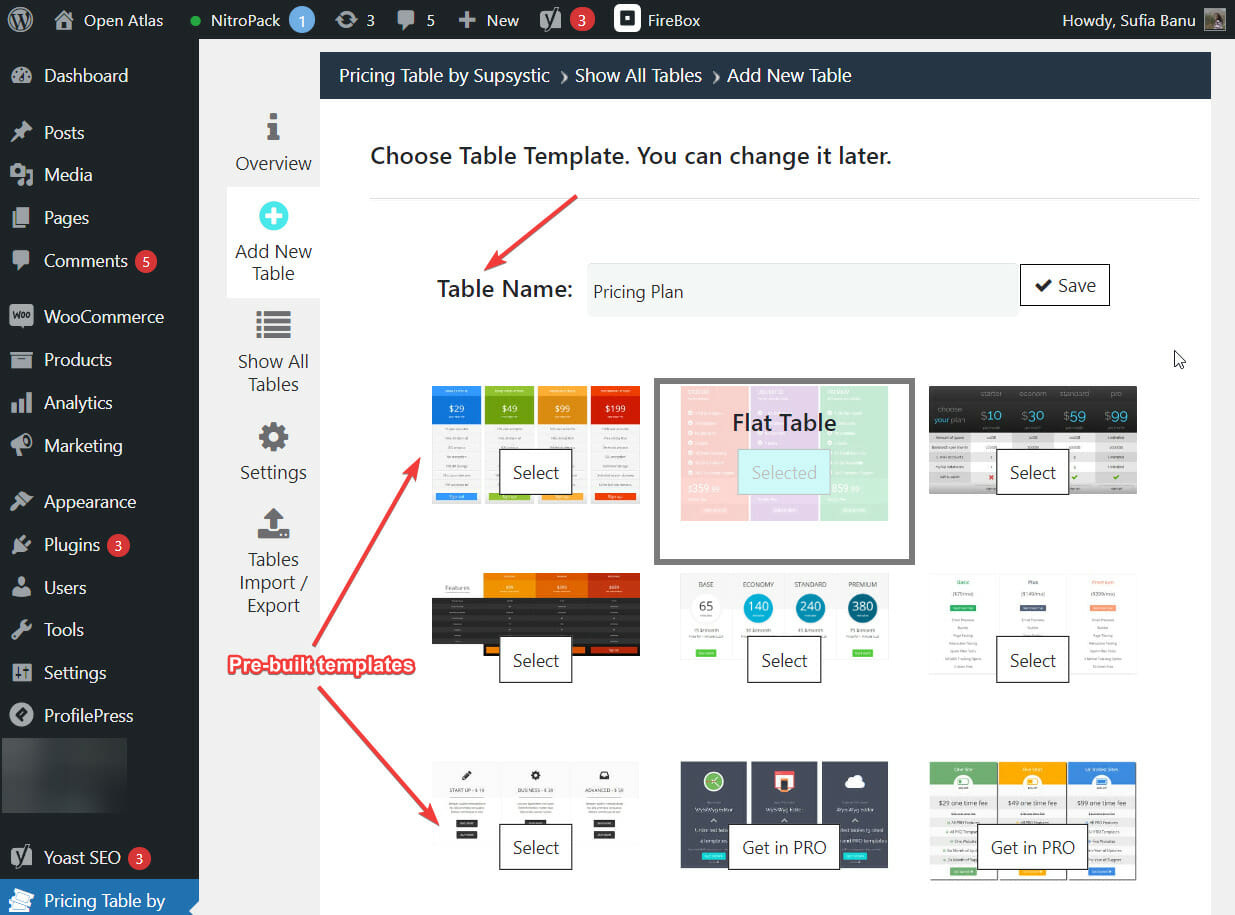
Then go to Pricing Table by Supsystic and select Add New Table.
You will need to select a pre-built pricing page template on the next page and then name the table.
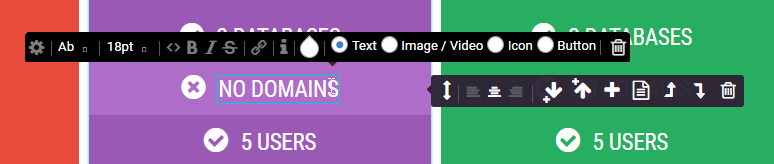
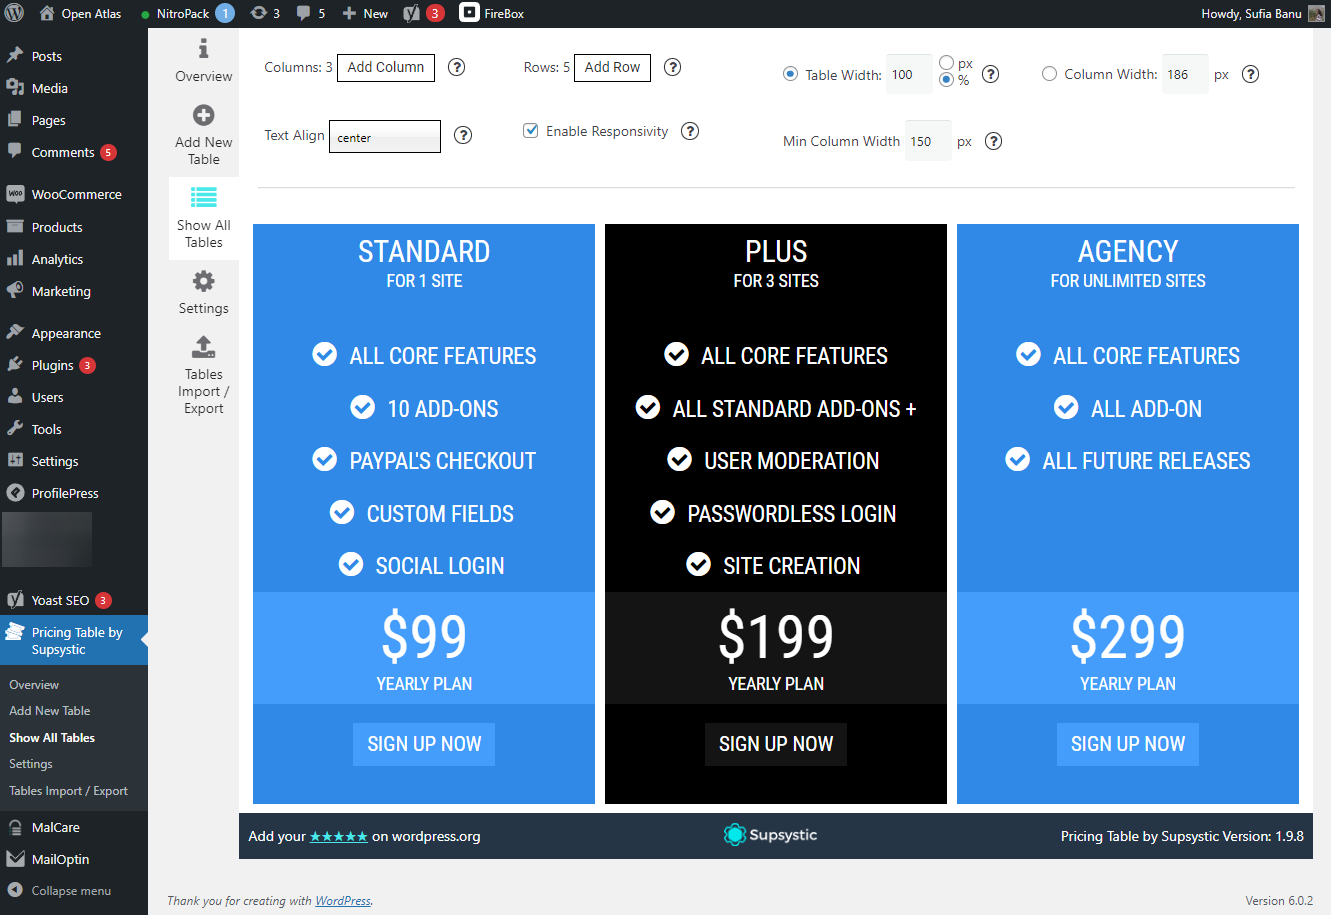
Now, it’s time to modify the template according to your needs. You can change the text color and icons, add images, buttons, and links, and add or delete cells, among other things.
All you need to do is place your cursor where you want to make the modifications, and the plugin will show you options for making the changes.
This is how the template looked at the beginning:
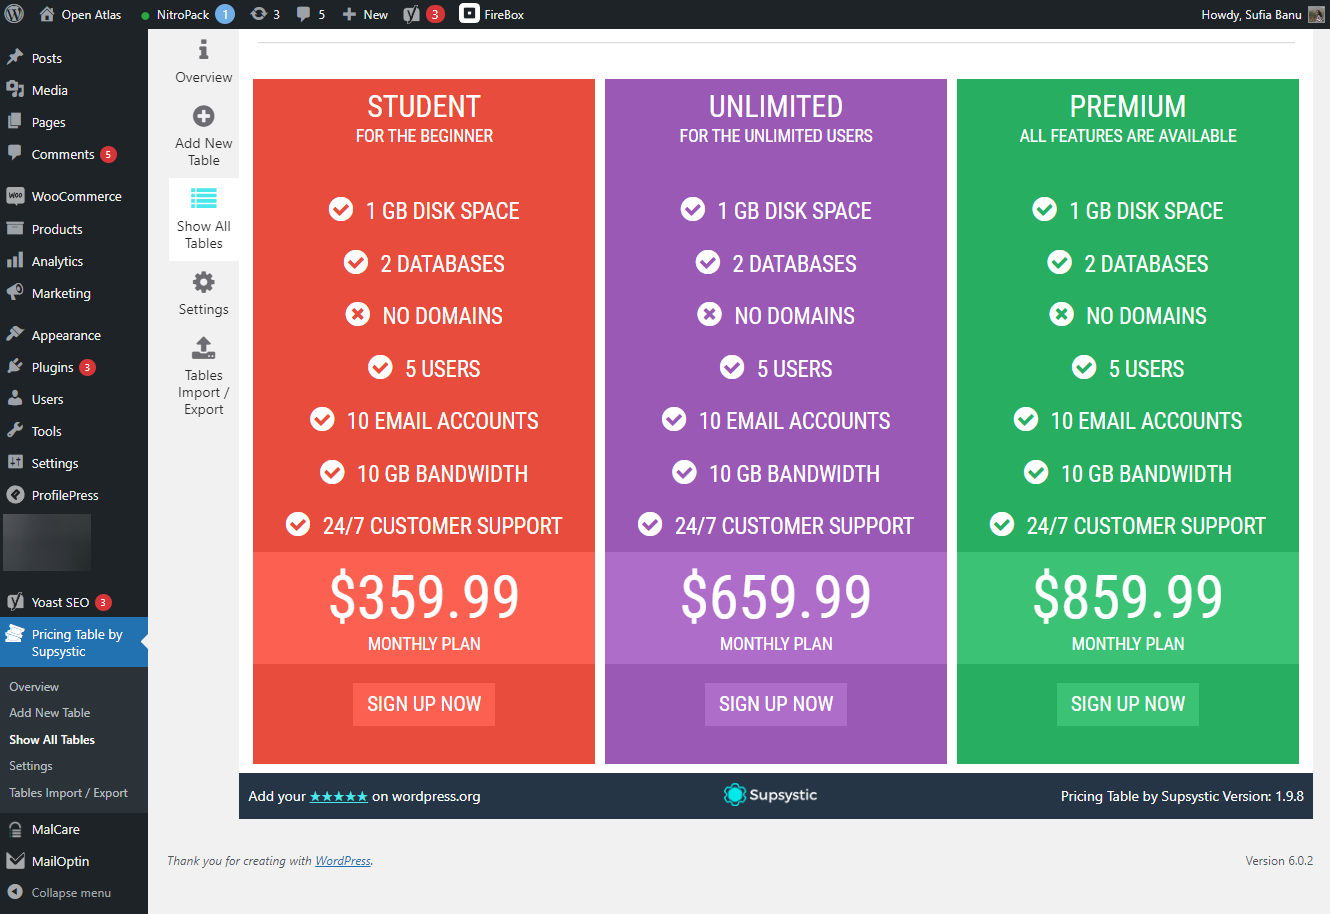
This is the final version of the pricing table after modification:
Adding Membership or Subscription Plans to the Pricing Table
Now that the pricing table is ready, it’s time to add the membership or subscription plans you created in the first step.
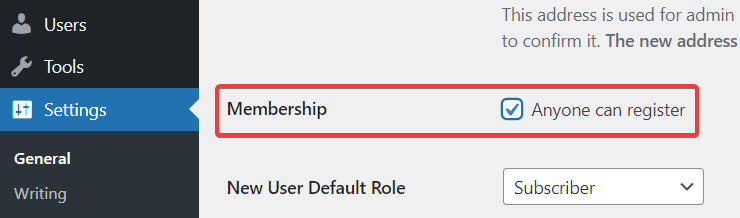
The first thing you would have to do is enable user registration by going to Settings > General. Then, click on the Membership option so that anyone can register on your site.
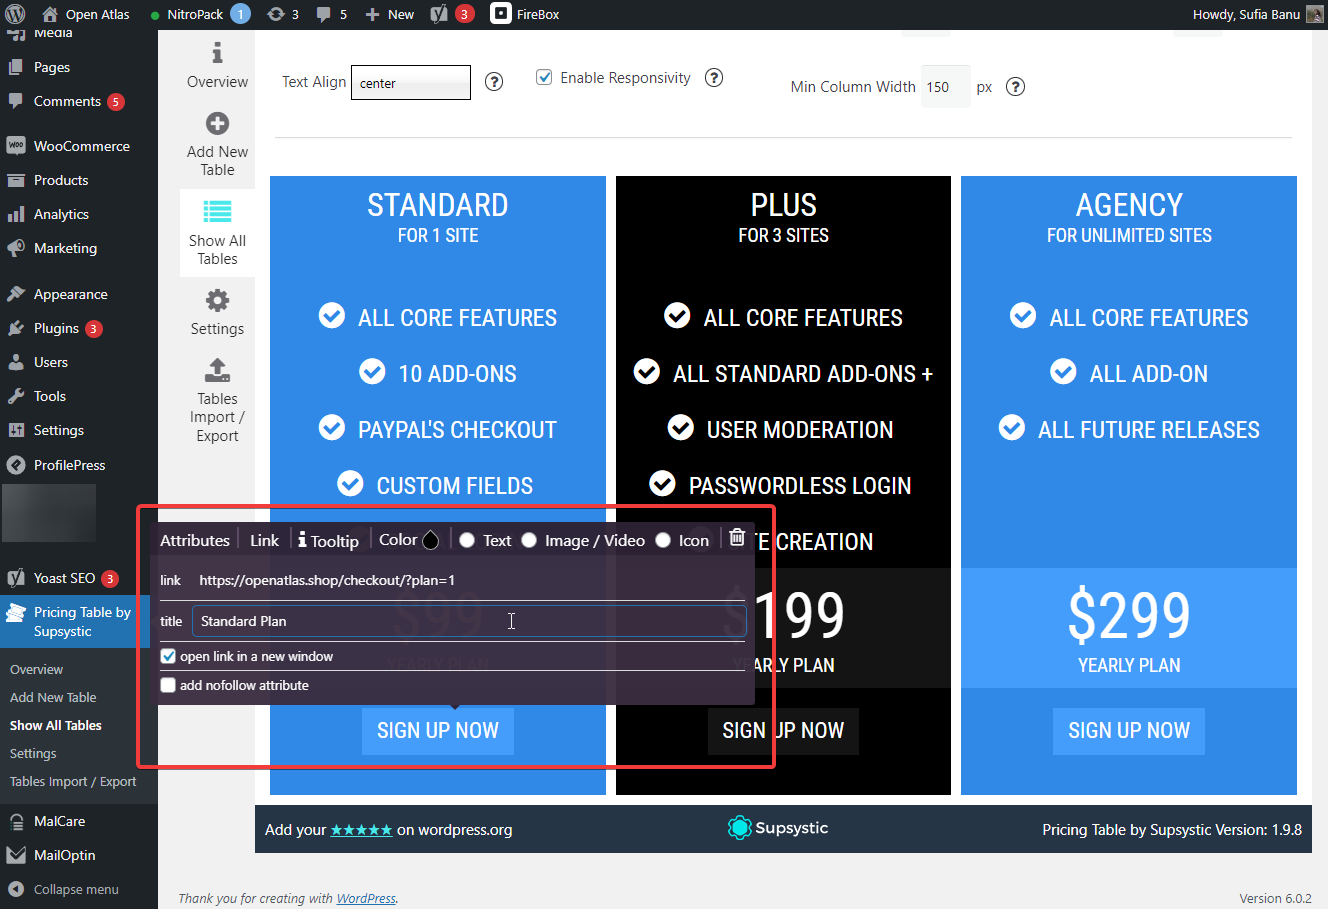
Next, open the pricing table, edit the sign-up button, insert the checkout URLs, and save your changes.
Create a Pricing Page
On the top of the table editor, you will find a shortcode. Copy that.
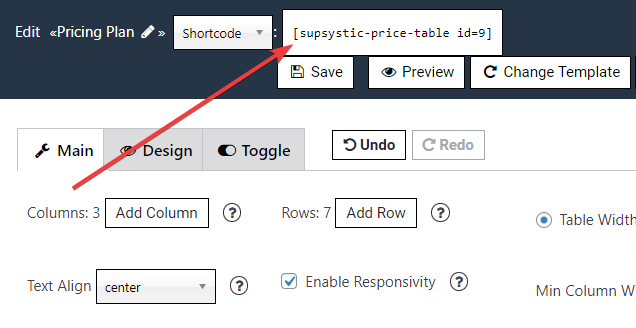
Now go to Pages > Add New. Name the page, paste the shortcode into the page, and hit the Publish button.
You now have a pricing page and a membership or subscription plan on your site.
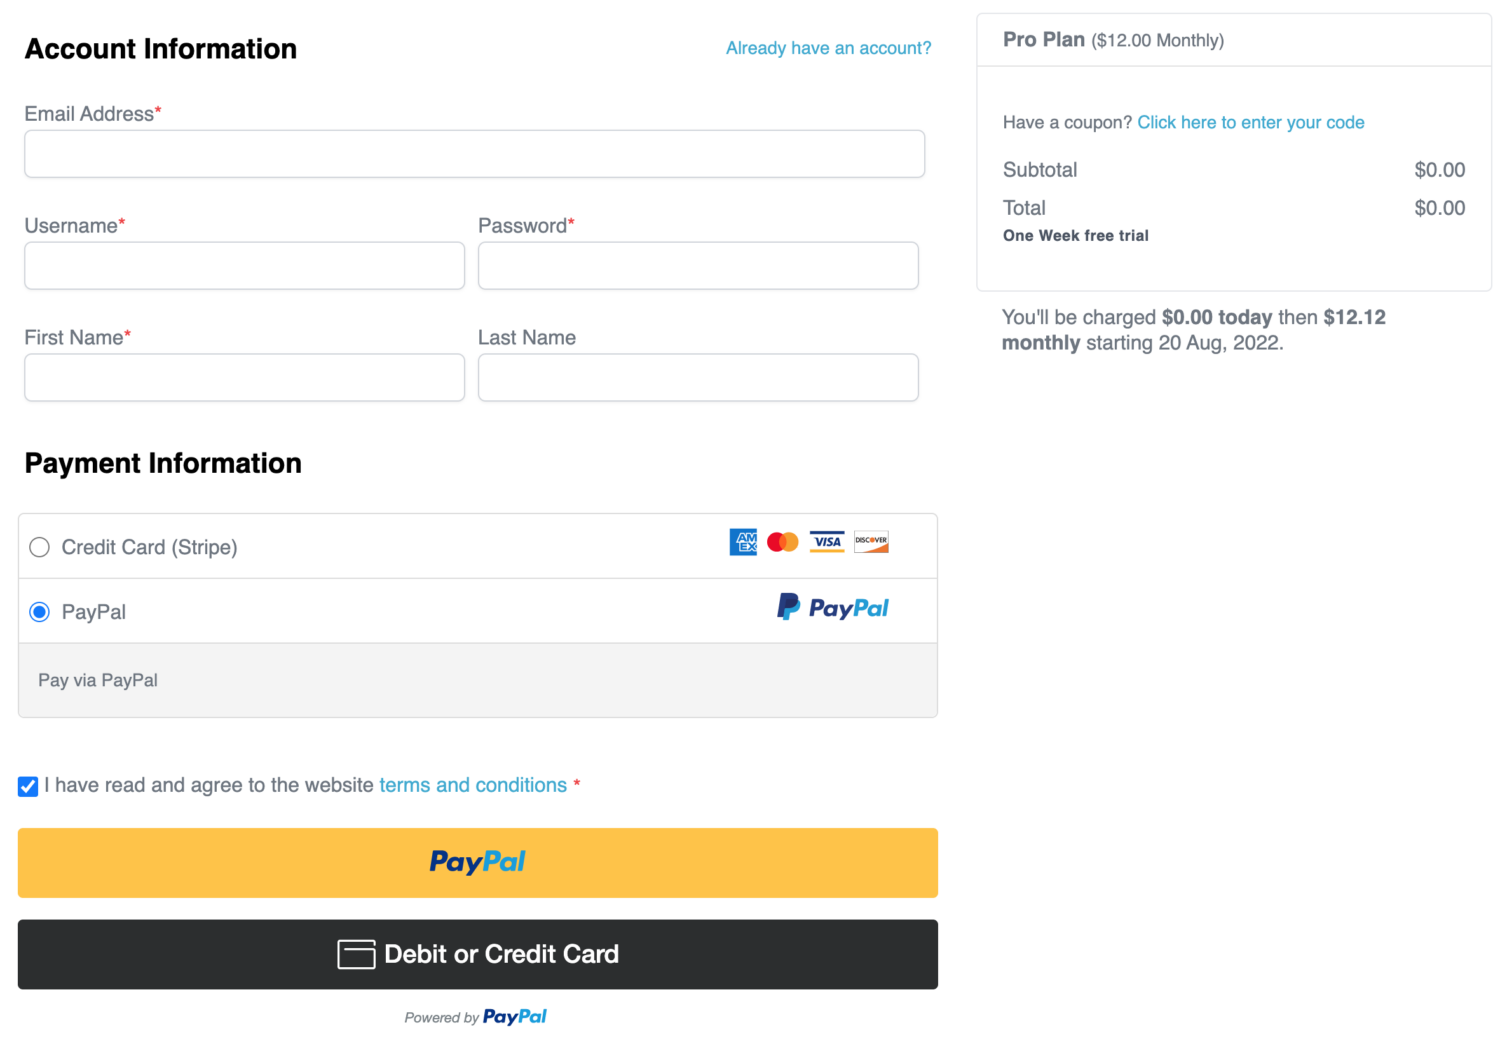
This is how the pricing page looks on our site.

When visitors click the Sign Up Now buttons, they are taken to the respective plan’s checkout pages.
Using TableBerg Plugin
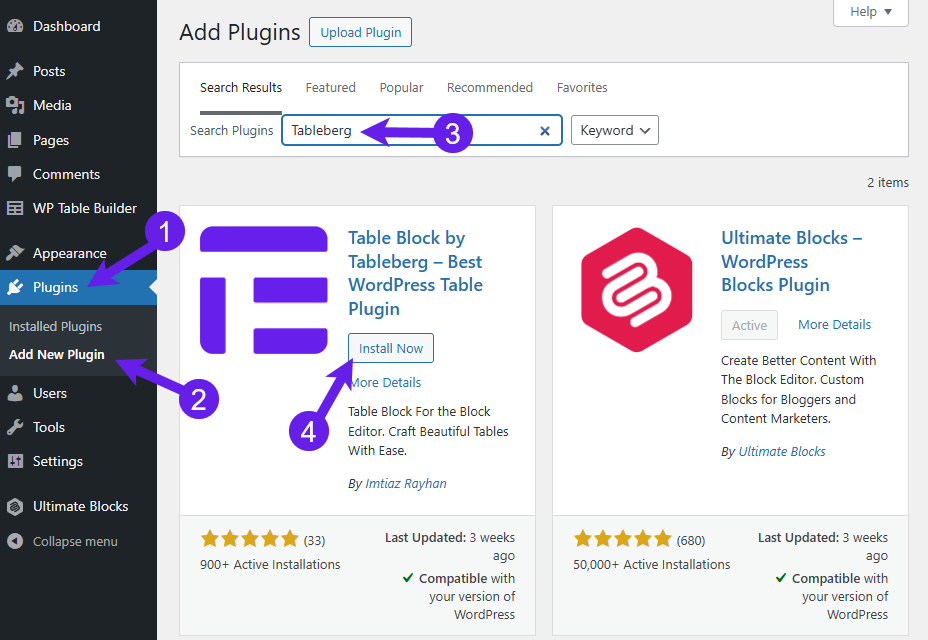
To install the Tableberg, go to Plugins (1) > Add New Plugin (2). Type Tableberg in the search box (3). Please install (4) and activate the plugin after it appears below.
Insert the Tableberg Block
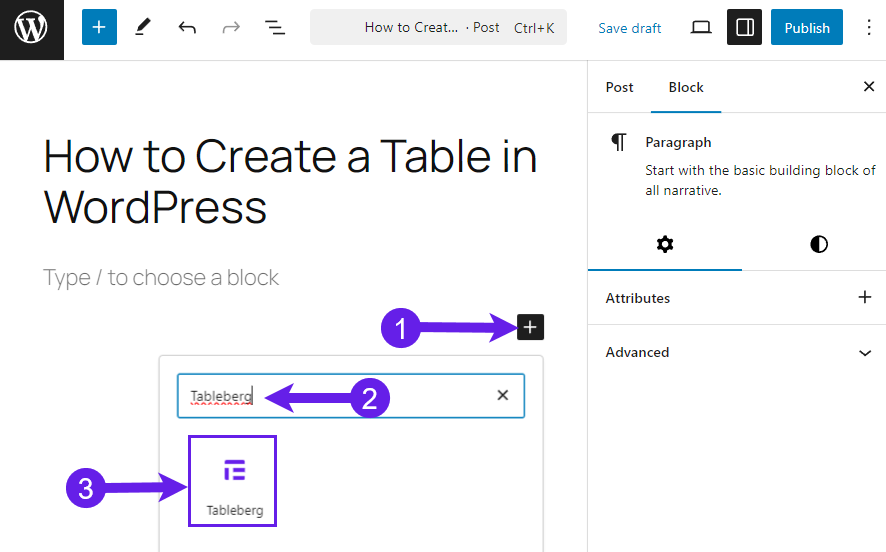
Go to your post or page where you want to create a pricing table. Click the Plus icon “+” (Add Block) (1), type “Tableberg” in the search box (2), and click on the block after finding it (3).
Create Your Pricing Table
Creating a pricing table can be hectic. So, it is wise to choose one from the table template library.
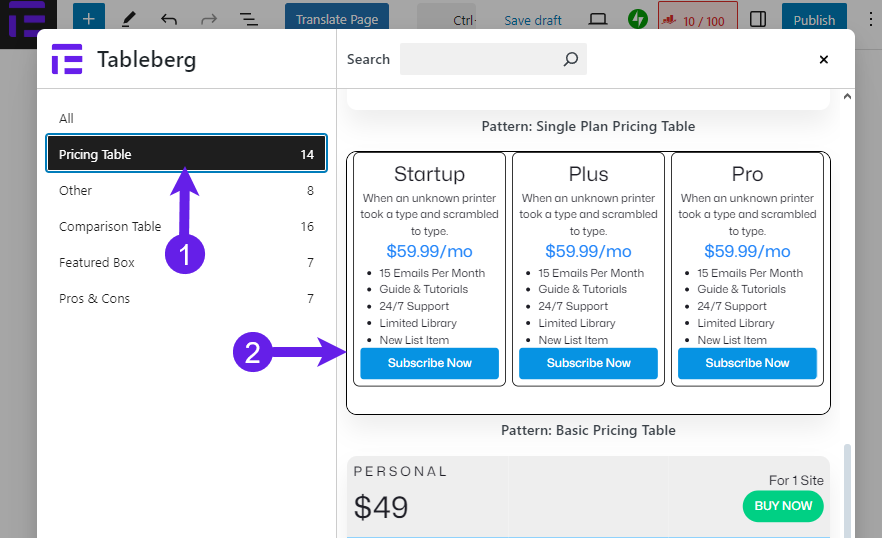
You can see numerous pricing table types there. All you need to do is select one and edit it to match your brand. To select a template, select the option “Pre-Built Table” in the window.
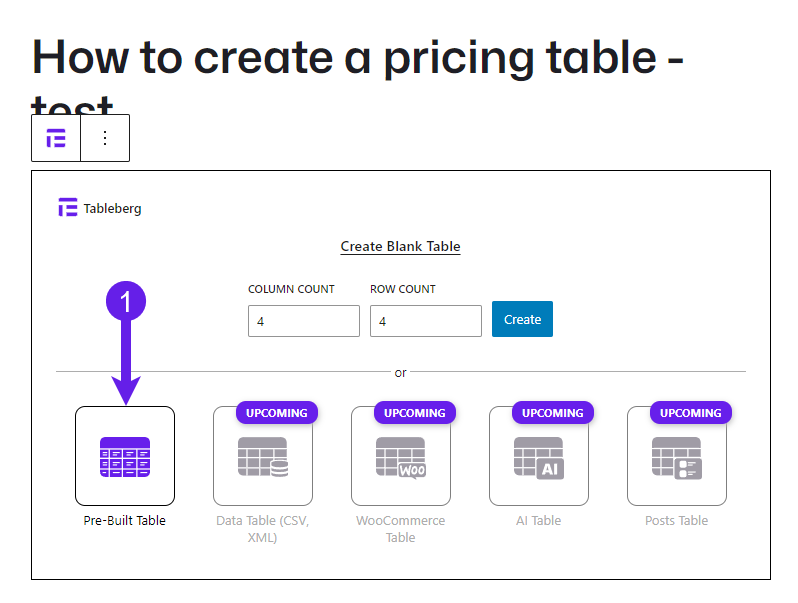
Now, select one from the template library. Select the Pricing Table (1) and select one from there by clicking on it (2).
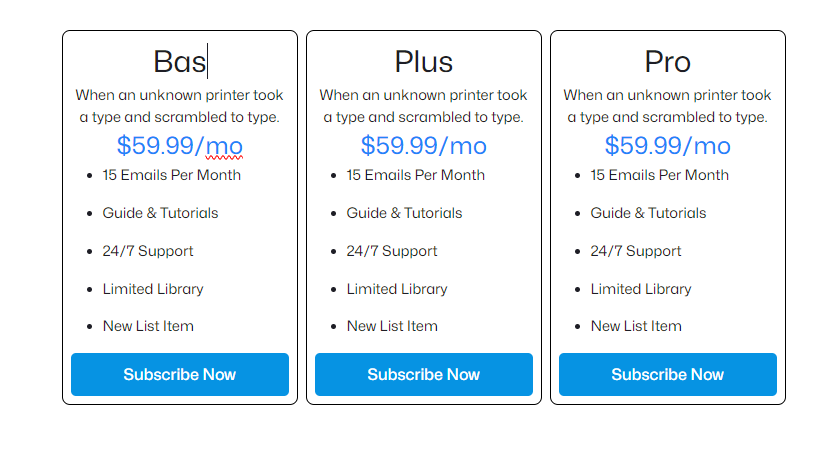
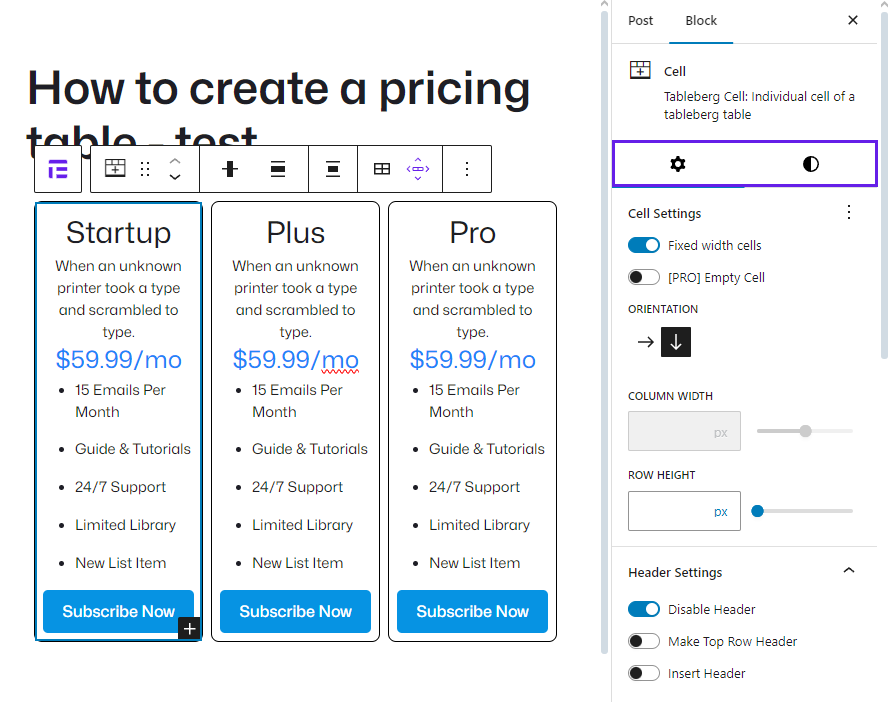
When the table is inserted, edit the table you like. You can edit all the elements of the table. Just put the cursor on it and edit.
Customize the table from the Block Setting and Style tab.
Preview your Table before publishing it.
So, that’s how you create a pricing table easily within a minute using Tableberg.
Conclusion
Creating a pricing table is an essential step in setting up an online business. The Pricing Table by Supsystic WordPress plugin allows you to create an attractive pricing table without the need for coding skills.
By following the steps outlined in this article, you can easily create membership or subscription plans, build a pricing table in WordPress, add plans to the table, and create a pricing page. Remember to prioritize transparency and user experience while designing your pricing table in WordPress.
We hope this tutorial helped you learn how to add beautiful pricing tables in WordPress with no coding required. You may also want to learn how to create a WordPress membership site or see our list of WordPress pricing table plugins.