How to Create a WordPress Popup Login Form
Do you want to create a WordPress popup login form for your website?
If you run a membership website, an online store, or sell online courses, then you are likely to allow users to register and log in to your WordPress website. The default behavior when users click on the login link, they are redirected to the default login page or to a custom WordPress login page on your website.
A popup login form displays the login form to users in a modal/lightbox without requiring them to navigate to another page to sign in.
A WordPress login form popup is a faster way to log users in on your website and improves the overall user experience. This will, in turn, boost your sales and conversions.
This article will teach you how to quickly create a popup on your website that displays a WordPress login form.
Note: For this procedure to work, you need to have both ProfilePress and MailOptin plugins installed and activated on your website.
Creating The WordPress Login Form
The ProfilePress plugin is required to create a custom WordPress login form. If you don’t have it installed on your WordPress site, you can get it from the pricing page.
Building the Custom WordPress Login Form
- Hover on ProfilePress and click on Forms & Profiles
- Click on Add New and select the Login form type
- Enter a name for the form
- Select your preferred template
- Design the form with the drag & drop builder or Advanced form builder.
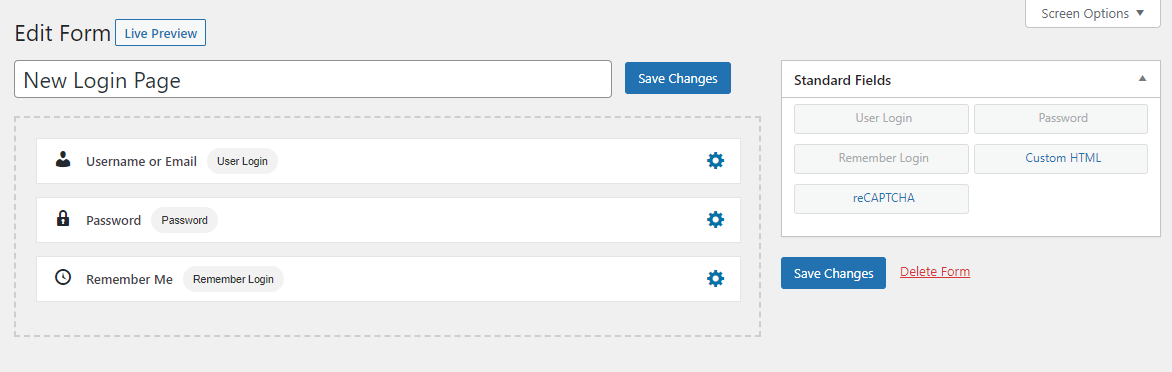
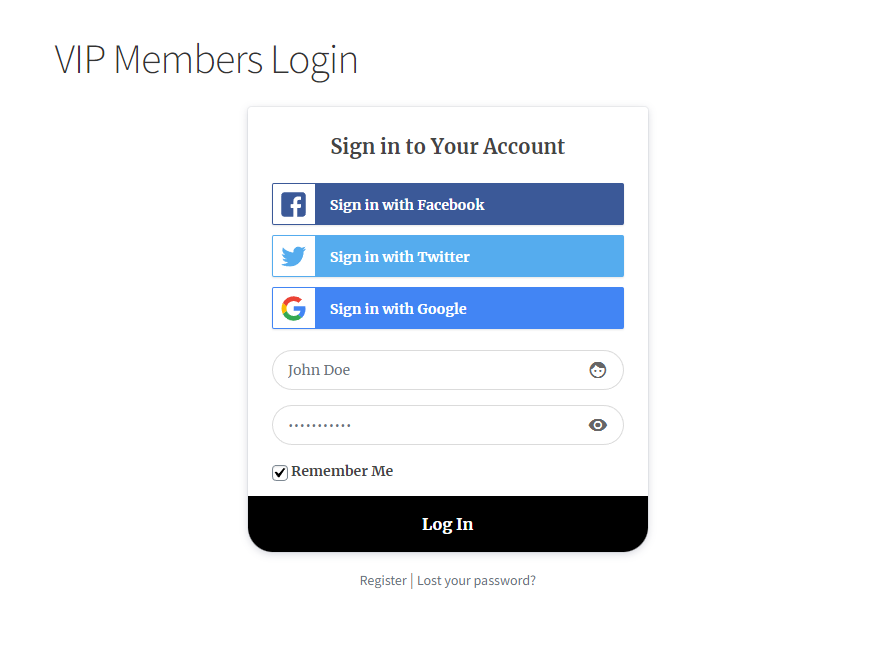
You can preview and see how the WordPress login form will look on the front-end by clicking on the “Live Preview” button.
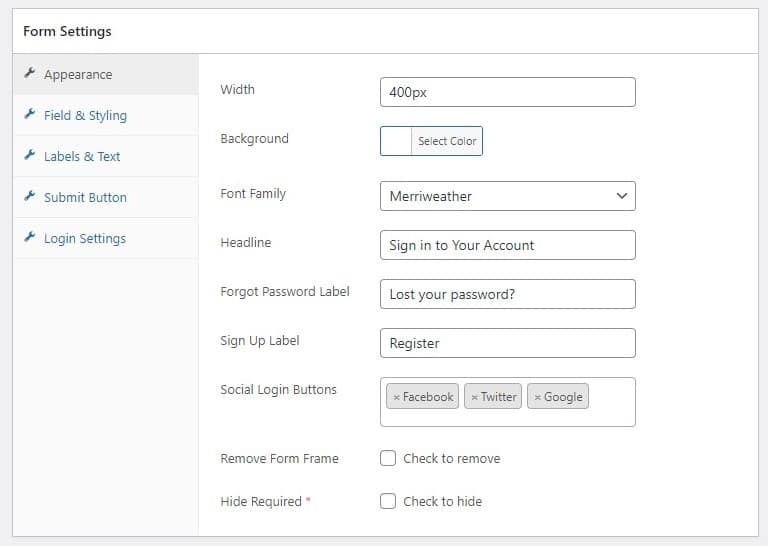
Form Settings
The form settings let you change the form’s appearance, field styling, labels, text, and the submit button.
After saving the form, a shortcode will be generated for that particular form. Click on Forms & Profiles >> Login and copy the shortcode.
After saving the form, a shortcode will be generated for that particular form; take note of it, as we will use it in the next step.
That’s it! Your custom WordPress login form is live and ready to use.
Installing the MailOptin Popup Plugin
To display the custom login form we created, we need to install and activate the MailOptin popup plugin from the WordPress repository by going to Plugins>>Add New and searching for MailOptin.
Go to Plugins>>Add New on your WordPress dashboard and search for MailOptin.
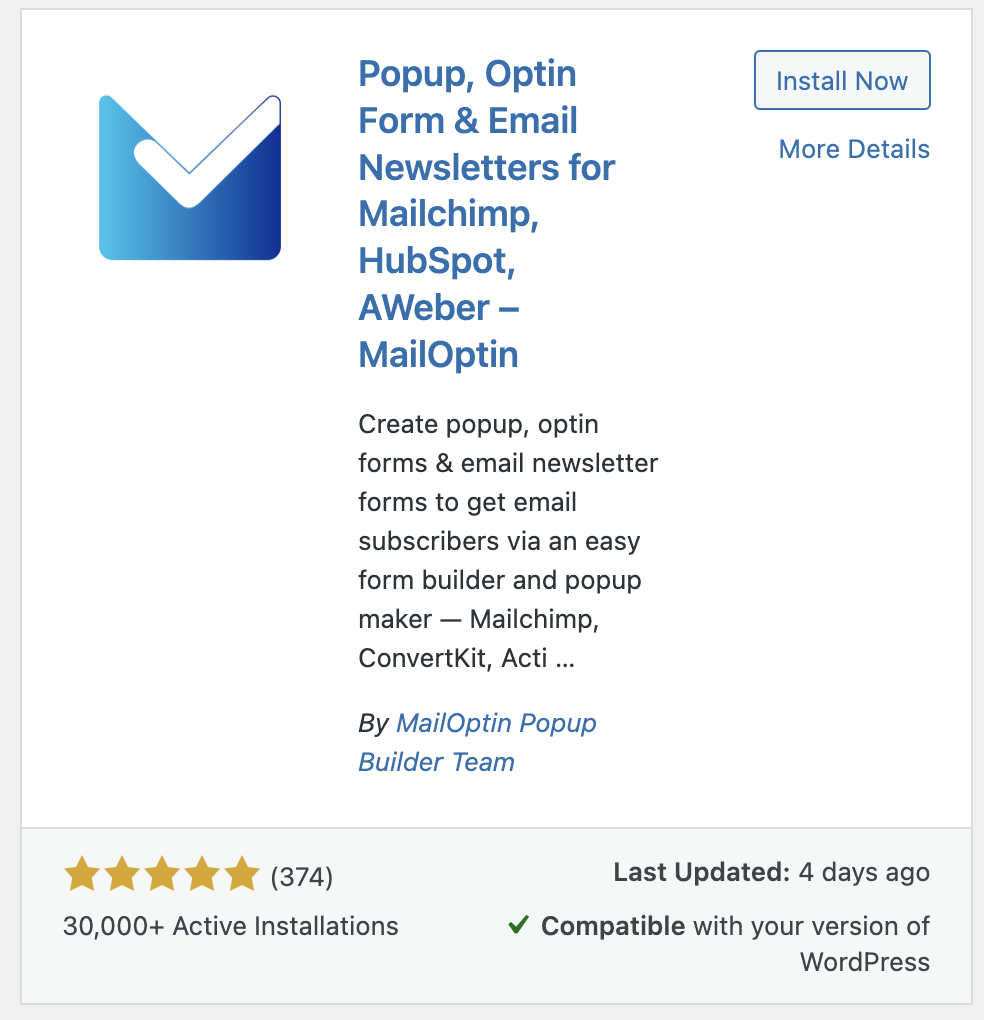
Click on the Install Now button and activate the plugin on your website.
Creating a WordPress Popup with MailOptin
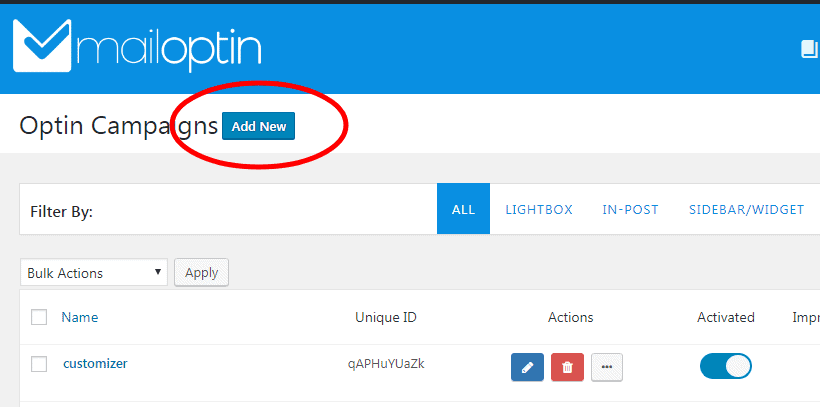
To create a WordPress popup with MailOptin, go to MailOptin >> Optin Campaigns in your WordPress admin dashboard to open up the opt-in campaigns overview page.
Next, create a new opt-in campaign by clicking on the Add New button.
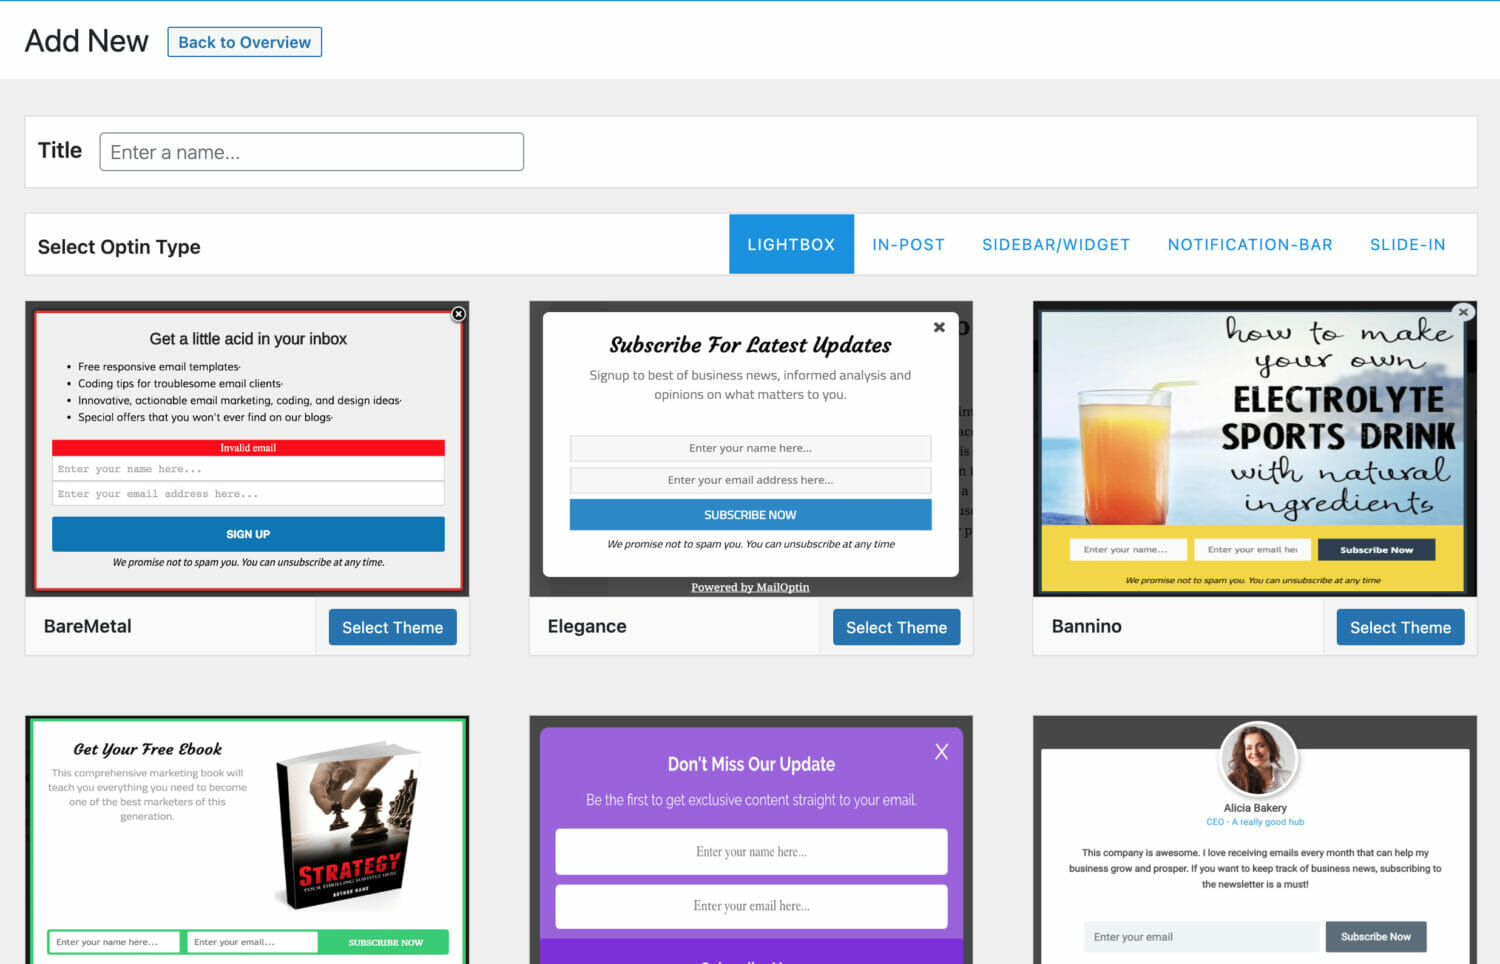
Click on the lightbox optin types menu and select your preferred optin template.
After creating a new campaign, MailOptin will open the campaign customizer.
You can also open the customizer by clicking on the blue pencil icon.

Replacing The Default Form with a ProfilePress Login Form Shortcode
The final step is to replace the default opt-in fields with the form shortcode we copied from ProfilePress.
To do this, click on the fields panel to open the fields option…
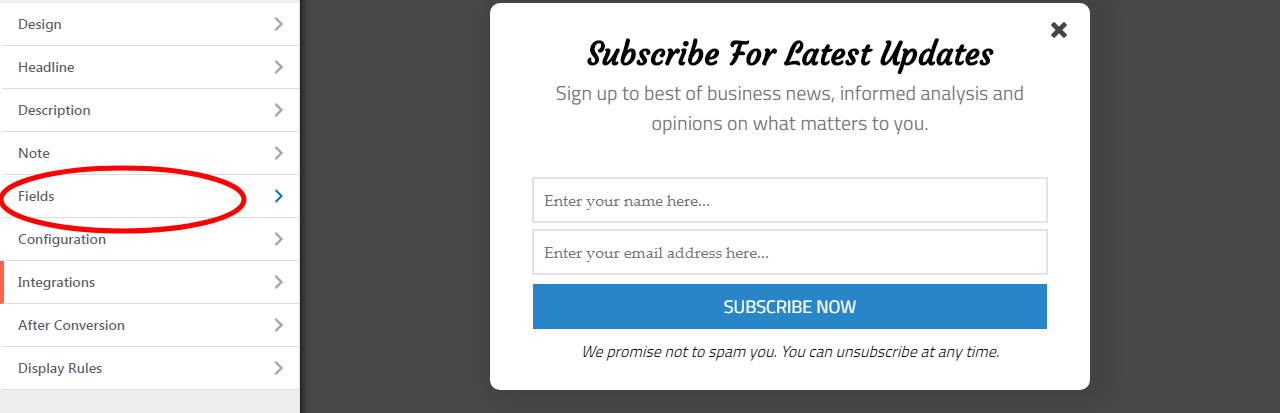
… then click on the Use Custom HTML toggle. You will see a new code editor appear. Copy and paste the form shortcode from ProfilePress into the editor.

Save the opt-in campaign.
Adding the Popup Login Form to your WordPress Navigation Menu
Ideally, you would add a login or sign-in link to the navigation menu of your WordPress site, which triggers or displays the popup modal when clicked. To achieve this, you will need to enable the Click Launch rule for your opt-in campaign.
Activating Click Launch
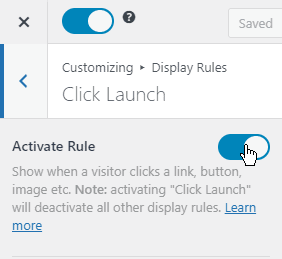
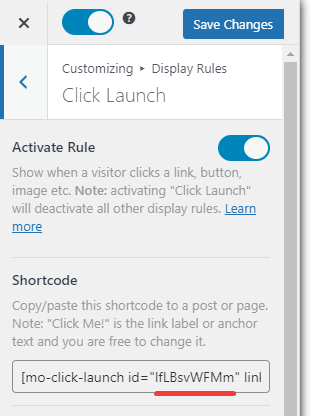
Go to the Display Rules section of your opt-in and activate the Click launch rule.
NB: MailOptin Click to Launch is a paid feature and will require at least the standard plan to work.

Getting the Unique User ID
After enabling Click Launch, the next step is to add a CSS class to the menu item with the opt-in’s Unique User ID (UUID). The ID can be found in the Click Launch window. In the image below, the UUIID is “IfLBsvWFMm”
Adding the Login Link to your Navigation Menu
To add the login to your menu, you should open up the Appearance >> Menus admin page in WordPress and create/edit a Custom Links menu item.
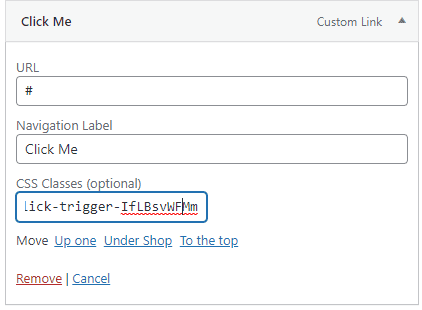
Type “#” in the URL field, type your preferred label for the menu item and next, add this CSS class with your opt-in’s UUID.
mailoptin-click-trigger-IfLBsvWFMmReplace “IfLBsvWFMm” with your optin’s UUID and save the menu.
Note: In case you are not able to see the CSS Classes field, you will need to enable it through the Screen options seen on the upper right side of the screen.

After saving the menu, navigate to your website’s front end and click on the newly created Login menu item.
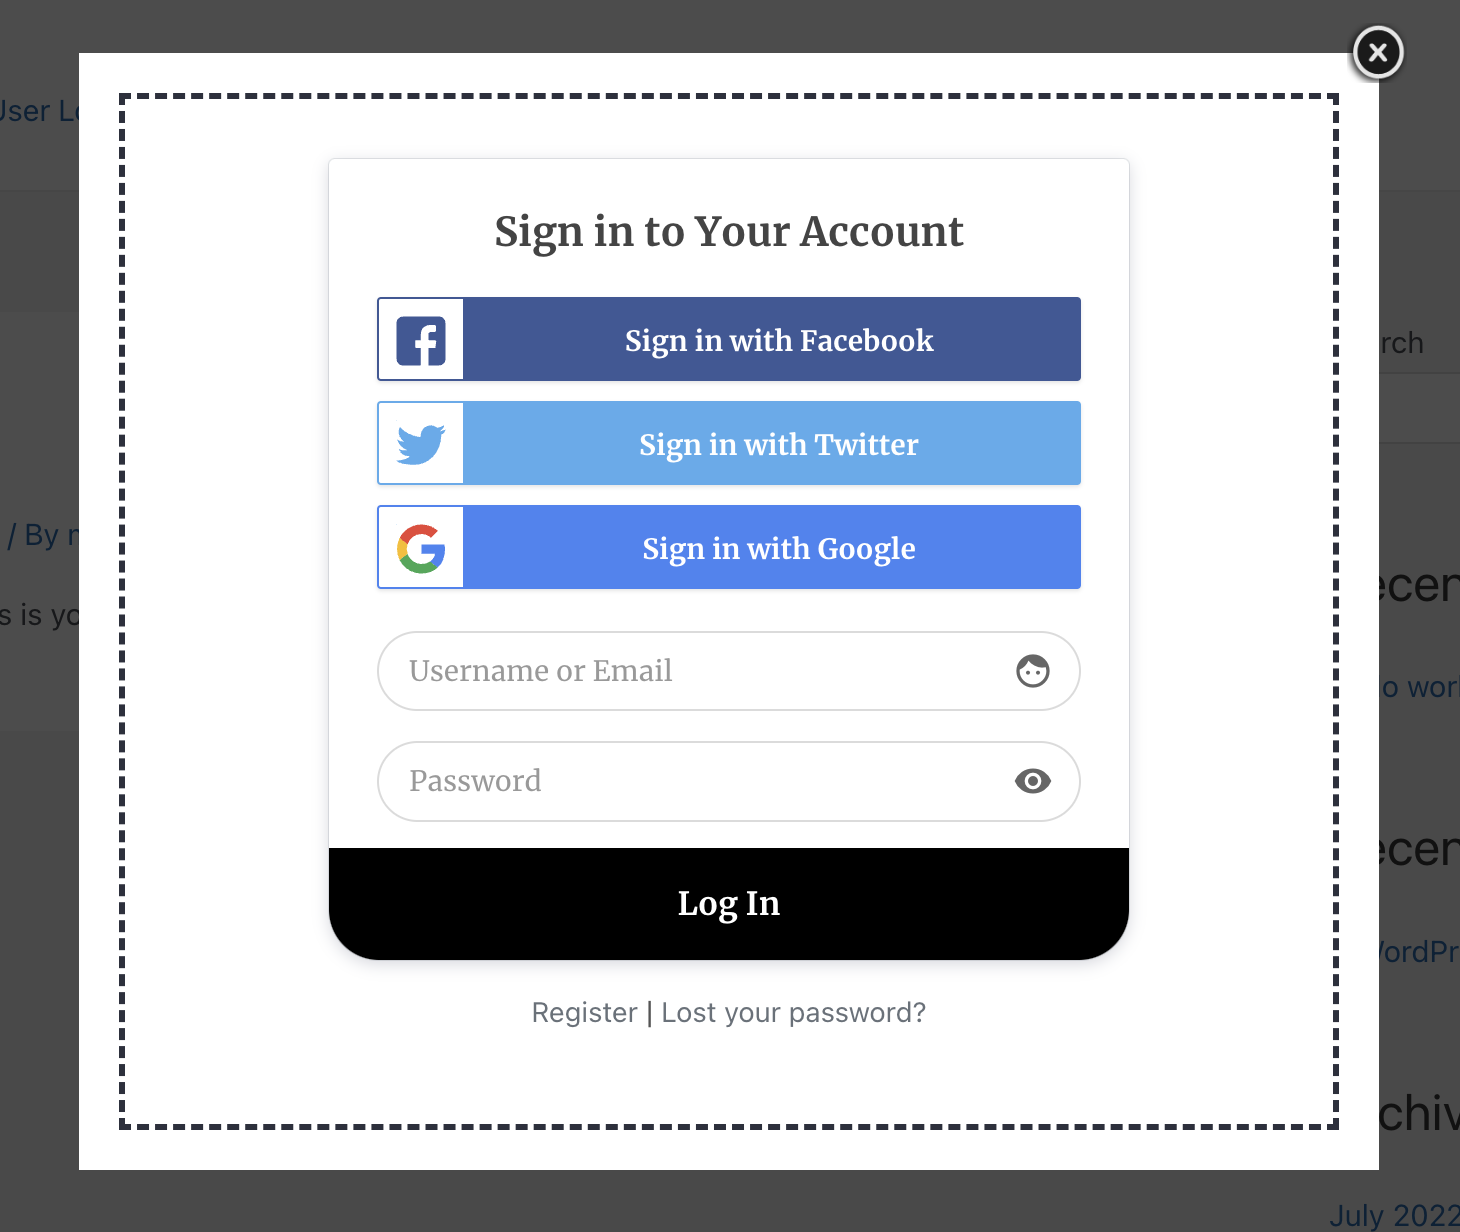
You will notice that the MailOptin lightbox contains your WordPress login form created with ProfilePress which your website users can use to sign in to your website.
Furthermore, you can also disable the headline, note, and description of the MailOptin template and just display the form.
Conclusion
We hope this article helped you learn how to create a WordPress popup login form for your website using the ProfilePress and MailOptin plugins.
If you have any questions about setting this up on your WordPress website, please feel free to send us a message, and we will gladly help.