How to Create a WordPress Frontend Edit Profile Page
Are you looking to create a WordPress frontend edit profile page for your website?
An important aspect of any website is the ability for users to edit their profile information directly from the front end. A seamless and intuitive frontend edit profile page in WordPress can significantly enhance the user experience and engagement.
While WordPress allows user registration and profile management, it only allows users to edit their profile from the backend or admin dashboard, which may not provide the best user experience.
We suggest using the ProfilePress plugin to allow users to update their profiles. This article will show you how to create a page where users can edit their profiles on the front end using ProfilePress.
You may not need to create a WordPress edit profile page because ProfilePress provides a My Account page with an “Account Details” section where your users or members of your WordPress membership site can edit or update their profile information, change their passwords, and account settings.
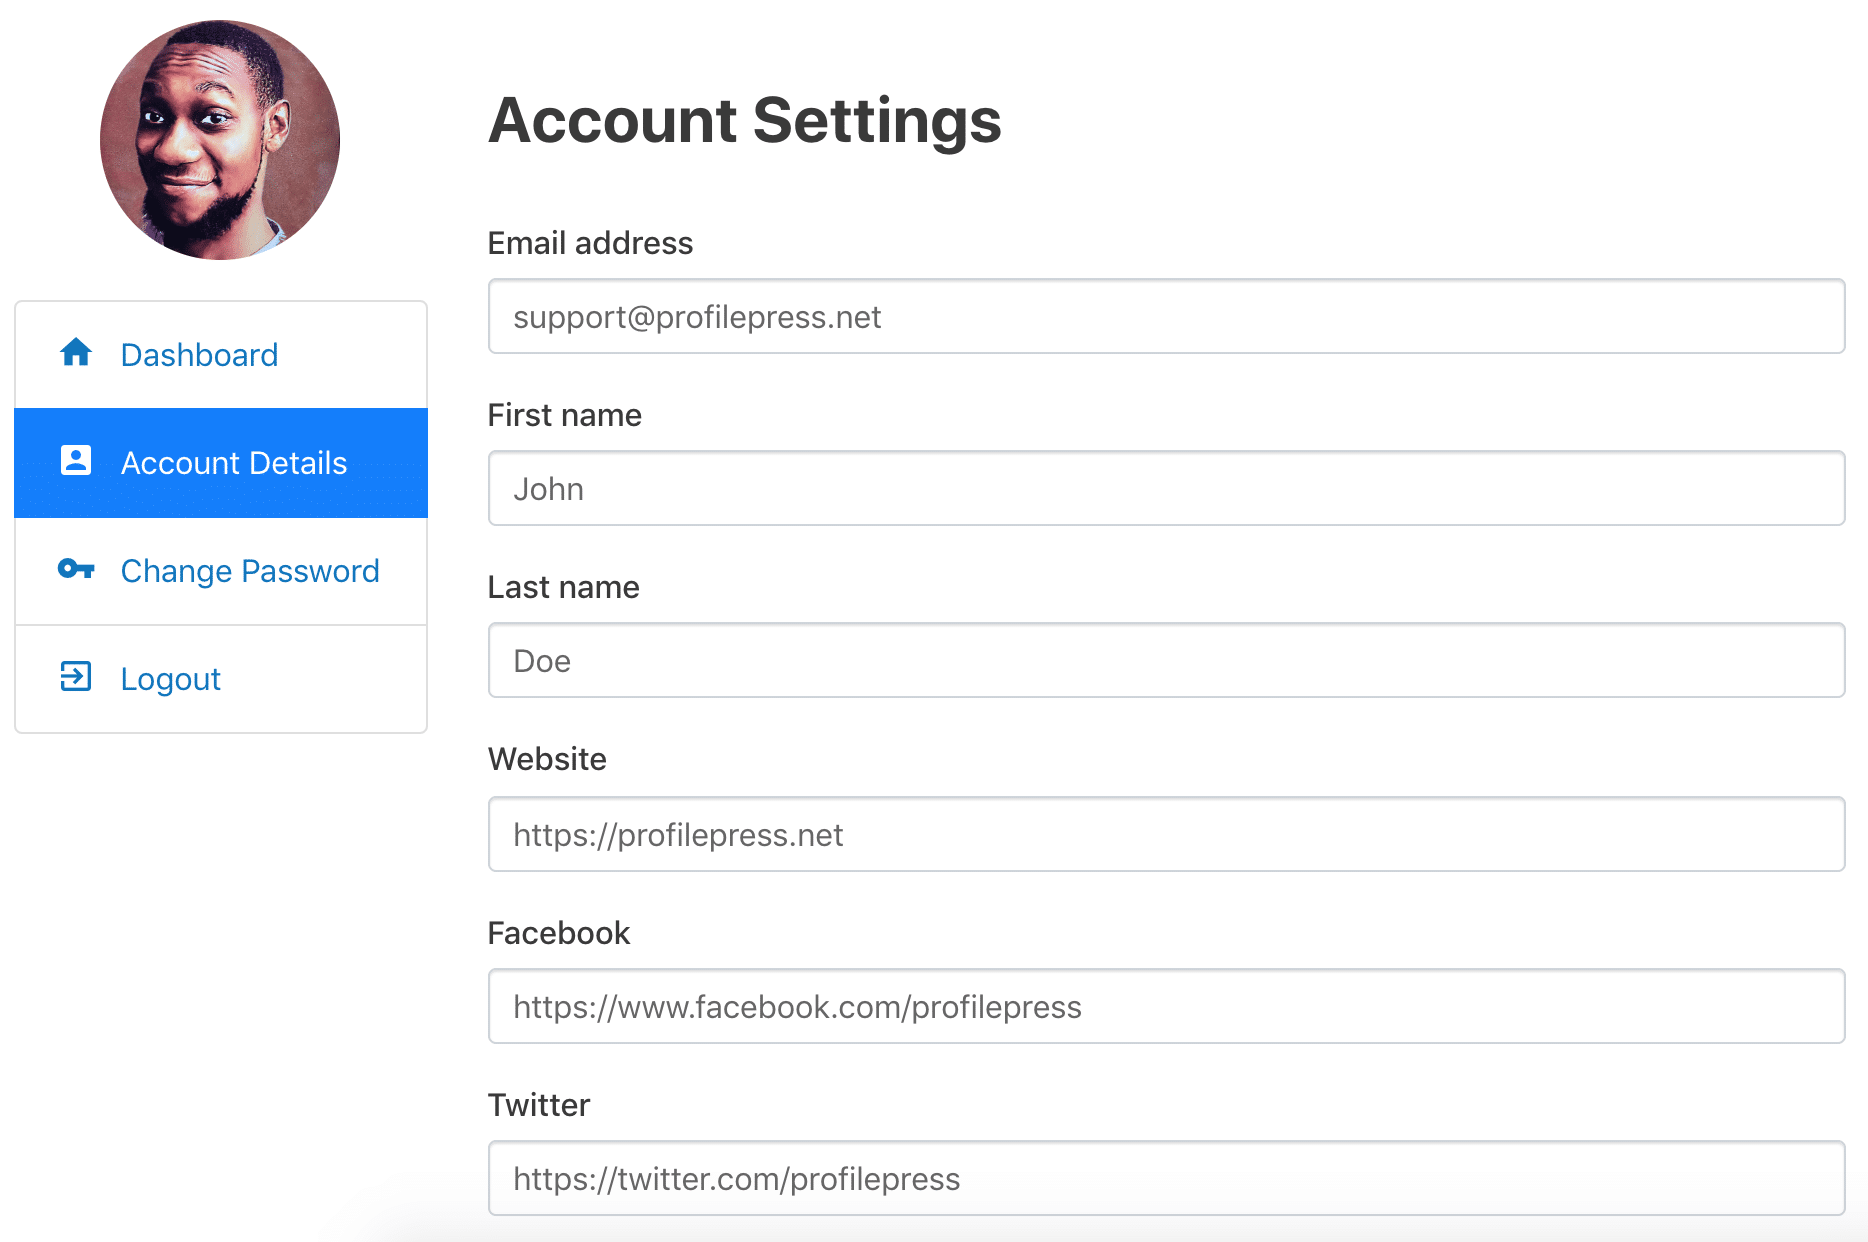
We highly recommend the My Account page over a custom frontend profile edit page, which you will learn how to create below.
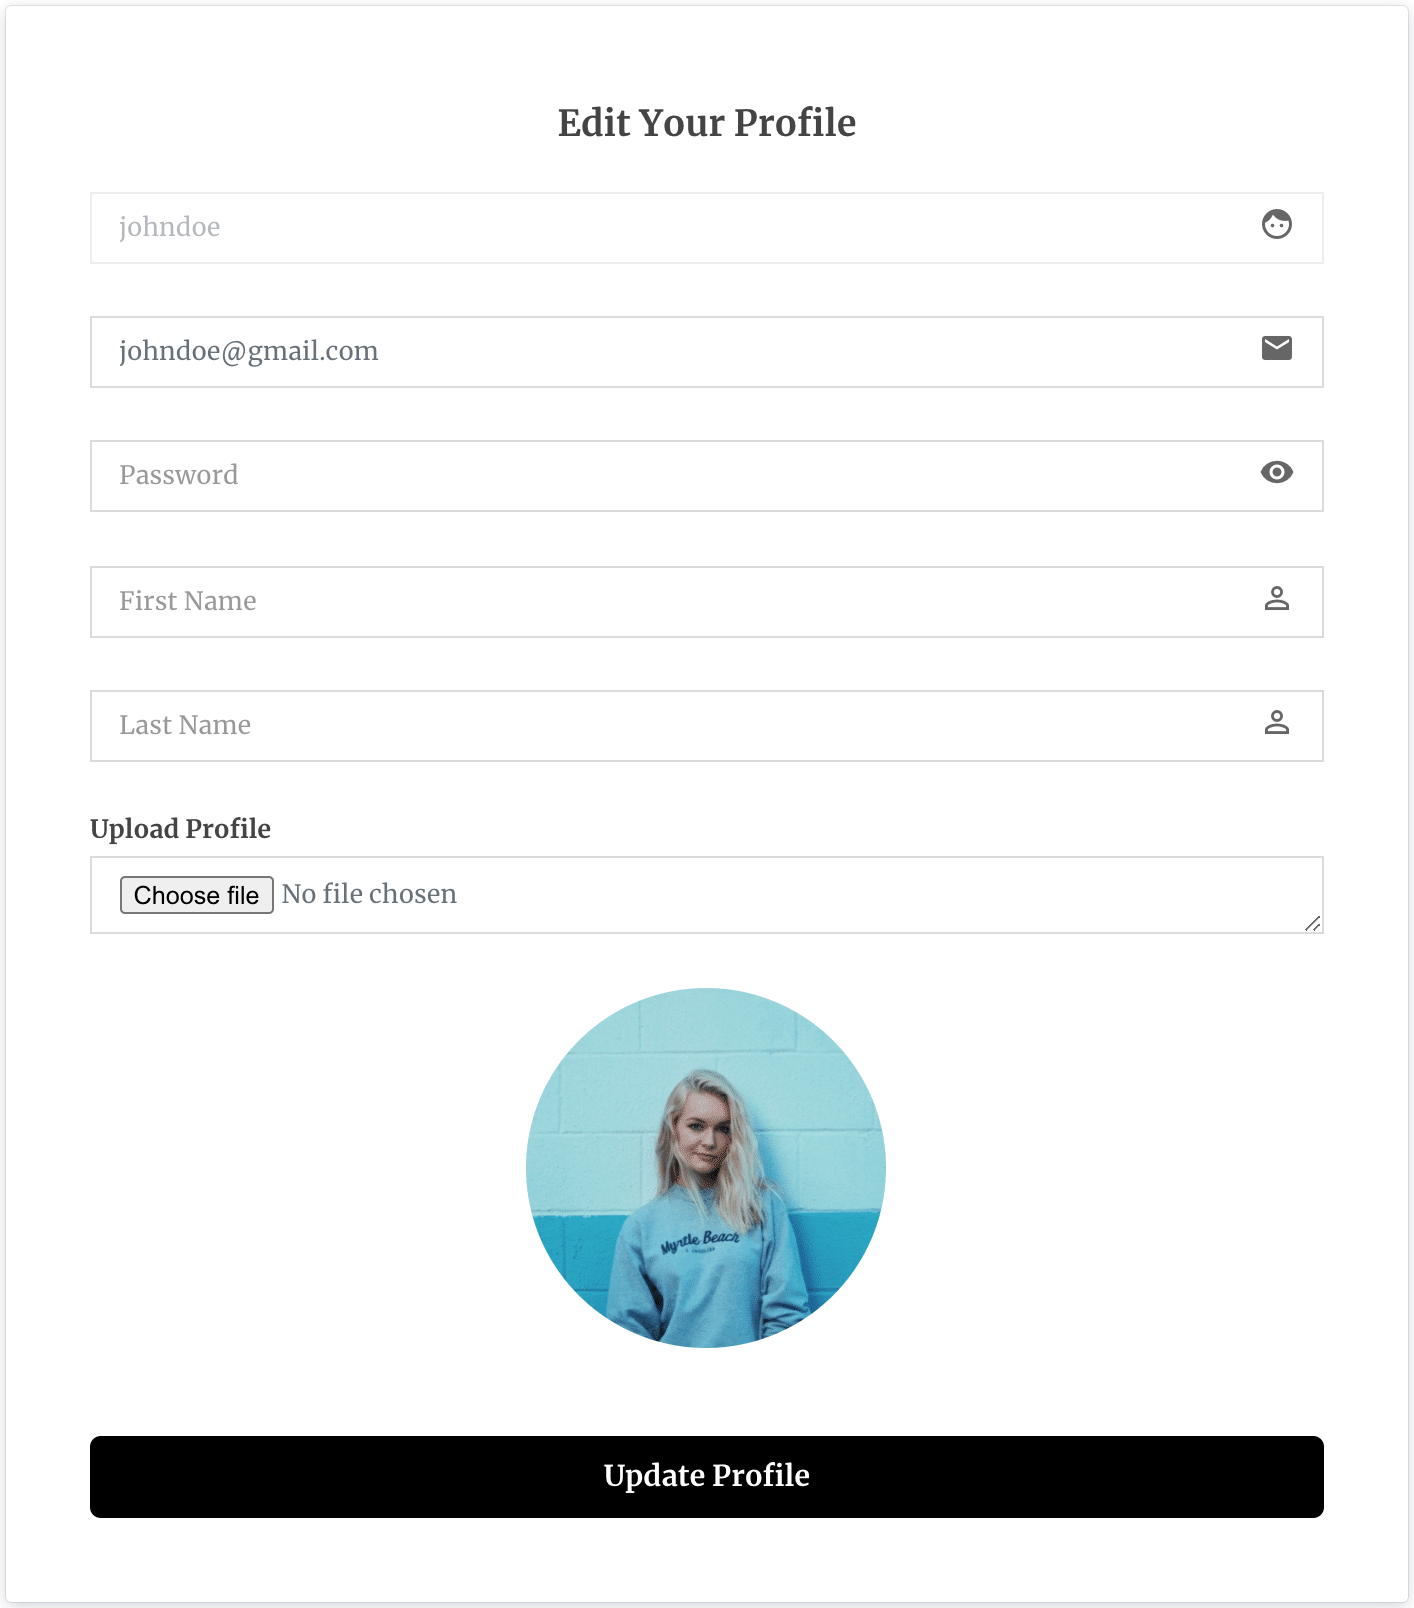
The guide below will show you how to create a custom, frontend edit-profile form page where users can update their profile information or edit their account details.
Building the WordPress Edit Profile Form
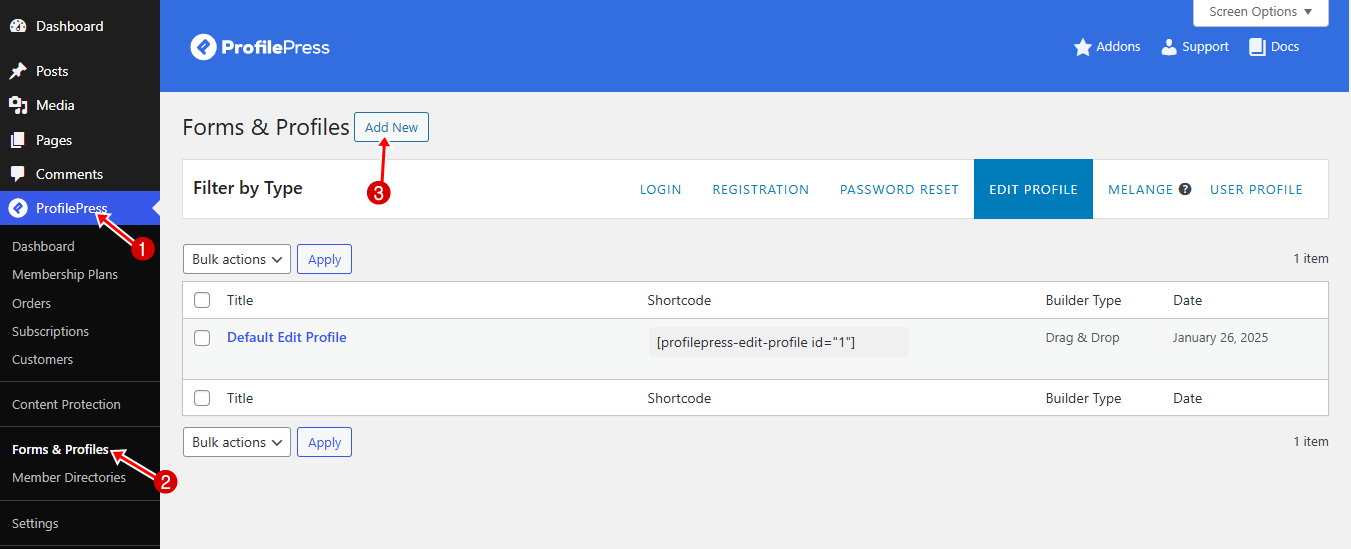
To do this, go to the ProfilePress menu and click on Forms & Profiles. Next, click Add New and select the “Edit Profile” tab.
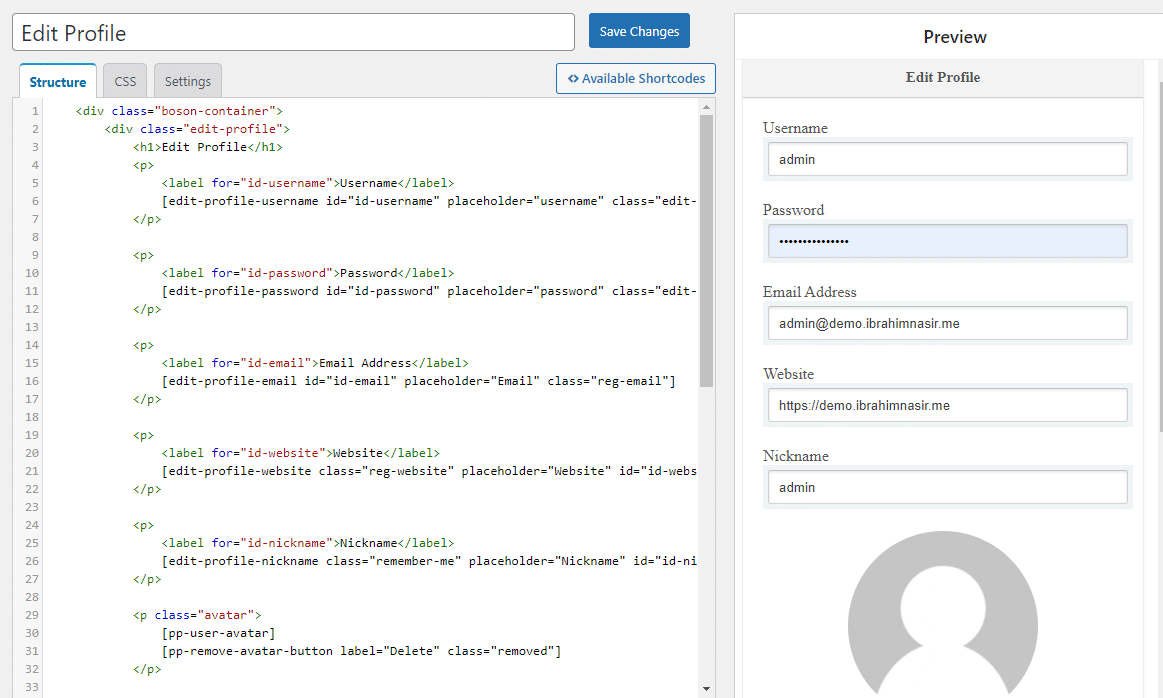
You can then design the form using the drag-and-drop or Advanced shortcode builder.
Enter a name for the Frontend Edit Profile Form and choose your preferred template.
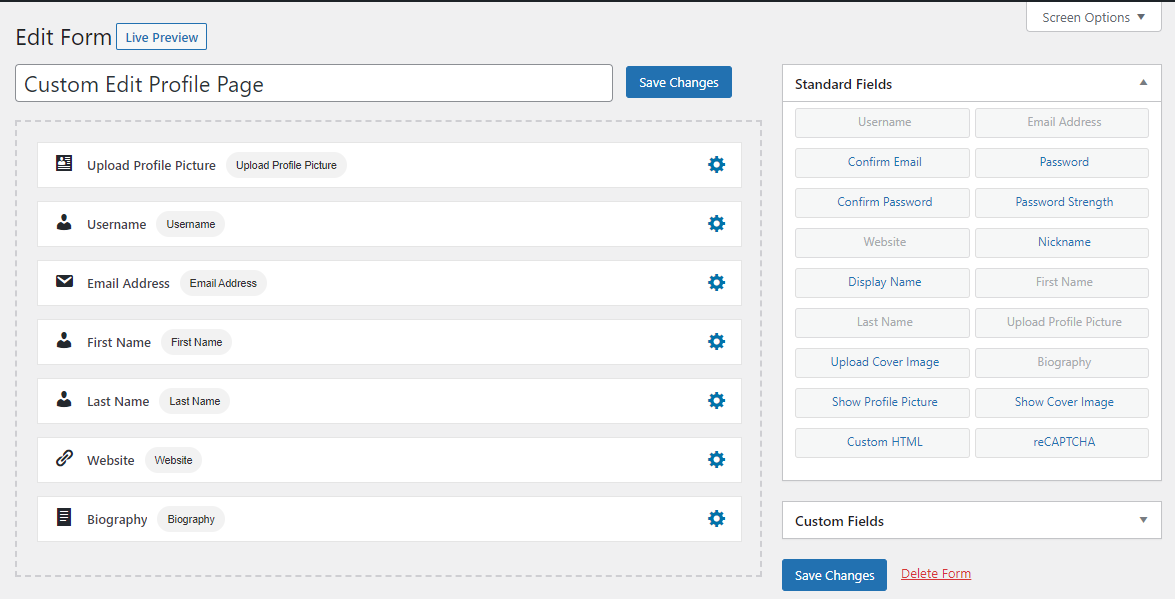
You can preview how the form will look by clicking on the “Live Preview” button.
After saving the form, a shortcode will be generated for that particular form. Click on Forms & Profiles>>Edit Profile and copy the shortcode for the newly created form.
Creating the WordPress Frontend Edit Profile Page
To create your frontend edit profile page, navigate to Pages >> Add New in your WordPress dashboard.
Give the page a title, then paste the form shortcode you copied earlier into the page content.

NB: If you are using Gutenberg Block Editor, you need to add the Shortcode block and then paste the shortcode in the field

When done, publish the page. You now have a frontend WordPress edit profile page where users can update their profile information.
Setting as Default Edit Profile Page in WordPress
After creating the edit profile page, you need to set it as the default edit profile page across your WordPress website.
To do this, go to ProfilePress >> Settings. Open the Pages tab, scroll to the My Account Page section, and select the newly created edit profile page.

Finally, click on Save Changes.
Conclusion
Creating a WordPress frontend edit profile page using the ProfilePress plugin enhances the user experience of your website by enabling users to update their information, fostering greater engagement efficiently.
Following the steps outlined in this guide will create a functional, user-friendly edit profile page that significantly improves your WordPress website.