Setting Up Paddle Payment Method
Do you want to learn how to set up the Paddle on your WordPress site so you can accept one-time and recurring payments from your users?
Paddle is a merchant-of-record platform that helps SaaS and digital product businesses handle payments, subscriptions, sales tax, compliance, and billing from a single platform. It supports major payment methods, including credit and debit cards, PayPal, Apple Pay, Google Pay, bank transfers, and a variety of local payment options worldwide. By managing the complexities of global payments and compliance, Paddle enables businesses to sell internationally with less operational overhead.
ProfilePress has a Paddle addon that makes it easy to add a Paddle payment method to your WordPress website.
If you run a membership site, sell digital products, or handle regular subscriptions, our Paddle integration helps you use Paddle’s great payment system to serve your customers in Africa and elsewhere.
Setting Up Paddle Payment Method in WordPress
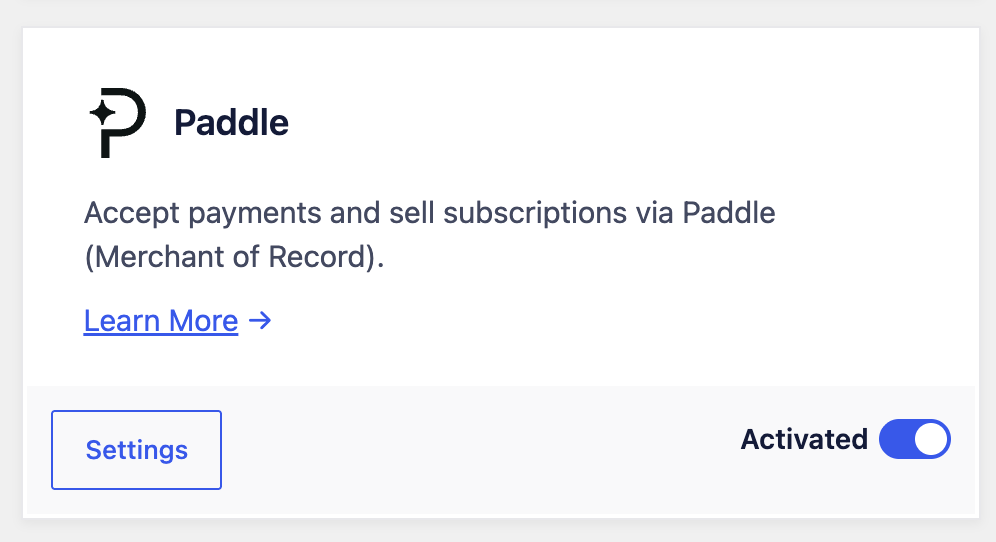
To begin accepting payments in WordPress via Paddle, go to ProfilePress > Addons in your WordPress dashboard and activate the Paddle addon.
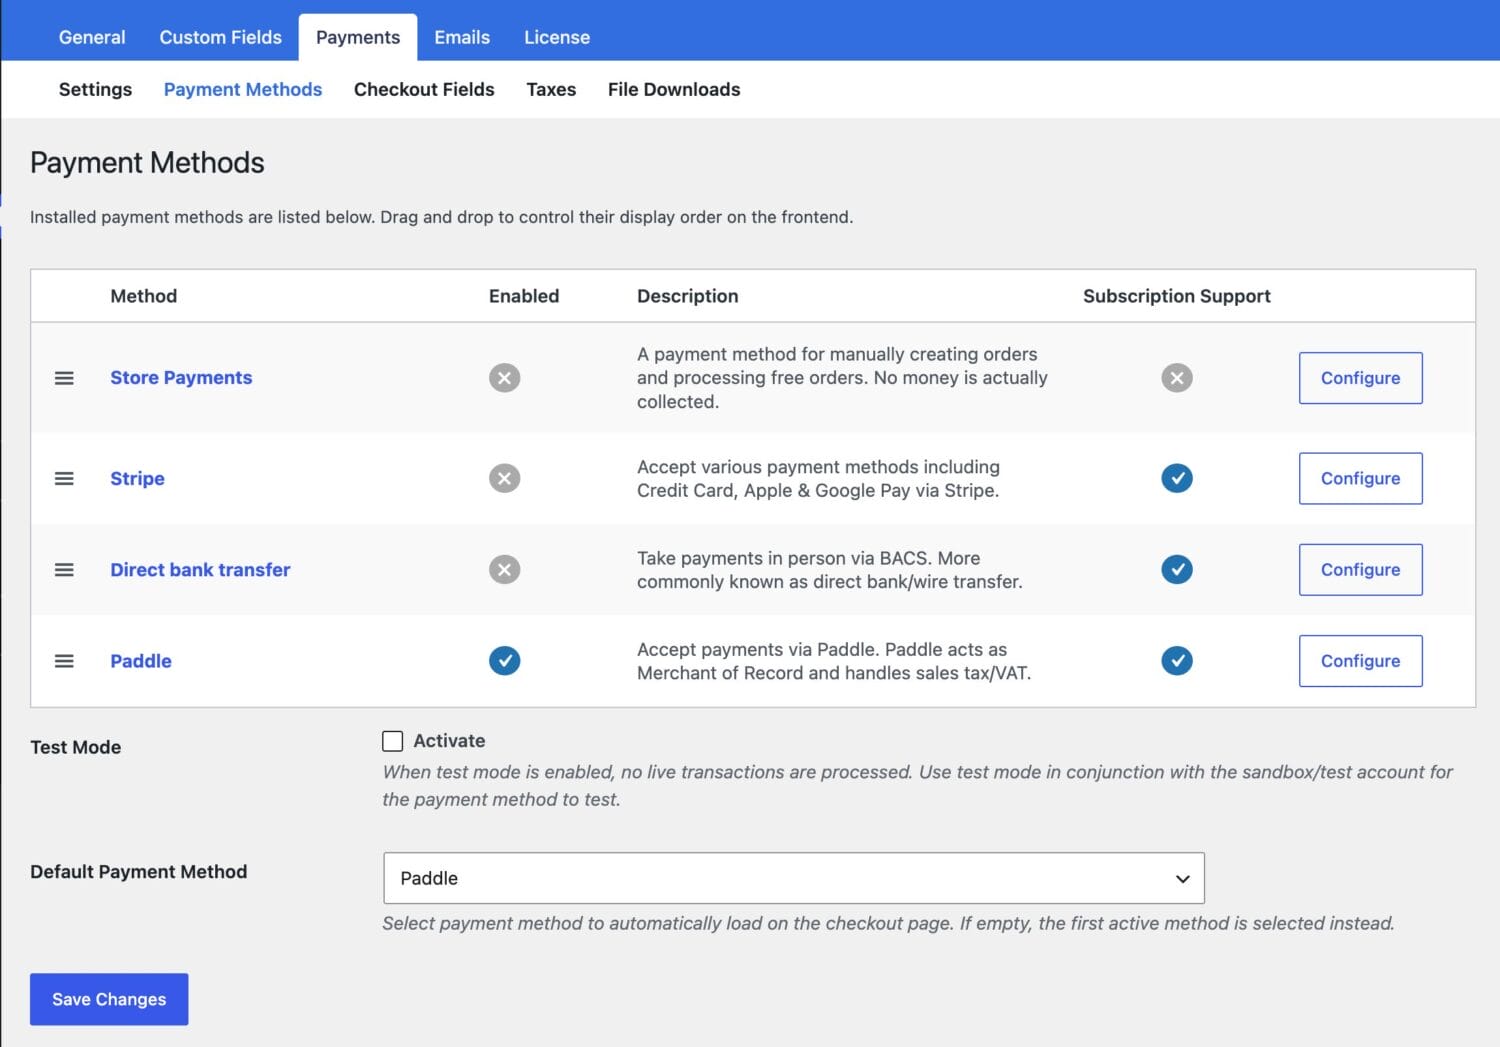
Next, go to ProfilePress > Settings > Payments >> Payment Methods and click the Configure button for Paddle.
If you want to test the setup before going live, ensure you activate “test mode” first and create an account on the Paddle Sandbox platform at https://sandbox-vendors.paddle.com instead of your live Paddle account.
ProfilePress requires your Paddle API key, Client-side Token, Notification Secret, and webhook setup in Paddle to start accepting one-time and subscription payments in WordPress.
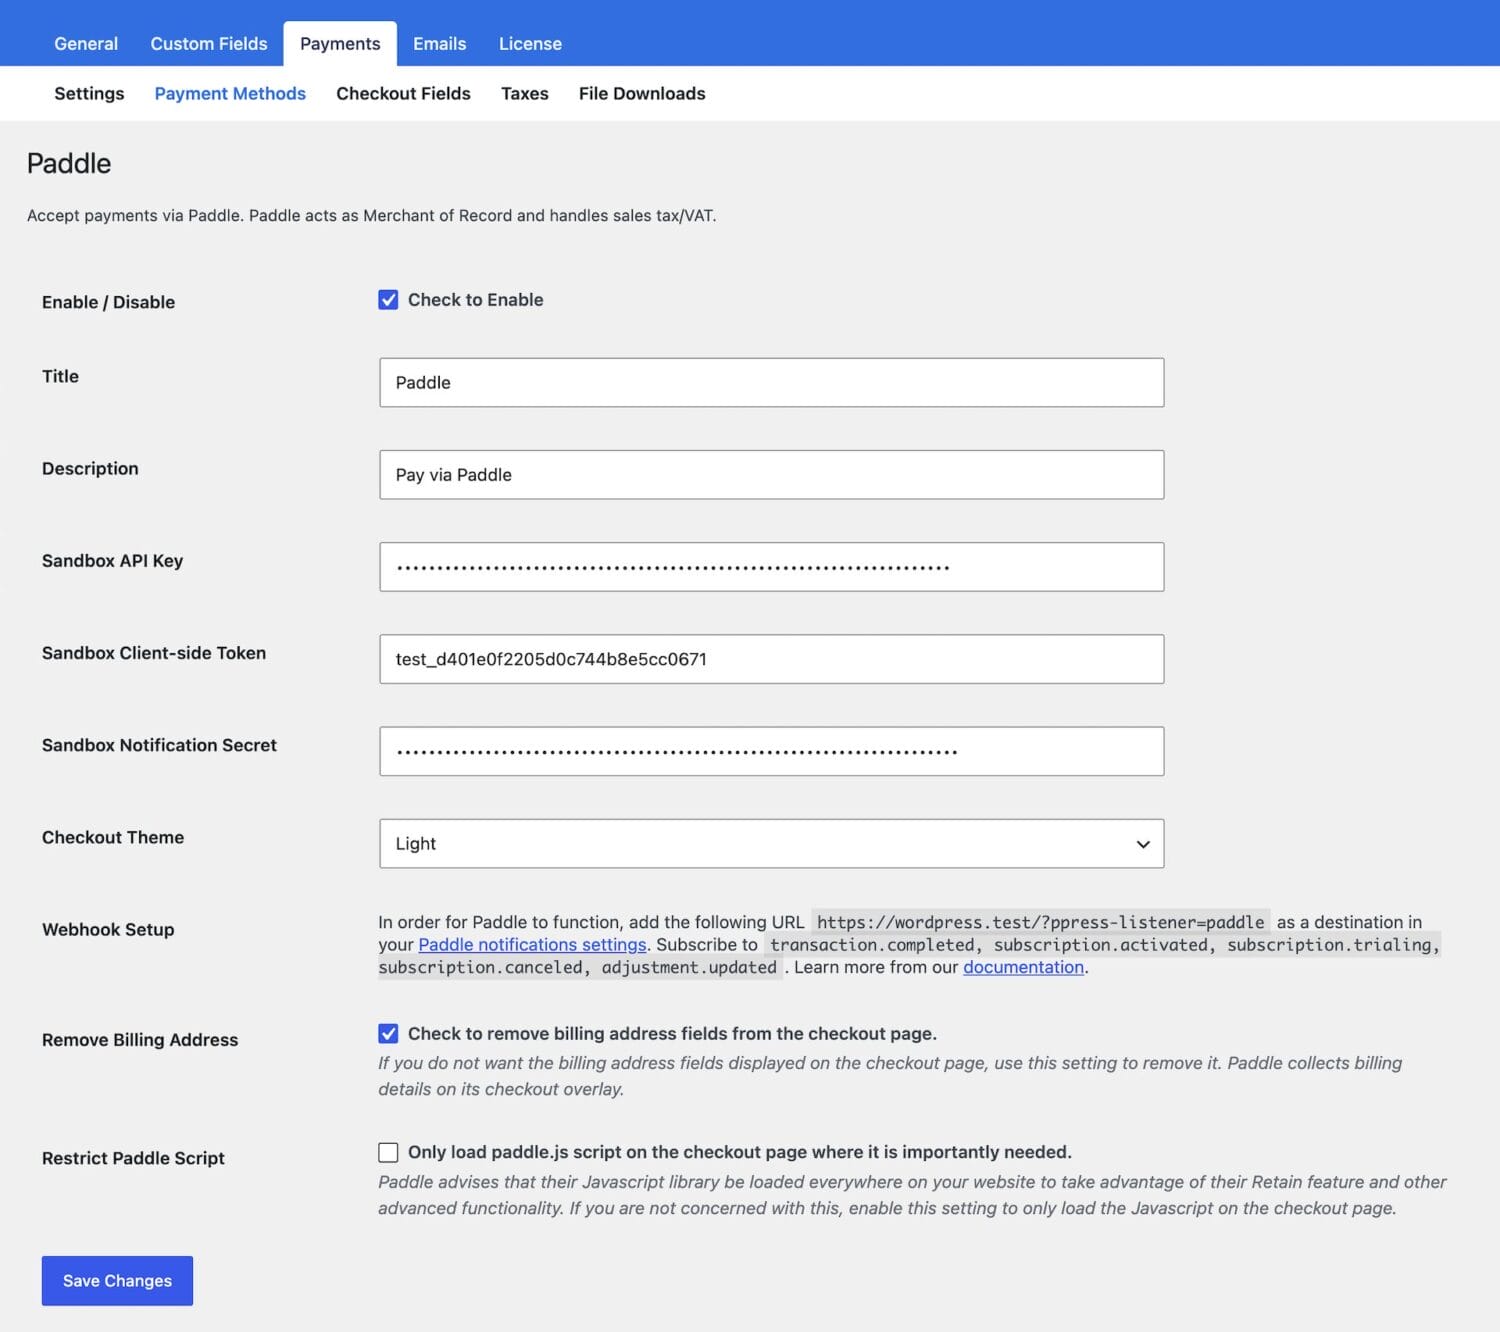
You also have the option to remove billing fields from the ProfilePress checkout form when the Paddle gateway is active, and to select a theme for the Paddle overlay checkout that actually charges for payment.
Getting Your Paddle Credentials and Setting Up Webhook
To get the required Paddle credentials to start accepting payments via Paddle in WordPress, log in to your Paddle dashboard.
From the left menu, select Developer Tools > Authentication >> API Key and click the New API key button.
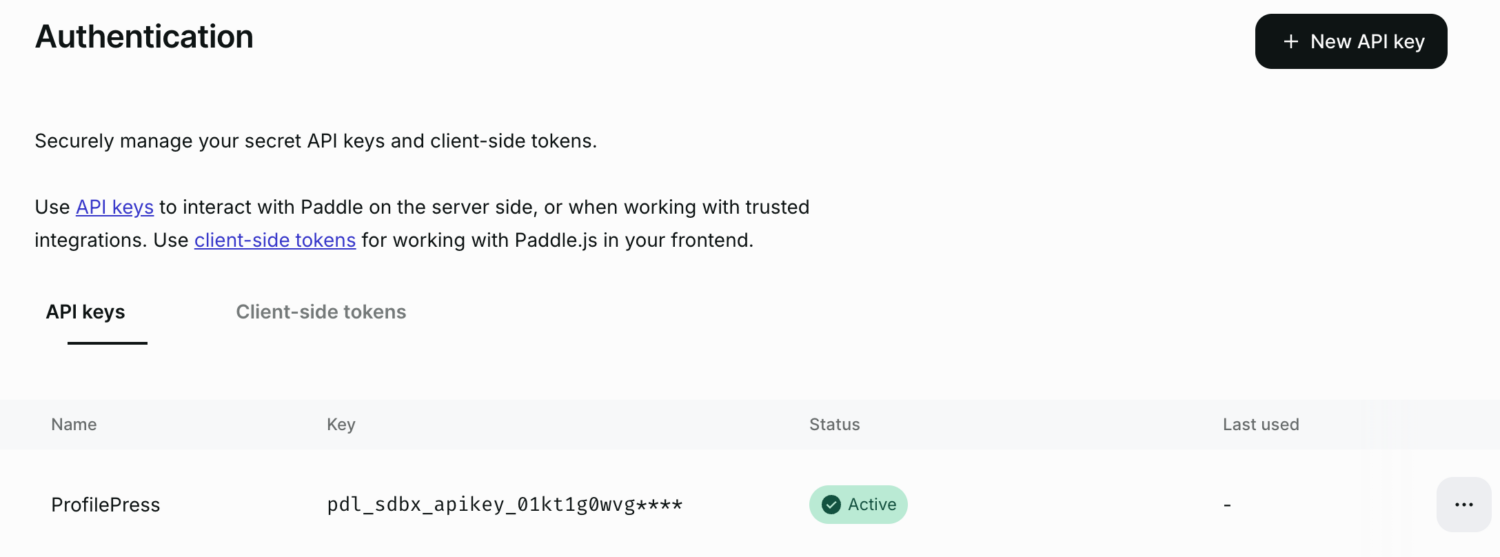
Enter a name and description for the API Key, set the “Expires at” to “Never expires” and ensure Write access to all permissions are checked.
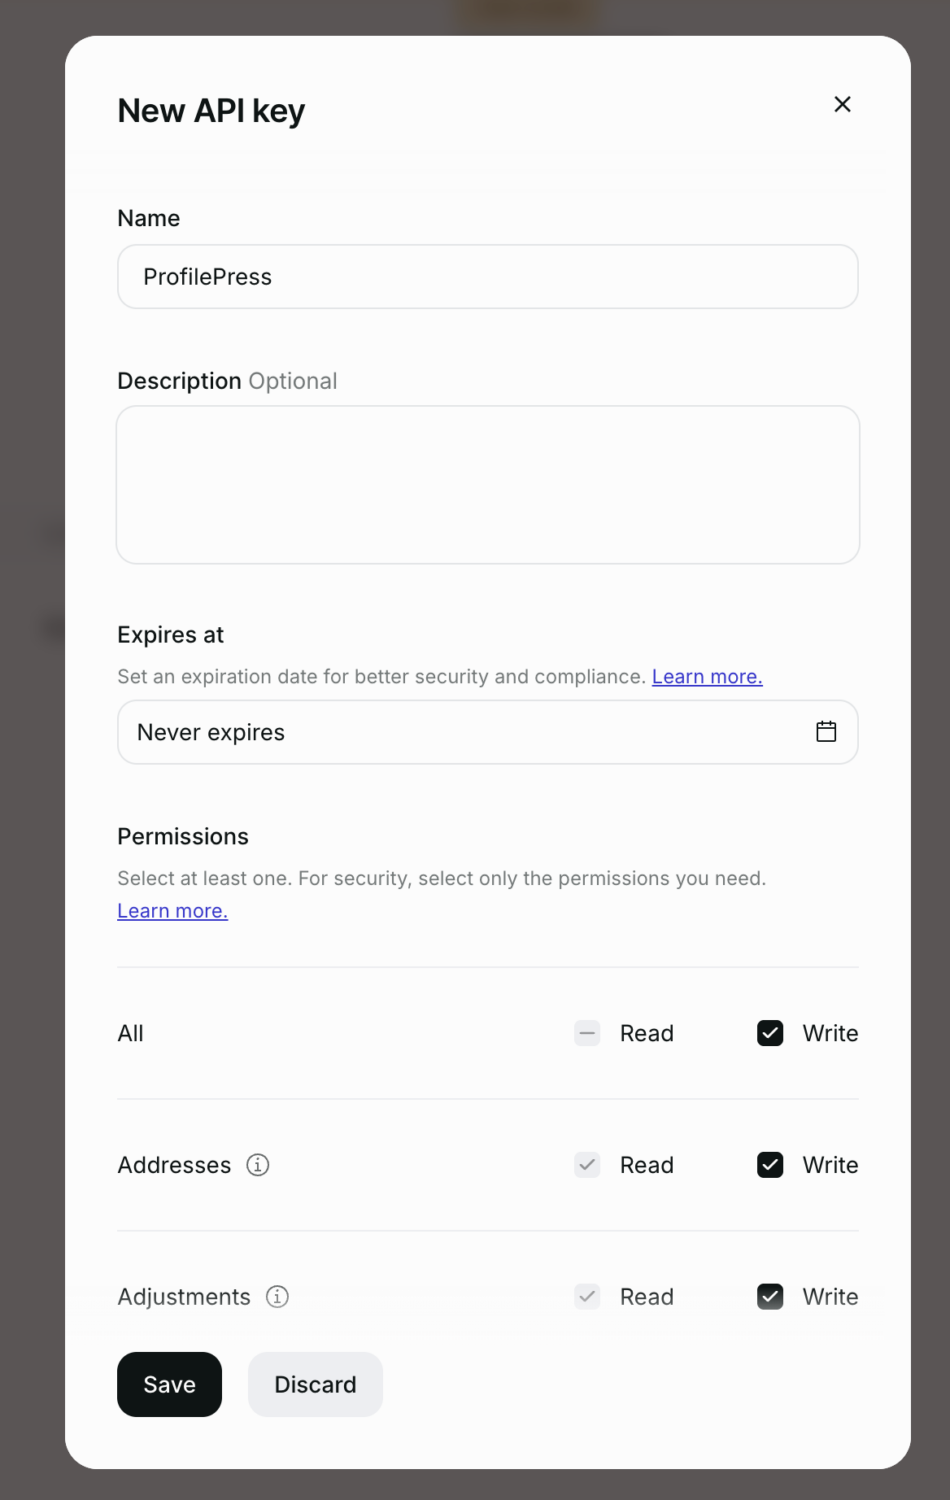
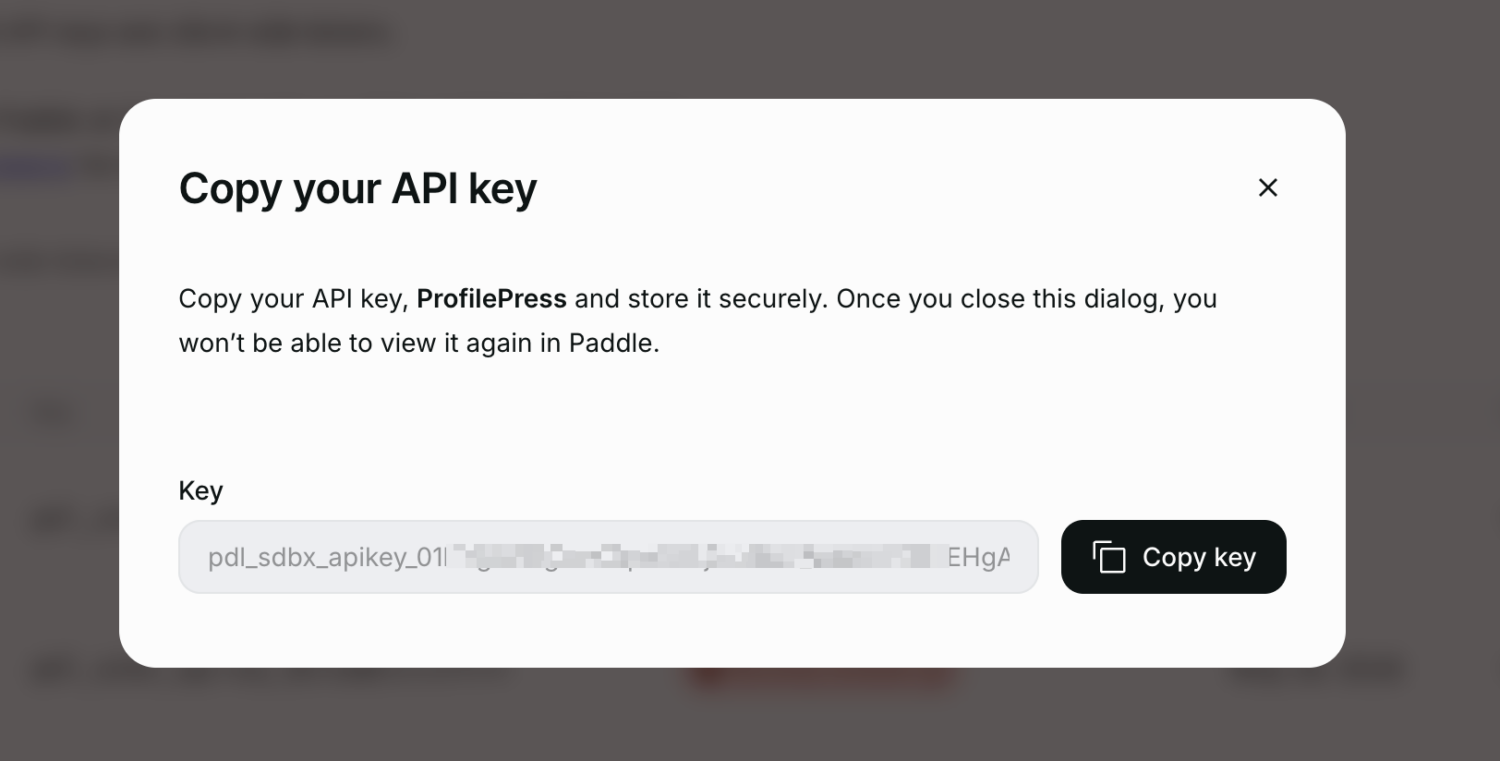
Click the Save button to reveal the API Key you created. Ensure you have it saved in the Paddle settings in ProfilePress.
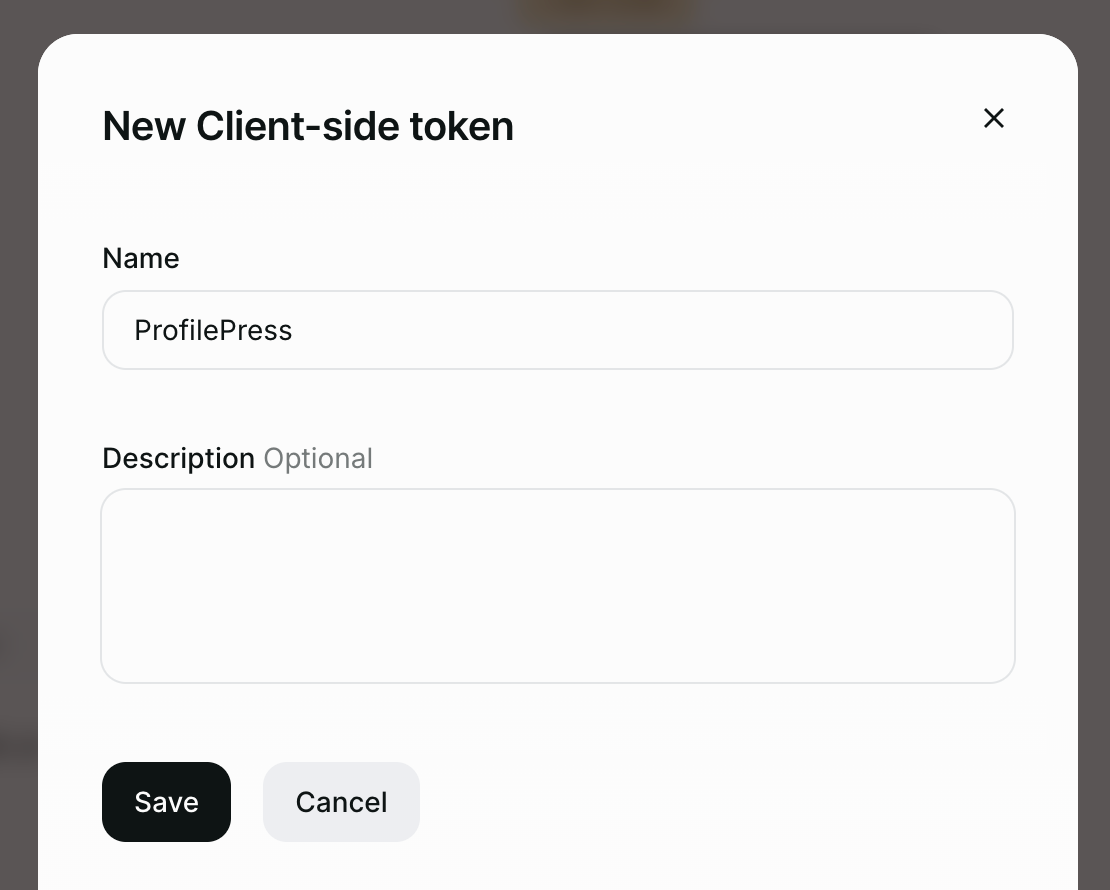
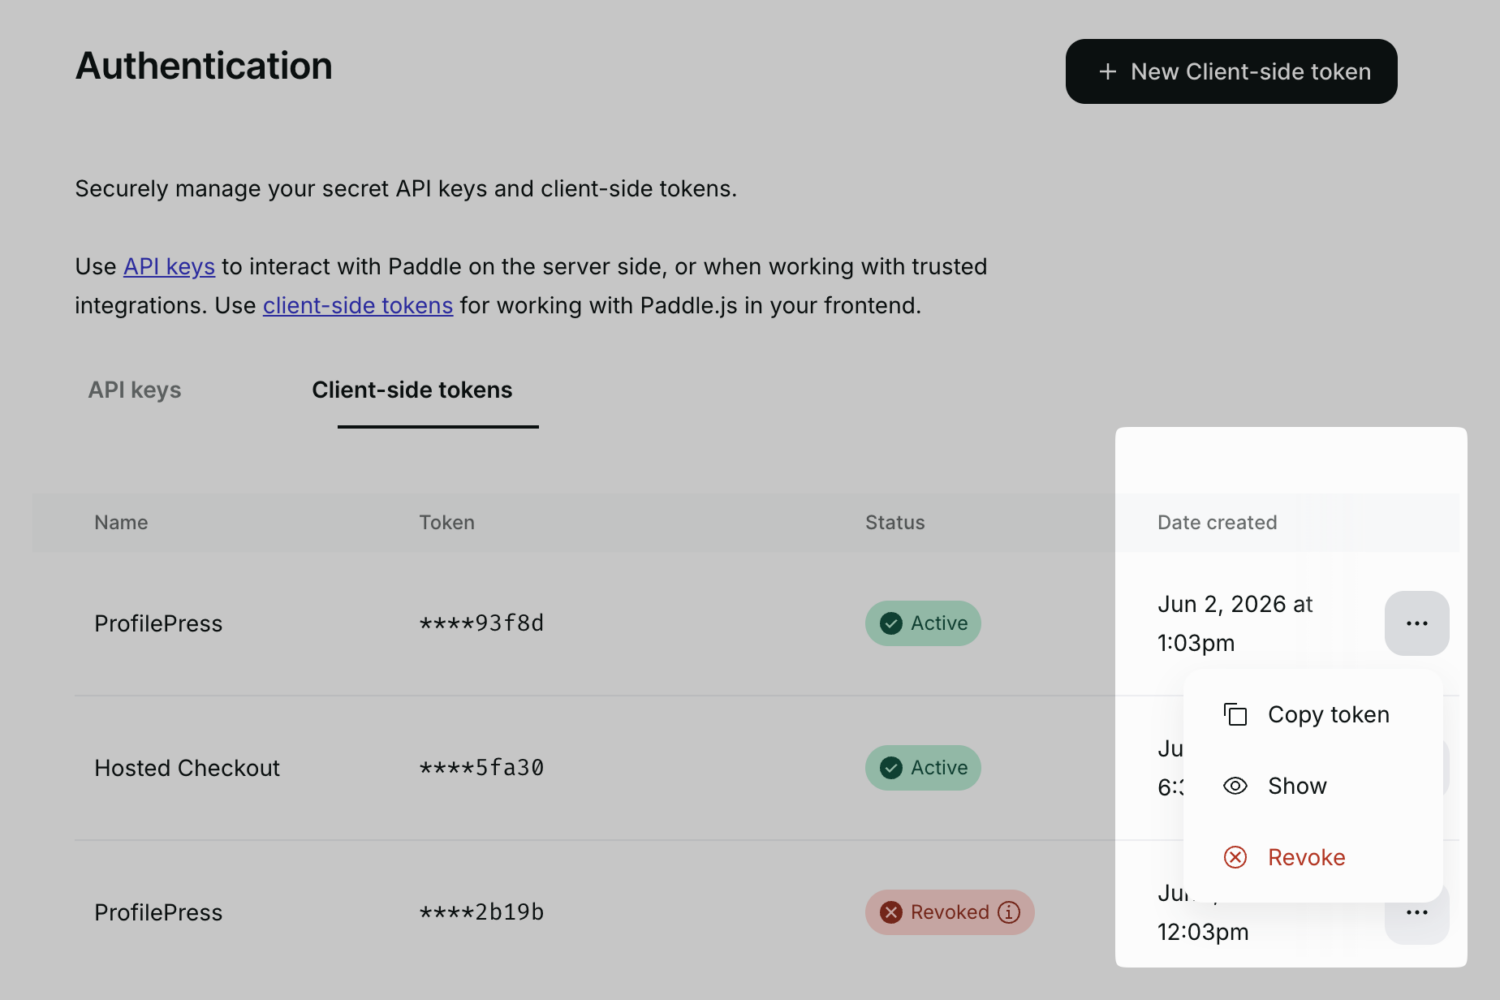
Next, we need to create a Client-side token. Open the Client-side tokens tab and click the “New Client-side token” button.
Enter a name for the token and submit the form.
On the created token row, click the ellipsis button and click on “Copy token” to copy the Client-side token to the clipboard.
Webhooks
Webhooks are how Paddle communicates with ProfilePress, including letting the plugin know when a payment is successful, a subscription is canceled, or an order is refunded.
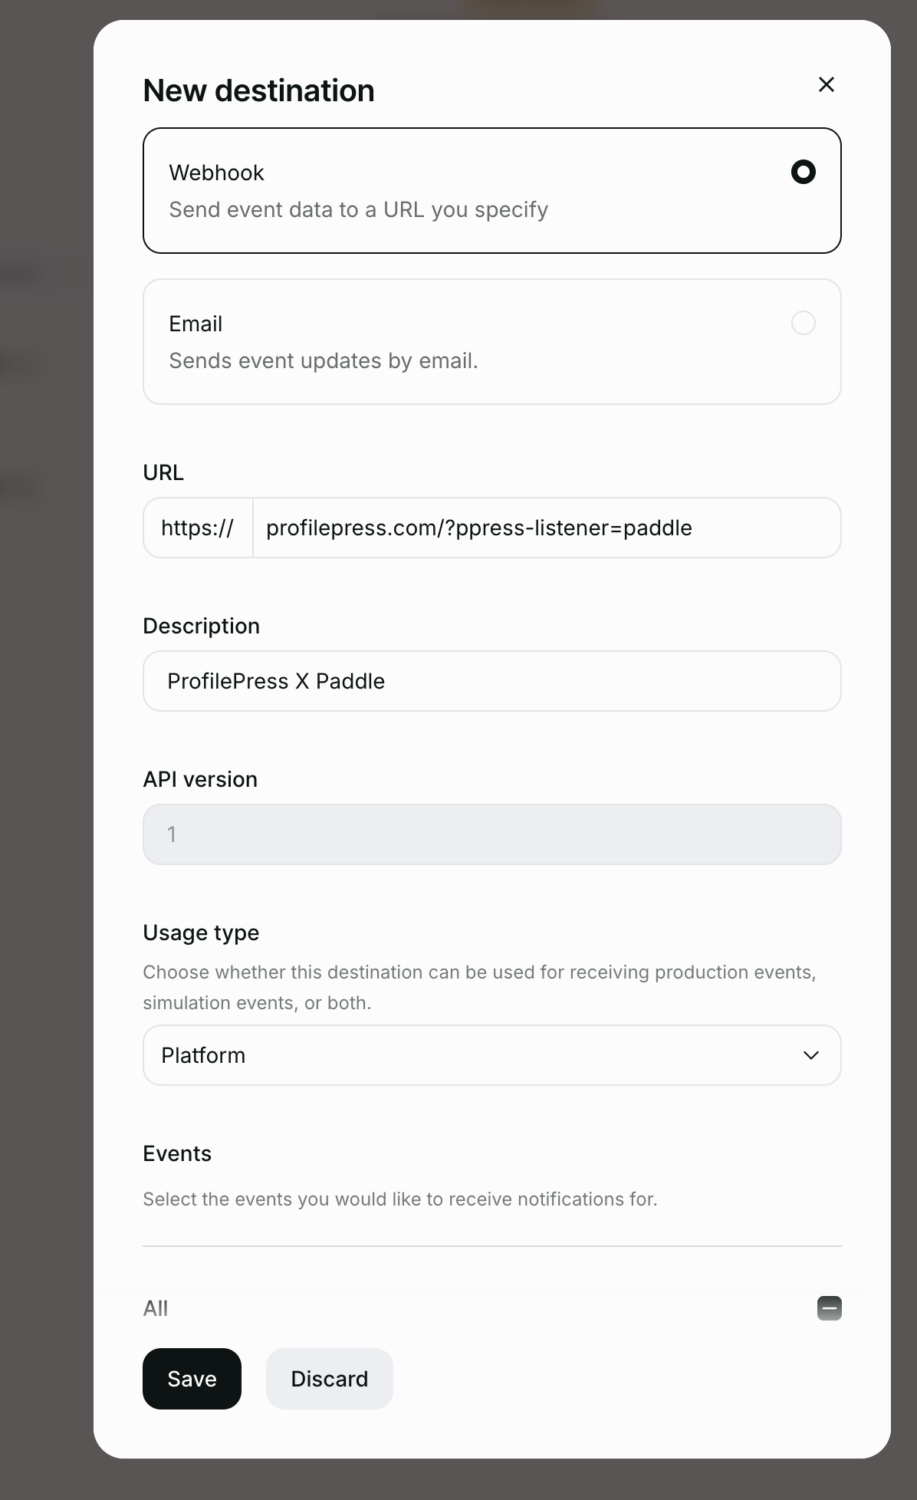
Go to Developer Tools >> Notifications and click the “New destination” button.
Select Webhook as the notification type, and enter your website webhook URL. You can get and copy the Webhook URL from the Webhook Setup section of the ProfilePress Paddle settings page, which is usually https://example.com/?ppress-listener=paddle.
Ensure the following events are selected:
transaction.completedsubscription.activatedsubscription.trialingsubscription.canceledadjustment.updated
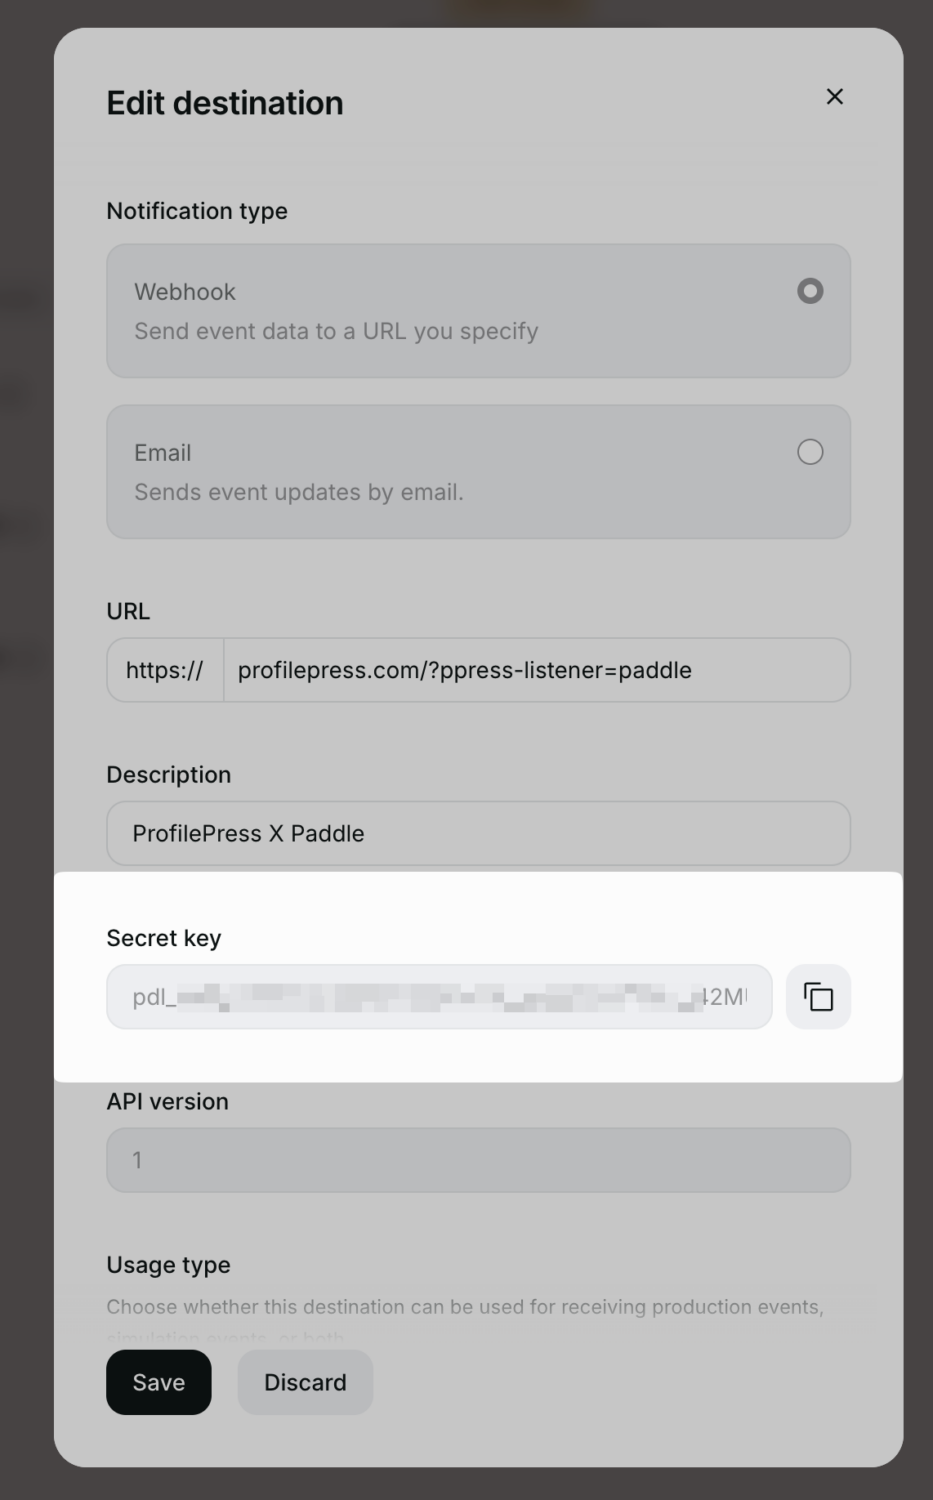
Save the webhook. After submitting the form, you will be redirected to the Notifications page. Click the ellipsis button and then click on “Edit destination”. You should now see the notification secret key displayed.
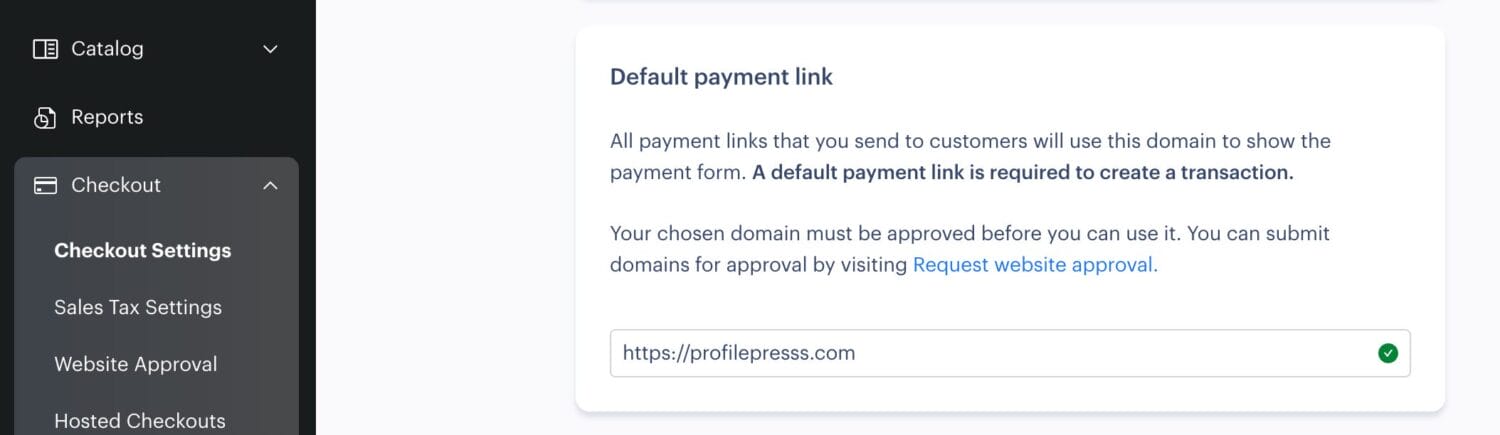
Finally, ensure the Paddle team approves your website domain by submitting your domain through Checkout >> Website Approval.

Also, ensure your website domain is set as the default payment link. If this is not done, Paddle checkout won’t work on your WordPress site.
To configure the default payment link, go to your Paddle account dashboard, then go to Checkout >> Checkout Settings and enter your Paddle-approved website URL.
Paddle for WordPress Checkout Demo
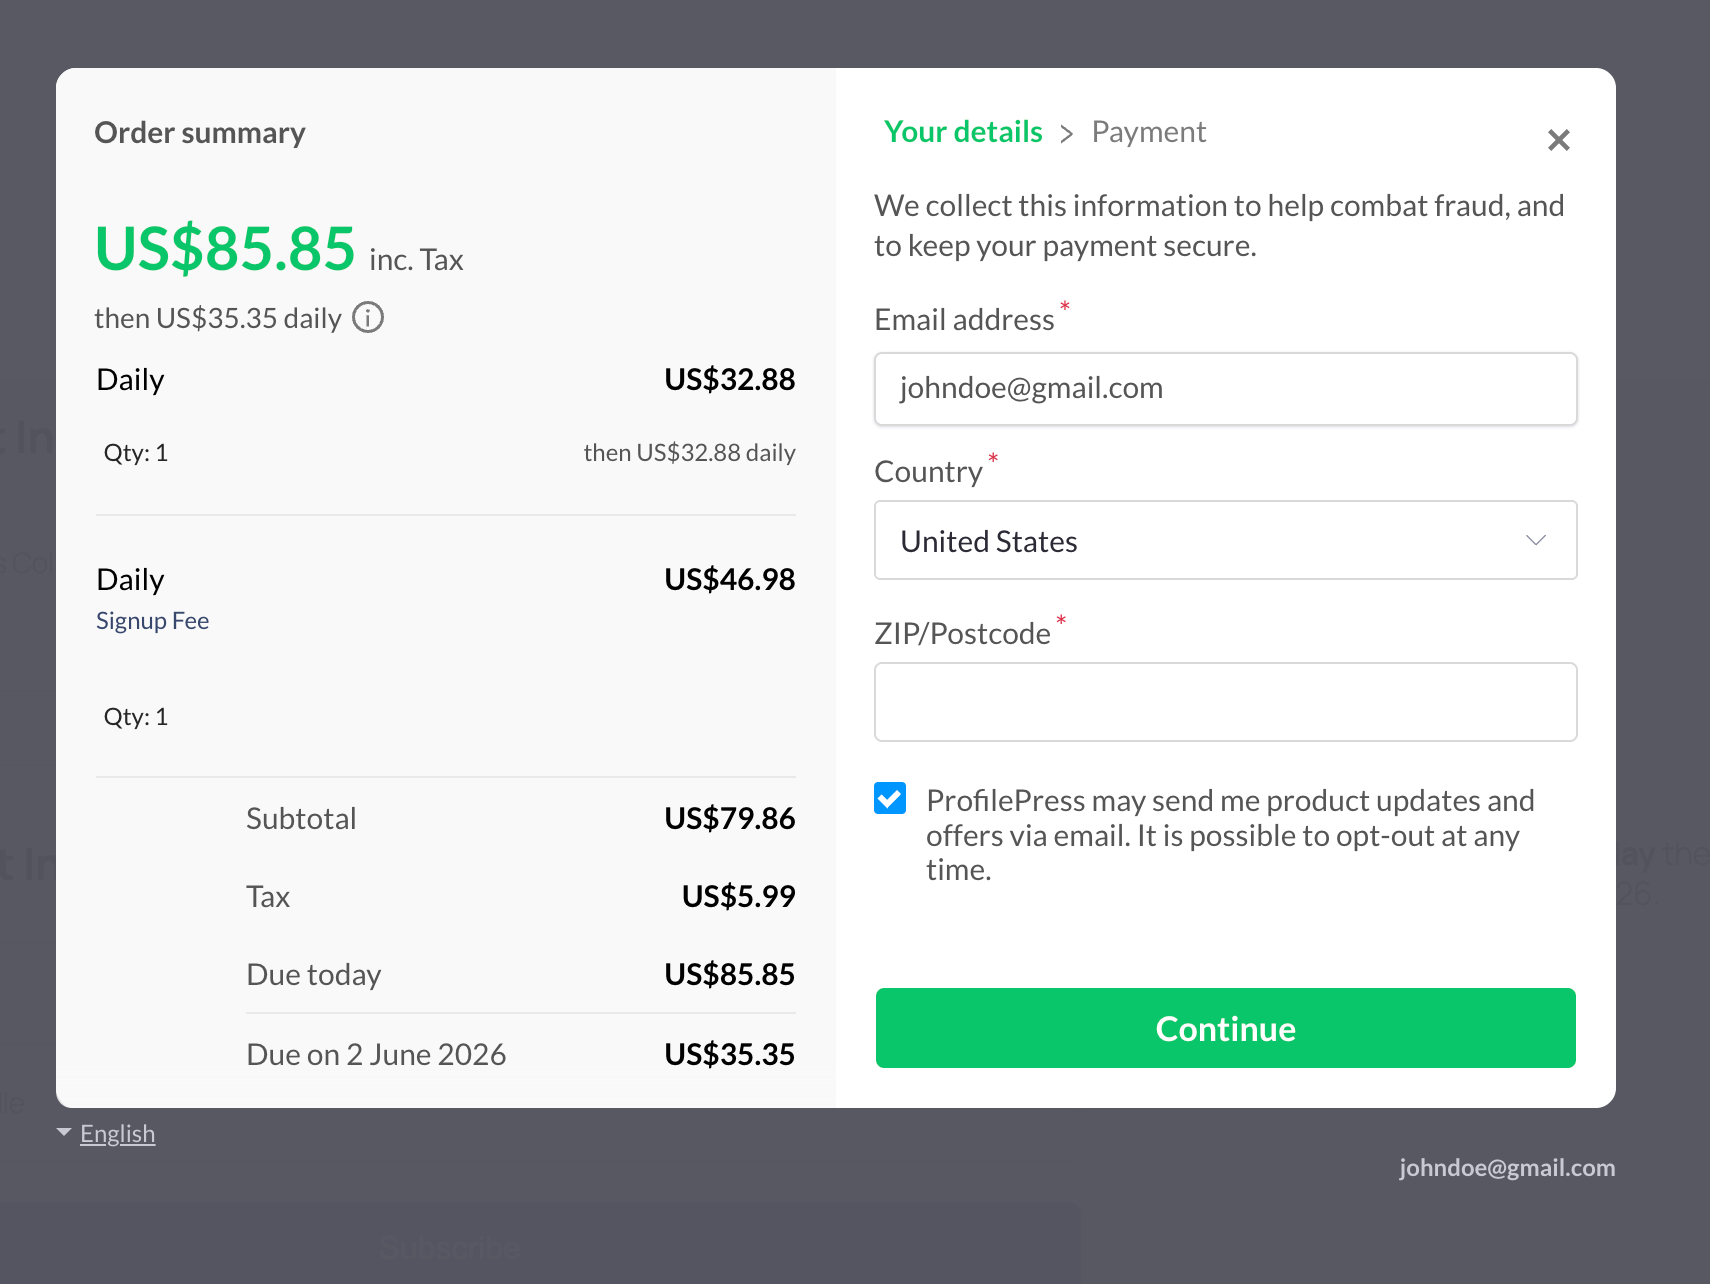
Here’s a demo of the Paddle payment gateway on a ProfilePress checkout page in WordPress.
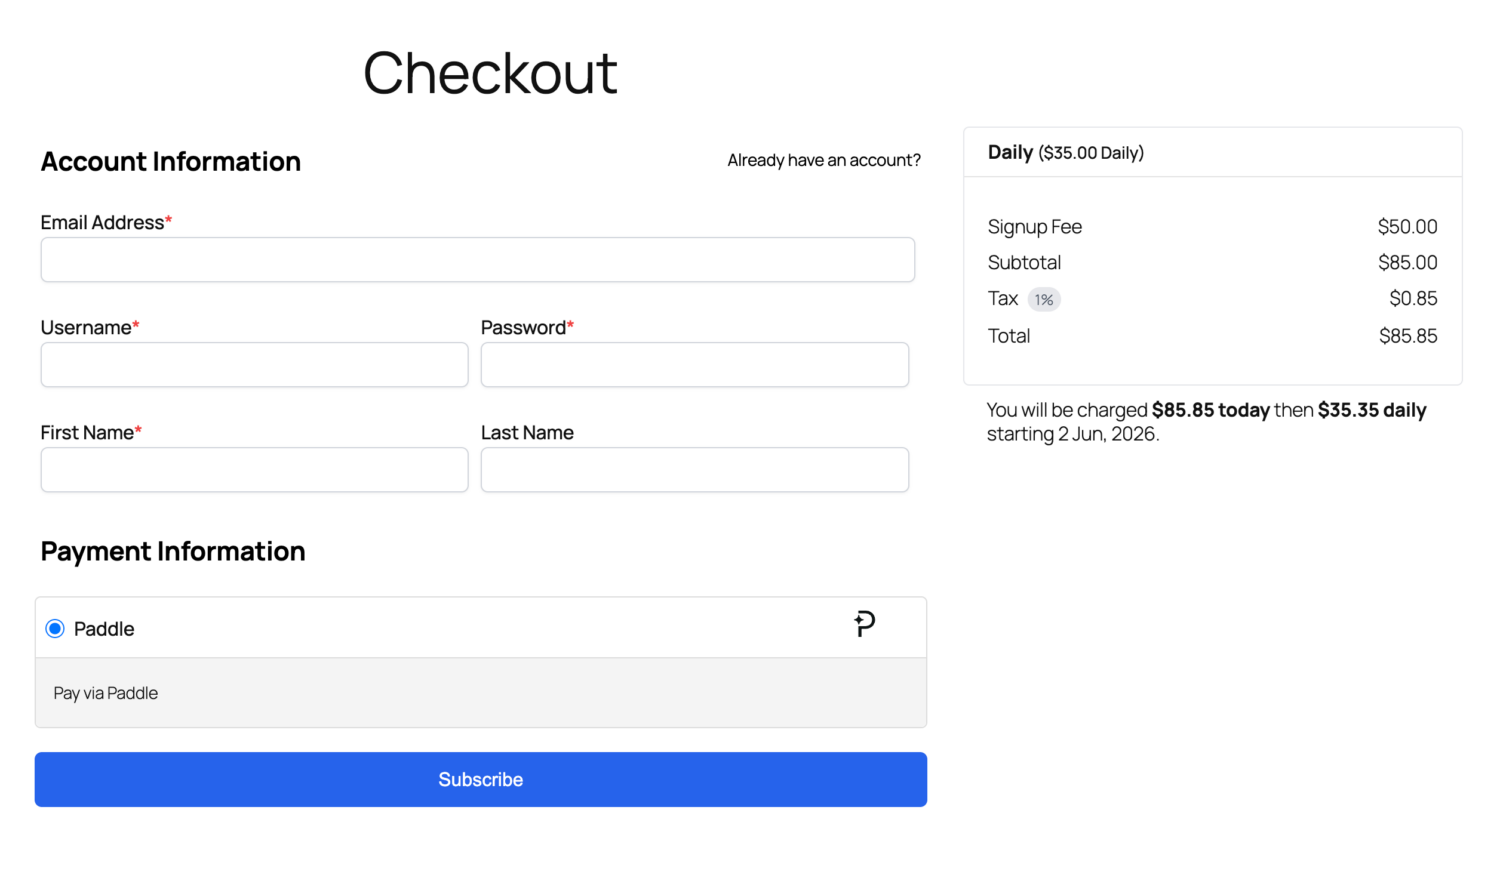
After submitting the form, your customers will see a Paddle overlay/popup checkout to complete their payment on your WordPress website.
Set up Paddle on Your WordPress Site Today!
Integrating Paddle with a WordPress site is easy with our Paddle addon, enabling you to accept payments on your membership and ecommerce website, especially for businesses looking to serve customers worldwide while remaining compliant with relevant Tax laws.
We hope this guide helps you learn how to connect your WordPress website to the Paddle.com payment system, enabling secure transactions across multiple currencies and payment methods.