Setting Up Paystack Payment Method
Do you want to learn how to set up the Paystack payment method on your WordPress site?
Paystack is one of Africa’s fastest-growing payment gateways, supporting thousands of businesses.
ProfilePress has a Paystack addon that makes adding a Paystack payment method to your WordPress website easy.
If you run a membership site, sell digital products, or handle regular subscriptions, our Paystack integration helps you use Paystack’s great payment system to serve your customers in Africa and elsewhere.
Setting Up Paystack Payment Method in WordPress
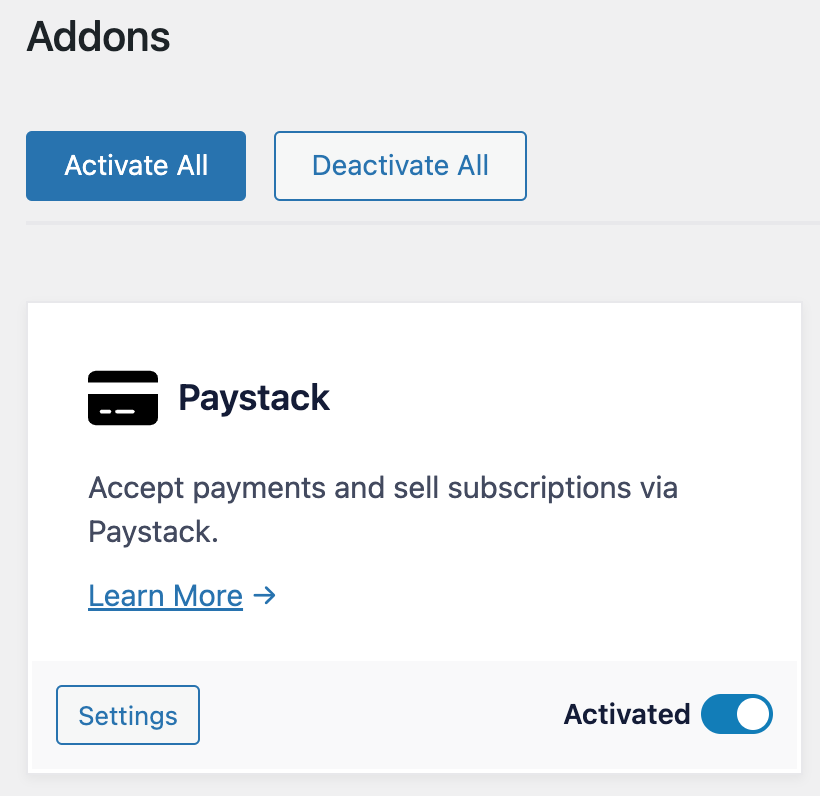
To begin accepting payments in WordPress via Paystack, go to ProfilePress > Addons in your WordPress dashboard and activate the Paystack addon.
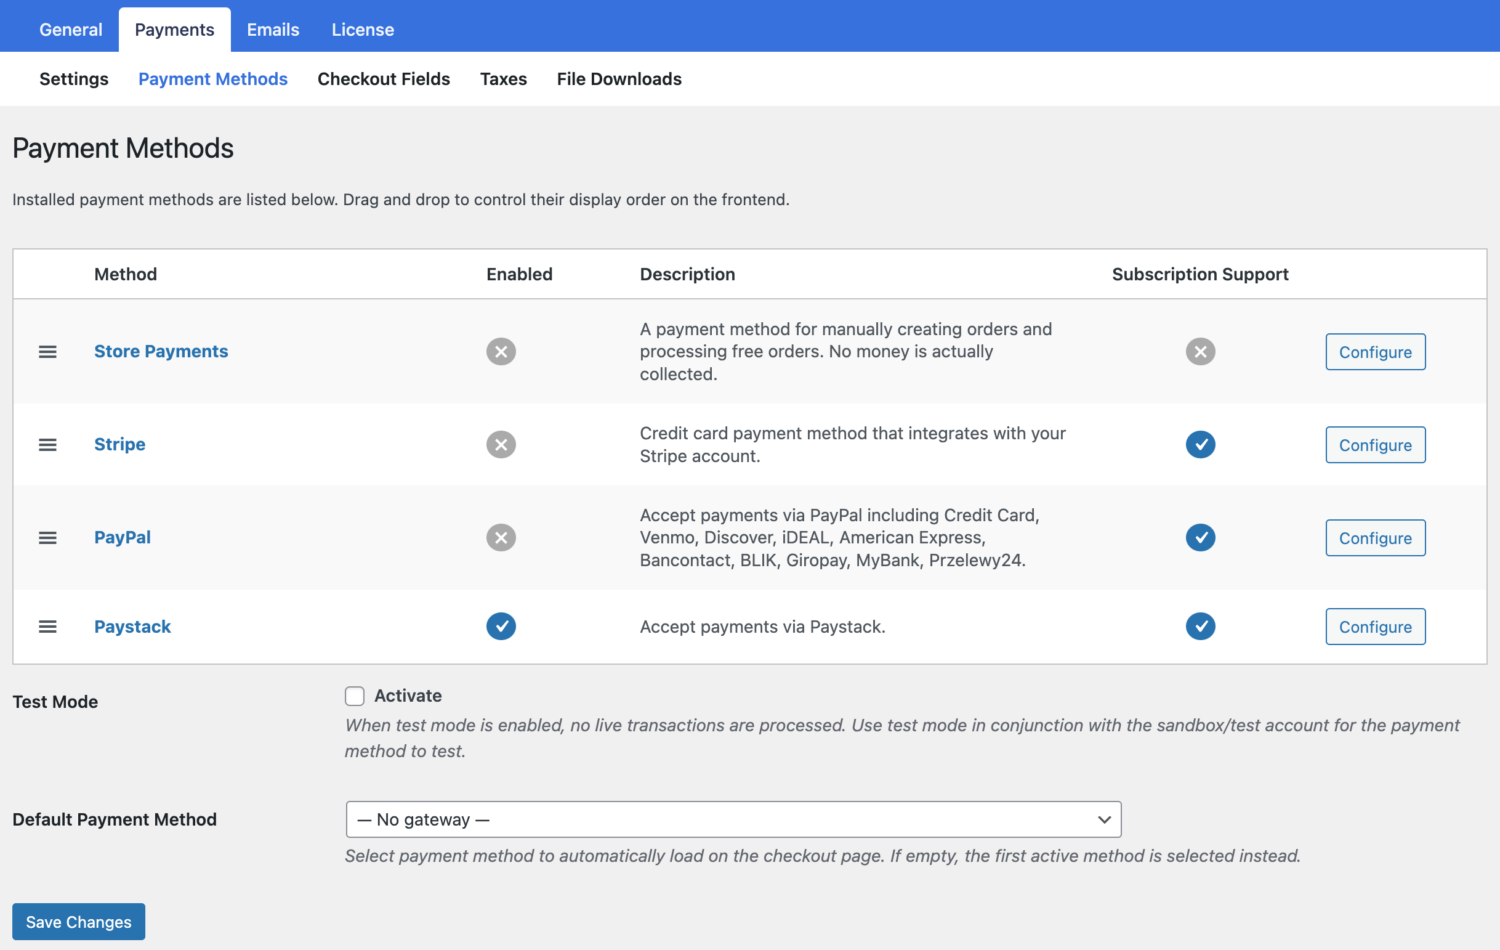
Next, go to ProfilePress > Settings > Payments >> Payment Methods and click the Configure button for Paystack.
If you want to test the setup before going live, ensure you activate “test mode” before proceeding with the setup.
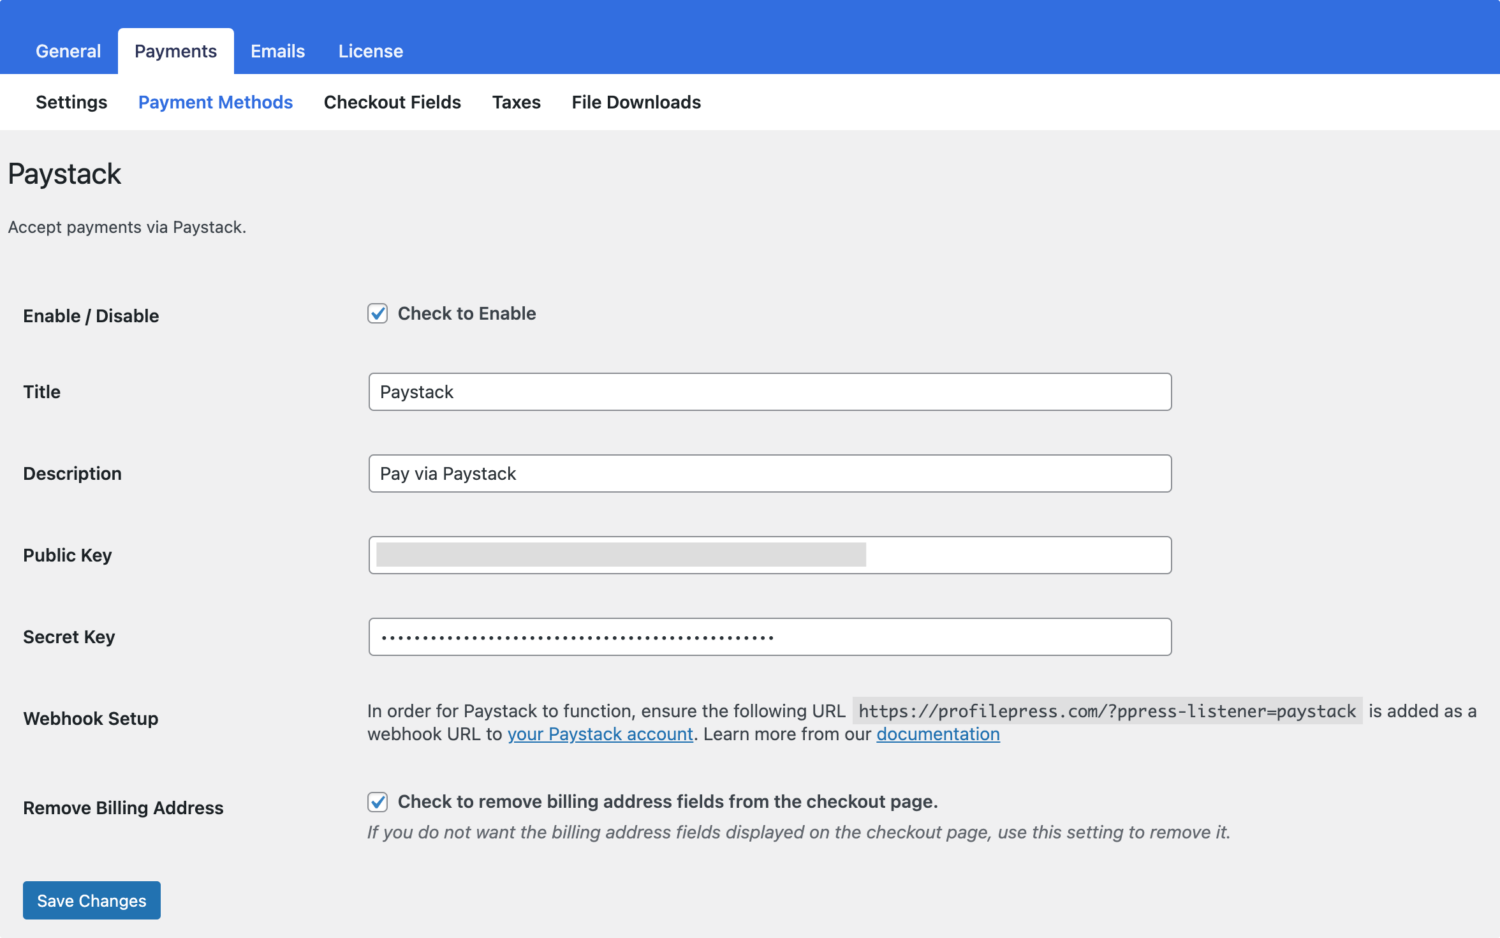
ProfilePress requires your Paystack API keys and webhook setup in Paystack to start accepting payments in WordPress.
Finding Your API Keys
Log into your Paystack dashboard.
From the left menu, select Settings > API Keys & Webhooks.
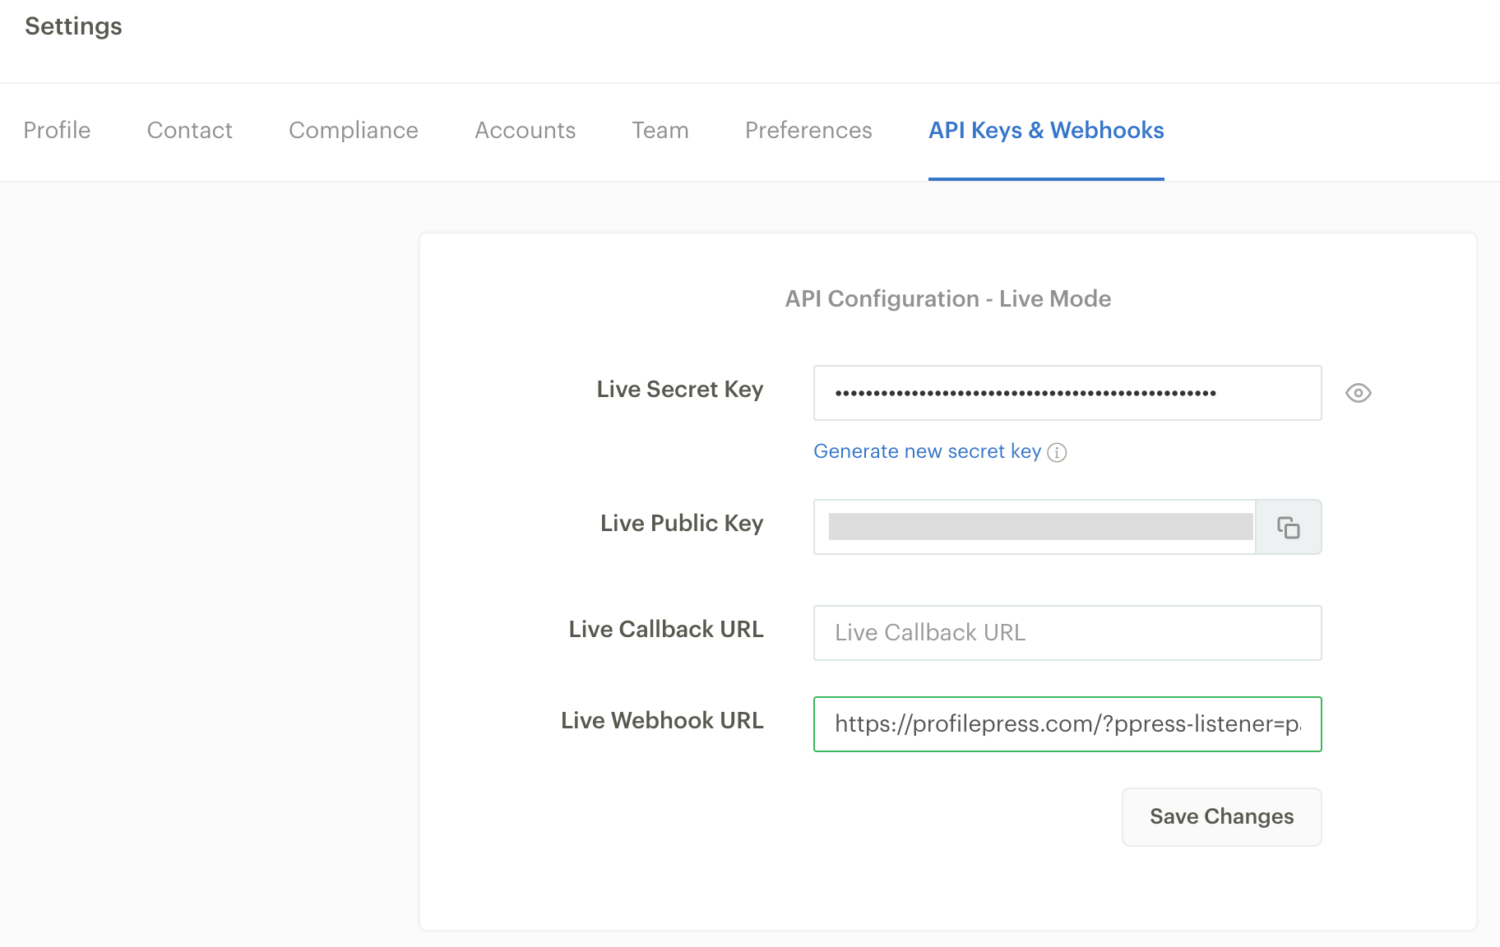
Copy and paste your Live Public Key and Secret Key or the Test Public Key and Secret Key (depending on whether you have test mode enabled in ProfilePress) into the appropriate Paystack settings in ProfilePress.
Webhooks
Webhooks are how ProfilePress communicates with Paystack. Follow the guide below to add the appropriate webhook endpoints to your Paystack application.
On the API Keys & Webhooks settings page in Paystack, enter your website webhook URL. You can get and copy the Webhook URL from the Webhook Setup section of the ProfilePress Paystack settings page, which is usually https://example.com/?ppress-listener=paystack.
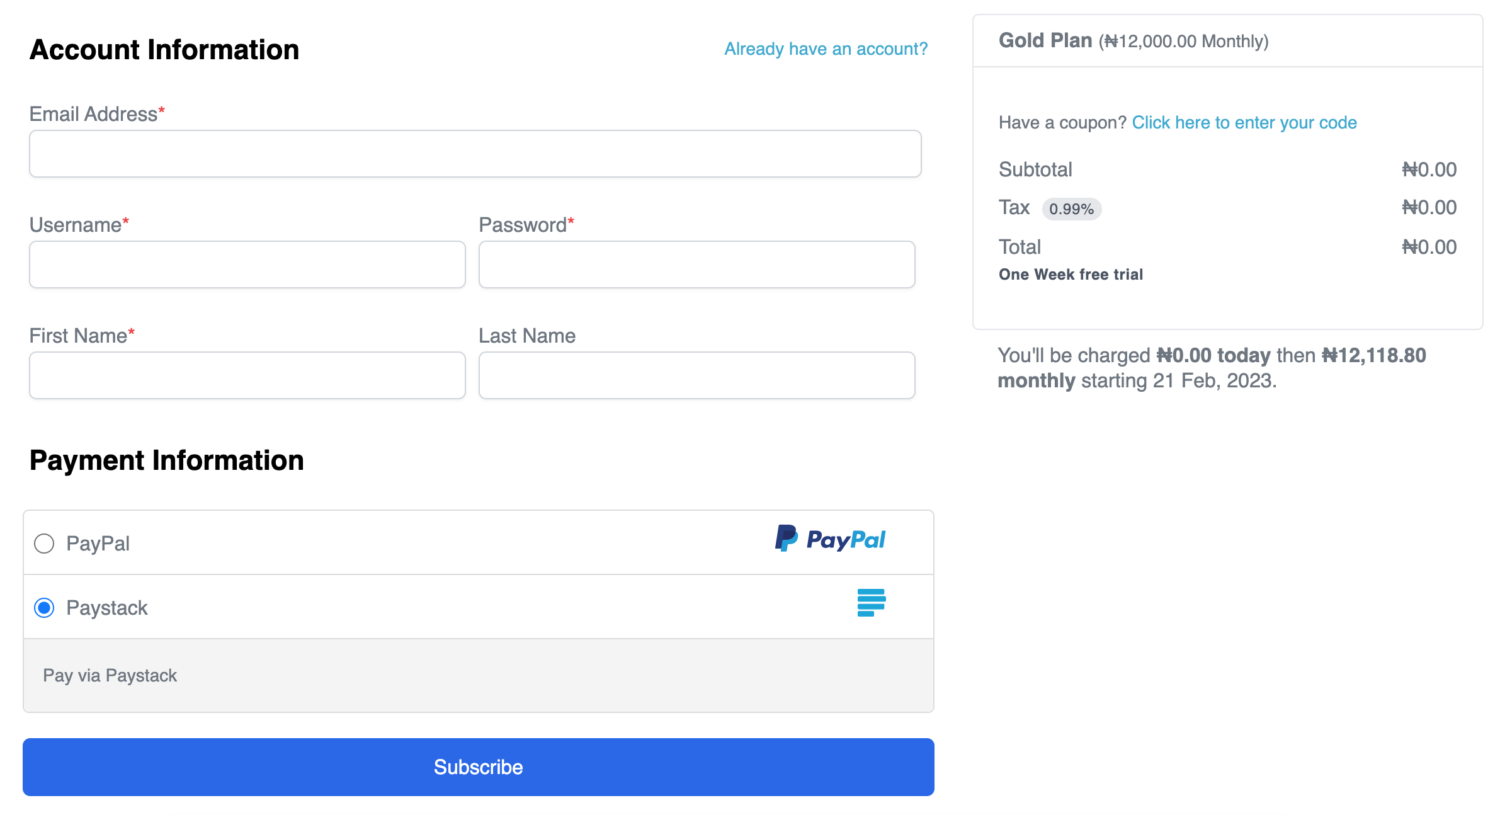
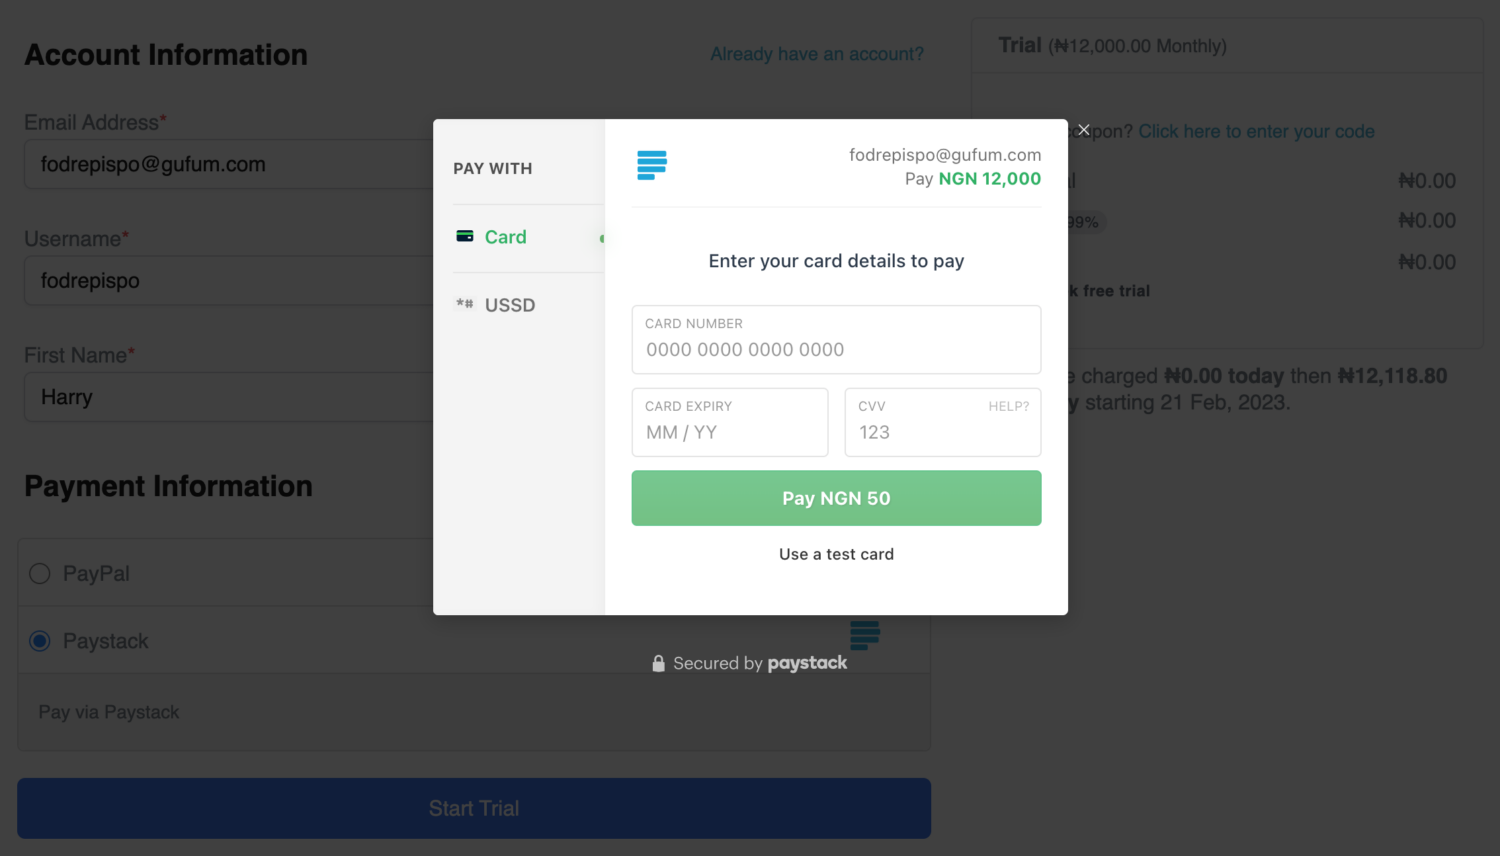
Here’s a demo of Paystack on the ProfilePress checkout page in WordPress.
After submitting the form, your customers will see a Paystack popup checkout to complete their payment.
Setup Paystack on Your WordPress Site Today!
Integrating Paystack with your WordPress site using the ProfilePress Paystack addon offers a powerful and efficient way to accept payments, particularly for businesses operating in or serving customers within Africa.
Following the steps outlined in this guide, you can seamlessly connect your website to Paystack’s payment infrastructure, enabling secure transactions across multiple currencies and payment methods.
Feel free to contact our team if you need further guidance on using Paystack or encounter any issues while setting it up.