How to Activate and Deactivate Addons
Addons are components that give additional capabilities to the software. On the ProfilePress plugin, addons are provided so that you can easily select the additional features that should be enabled and run alongside the default plugin functionalities.
Once you have installed the plugin successfully and get it fully activated, follow the steps described below to activate or deactivate your addon of choice.
Login to your WordPress dashboard.
Navigate to the ProfilePress menu on your WordPress admin sidebar > Addons.
Activating Addons
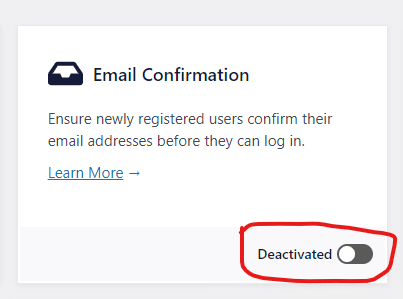
When an addon is deactivated, it shows deactivated with a small button beside it, which is used to activate it.
Now, locate the addon you want to activate from the list of addons and click on the button beside the deactivated text in other to activate. That’s all.
Deactivating Addons
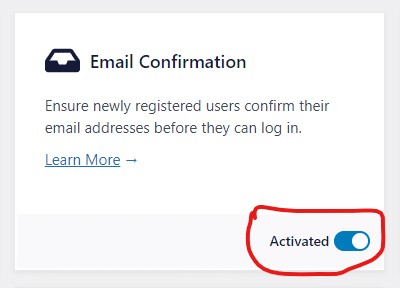
When an addon is activated, this time, it shows activated with a small bluish button beside it, which can be used to deactivate it.
Again, locate the addon you want to deactivate from the list of addons and click on the button beside the activated text in other to deactivate. That’s all.
Also, at the top of the addons page, there are two buttons, namely, Activate All and Deactivate All.

The Activate All button allows you to activate all the available add-ons at once. The Deactivate All button does the opposite, it is used to deactivate all the available addons in one click.