Subscribing WordPress Users to MailerLite Group After Registration
Do you want to subscribe WordPress users to your MailerLite account after registration?
Building an email list is one of the most effective ways to establish relationships with your audience and increase engagement. For WordPress site owners, automating the process of adding registered WordPress users to your MailerLite email list is essential for smooth communication.
With our MailerLite addon, you can instantly subscribe users to a specific email list right after registering through your custom WordPress registration form. You can even allow users to select which MailerLite group they would like to be subscribed to during registration.
In this article, you will learn how to integrate WordPress and MailerLite using our ProfilePress membership plugin.
Subscribing WordPress Users to MailerLite Marketing List
To automatically add WordPress users to specific MailerLite groups or email lists after user registration, you’ll need to activate the MailerLite addon on your WordPress site. Follow our guide to set up the integration between MailerLite and WordPress.
Once you have enabled the MailerLite addon in ProfilePress, the next step is to set up your MailerLite Groups.
Setting up MailerLite Group Selection
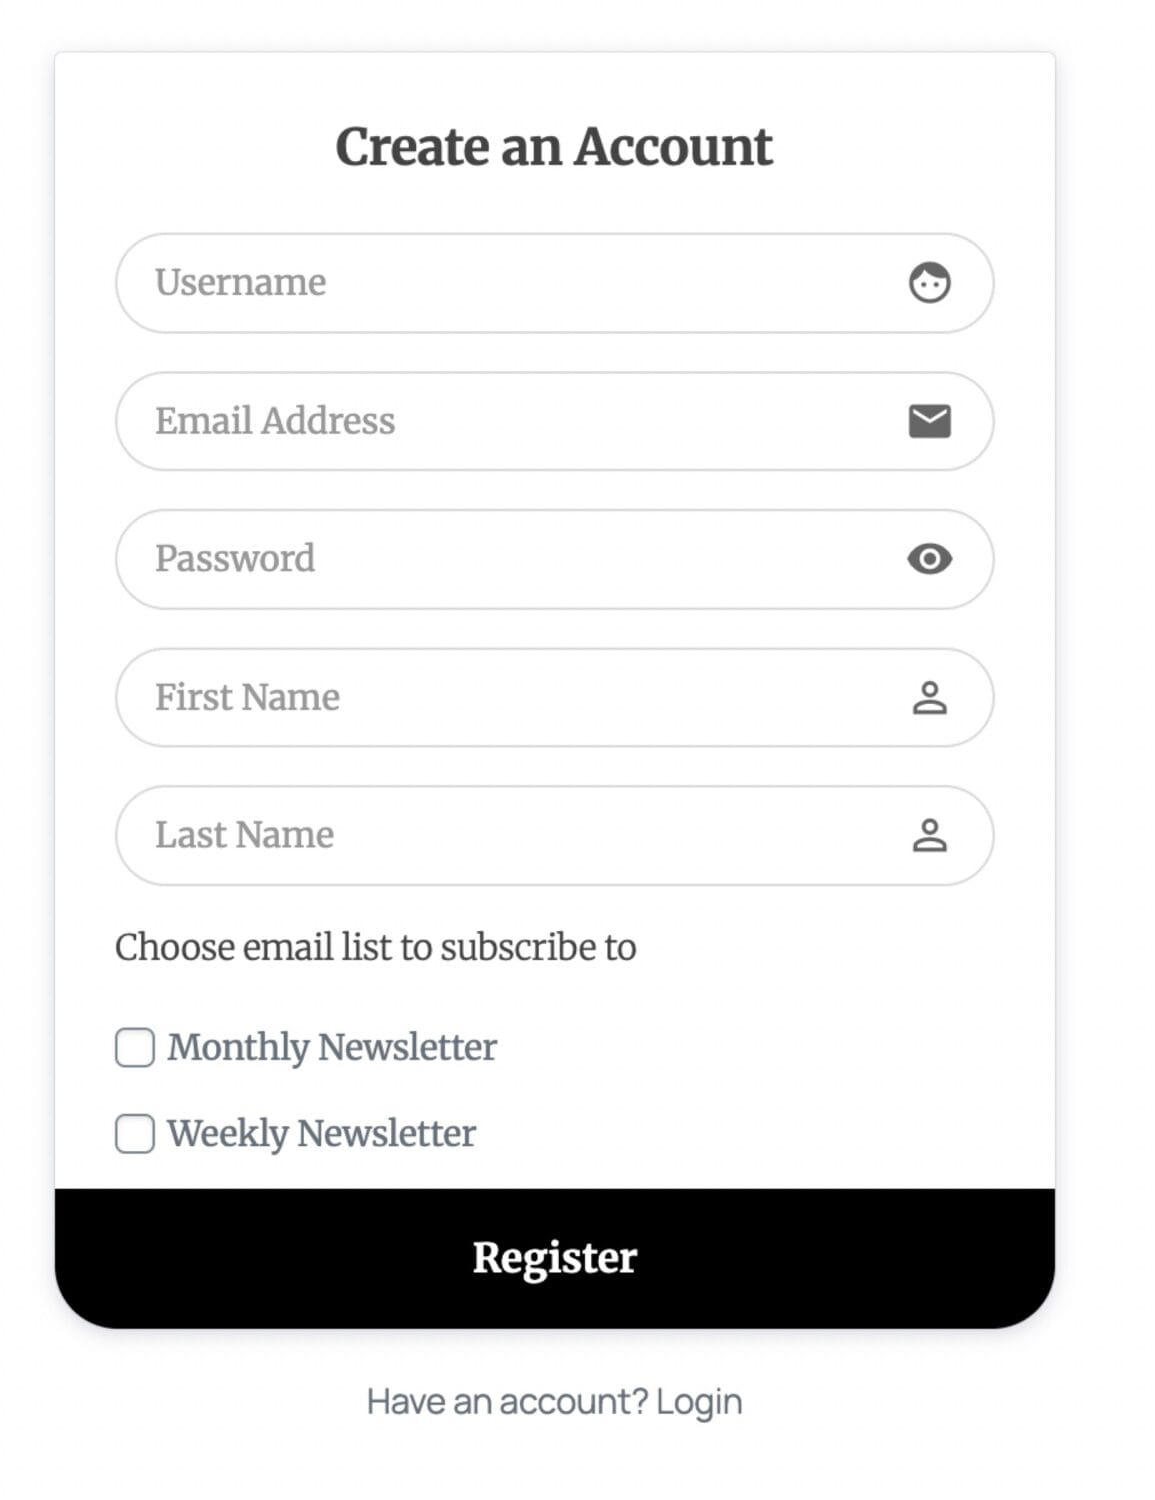
To allow users to select the MailerLite group they want to join, add the MailerLite block or shortcode to your registration form. You can do this using the drag-and-drop builder or the shortcode builder.
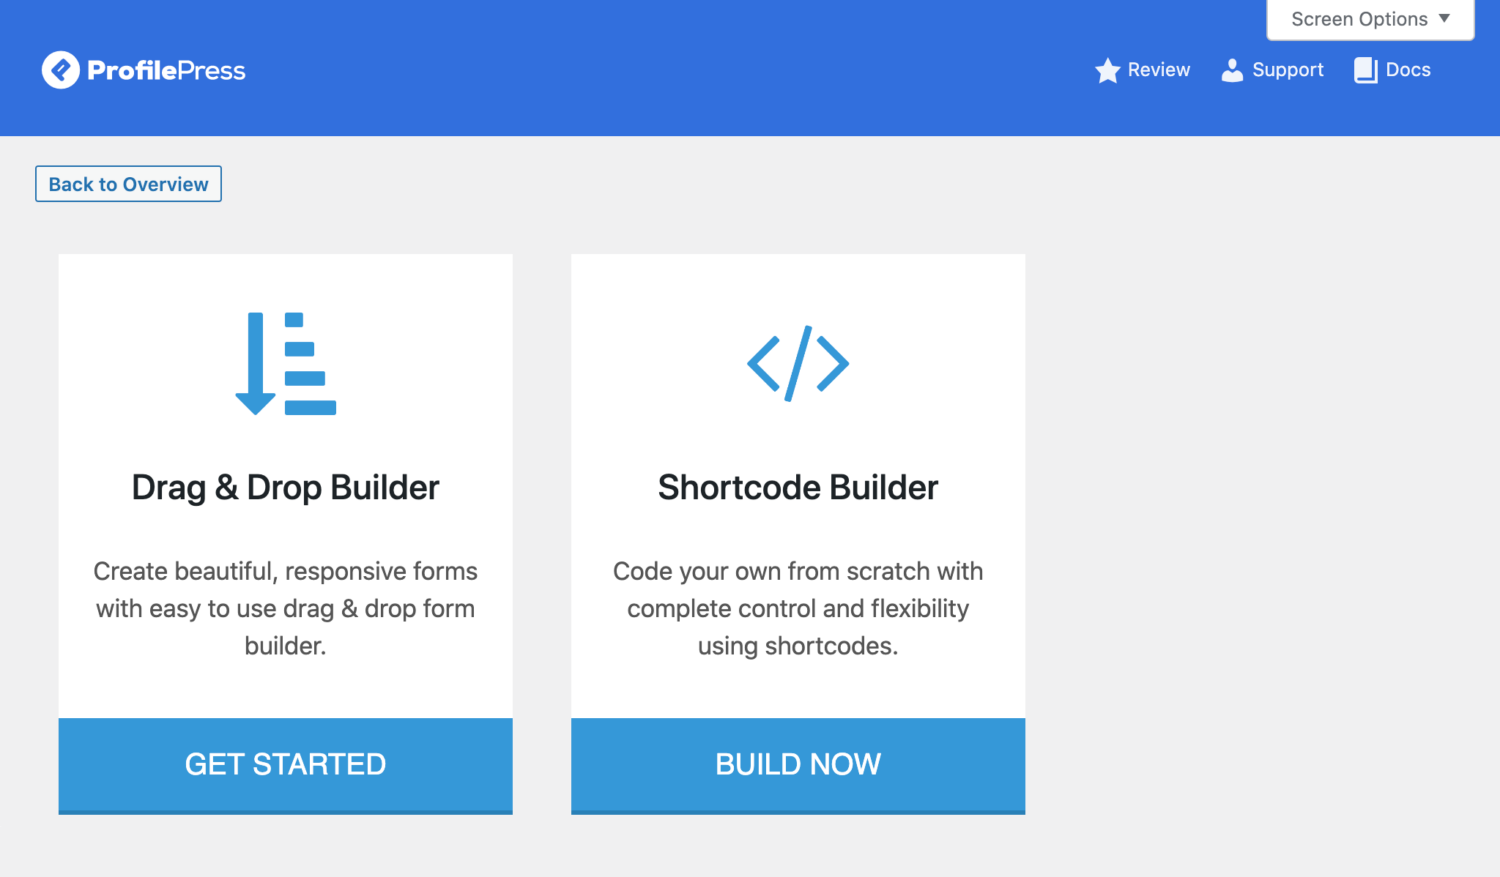
Drag & Drop Builder
To add the Campaign Monitor list selection field to your WordPress registration form created using our Drag-and-drop builder, open your registration form builder or create a new form.
Drag and drop the Custom HTML field to where you want to add the “list selection” field.
Click on the gear icon, type a description for the lists (such as “Choose email list to subscribe to”), and apply when done.
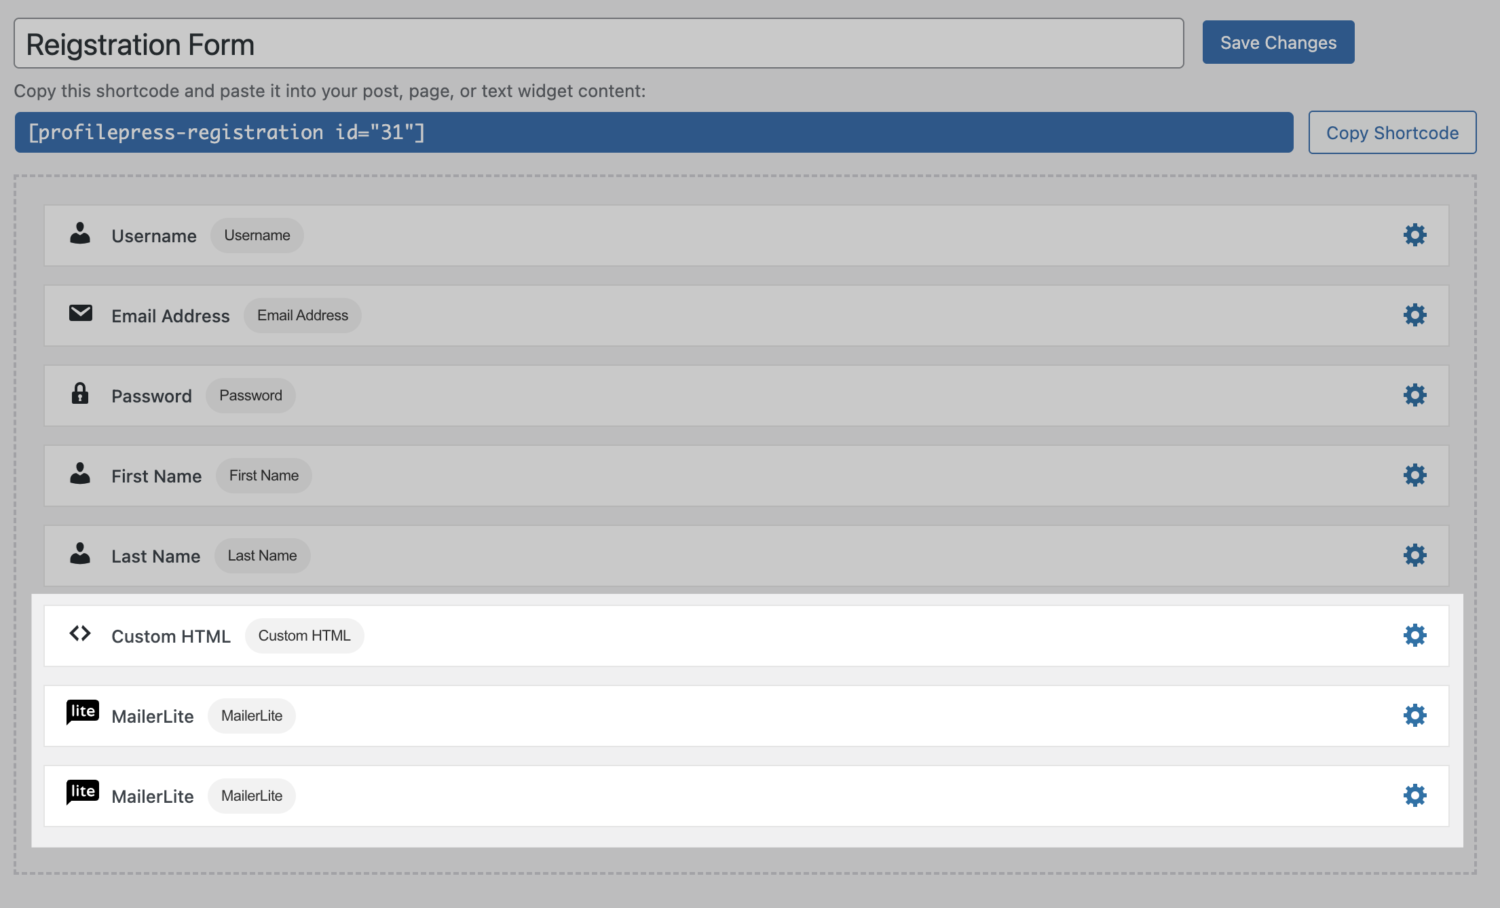
Next, drag and drop the Campaign Monitor field, and click the gear icon to select the list and enter a label for the checkbox field (or leave it empty to use the group title).
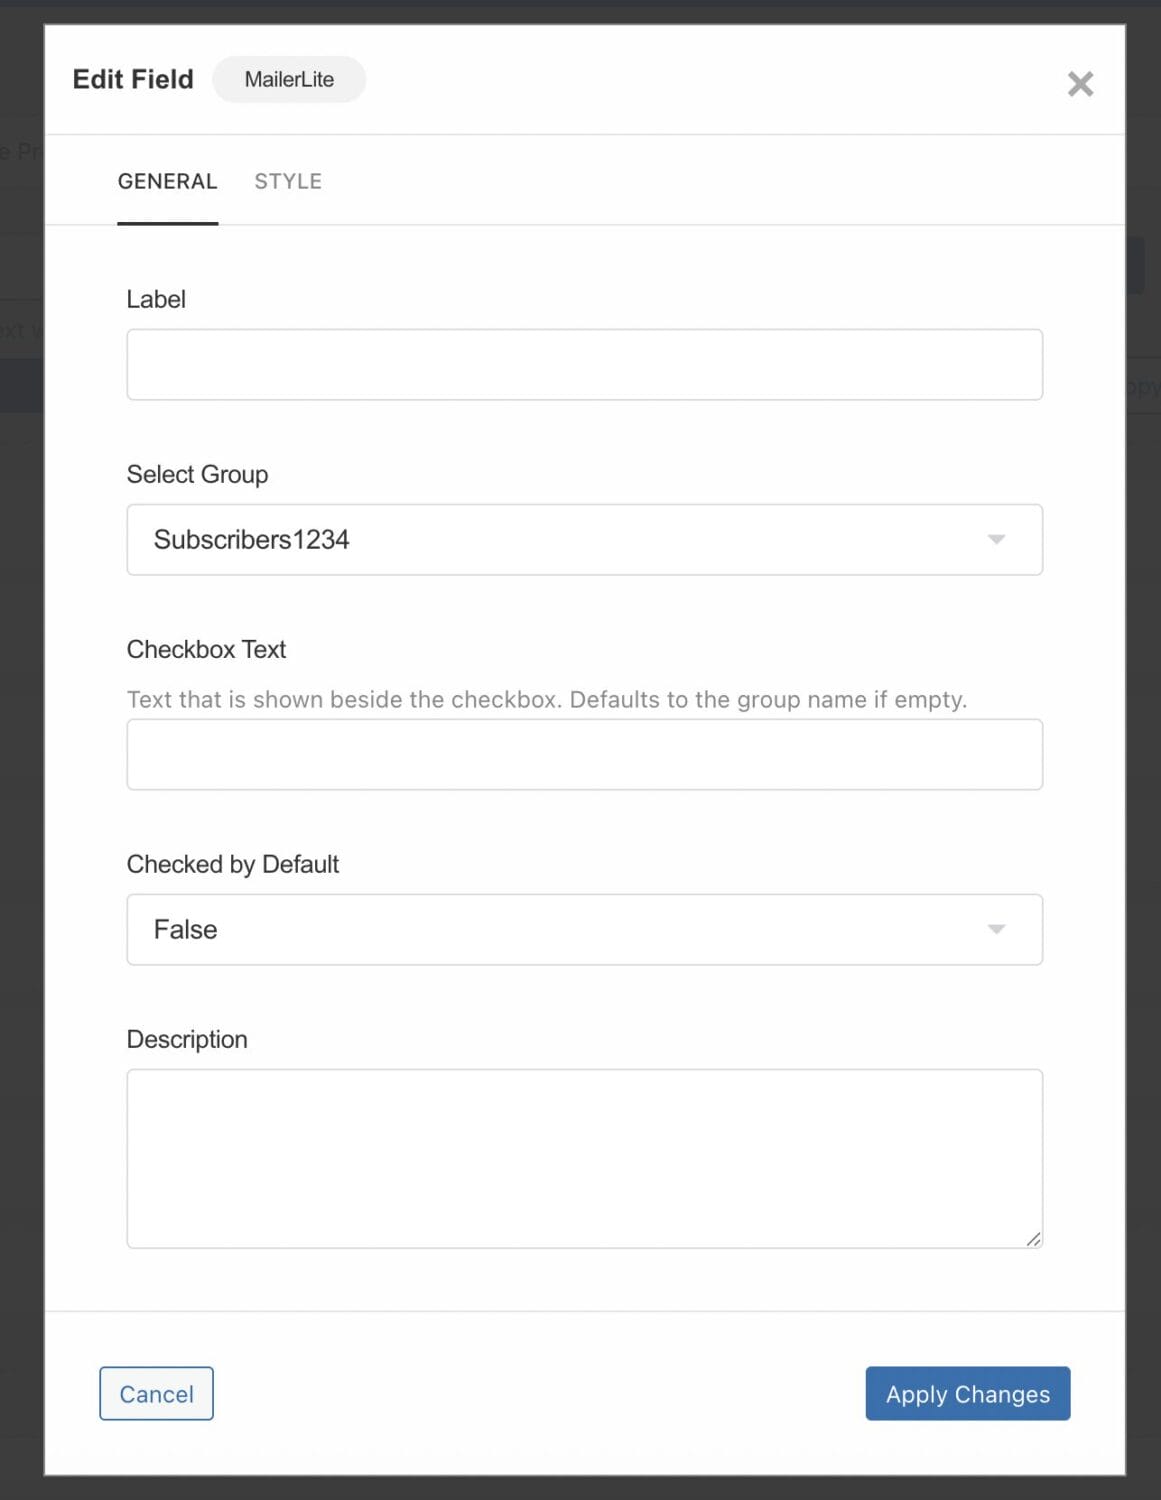
You can also choose to make the field checked by default.
Repeat the above steps for every list you want to display on your registration form.
Don’t forget to save your changes.
Shortcode Builder
If your registration form is created using the Shortcode builder, open the form in the builder.
Write the description for the lists wrapped in, say, a paragraph tag (e.g. <p>Select a list to join</p>)
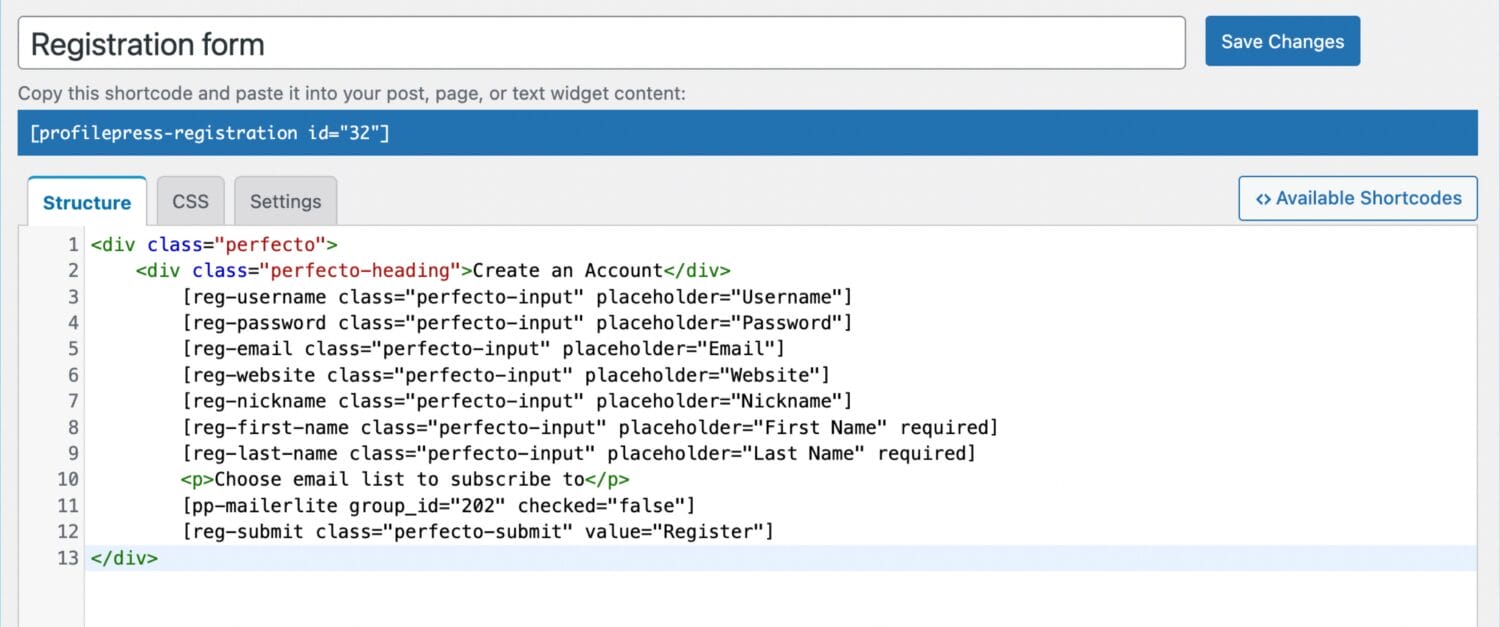
To add the MailerLite shortcode that will display the subscription checkbox on your form:
- Click on Available Shortcodes and scroll to and select pp-mailerlite
- Select a MailerLite group.
- Enter a checkbox text or leave it empty to use the list title.
- Choose whether to select this option by default
- Click on “Copy to Clipboard“
- Paste the code right below your list description in step 2
- Repeat steps 3-8 for each MailerLite group you want to display on your form.
- Save changes

Note: Each group must have been created on the settings page. See Setting Up MailerLite Addon
Conclusion
We hope this article has helped you understand how to subscribe WordPress users to your MailerLite account list after they register. By automating the opt-in process, you save time and improve the effectiveness of your email campaigns, ensuring that every new WordPress user is promptly included in your outreach efforts.
If you have any questions or require additional assistance, please don’t hesitate to contact us.