Restricting WordPress User Registration to Specific Email Address
Do you want to restrict WordPress user registration to specific email addresses?
When it comes to managing a WordPress website, there are instances where you might want to restrict user registration to a specific group of individuals. This can be particularly useful for creating a private community, a members-only site, or an exclusive intranet.
In this tutorial, we’ll explore how to achieve this using the ProfilePress membership plugin that can be used for WordPress registrations and profile management.
ProfilePress is a powerful eCommerce and paid membership plugin for accepting one-time and recurring payments; selling subscriptions and digital products on your WordPress website. Using the ProfilePress plugin, you can permit only those with authorized email addresses to register, ensuring a more defined and manageable user base.
WordPress User Registration Restriction to Specific Email
The first step to restricting user registration in WordPress to specific email addresses is to install the ProfilePress plugin. Once you’ve gotten your copy of ProfilePress here, you should download the ZIP file. ProfilePress will also send you a license key to your registered email.
Next, go to Plugins > Add New in your WordPress dashboard and select Upload Plugin.
Select the plugin’s zip file and click Install Now.
When the installation is complete, click Activate Plugin.
After that, you must activate your license key to use premium features and get updates. To do that, navigate to the plugin settings and click on the License tab. Enter your license key in the License Key field and click Save Changes.
Creating a WordPress User Registration Form
In ProfilePress, you can create user registration forms with a drag-and-drop builder and a Shortcode Builder that gives you total control over the HTML structure of your form.
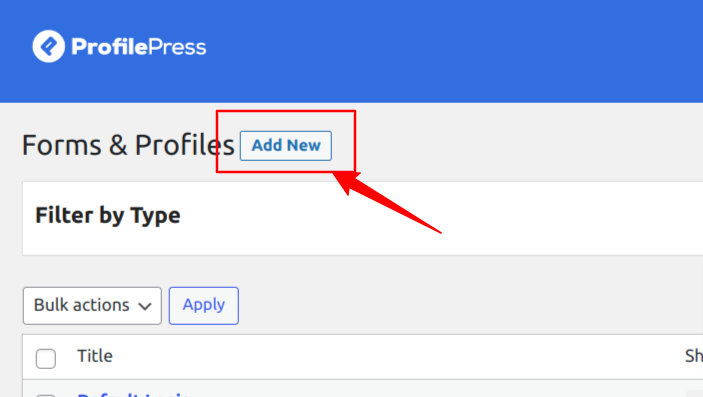
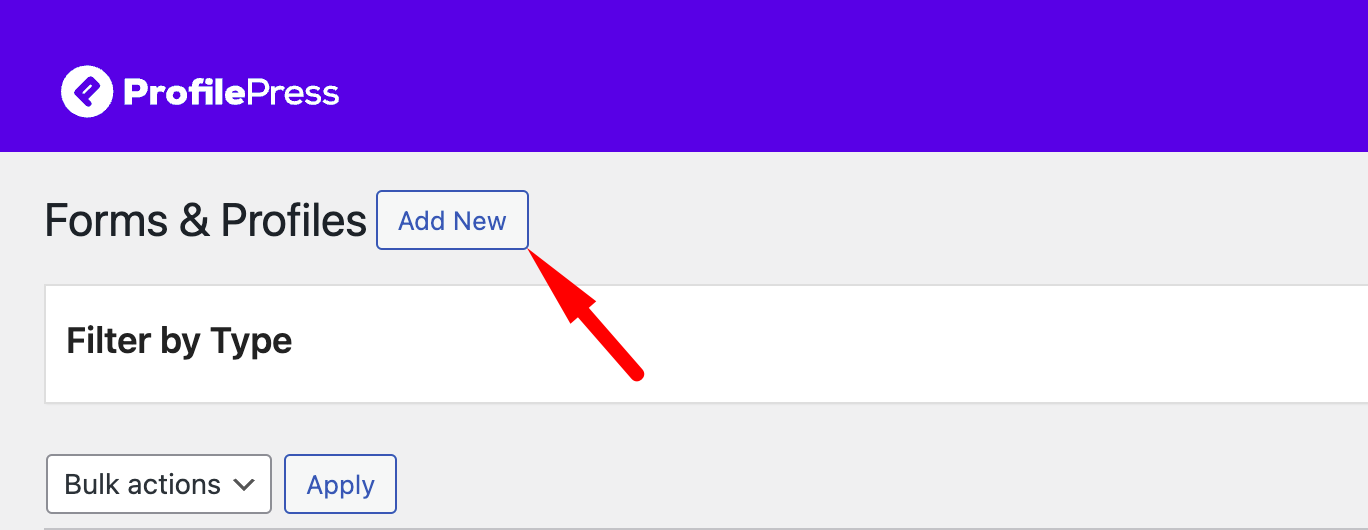
For this article, we will be using the drag-and-drop builder. To begin, navigate to ProfilePress>>Forms & Profiles and click the Add New button.
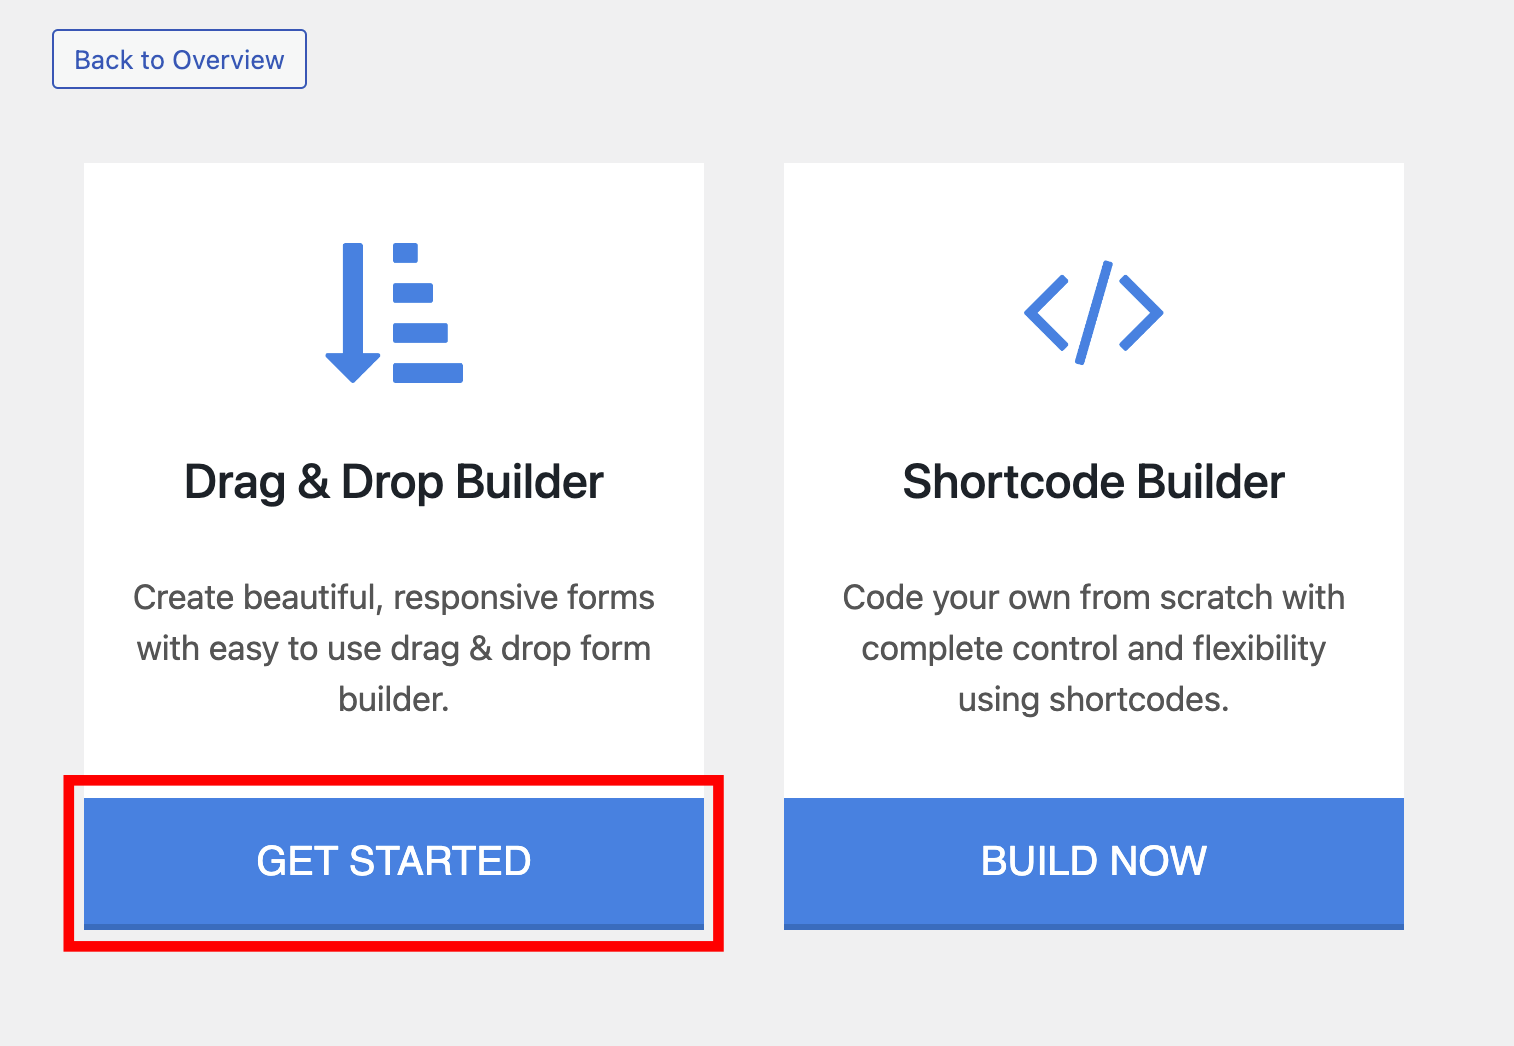
Here, you can choose between the Drag & Drop Builder and the Shortcode Builder. In this section, we will cover using the Drag & Drop Builder, so go ahead and click on the “Get Started” button beneath it.
Click on the Registration tab, then type in the desired name for your form and select a template.
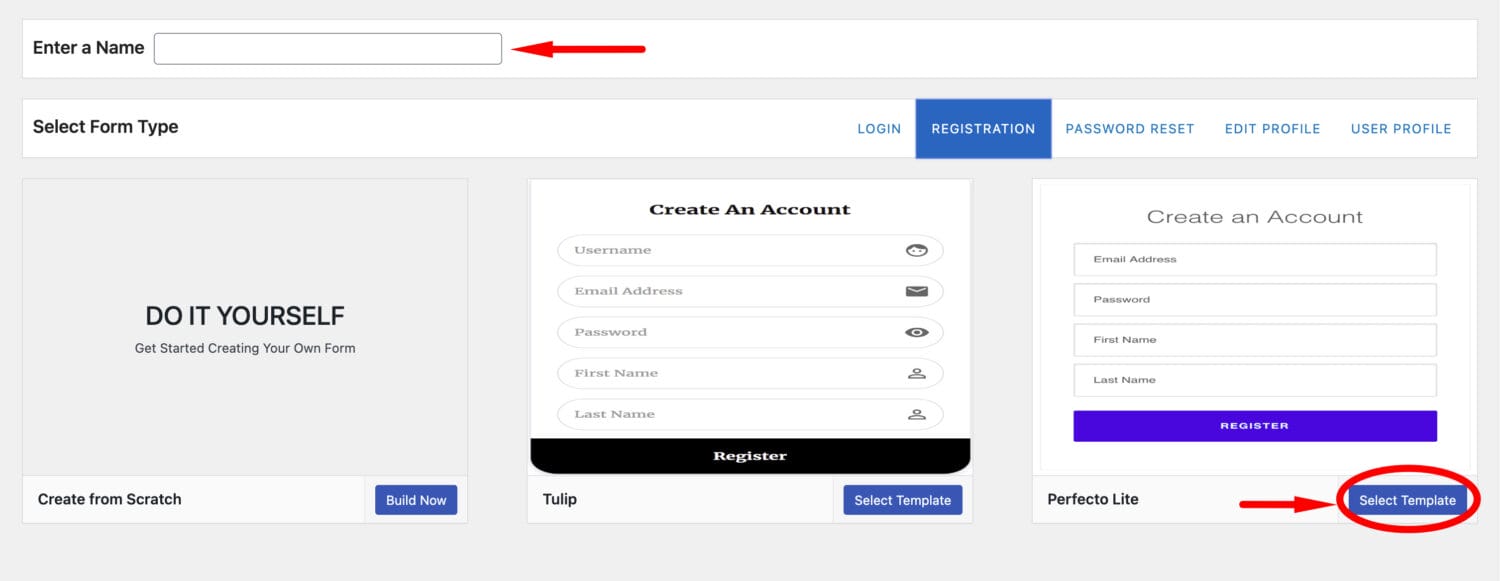
After selecting your desired template, use the intuitive drag-and-drop builder to customize the form. This allows you to effortlessly rearrange the form elements, such as text fields, checkboxes, dropdown menus, and more, simply by dragging and dropping them into place.
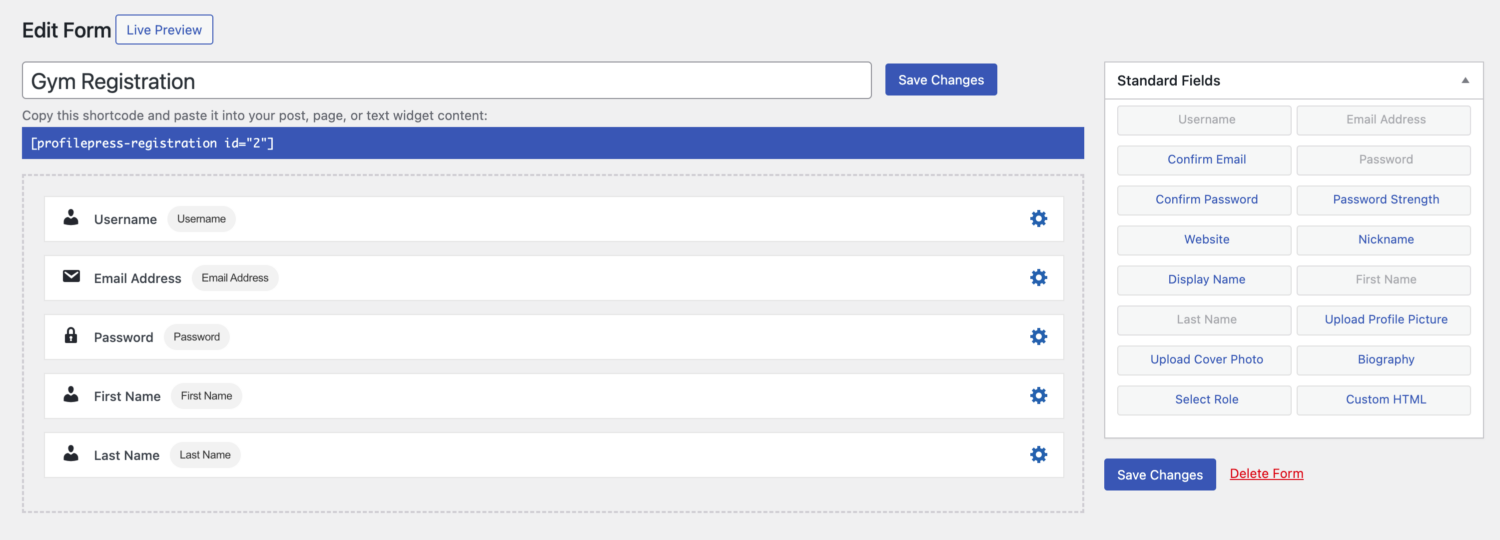
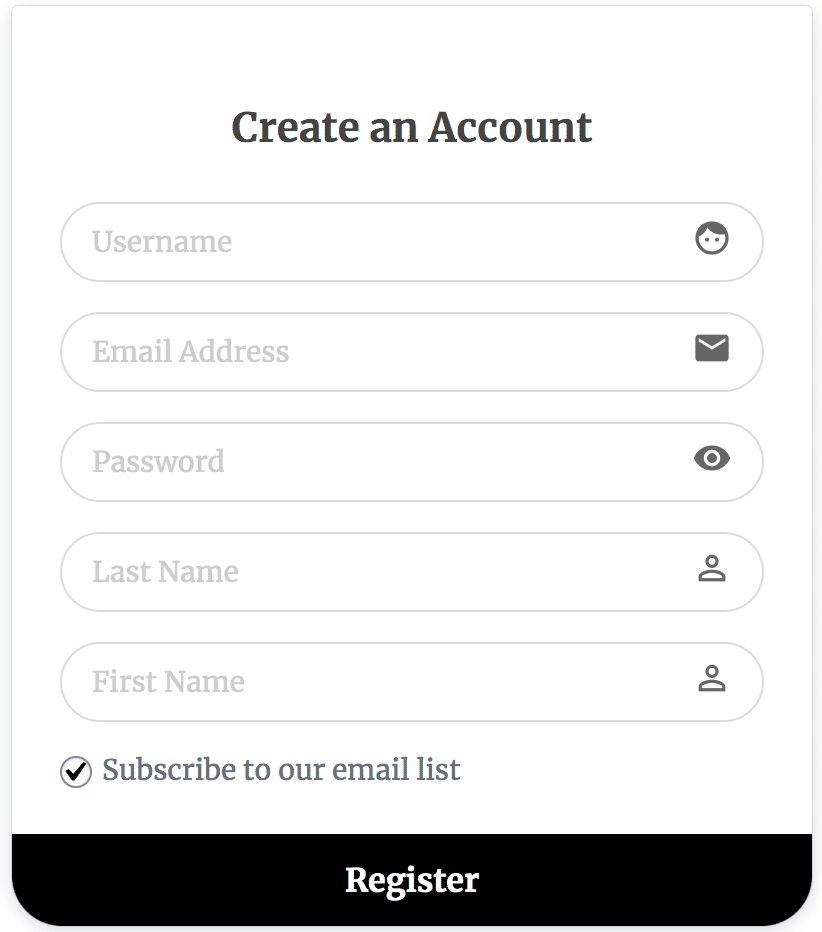
You can preview how the form will look by clicking on the “Live Preview” button.
When you are done with the form, you should create a page and add the form’s shortcode so that users can see it on the front end.
Adding the Allowed Email Addresses that Can Register
With your registration form created, add the email addresses that will be allowed to register on your site. To do this, navigate to ProfilePress >> Settings >> Access >> Allowed Email Addresses and enter the email addresses to be allowed, one per line.
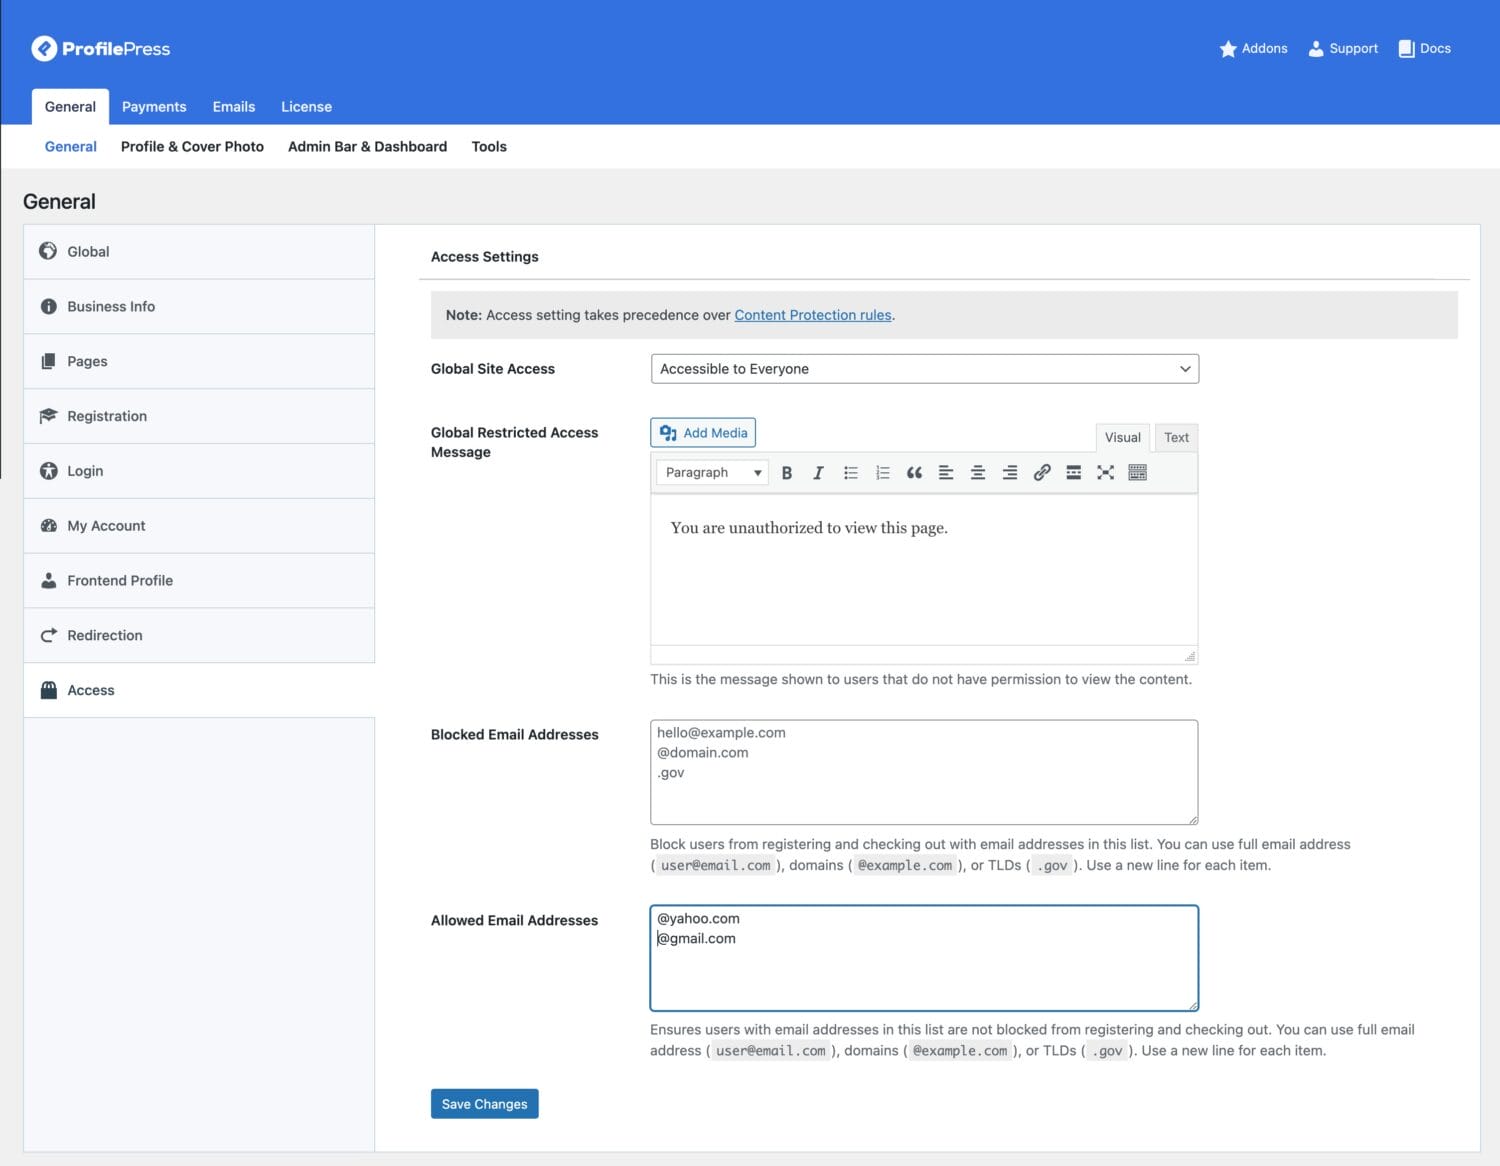
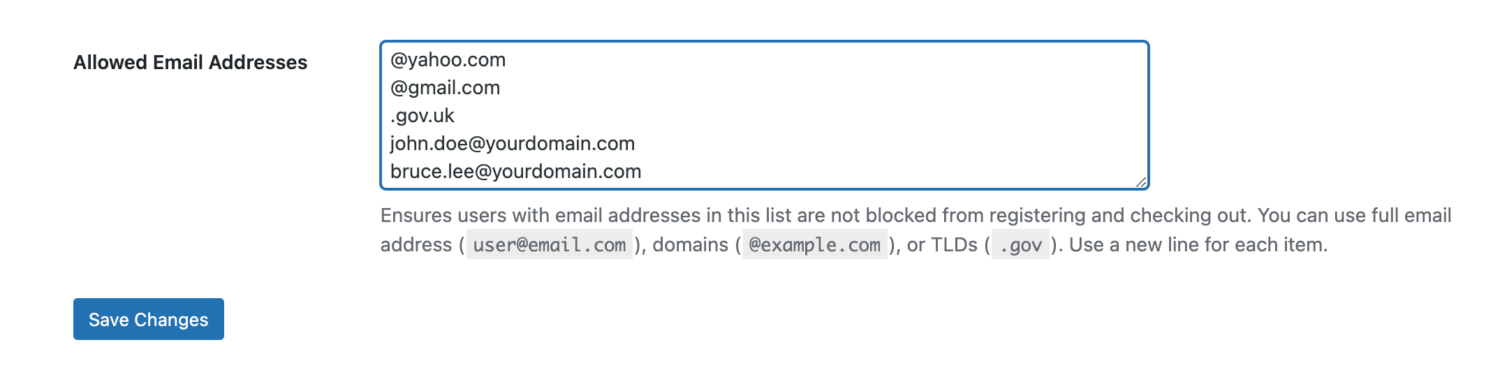
Additionally, the field has wildcard support. This means you can use wildcards like @domain.com to allow any email address from a specific domain. If you want to allow user registration and checkout from a specific email service like Yahoo or Gmail, then type into the box @yahoo.com or @gmail.com
 The above wildcard support also covers email addresses from a specific TLD like [email protected]; type in .gov.uk in the box.
Finally, you can also allow specific email addresses by entering them into the field. This could be [email protected] or
[email protected]
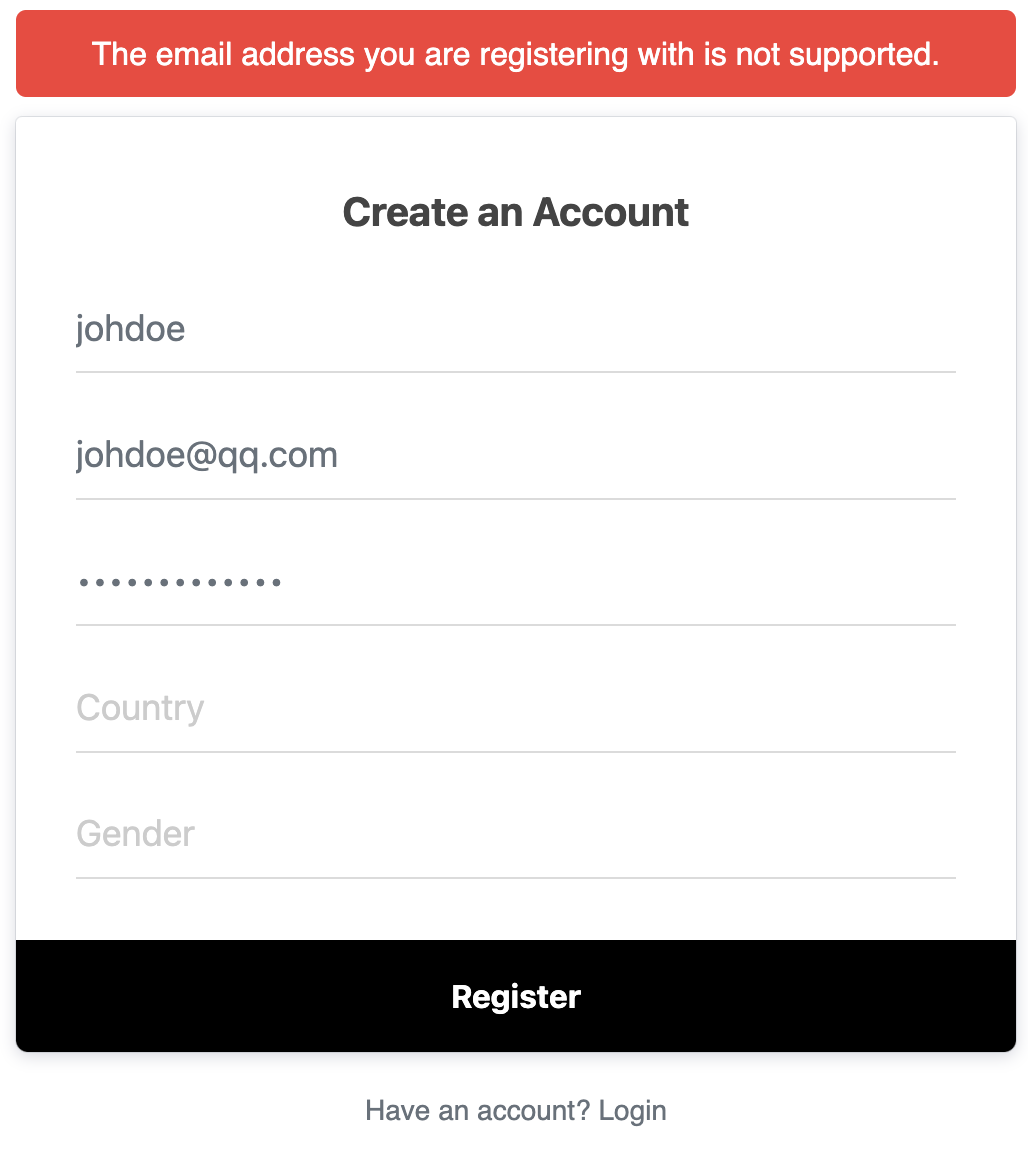
When a user is not allowed to register on the site and attempts to do so, they will get an error message. Only users with the specified domain, TLD extension, or the specific email addresses you added can register on the site.
Conclusion
Whether creating a members-only site or an exclusive community, ProfilePress provides the tools to customize your registration process to your specific needs. Using ProfilePress, you can restrict user registration to specific email addresses and make your WordPress site safer and more exclusive. This also helps keep spammers, bots, and other unwanted users from your website.
I hope this article has been able to help you learn how to restrict WordPress user registration to specific email addresses.
If you are building an exclusive community, you should get ProfilePress today!