How to Accept Apple Pay & Google Pay in WordPress
Do you want to accept Apple Pay and Google Pay payments on your WordPress site?
In today’s digital age, consumers increasingly turn to digital wallets like Apple Pay and Google Pay to purchase quickly and securely. As a business owner, accepting these payment methods is essential to cater to your customers’ needs and stay ahead of the competition. Fortunately, integrating these payment options into your WordPress site is a straightforward process that can be done in just a few steps.
In this article, we’ll walk you through the process of accepting Apple Pay and Google Pay on your WordPress site so that you can offer a seamless checkout experience for your customers.
Benefits of Offering Apple Pay and Google Pay
Digital wallets are the future of payments, and compared to credit cards, they have many benefits.
Here are some benefits to offering Apple Pay and Google Pay as payment options on your WordPress site.
- Faster Checkout: Apple Pay and Google Pay offer a quick and easy way for customers to complete transactions. Users can authorize payments without entering their card details or shipping information with just a few taps.
- Increased Security: Mobile payments are more secure than traditional credit card transactions, using encryption and tokenization to protect sensitive information. This can help reduce the risk of fraud and chargebacks, saving you time and money.
- Enhanced User Experience: Offering multiple payment options can enhance the overall user experience, making it more convenient and seamless for customers to complete purchases. This can improve customer satisfaction and encourage repeat business.
- Expanded Customer Base: By accepting mobile payments, you can cater to customers who prefer to use their smartphones to make purchases. This can help you reach a wider audience and increase sales.
- Competitive Advantage: Offering the latest payment technologies can give you a competitive edge over other businesses in your industry. It shows that you are keeping up with the latest trends and technologies, which can help build customer trust and boost your reputation.
That doesn’t mean that credit card is going to go away. If you’re using a payment plugin like ProfilePress to create your payment form, you can easily offer both payment methods – credit cards and digital wallets.
How to Accept Apple Pay and Google Pay Payments in WordPress
The first thing you need to do is install and activate our WordPress membership plugin on your site. Don’t have the ProfilePress plugin? Purchase a license now.
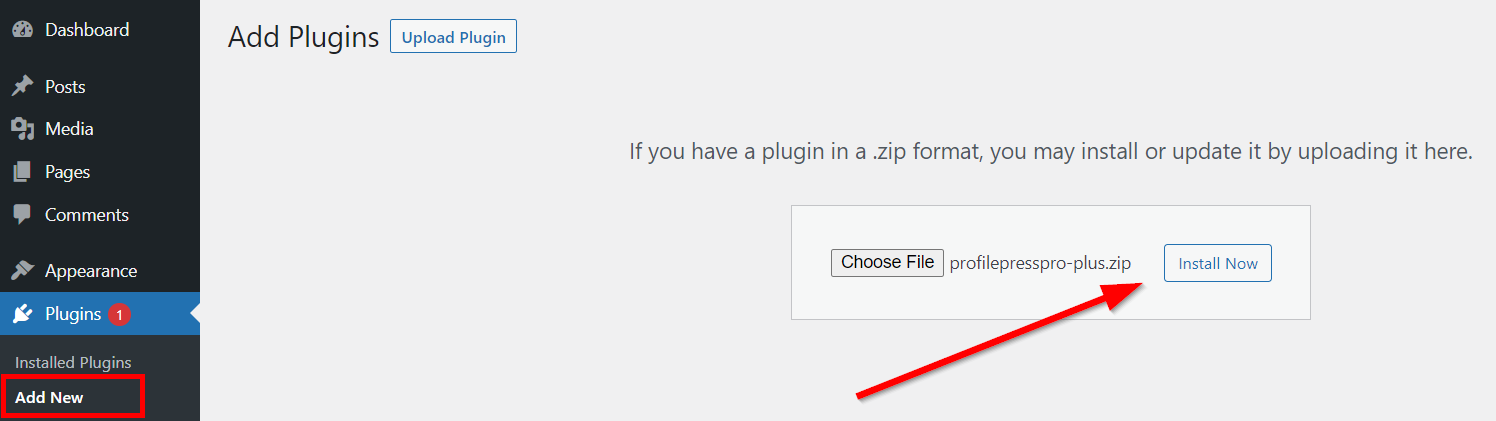
For more details, see our step-by-step guide on how to install the ProfilePress plugin.
ProfilePress is a simple yet powerful e-commerce and paid membership plugin for accepting one-time and recurring payments, selling subscriptions and digital products via Stripe, PayPal, Razorpay, Paddle, Paystack, Direct Bank Transfer, Mollie. It also lets you create beautiful user profiles, member directories, frontend login forms, and custom user registration forms.
Configuring the Stripe Payment Method
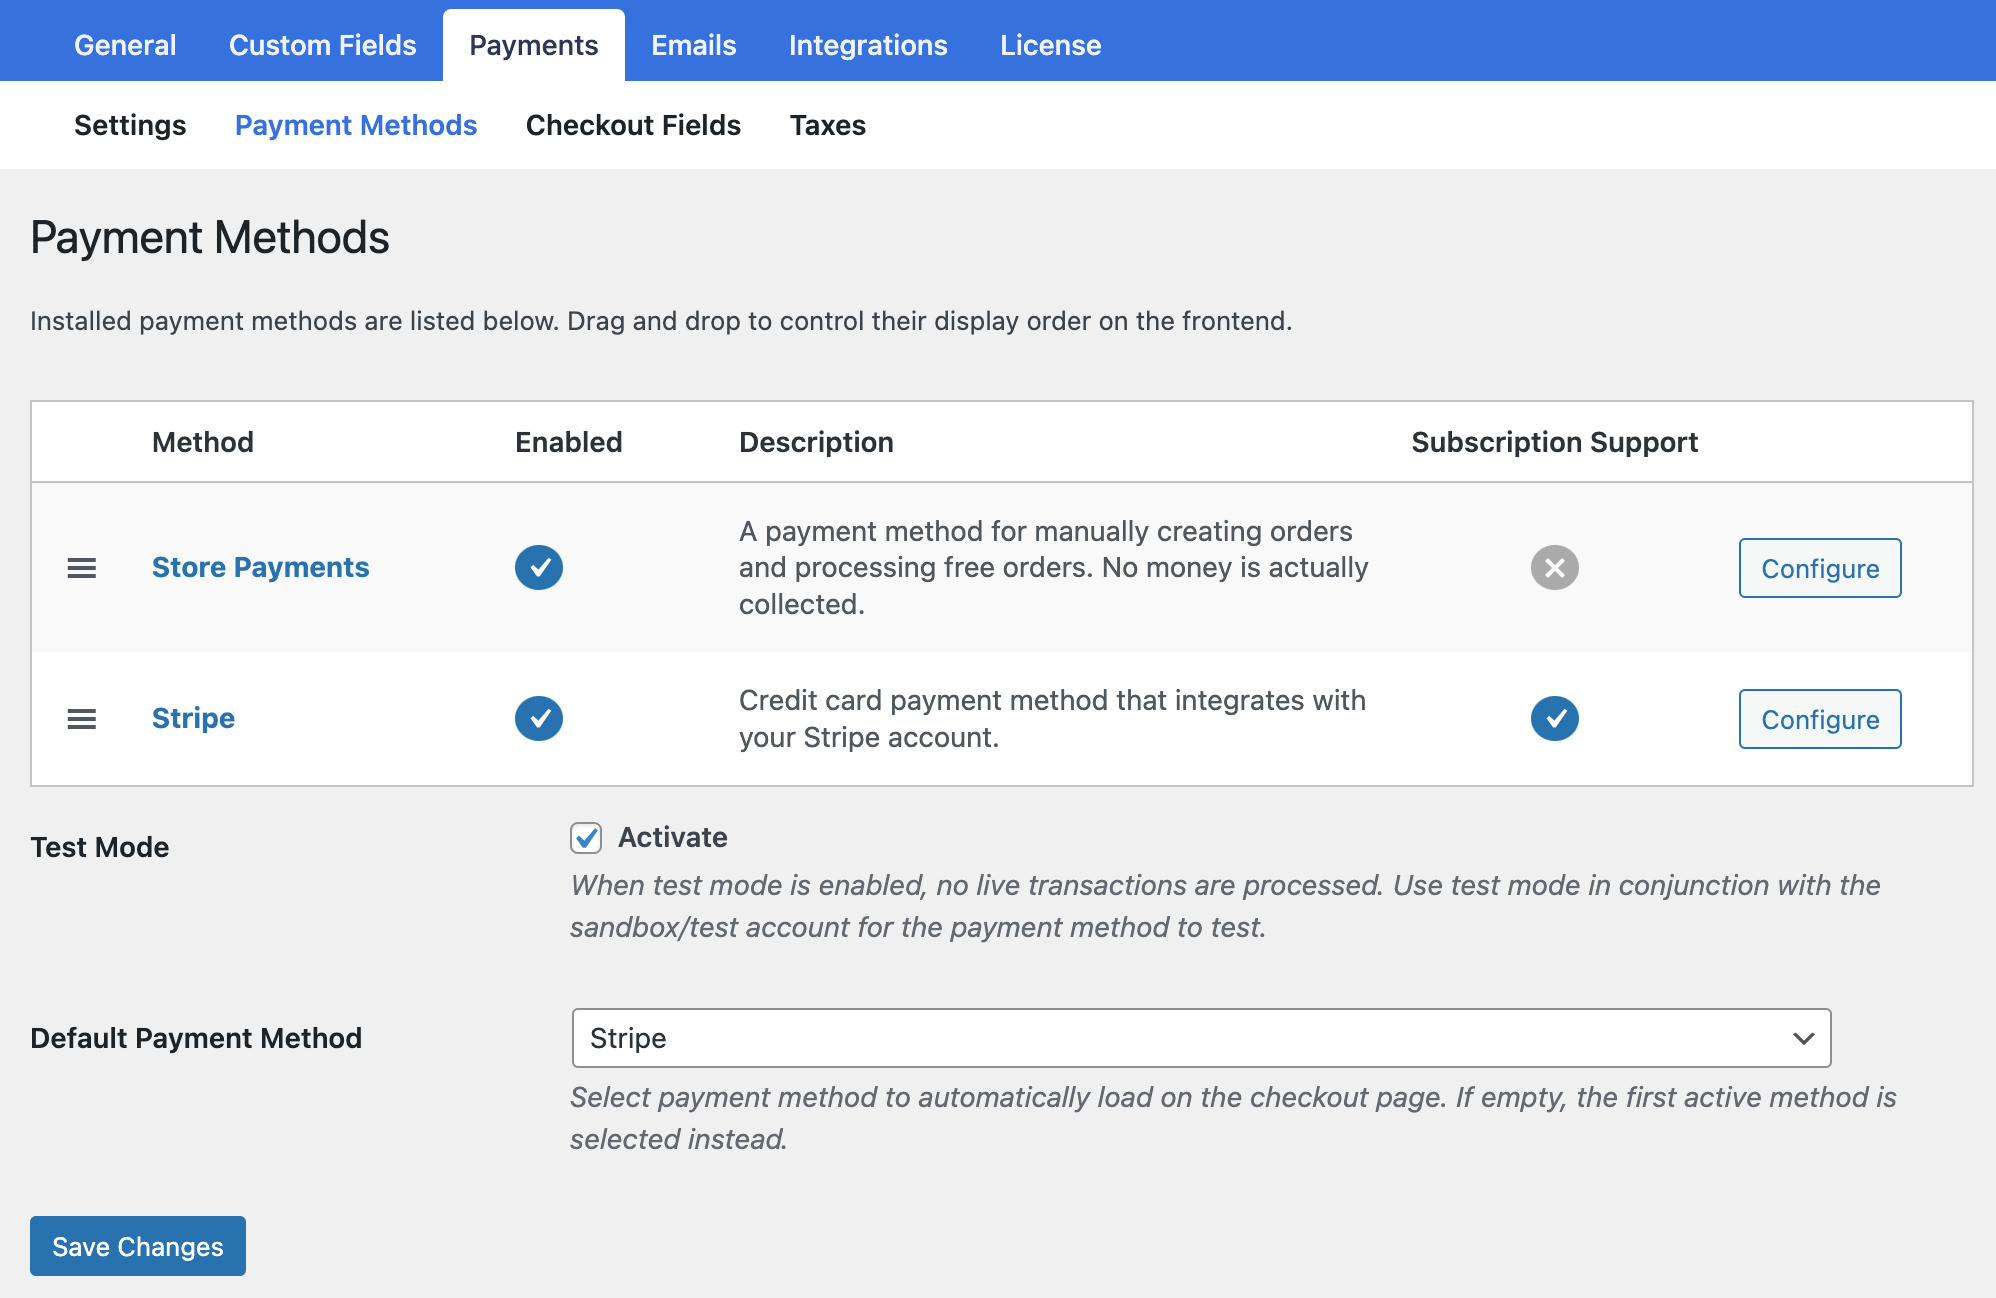
Go to ProfilePress > Settings > Payments >> Payment Methods and click the Configure button for Stripe.
If you want to test the setup before going live, ensure you activate “test mode” before going through the Stripe setup.
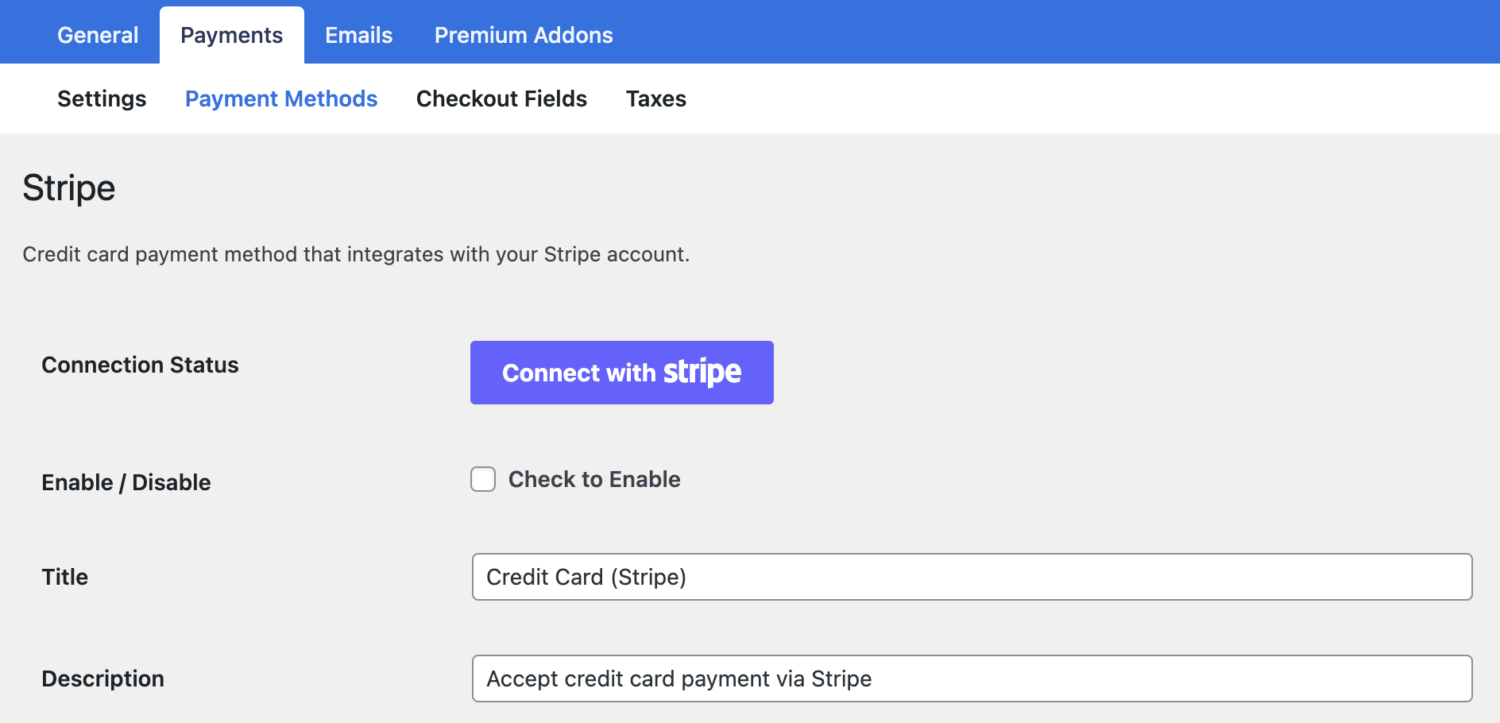
Next, click the “Connect with Stripe” button to connect ProfilePress to your Stripe account.
You’ll be taken to Stripe.com, where you’ll be prompted to create a new Stripe account or log in to your existing one.
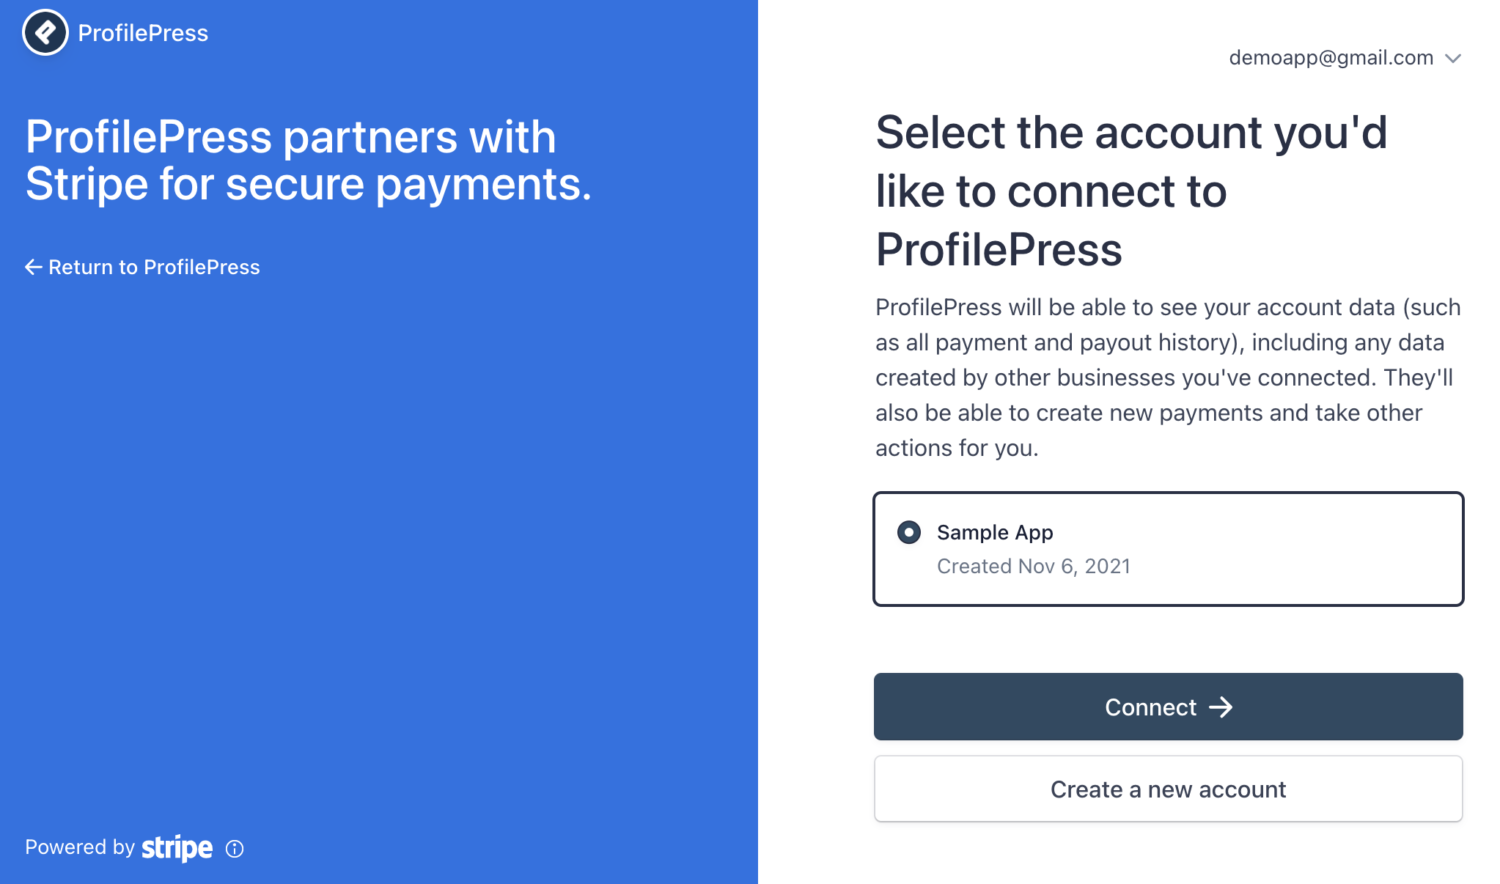 Once you complete the form, you’ll be taken back to your website.
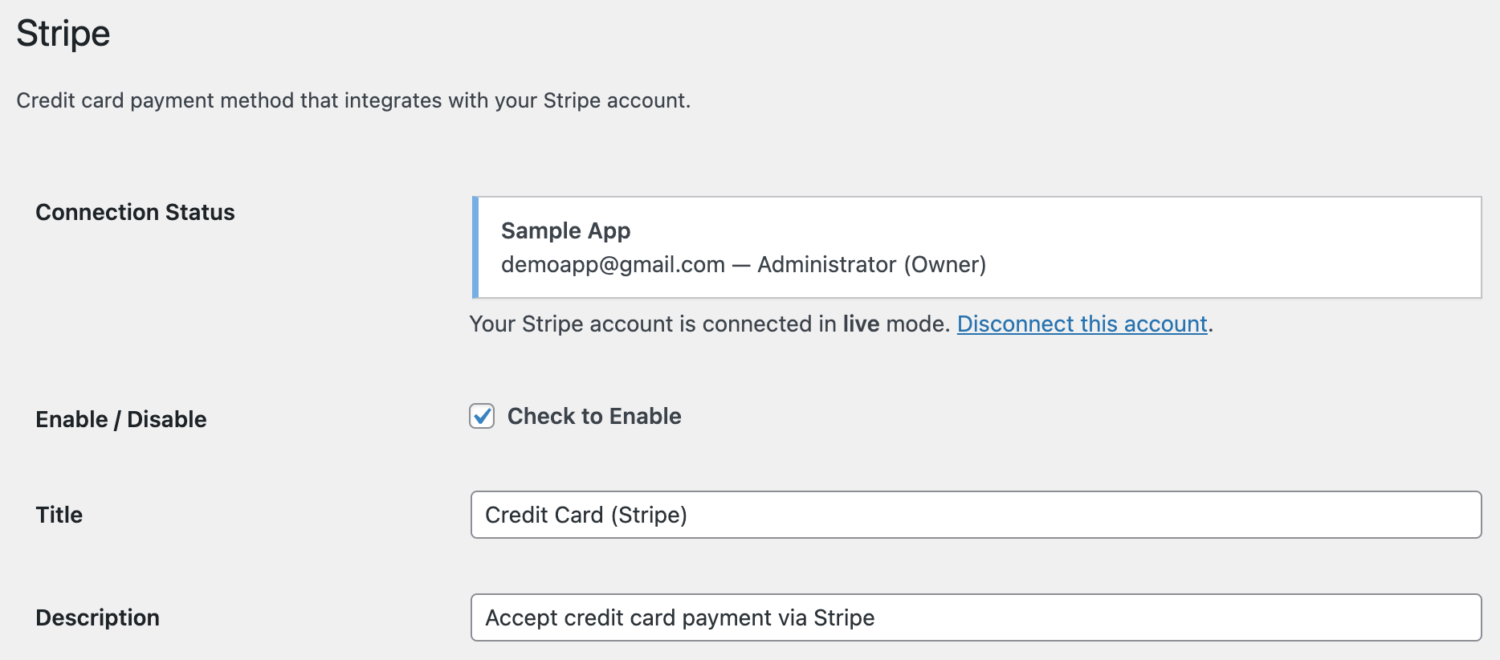
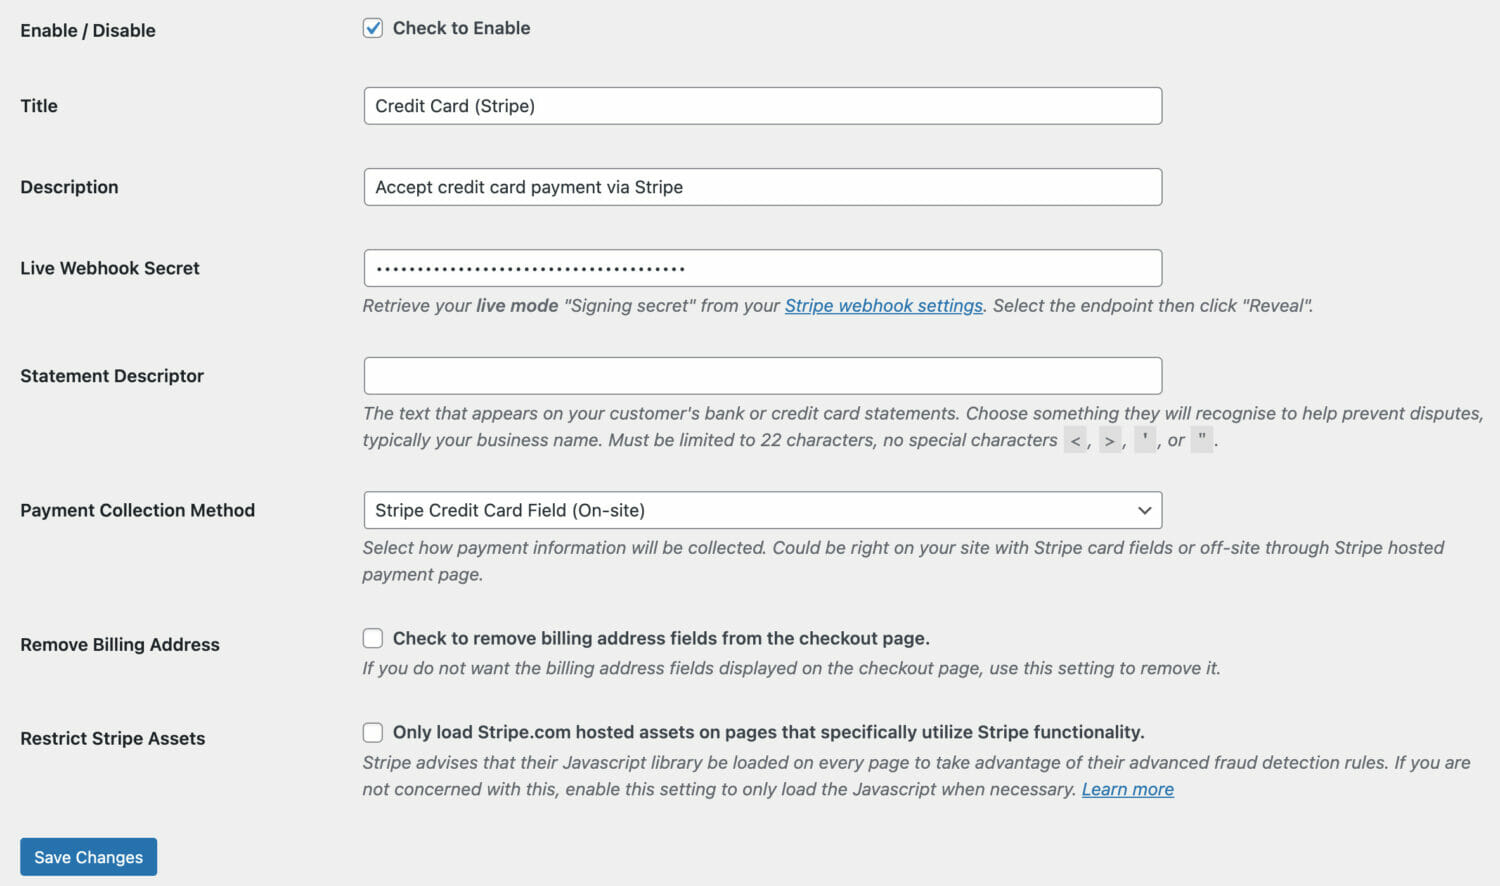
Enable the Stripe integration by checking “Enable / Disable,” Don’t forget to set a title and description.
Enabling Google Pay and Apple Pay in Stripe
Next, we need to ensure Apple Pay and Google Pay payment methods are enabled in Stripe.
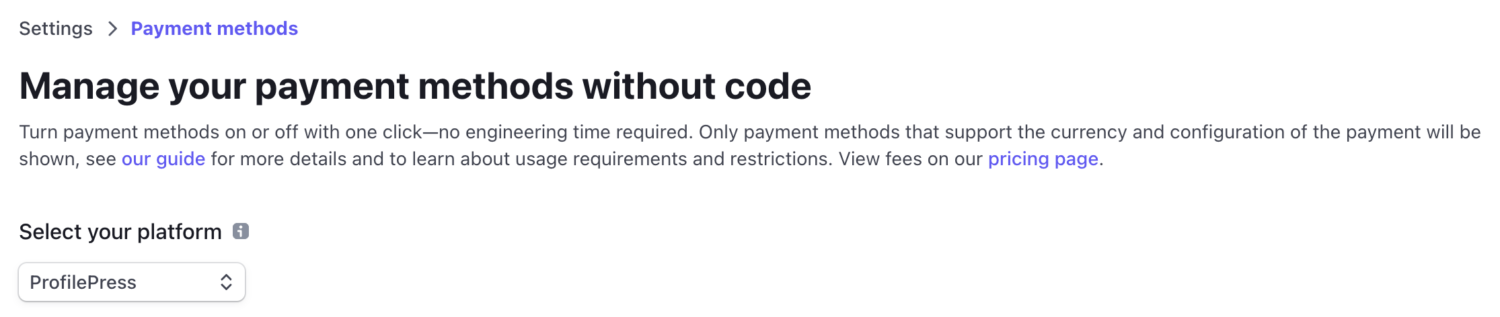
In your Stripe account dashboard, go to Payment Methods (Stripe.com Settings > Payment methods) and select ProfilePress under “Select your platform”.
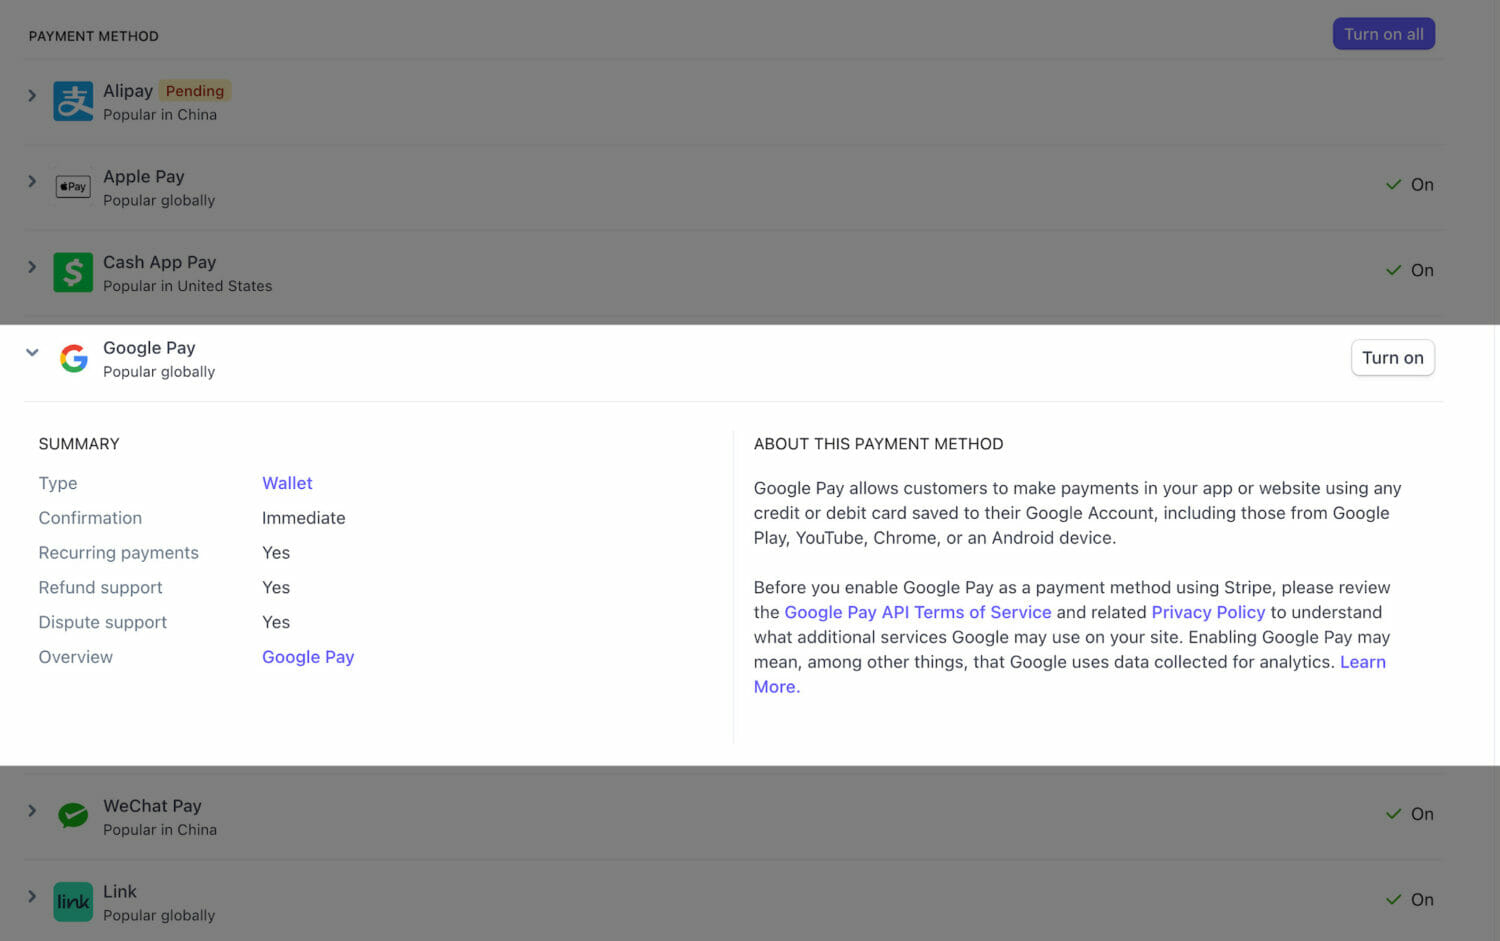
Find the Apple Pay and Google Pay payment methods and ensure they are turned on.
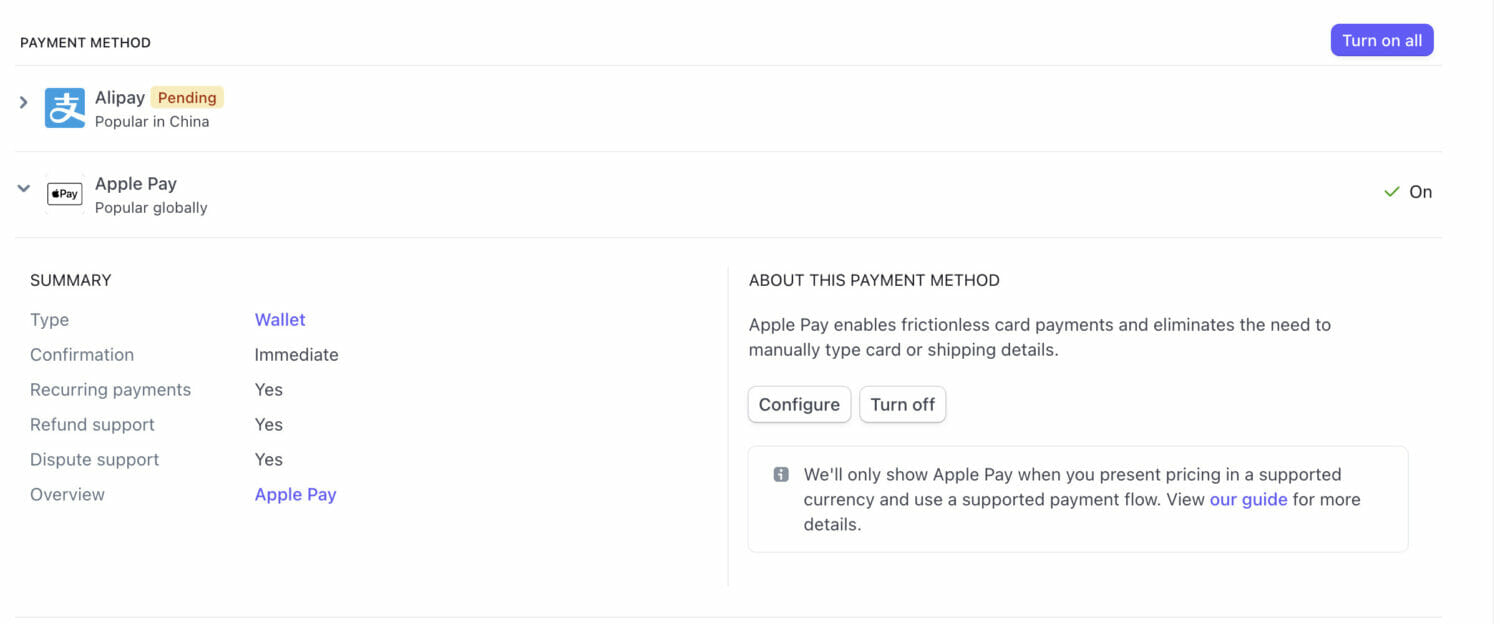
To complete the Apple Pay setup in Stripe, you’ll have to click the Configure button to do some extra steps on the Apple Pay Payment Method settings page, where we need to register with Apple on all of your web domains, which will show an Apple Pay button.
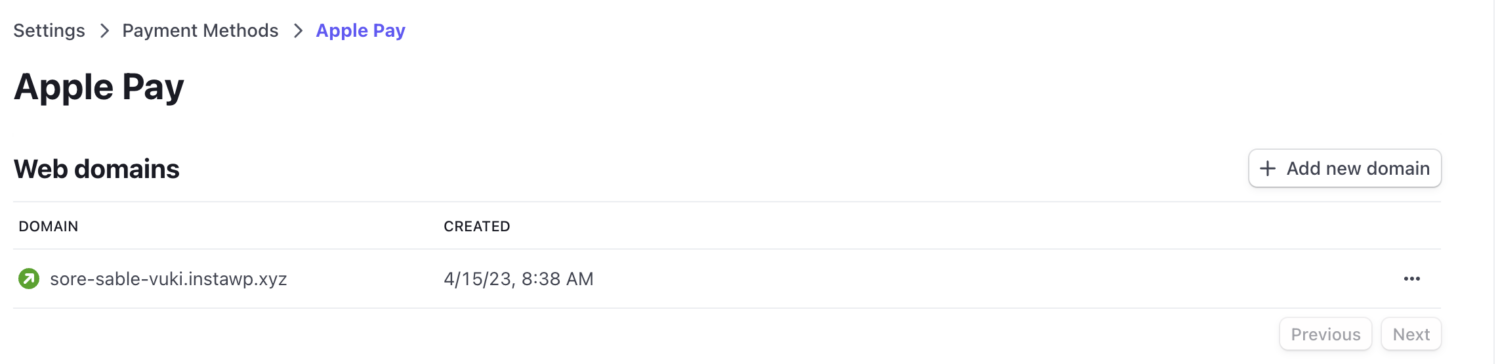
Click the “Add new domain” button to register a domain or subdomain.
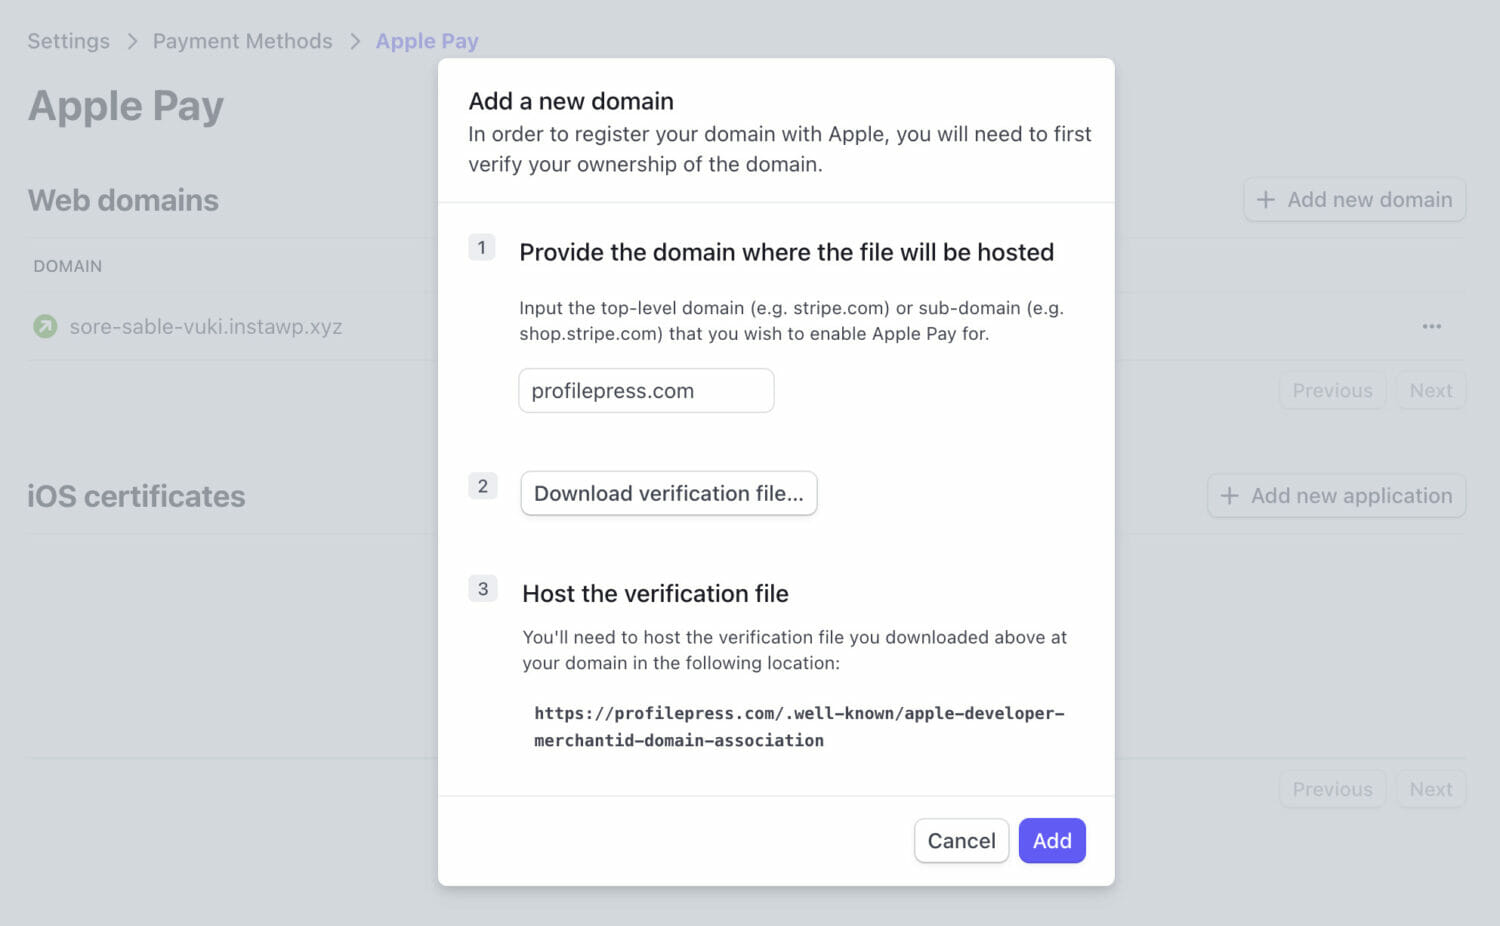
Download this domain association file and host it at /.well-known/apple-developer-merchantid-domain-association on your site.
For example, if you’re registering https://example.com, make that file available at https://example.com/.well-known/apple-developer-merchantid-domain-association.
Once you’ve registered your domains, you can make payments in your store with Apple Pay using the Safari web browser. For more details, see Stripe’s doc on Verifying your domain with Apple Pay.
Payment Collection Method
ProfilePress Stripe integration lets you select how payment information will be collected. For example, it could be on your site with Stripe card fields displayed or off-site through Stripe hosted payment page.
The Checkout Experience.
To collect payments via Apple and Google Pay from your customers and users, you need to create a membership plan and add the plan checkout URL to, for example, a pricing page on your website so they can purchase your membership plan or digital product using Stripe.
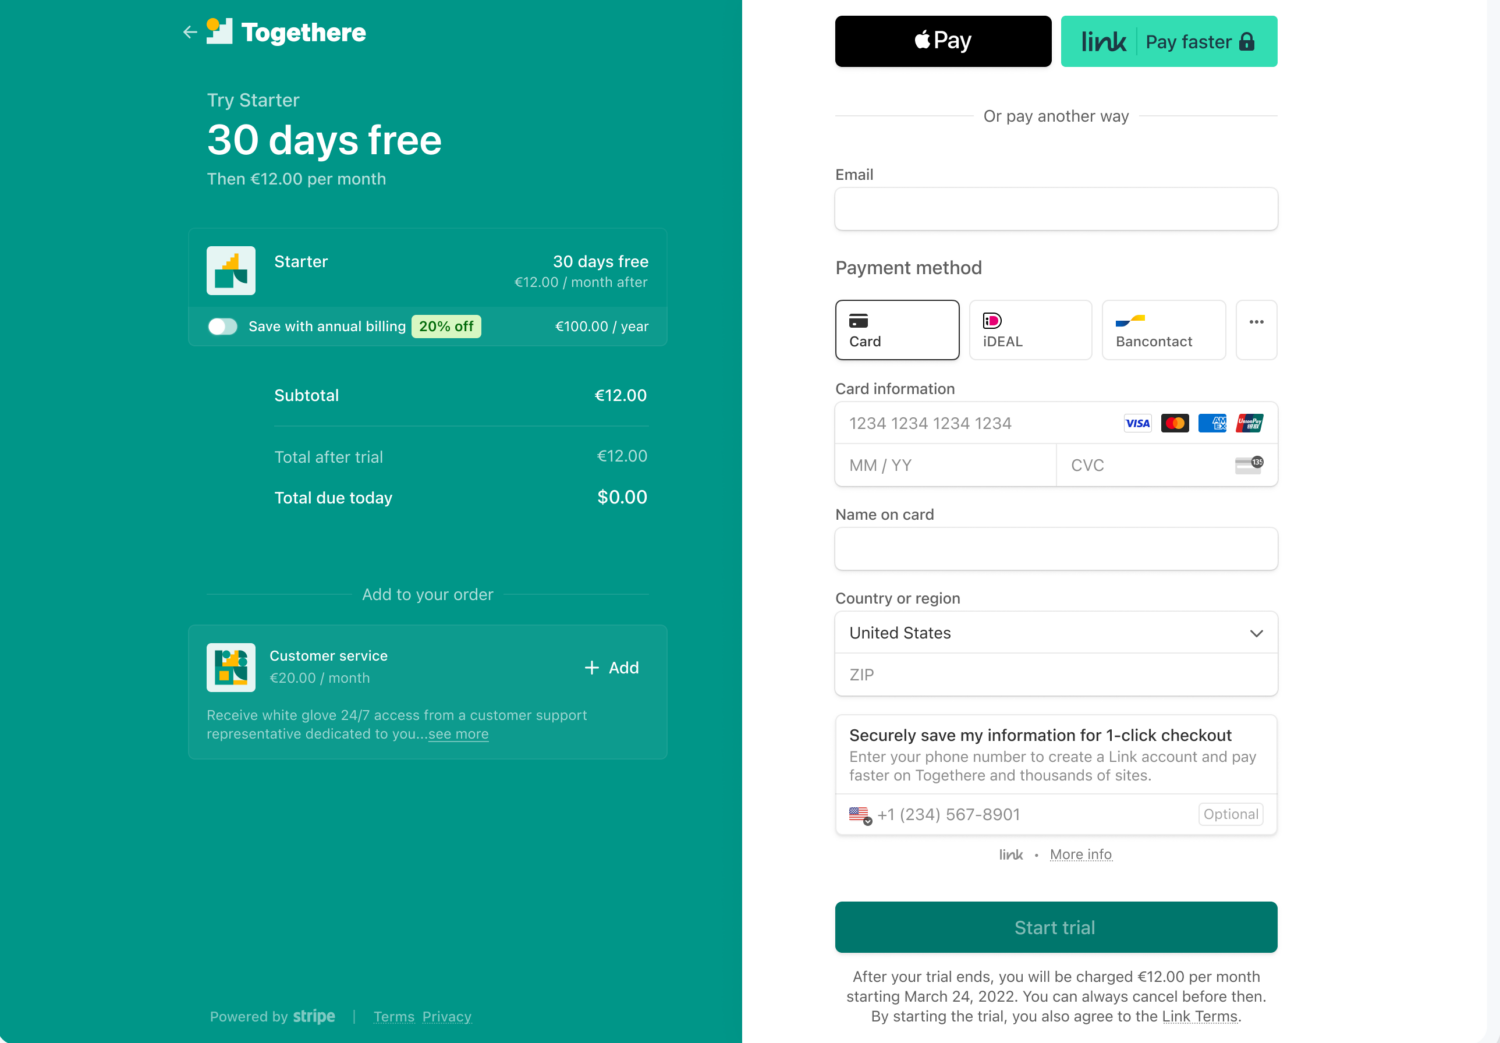
If you use the “On-Site” payment collection method, ProfilePress will display as many payment methods as you enable in Stripe on the checkout page.
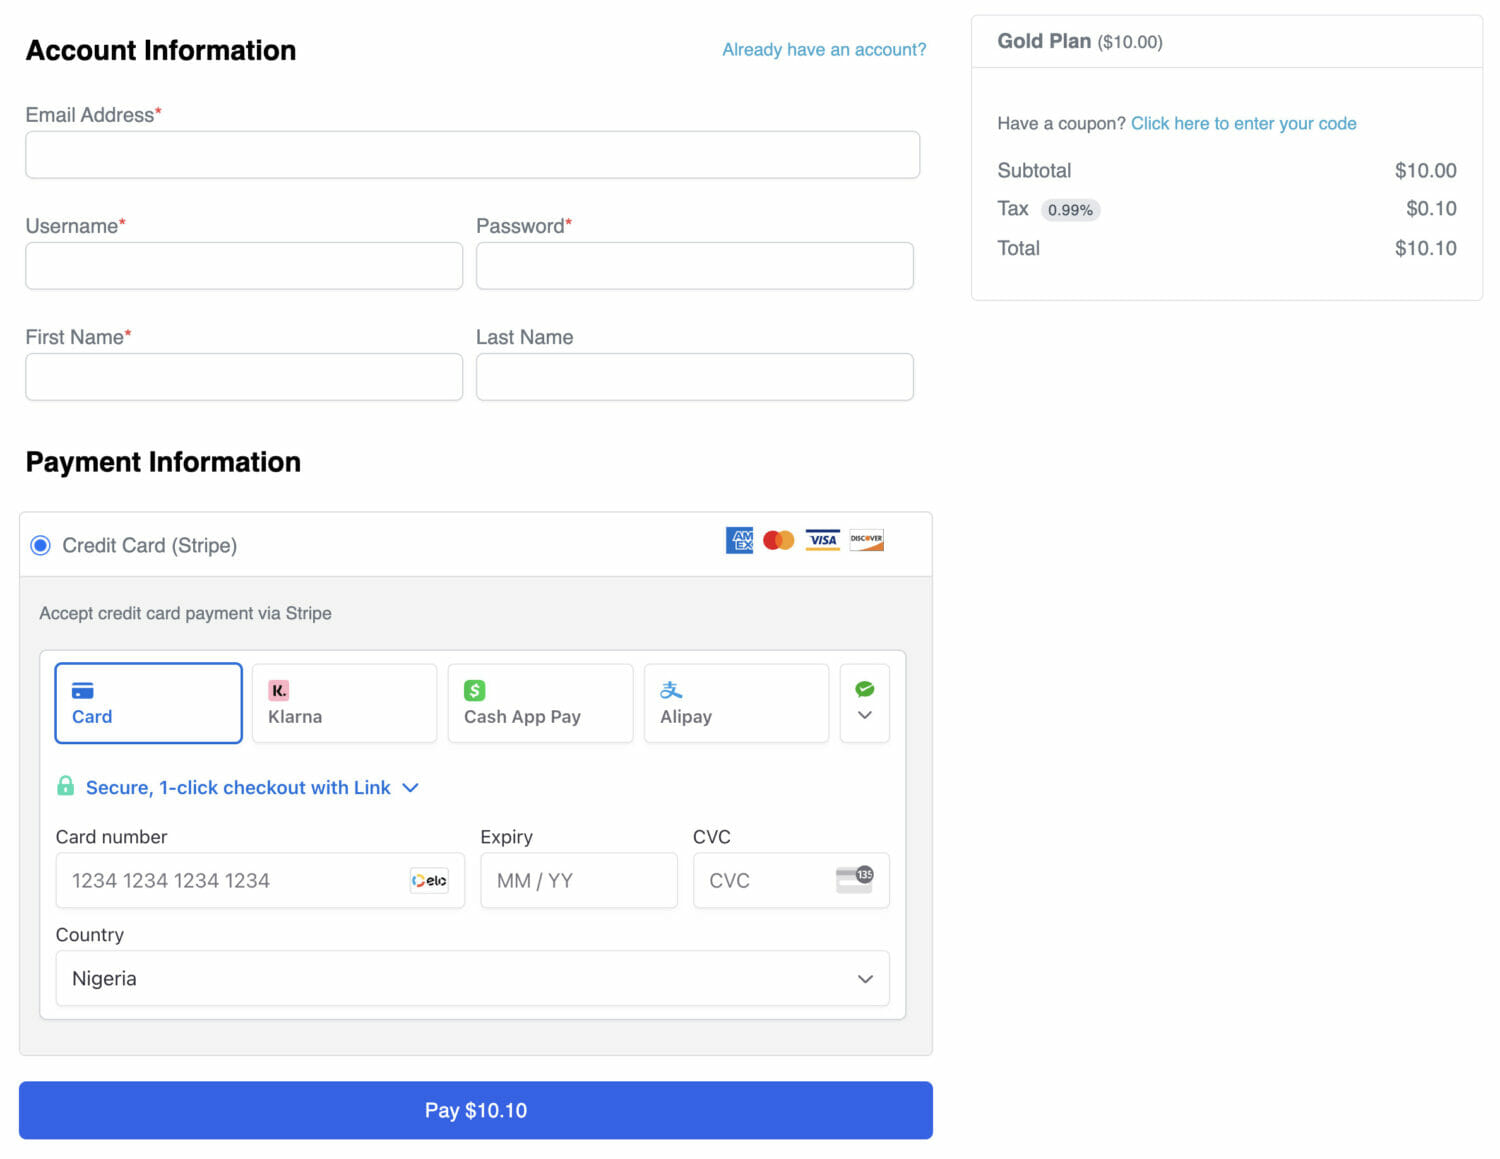
The same applies when using the off-site, Stripe-hosted payment page.
Conclusion
Accepting Apple Pay and Google Pay in WordPress can significantly enhance customer payment options, resulting in a more seamless and secure checkout process. By following the steps outlined in this guide, WordPress site owners can easily integrate Apple Pay and Google Pay into their WordPress sites and start accepting payments from a wider range of customers.
With the growing popularity of mobile payments, adding Apple Pay and Google Pay as payment options can help businesses stay competitive and meet the changing demands of their customers.
Download ProfilePress and use Stripe Payment Element to accept Apple Pay and Google Pay payments.