How to Create a WordPress Frontend Login Page
Do you want to create a front-end login page for your WordPress website?
If you are tired of the default WordPress login page that doesn’t match your website’s look and feel, a custom frontend login page is a great way to offer a seamless user experience and make your website stand out. This is why many websites prefer a WordPress frontend login page.
In this article, you will learn how to create a frontend login page for your WordPress site using the ProfilePress plugin. This plugin provides the best user experience and removes any confusion for your users.
ProfilePress is a powerful membership and user profile plugin that allows you to create front-end login and registration forms and user profiles that are easily customizable and mobile responsive.
Installing the ProfilePress Plugin
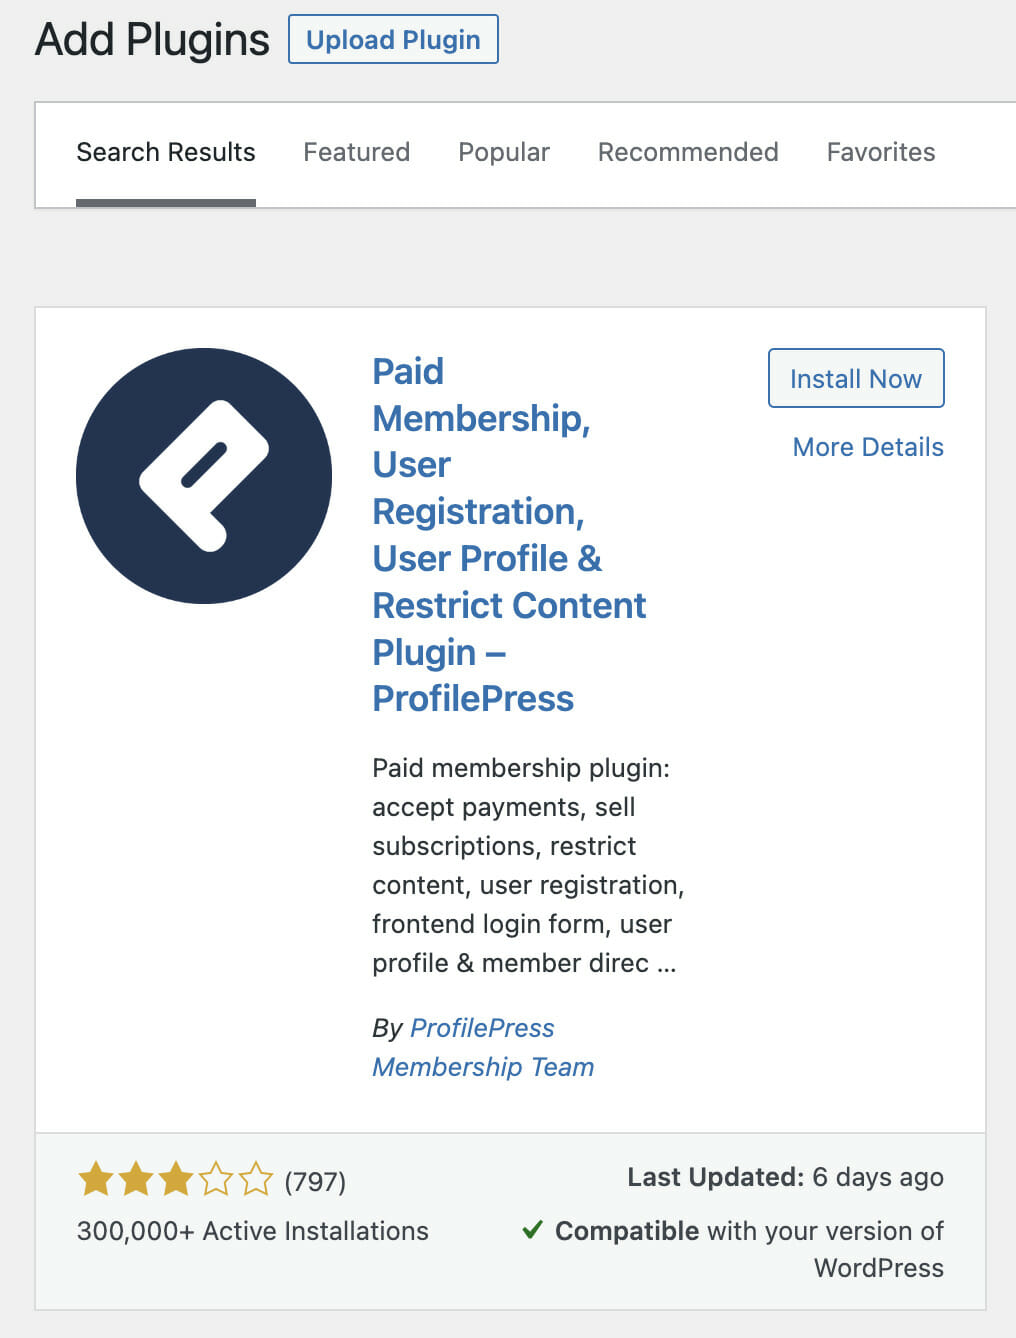
To create a WordPress frontend login page, you will need to install and activate the ProfilePress plugin from the WordPress repository by going to Plugins>>Add New and searching for ProfilePress.
Creating the Custom WordPress Login Form
To create a WordPress login page, there has to be a login form.
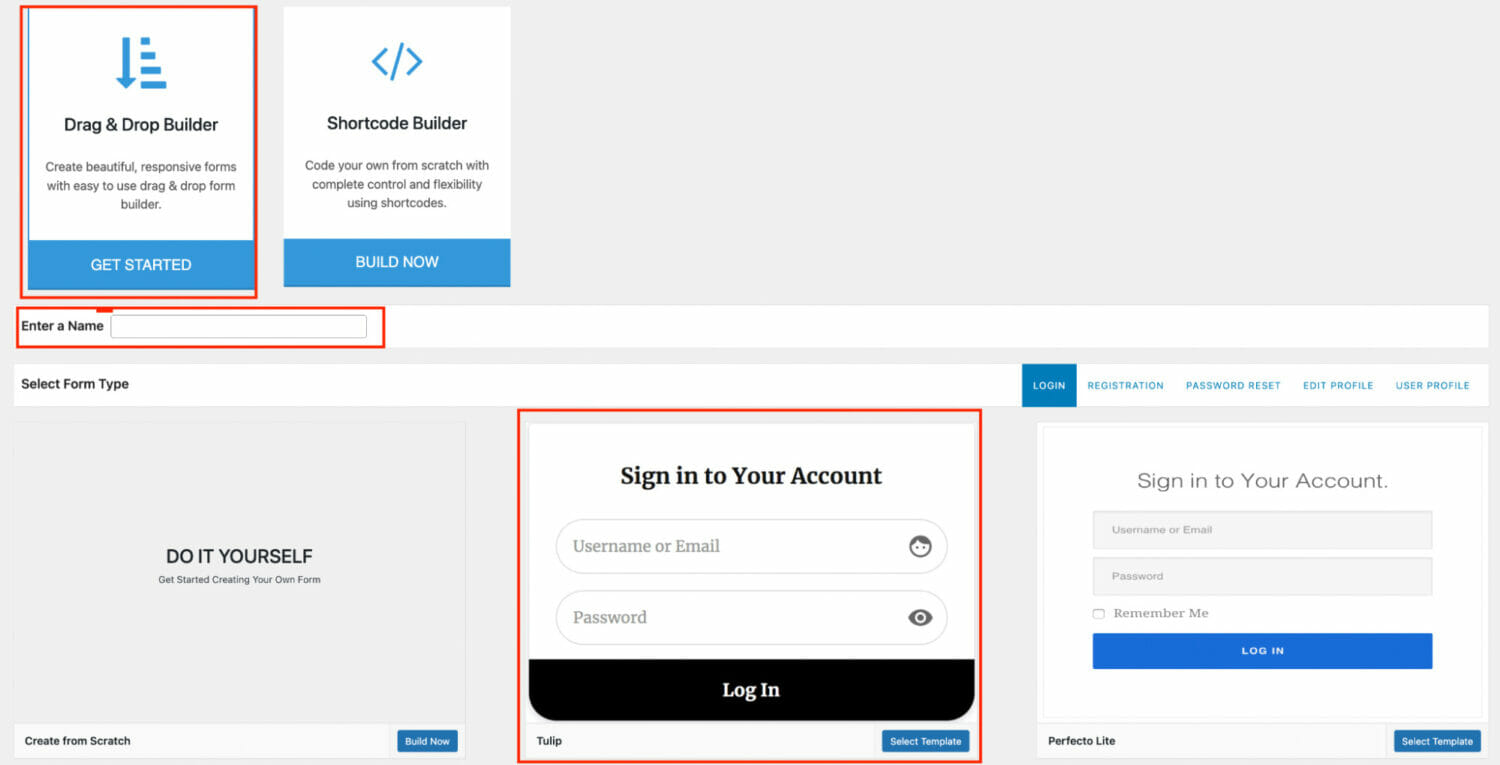
To create a custom WordPress login form for your WordPress, go to ProfilePress>>Forms & Profiles and click on ‘Add New’, select the Drag & Drop builder, give your form a name and choose a suitable template from the displayed options.
After creating the WordPress login form, you can customize it with the drag & drop builder to your taste and add/remove fields as required and click the save changes button.
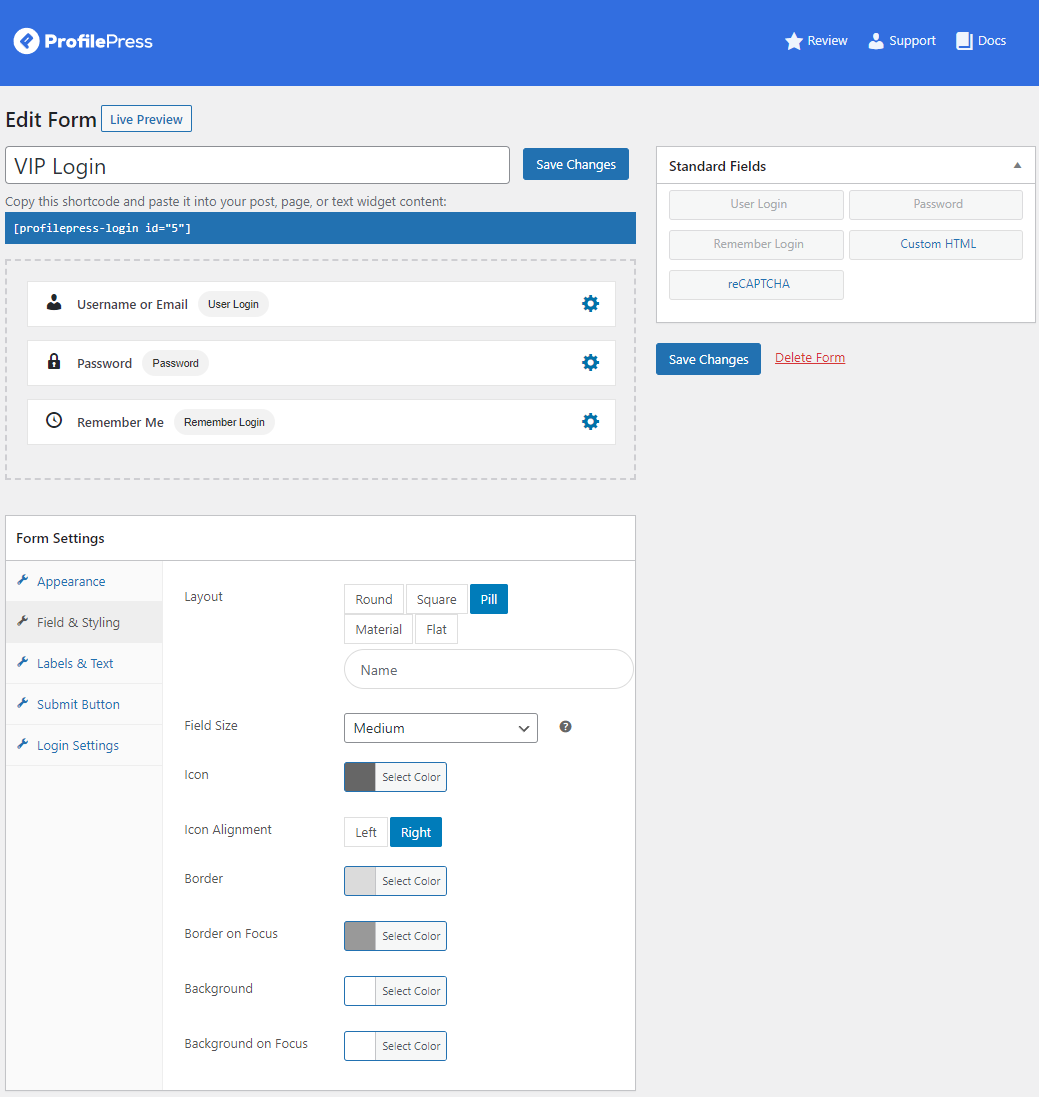
ProfilePress forms also come with social login support to ease the login process for your users. You can read this article on configuring the social login of your choice.
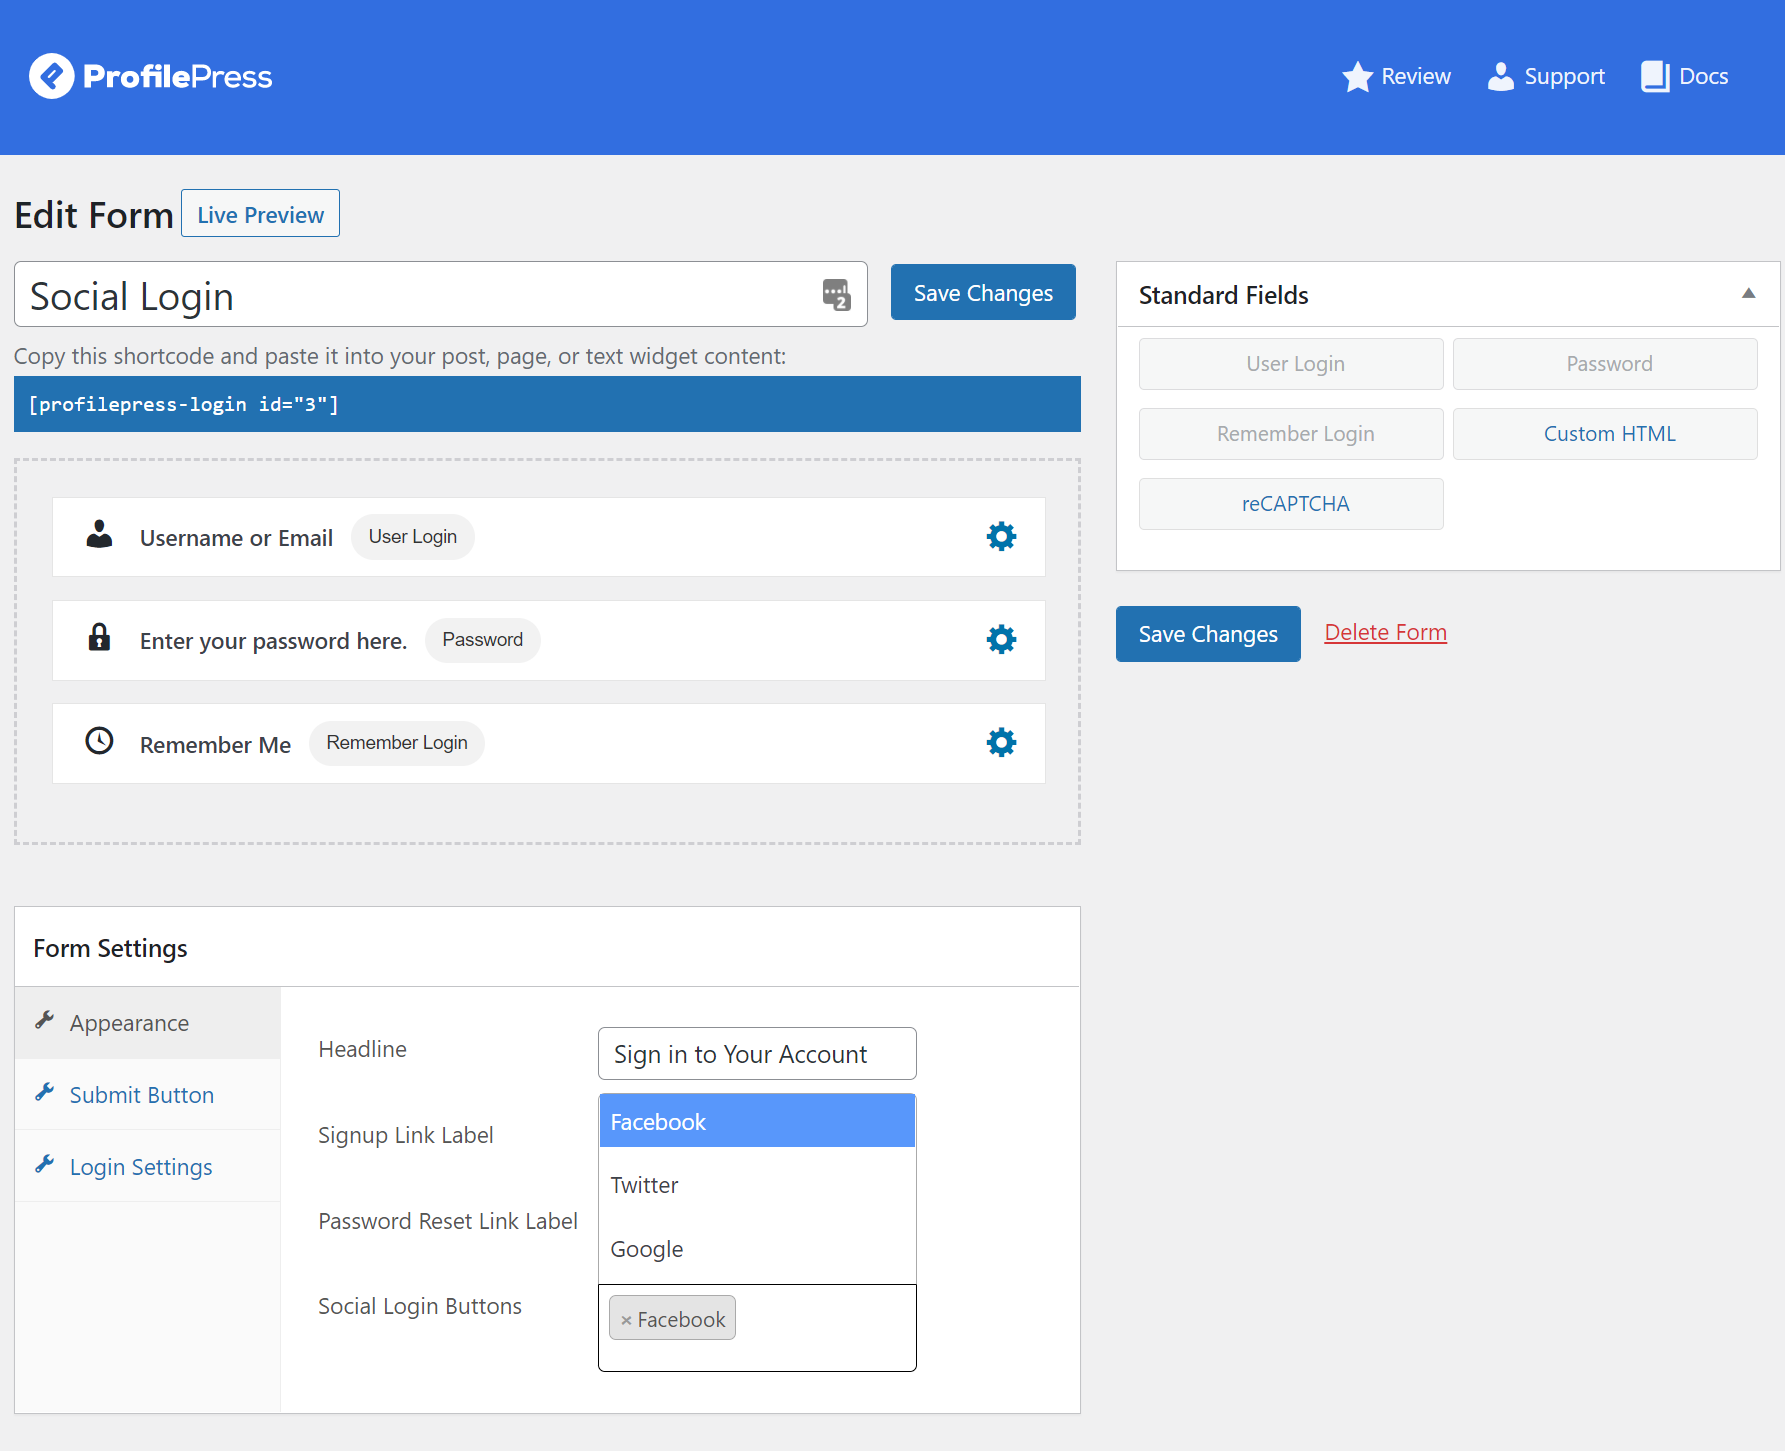
After saving your changes, copy the login form shortcode displayed below the form name. Please note this, as it will be added in the next step where we create the actual WordPress frontend login page.
Creating the WordPress Frontend Login Page
After you have created the custom WordPress login form to your satisfaction, next is to create the login page where users can sign in to your WordPress site.
To do this, from your WordPress dashboard, go to Pages>>Add New and give it an easily recognizable name like ‘Login’ or ‘User Login’ and paste the login form shortcode you copied from the previous step.
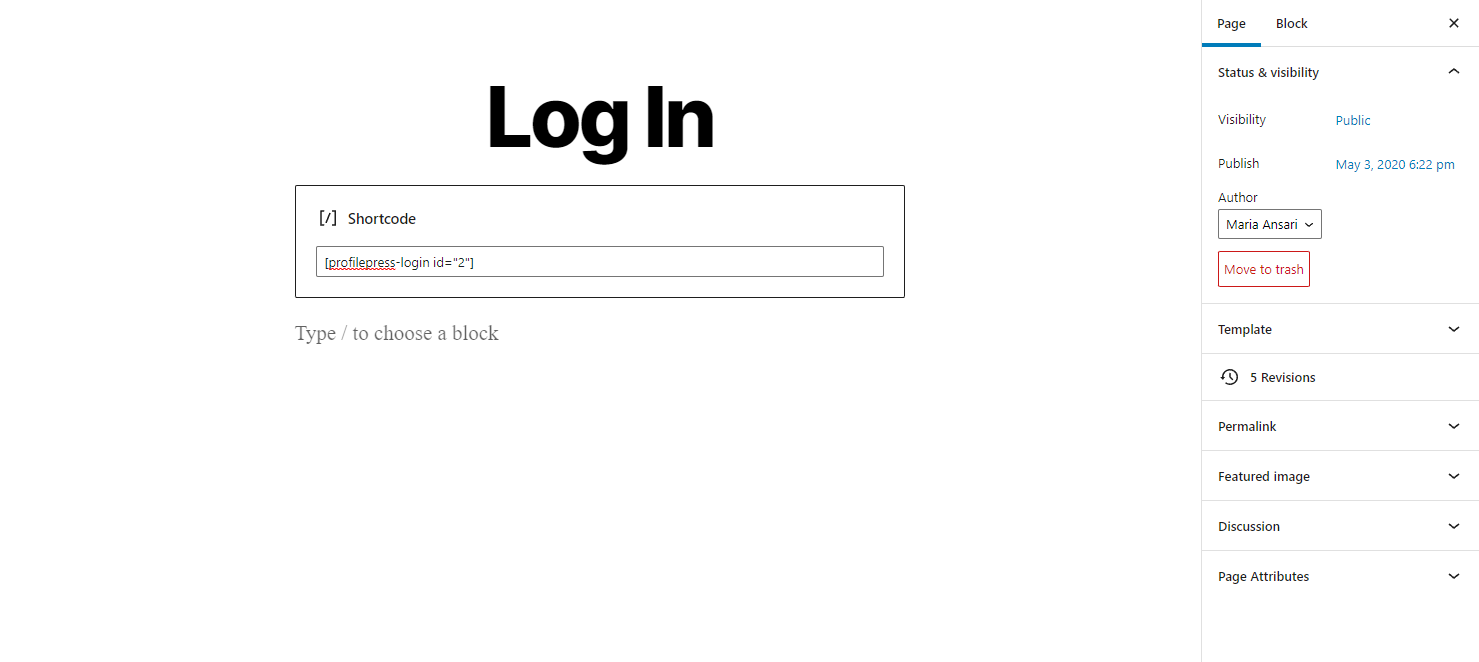
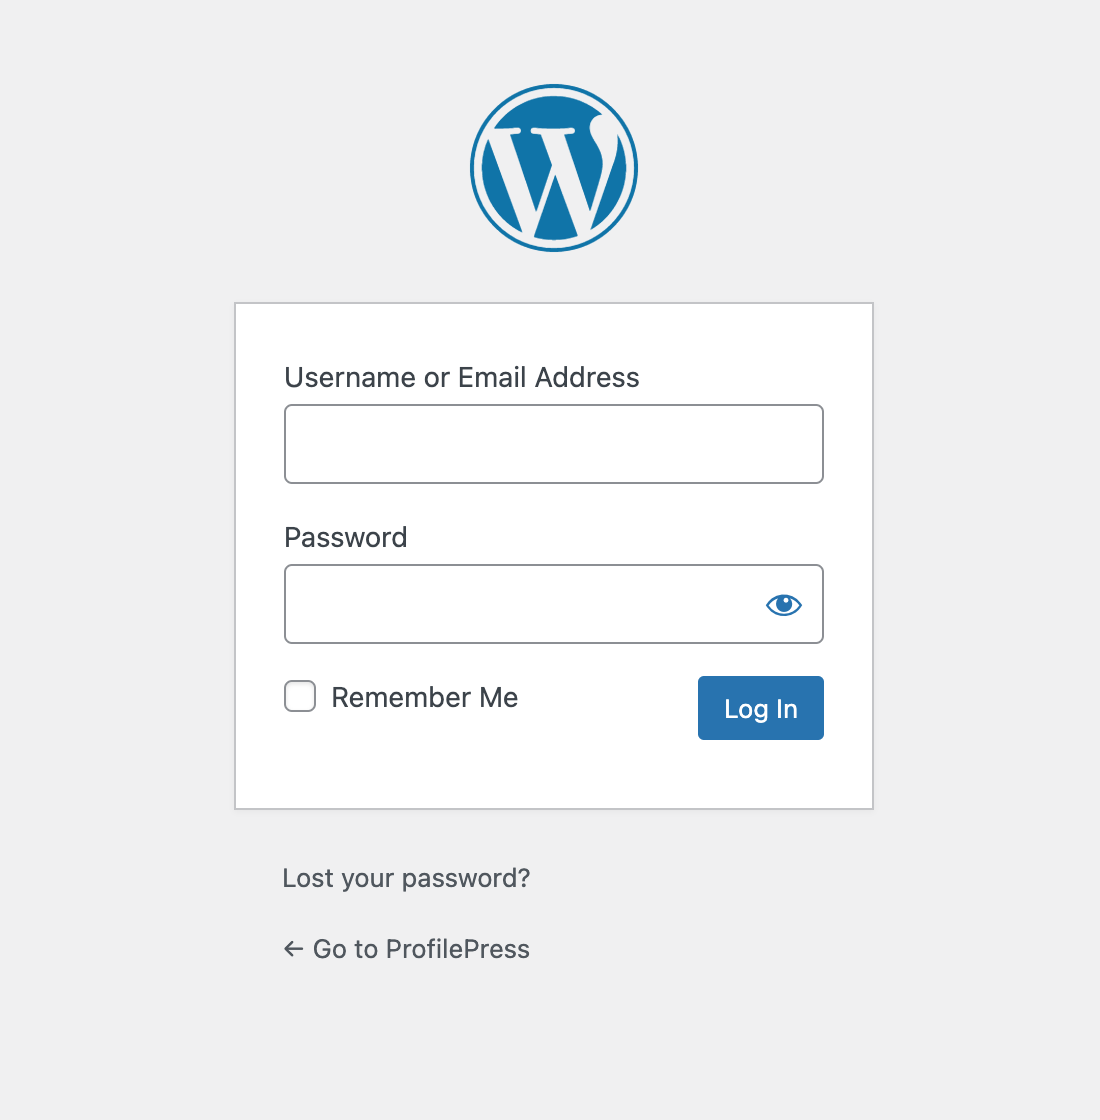
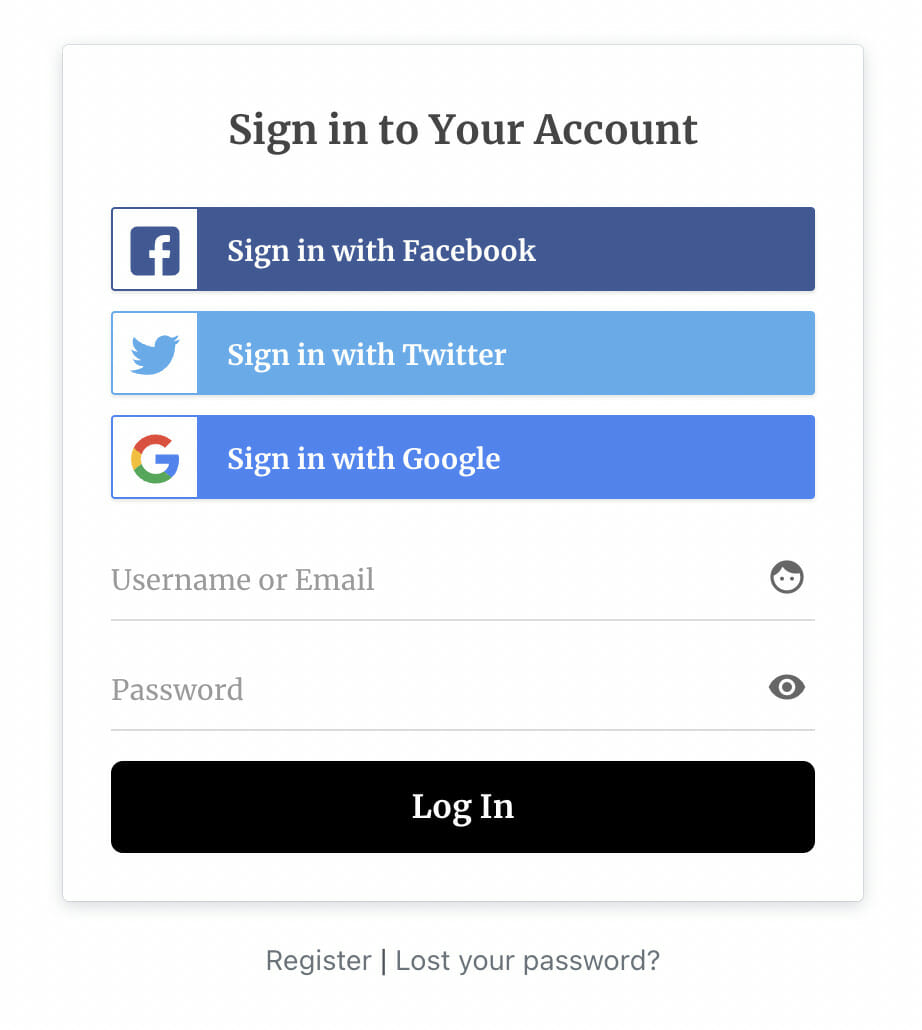
Preview the WordPress login page you created to see how it looks on the front end of your site.
Redirecting the Default WordPress Login Page
After creating your frontend WordPress login page, you need to set it as the default login page in the global settings of ProfilePress so that users are redirected to the page when they try to access the default WordPress login page located at /wp-login.php.
Follow the steps below to achieve this.
- Hover on ProfilePress and click on Settings
- Select the Pages tab
- Scroll down to the login page section and select the new custom login page.
- Click on Save Changes.
After completing the above steps, users visiting http://yoursite.com/wp-login.php will be redirected to your frontend WordPress login page.
We hope this article helped you add a frontend login page for WordPress. You may also want to see how to create a WordPress membership site and how to create custom user registration forms.
If you have more questions, ask our support team anytime.