Setting Up PayPal Payment Method
Are you looking to set up a PayPal payment method on your WordPress site?
PayPal is one of the world’s most trusted payment processors. It provides a secure and globally recognized solution for accepting payments. Integrating PayPal on your WordPress site offers customers a familiar and reliable payment option, boosting their confidence and sales.
With ProfilePress’s PayPal addon, setting up PayPal in WordPress is quick and straightforward. It enables you to accept payments via PayPal checkout, credit cards, and a wide range of popular payment methods, including Venmo, Visa, Mastercard, Discover, iDEAL, American Express, Bancontact, BLIK, Giropay, MyBank, Przelewy24, and more.
In this guide, we’ll walk you through configuring PayPal as your payment method in WordPress using the ProfilePress PayPal add-on.
Setting up PayPal Payment Method in WordPress
To begin accepting PayPal payments on your WordPress membership site, ensure that you have installed and activated the ProfilePress plugin.
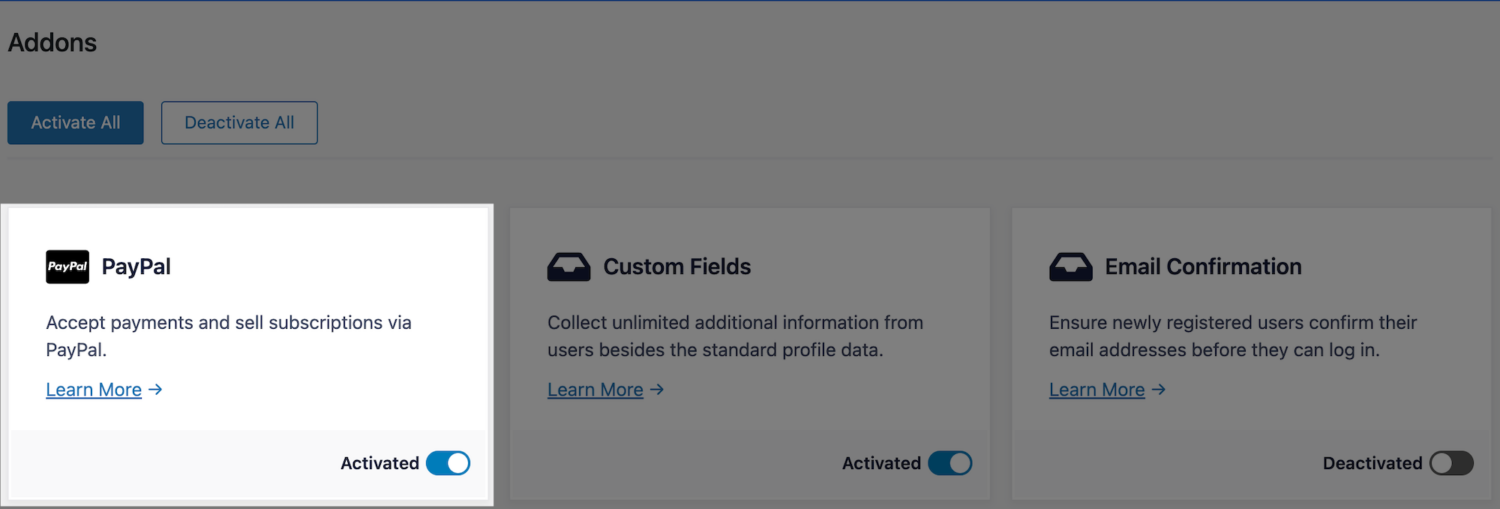
Next, navigate to ProfilePress > Addons in your WordPress dashboard. This page lists all available ProfilePress addons, including the PayPal addon.
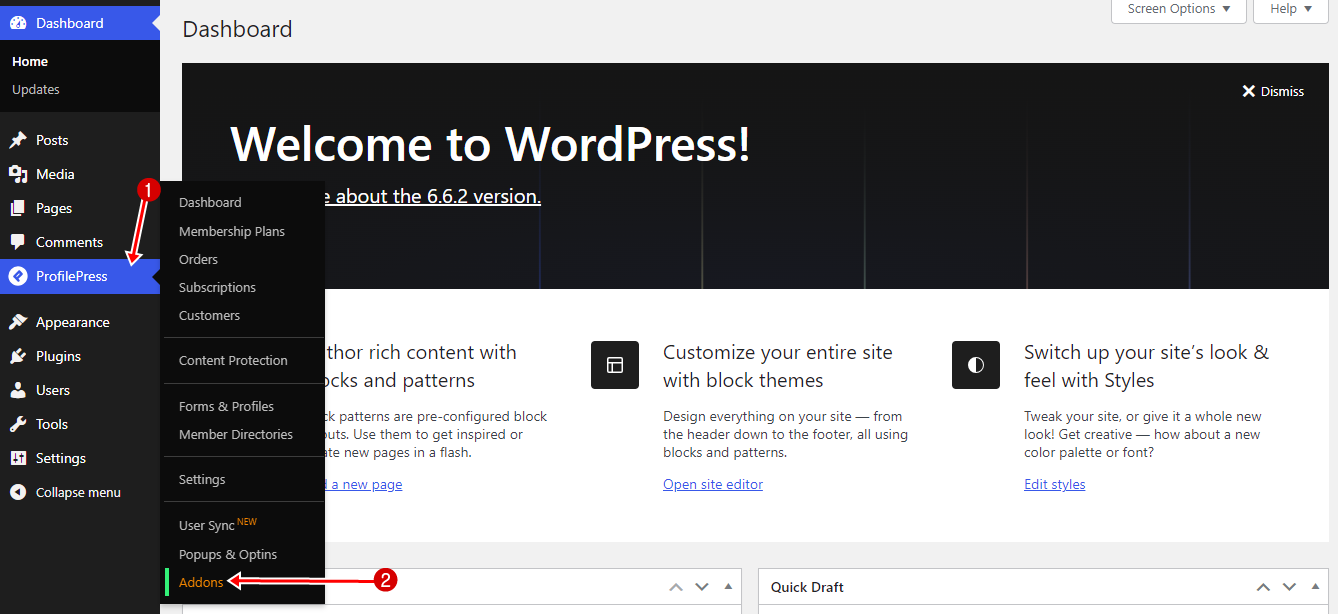
Then, scroll to the PayPal section and activate it.
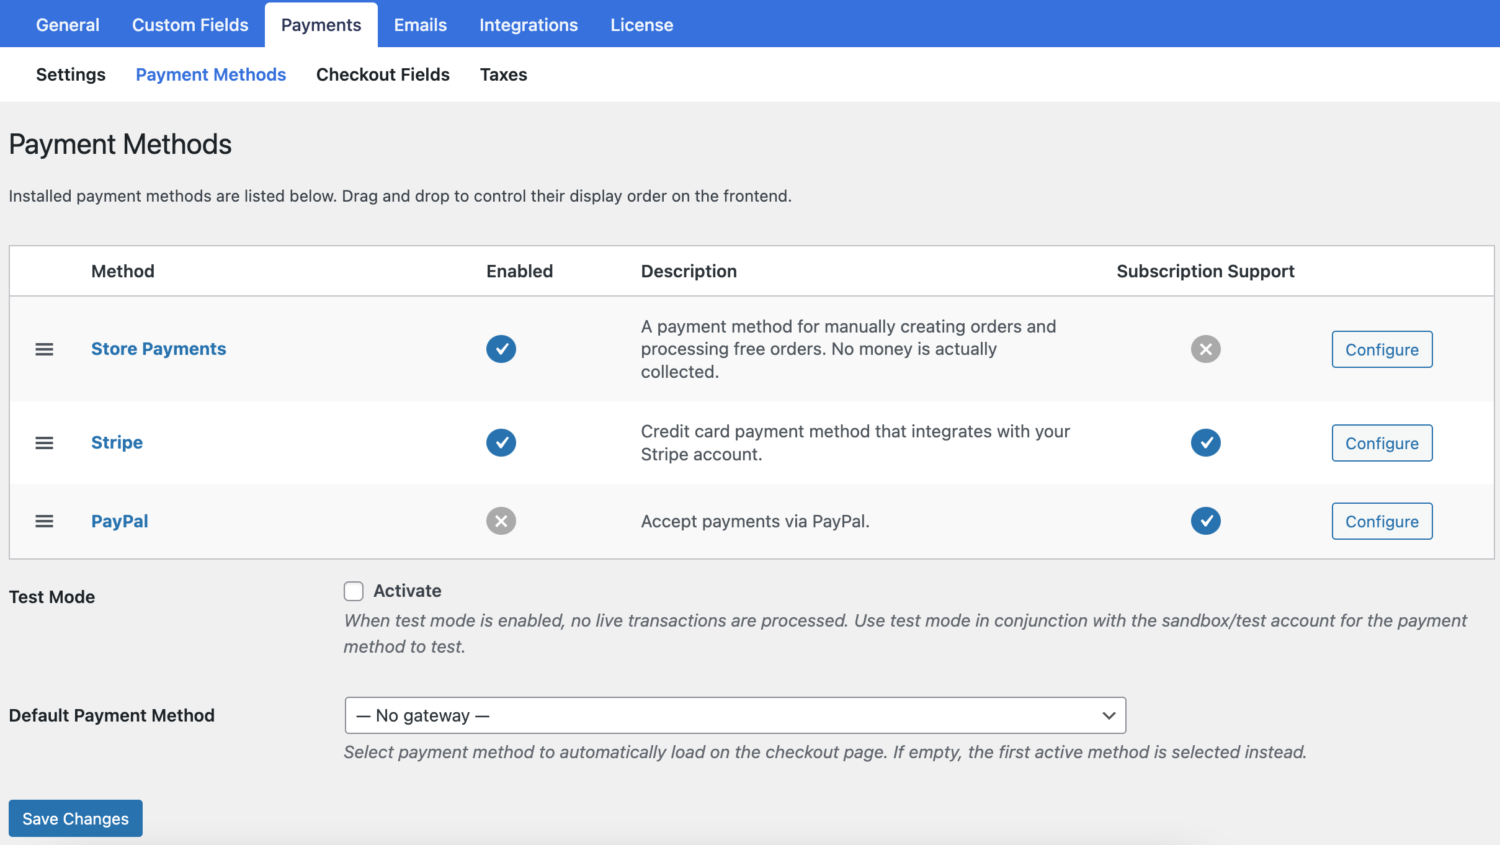
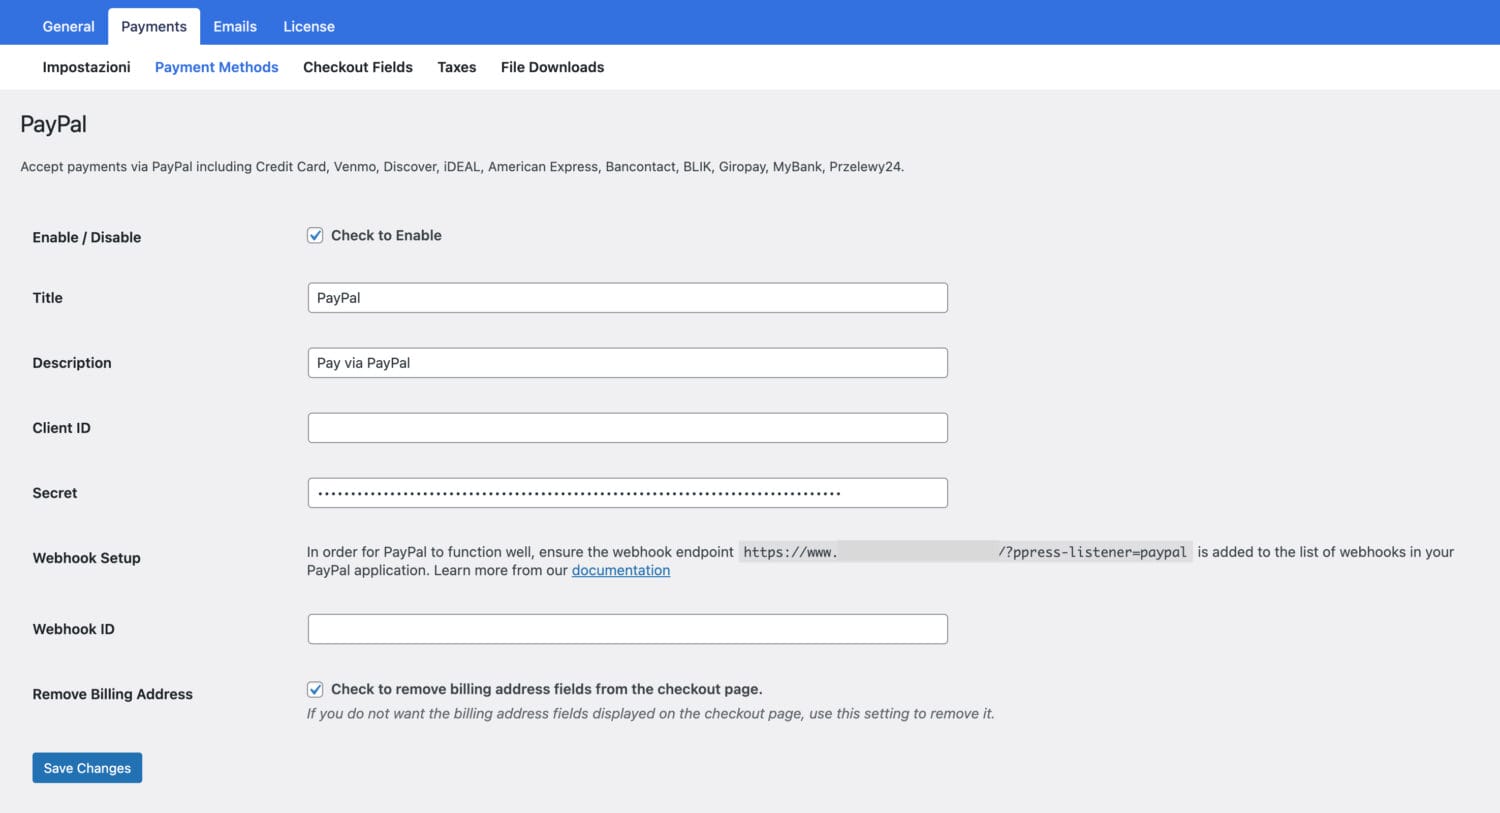
Next, go to ProfilePress > Settings > Payments >> Payment Methods and click the Configure button for PayPal.
If you want to test the setup before going live, ensure you activate “test mode” before going through the PayPal setup.
The next step is to create a PayPal application and fill out the settings with the app details.
Creating a PayPal Application
If you enabled test mode (when not ready to accept live payments) in the previous step, you must create a Sandbox application. However, to set up PayPal to charge real payments, you must create a Live application.
Log in with your PayPal account at https://developer.paypal.com.
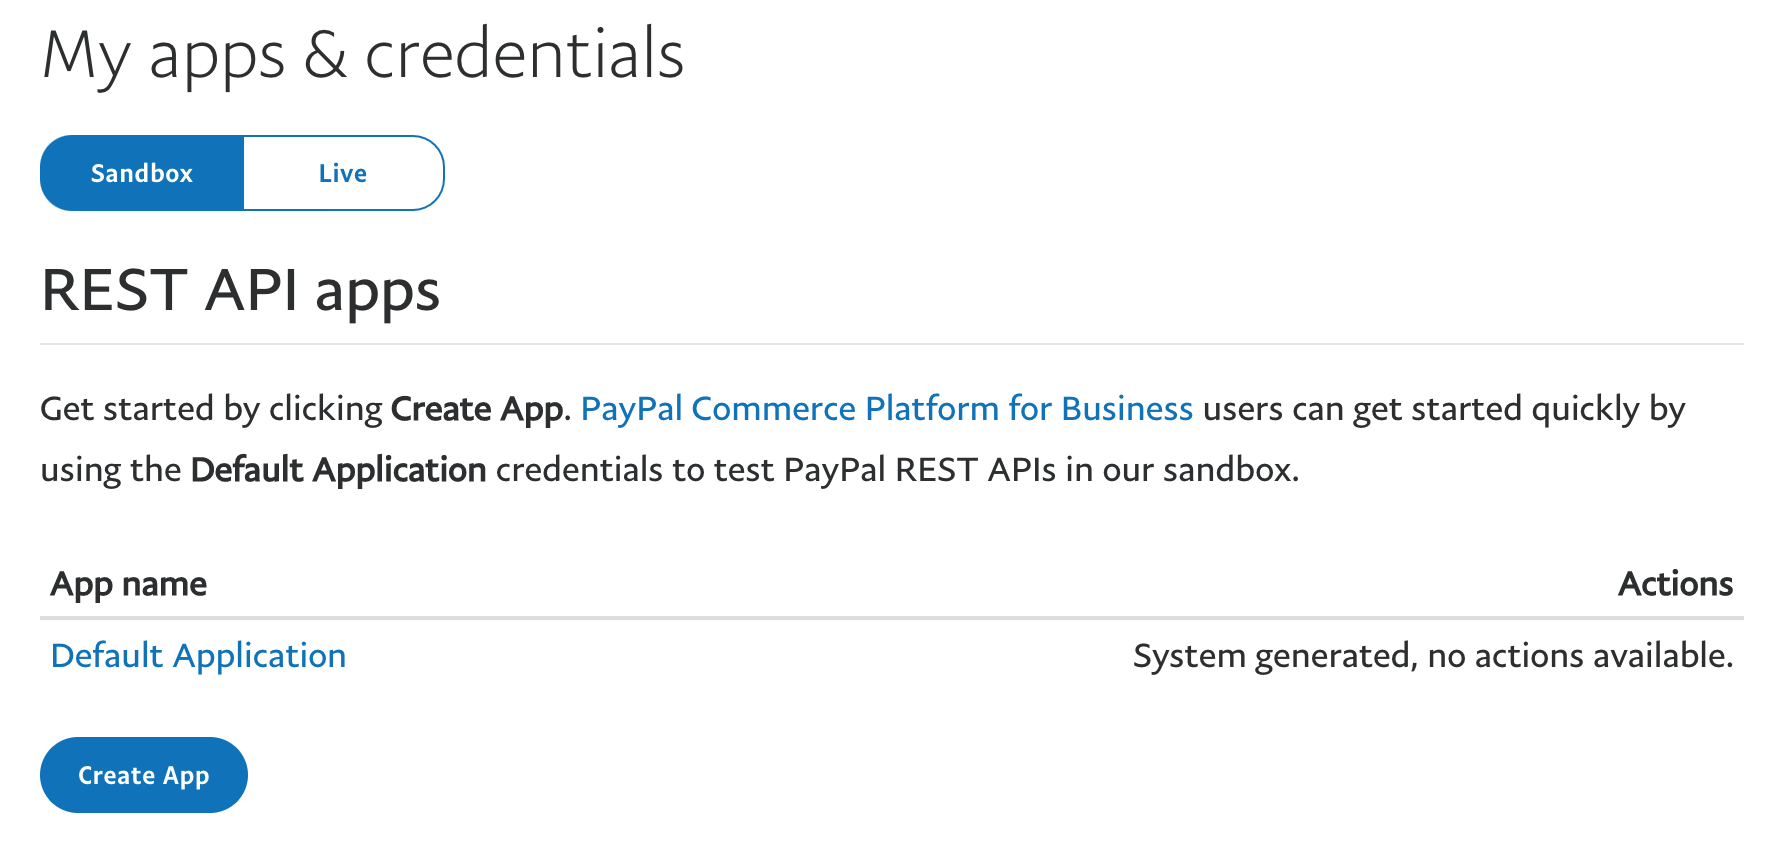
Go to Dashboard >> My Apps & Credentials, click the Live tab, and then the “Create App” button.
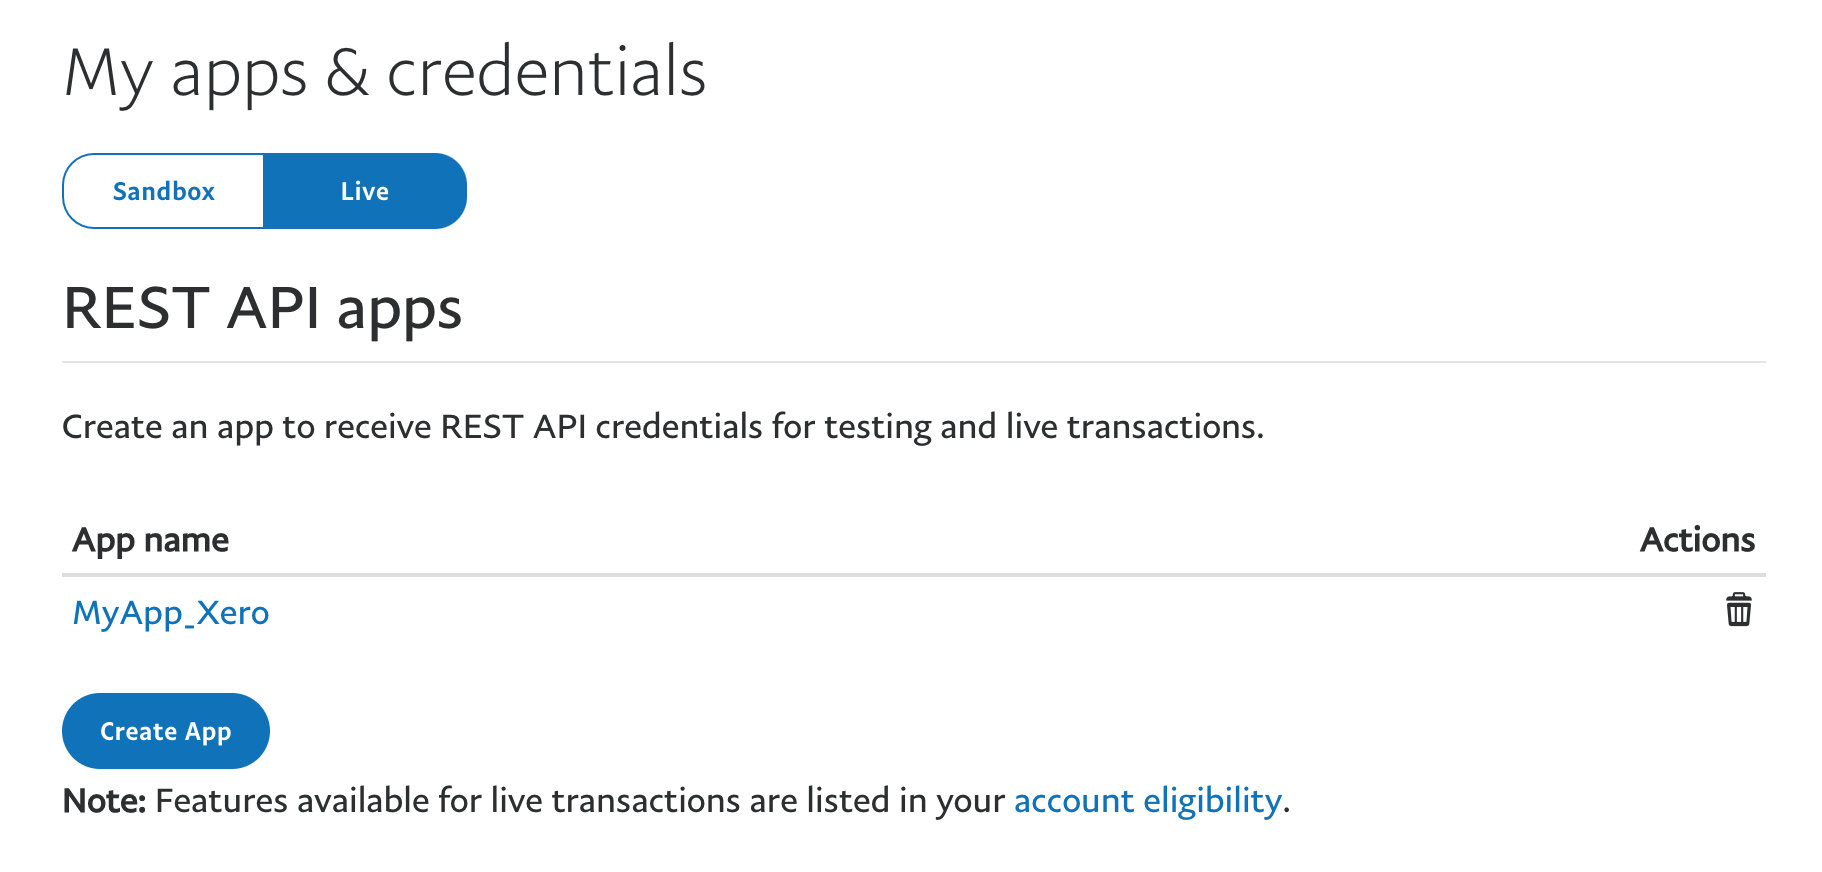
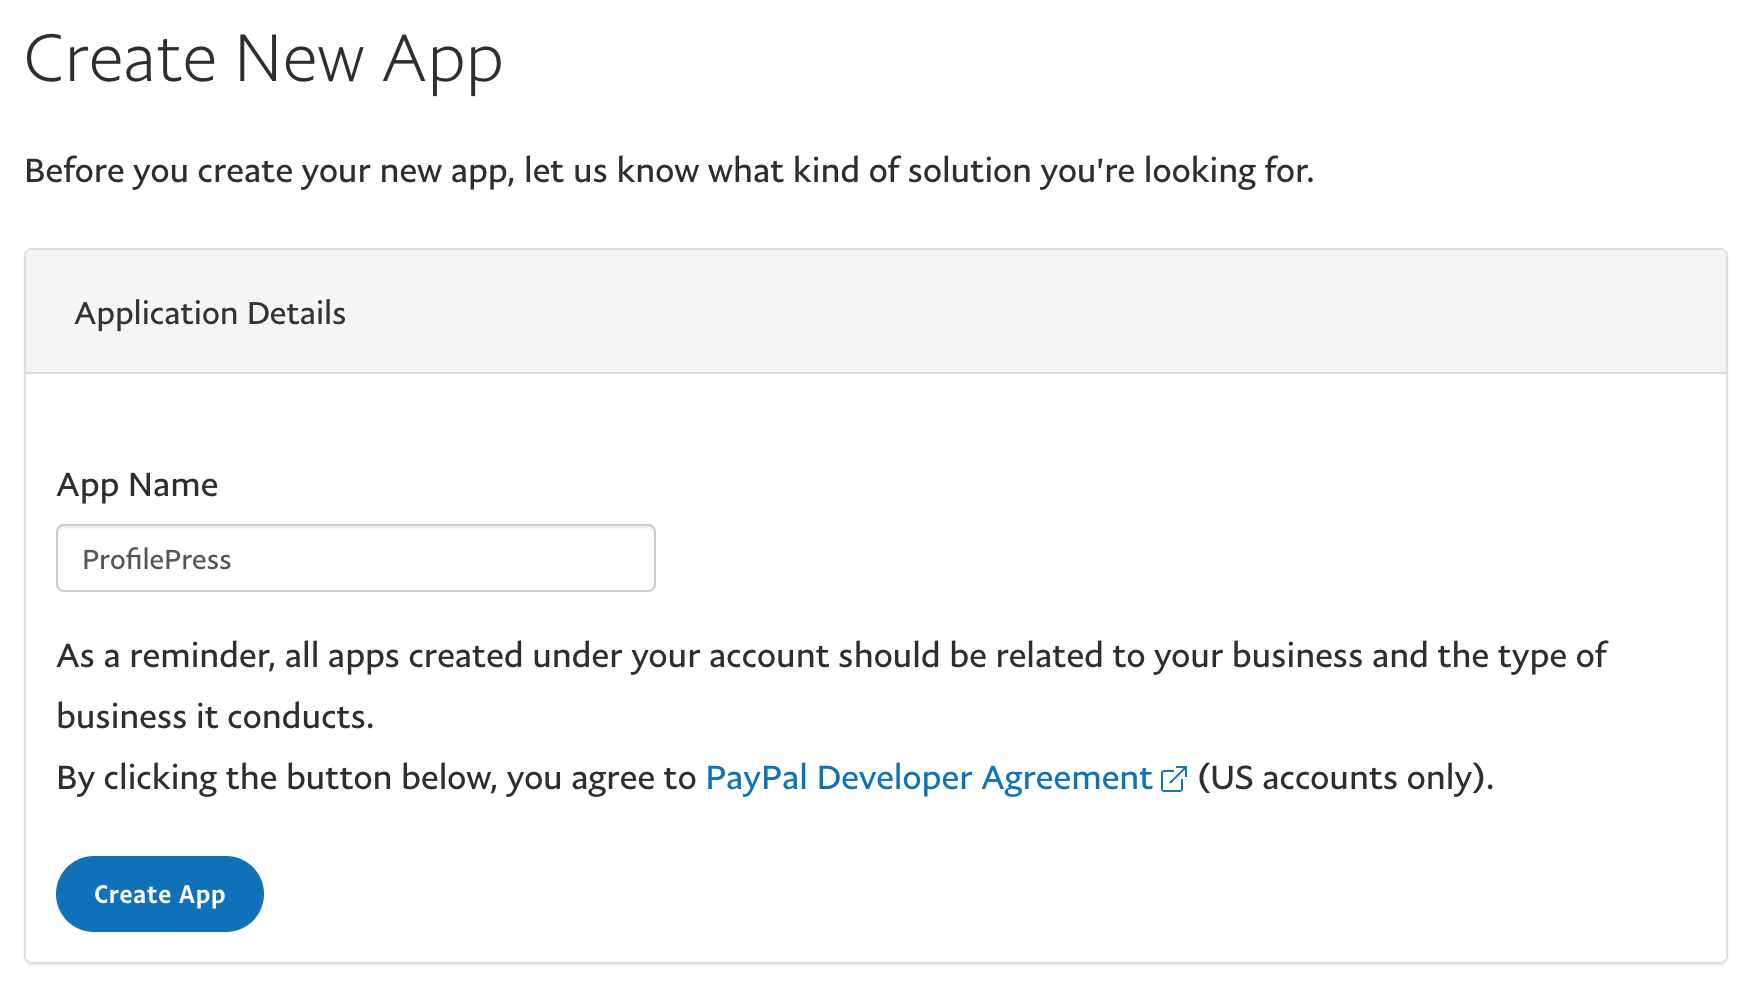
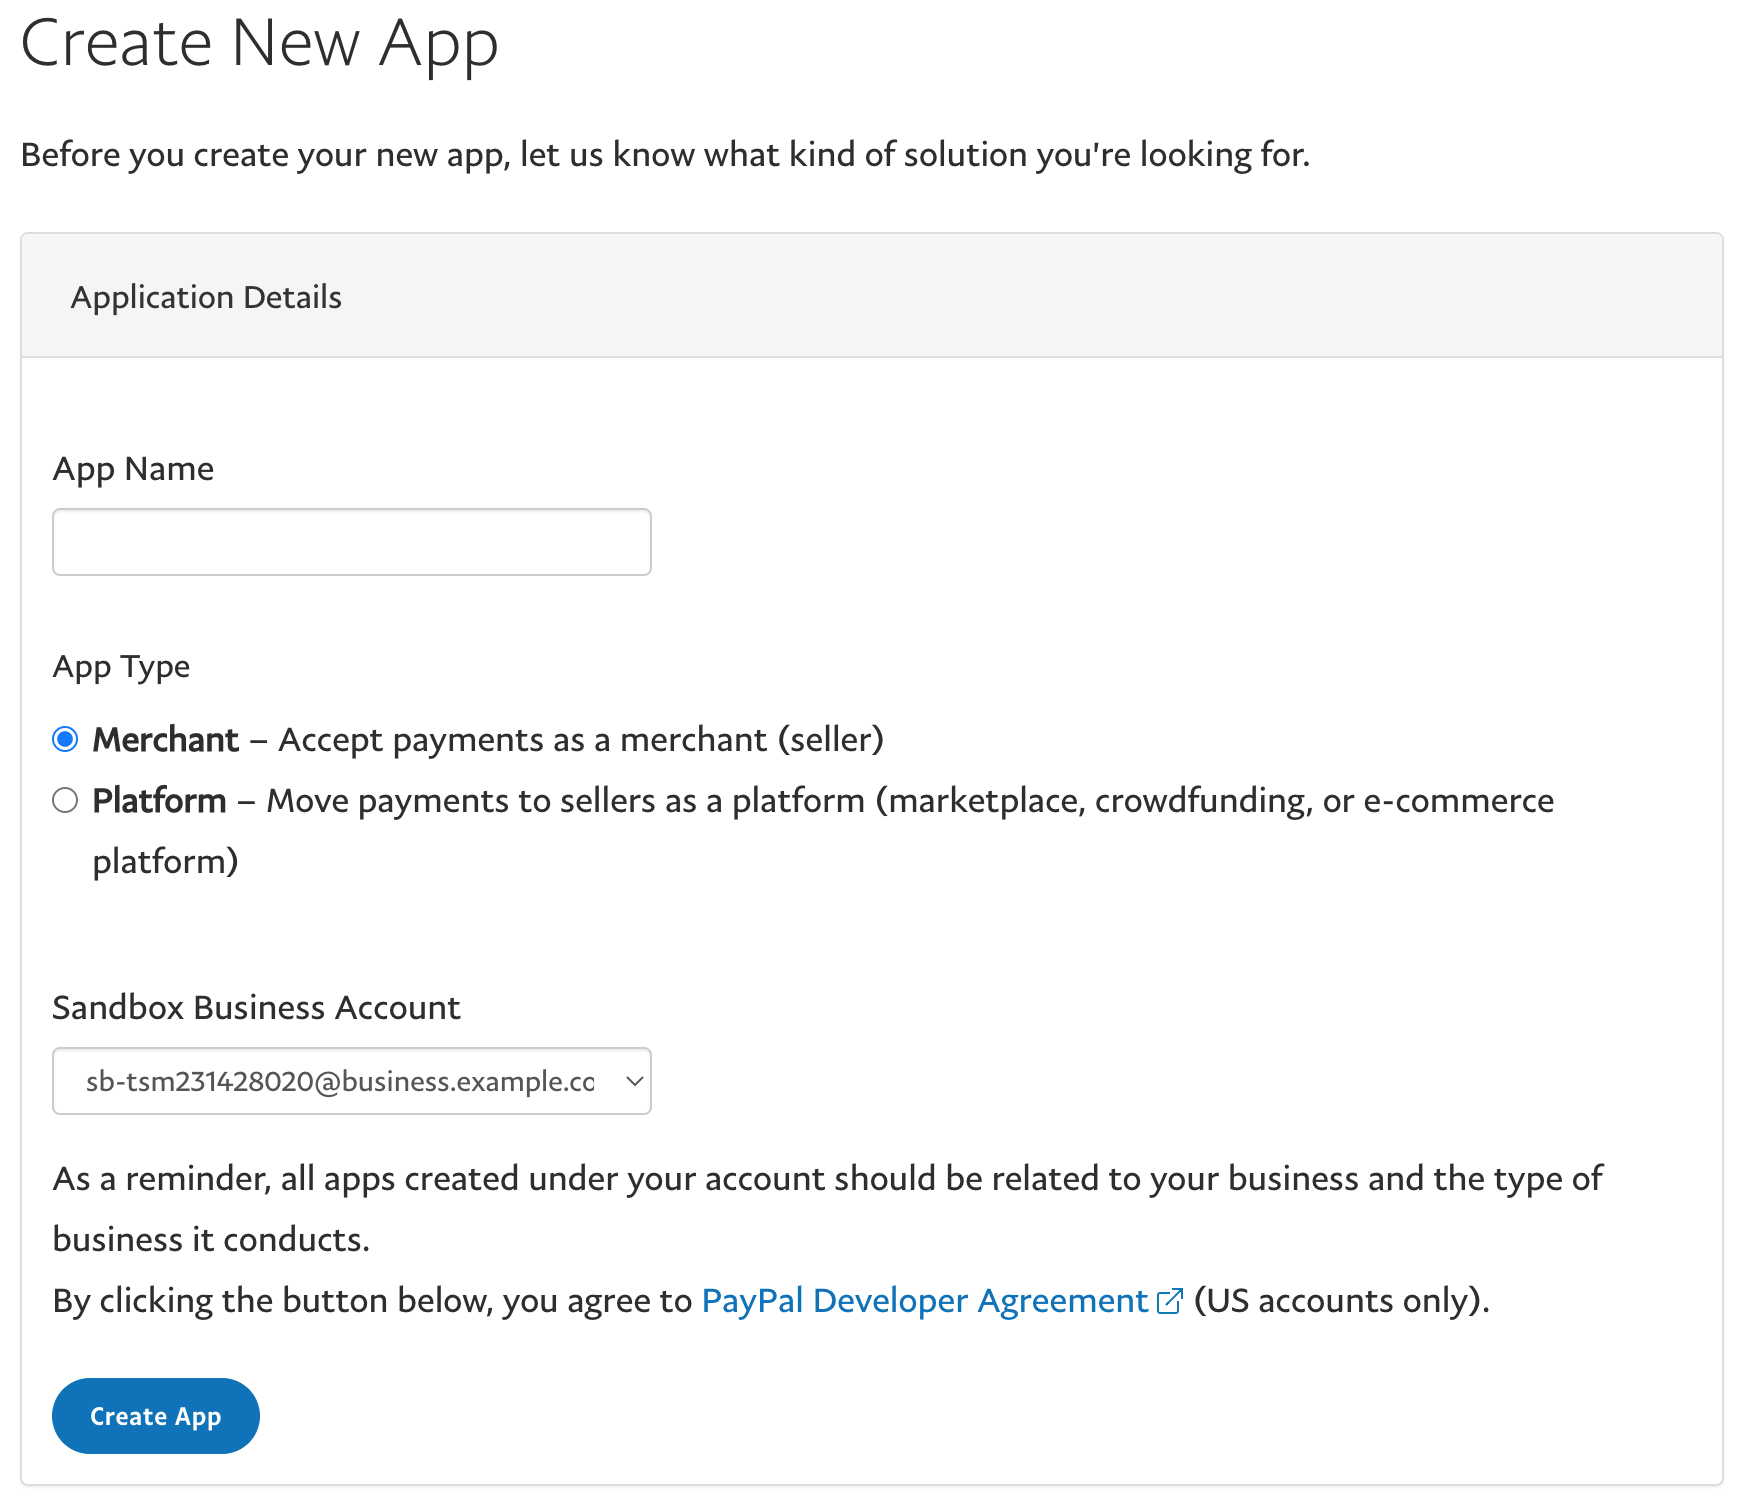
Enter a name for the application. For example, you could enter your business name.
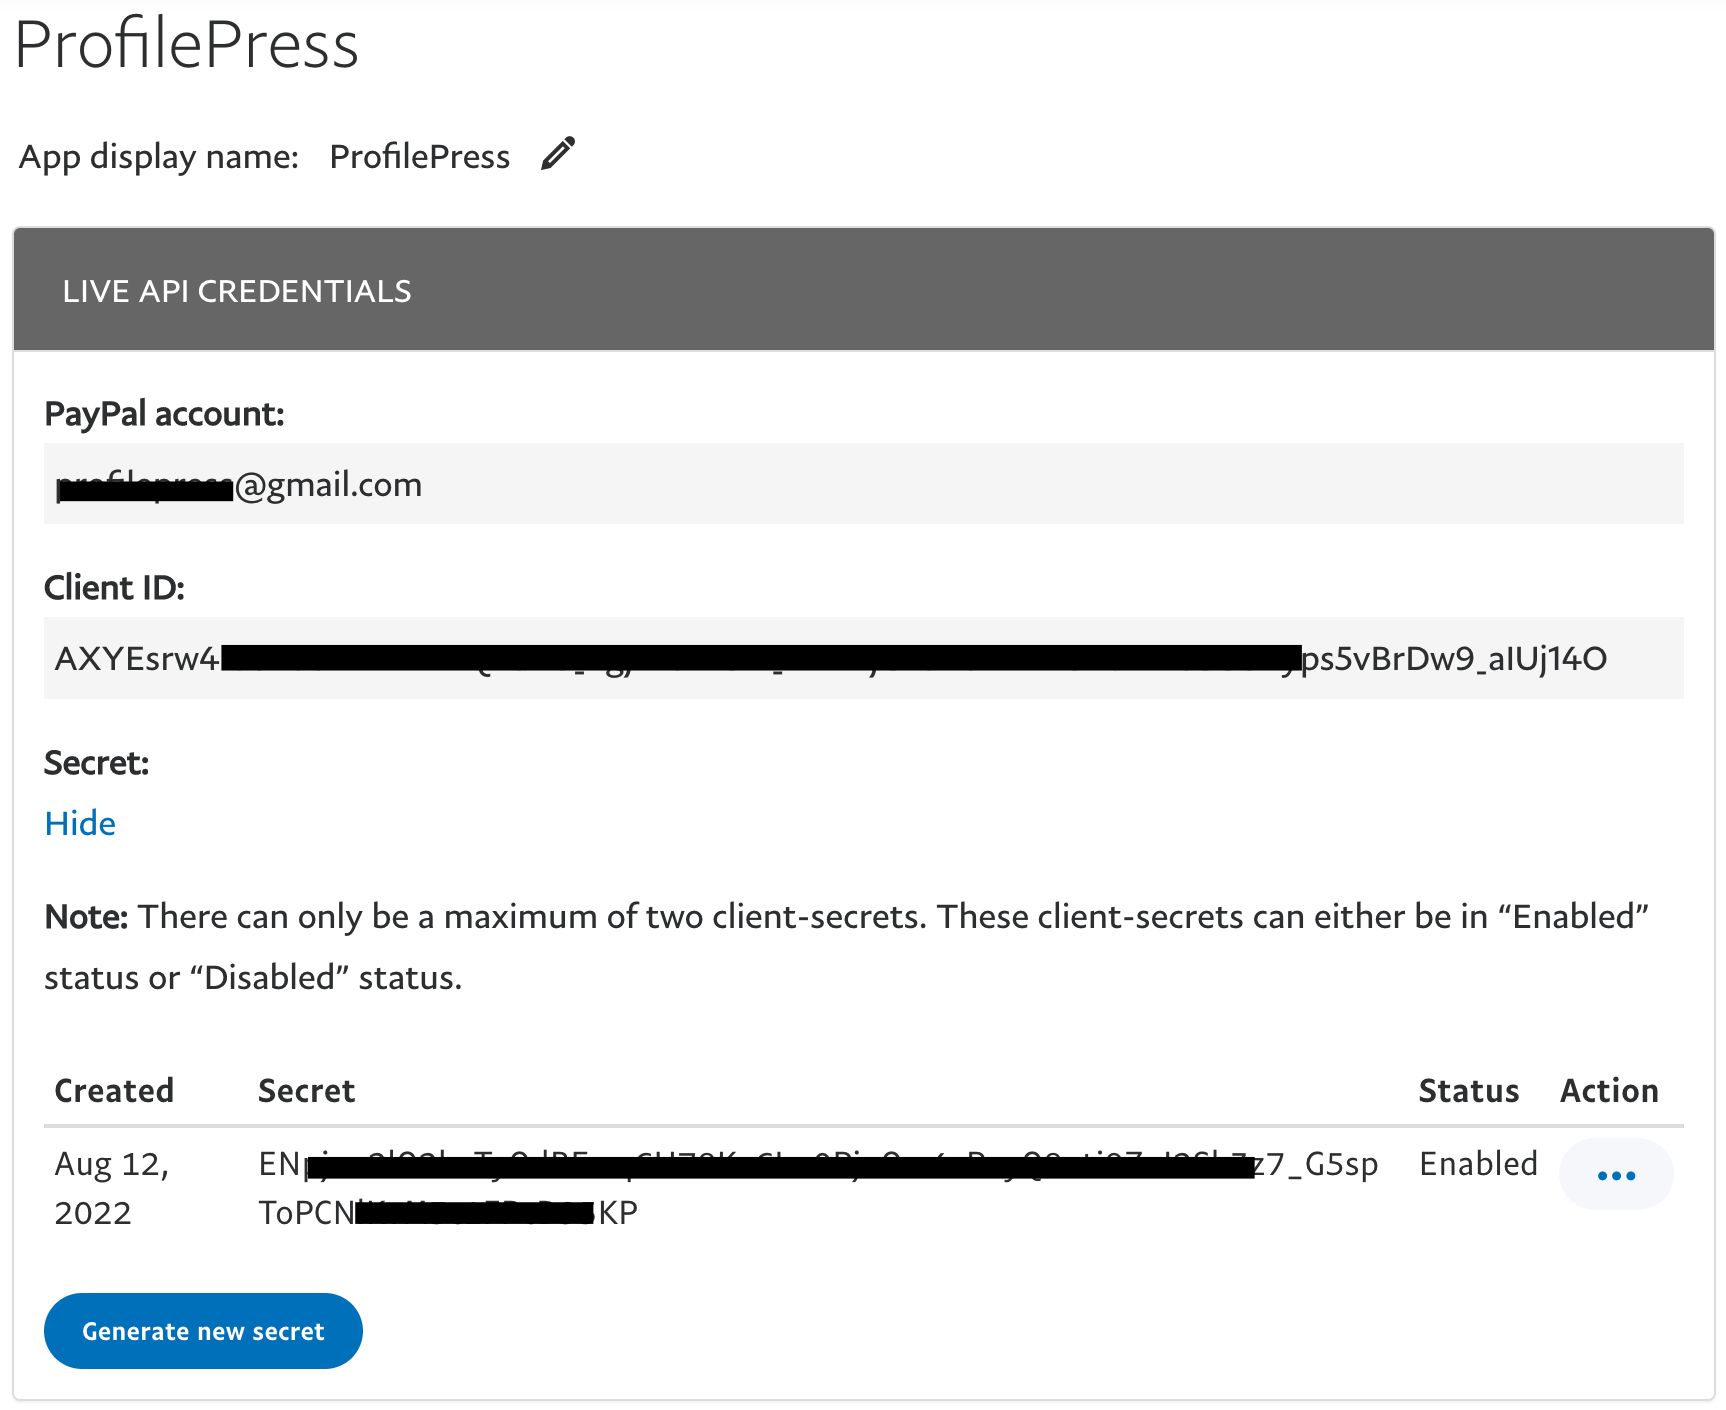
After creating the app, you will see the Client ID and Secret. Copy and save them to the ProfilePress PayPal settings.
Ensure “Accept payments,” Invoicing, and Customer Disputes features are enabled.
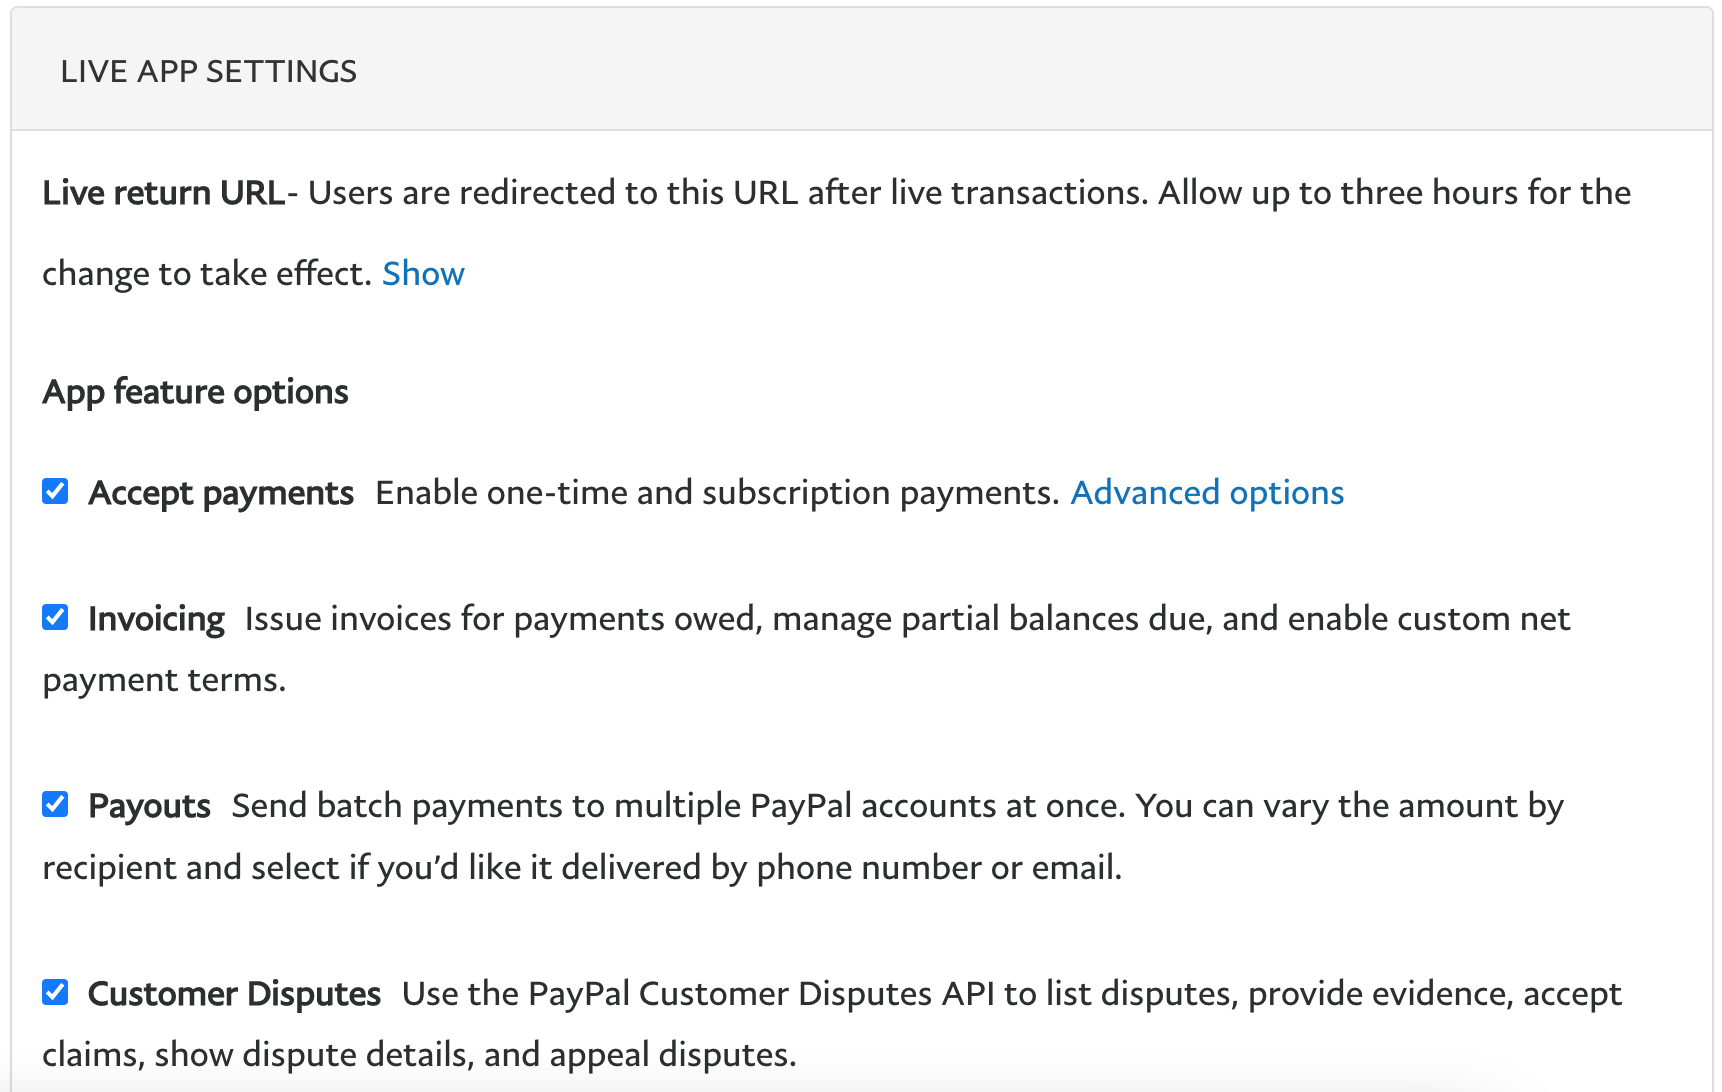
Copy and save them to the ProfilePress PayPal settings.
Webhooks
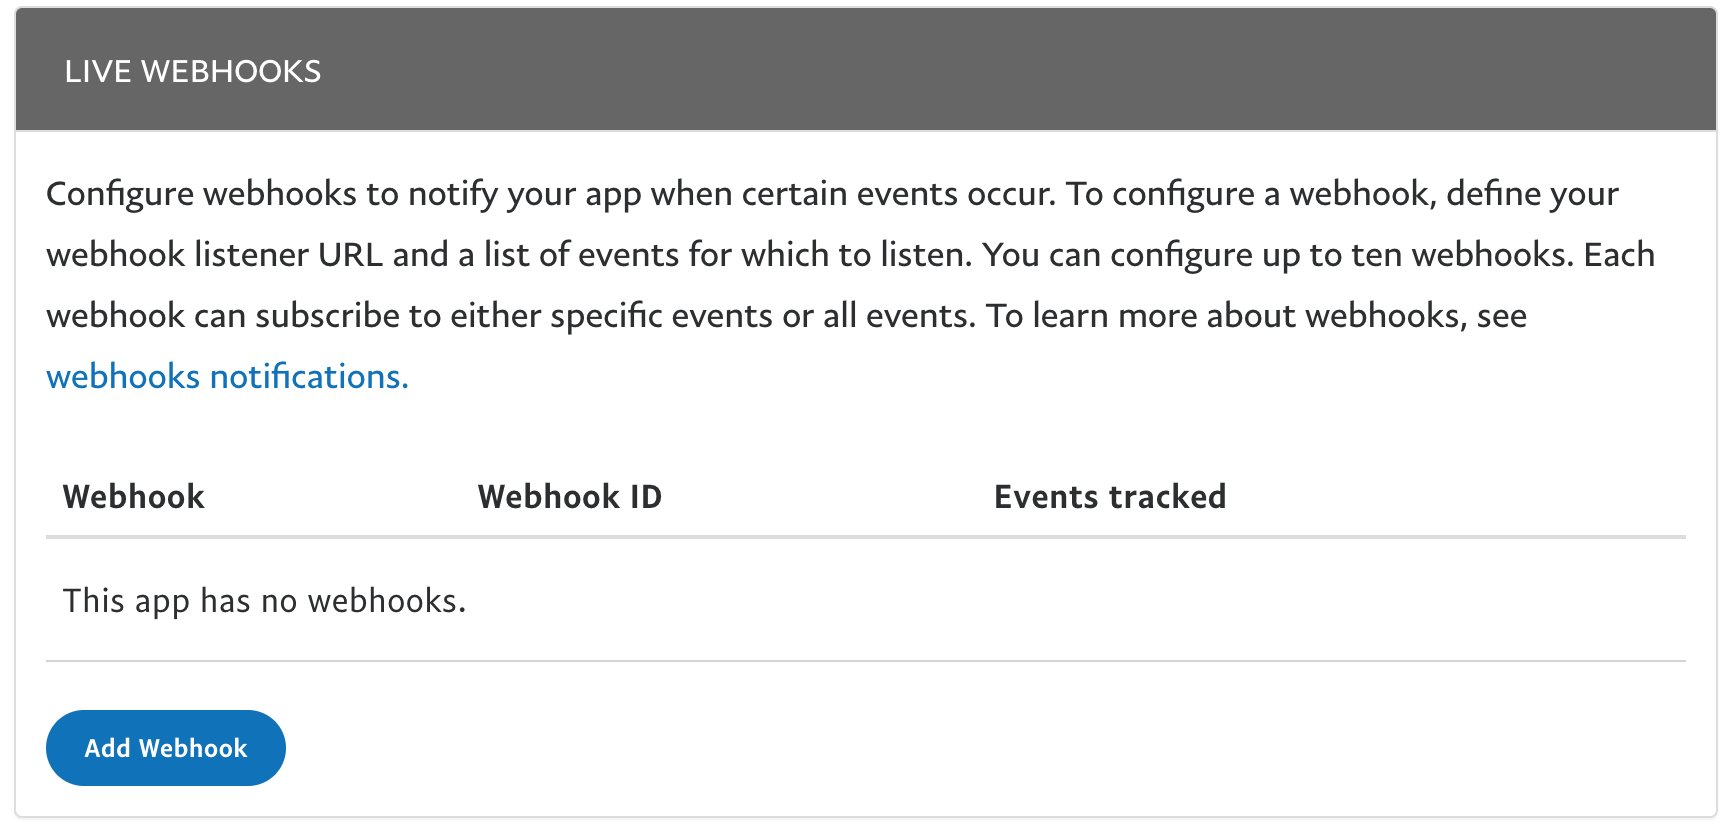
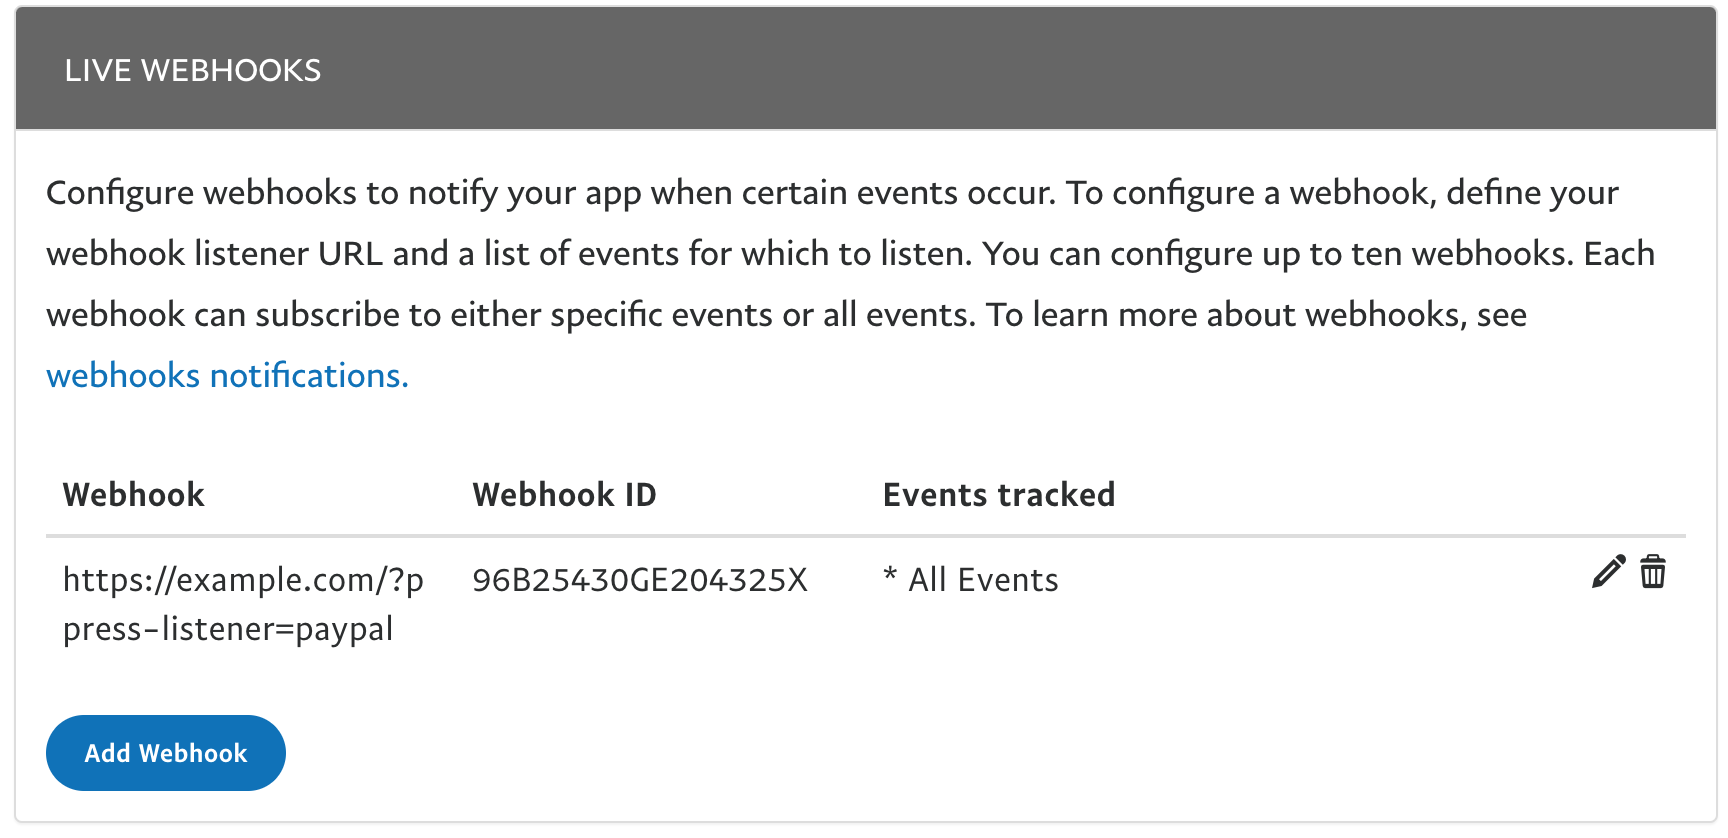
ProfilePress communicates with PayPal using webhooks. To add the appropriate webhook endpoints to your PayPal application, go to your App settings page, scroll to the “LIVE WEBHOOKS” section, and click the “Add Webhook” button.
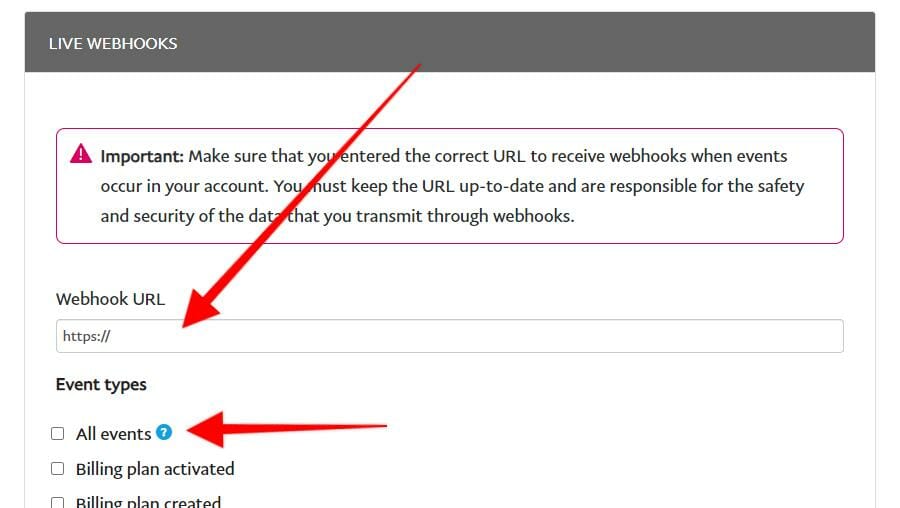
Enter your website webhook URL. You can get and copy the Webhook URL from the Webhook Setup section of the ProfilePress PayPal settings page, which is usually https://example.com/?ppress-listener=paypal.
Note: Replace “example.com” with your actual site URL.
Check the box “All Events” below the Webhook URL field.
Then scroll down and click the save button:
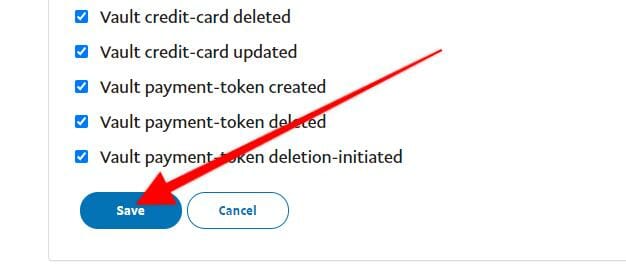
After saving the webhook URL, copy the Webhook ID and save it to the ProfilePress PayPal settings.
Don’t forget to save your changes.
Additional Settings / Features
Other Payment Method
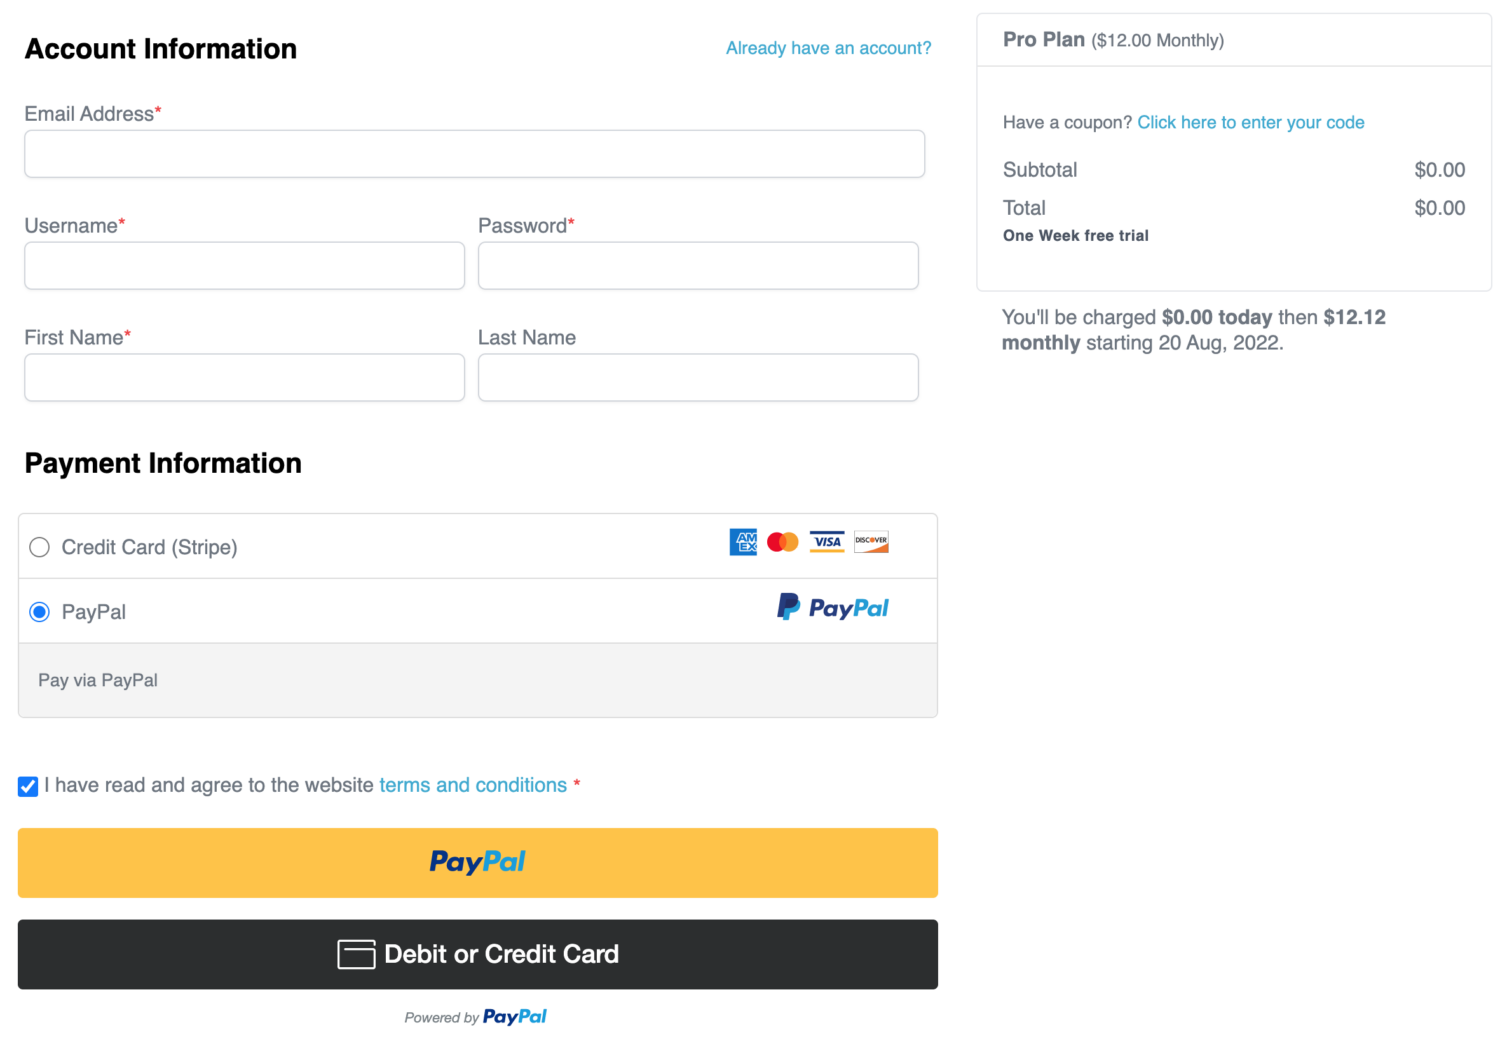
When using the PayPal Addon on your WordPress membership checkout page, you may be able to offer your customers additional PayPal-supported payment options on your form beyond just PayPal and credit card.
Additional funding sources are offered in the PayPal checkout interface through payment buttons appearing when users interact with the form. Here is an example:
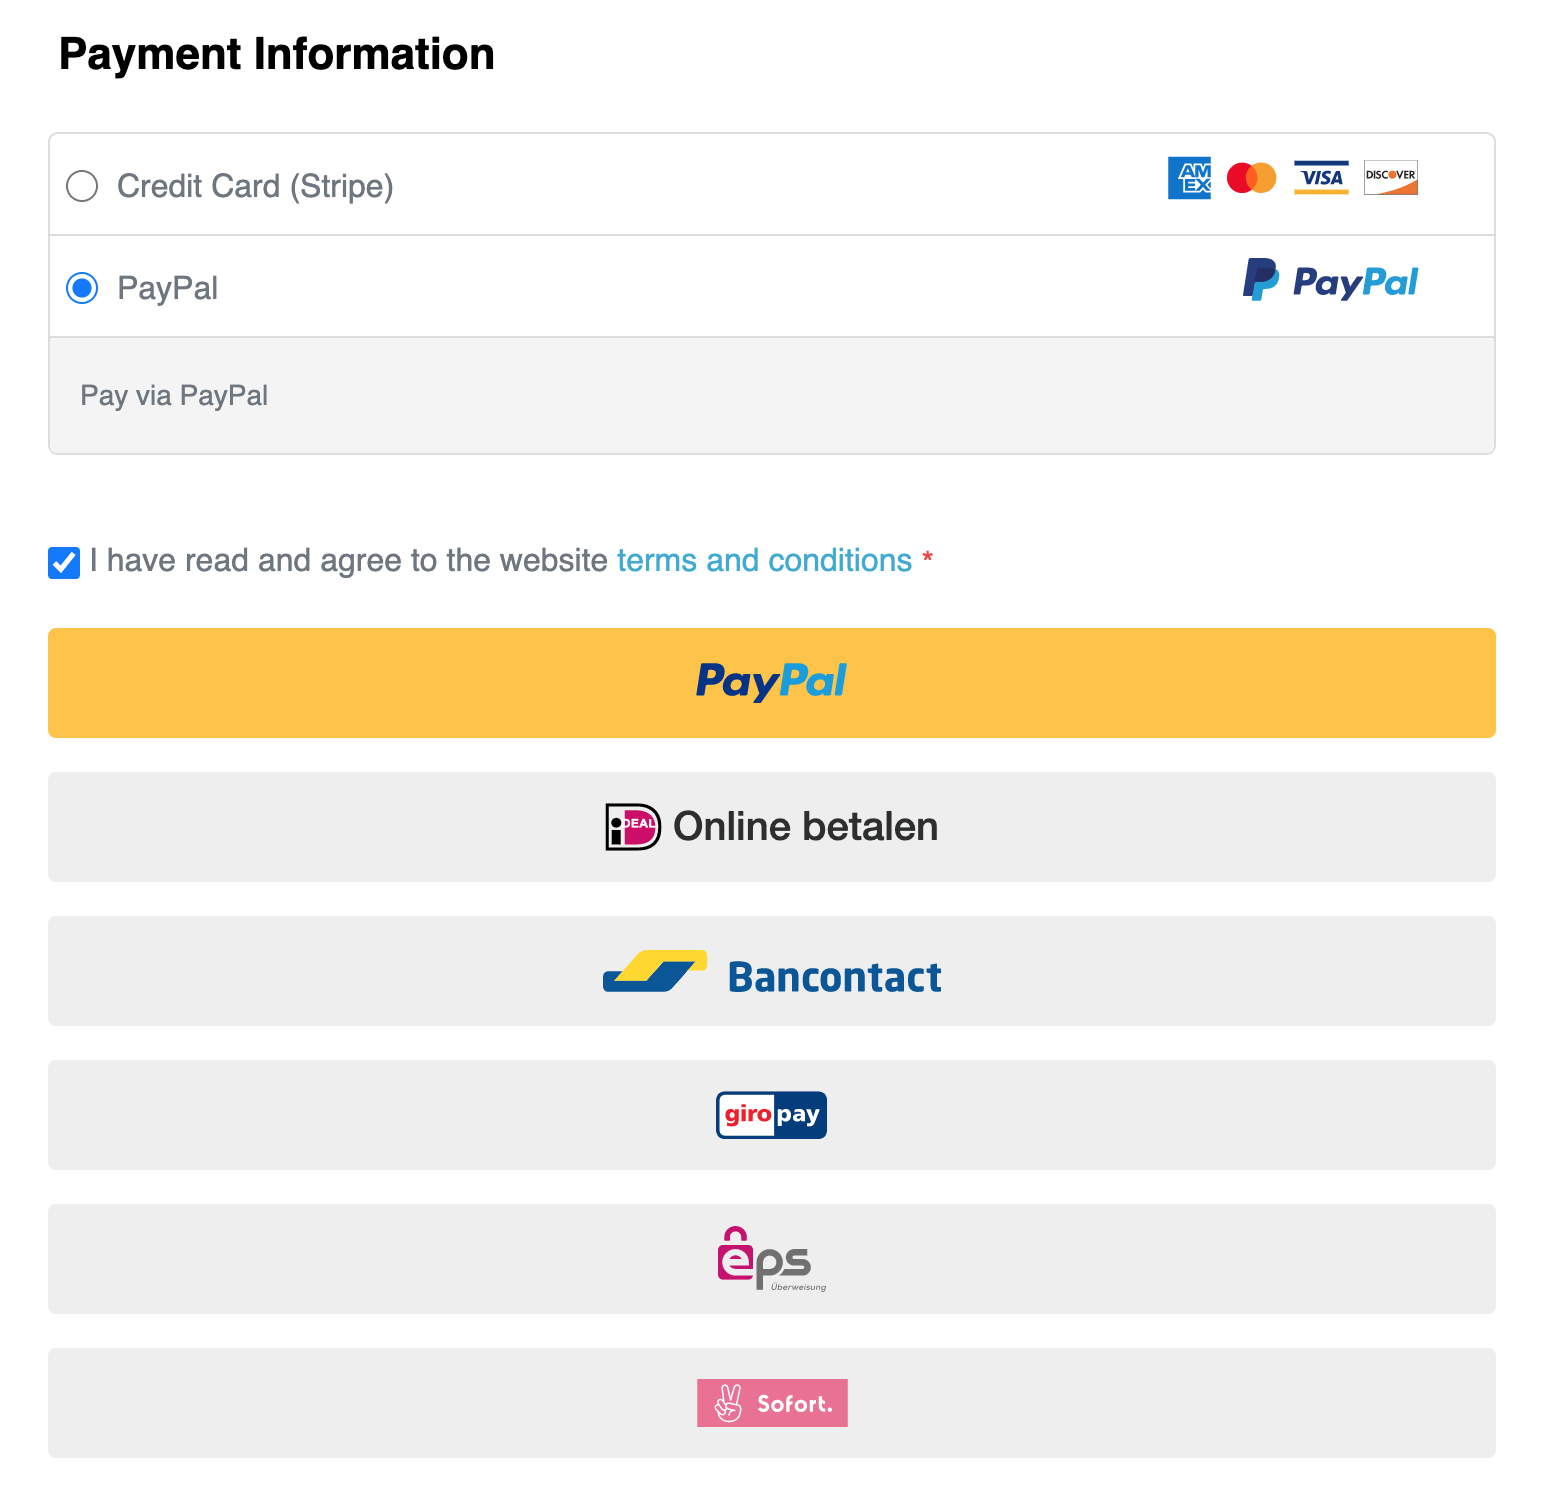
PayPal determines which sources are appropriate for your particular customer. For example, Venmo may not be offered to buyers outside the US.
Remove Billing Address
Check this setting if you do not want to display the billing address fields on the checkout page on your WordPress membership site powered by ProfilePress.
Testing PayPal Integration
Firstly, ensure test mode is enabled from ProfilePress > Settings > Payments >> Payment Methods.
PayPal should automatically create personal, and business sandbox accounts you can use for testing. The personal account details are what you will use to make test payments as a customer, while the business sandbox account is where you will see all test payments and subscriptions your website processed.
You can access these by clicking on “Accounts” on the left side menu inside the Sandbox developer dashboard – or go here. You can get the credentials for these accounts by clicking on the three dots and then clicking view/edit account.
Save the Business and Personal credentials to doc because you’ll need them during your test.
If you can’t find a default app created automatically for you by PayPal, or you prefer to create a new app, ensure the Sandbox tab is selected and the App Type is set to “Merchant.”
Before testing purchases via your WordPress site checkout page, ensure that your sandbox account can accept multiple currencies and that you’ve added all you plan to use. If you do not do this, some transactions (subscriptions) will be pending until you approve them.
Log in to https://www.sandbox.paypal.com/businessmanage/preferences/payments with the sandbox Business account (the one selected when creating the app) and make sure to “Allow payments sent to me in the currency I do not hold” to one of the “Yes” options.
On the page https://www.sandbox.paypal.com/businessmanage/account/money. You can add additional currencies that you plan to use.
If you have trouble logging into your sandbox account, check generated accounts, edit merchant one, and check (or change) the password.
Ready to set up PayPal on your WordPress site?
Setting up PayPal as a payment method on your WordPress site is a smart way to build customer trust and simplify transactions. With the ProfilePress PayPal add-on, the setup process is quick and user-friendly, enabling you to accept payments via various popular methods.
Following the steps outlined in this guide, you can confidently configure PayPal to provide your customers with a secure and seamless checkout experience.
If you need further guidance on using PayPal or encounter any issues during setup, please contact our team.