Create and Display WordPress File Upload Fields
One feature common to most websites is the presence of file upload fields in their registration/sign-up forms. This can be handy if you are building a school website that requires the students to upload their ID during registration to ascertain if they are indeed students of the school.
If you are building such a school website with WordPress, using the default WordPress registration form is out of the equation because:
* It resides outside of your website.
* Not in conformity with your site design.
* Difficult to extend, most especially for non-developers.
This tutorial will guide you through creating a custom WordPress registration form that includes a file upload field. Additionally, we will demonstrate how to add this file upload field to a profile edit form, allowing users to update their files. Lastly, we will show you how to display the uploaded files on users’ profile pages.
Creating File Upload Profile Fields in WordPress
To create a file upload profile field in WordPress, install and activate the ProfilePress plugin on your WordPress site. If you haven’t purchased the plugin, head to the pricing page for a copy.
Next, enable the custom fields addon feature WordPress dashboard >> ProfilePress >> Addons.
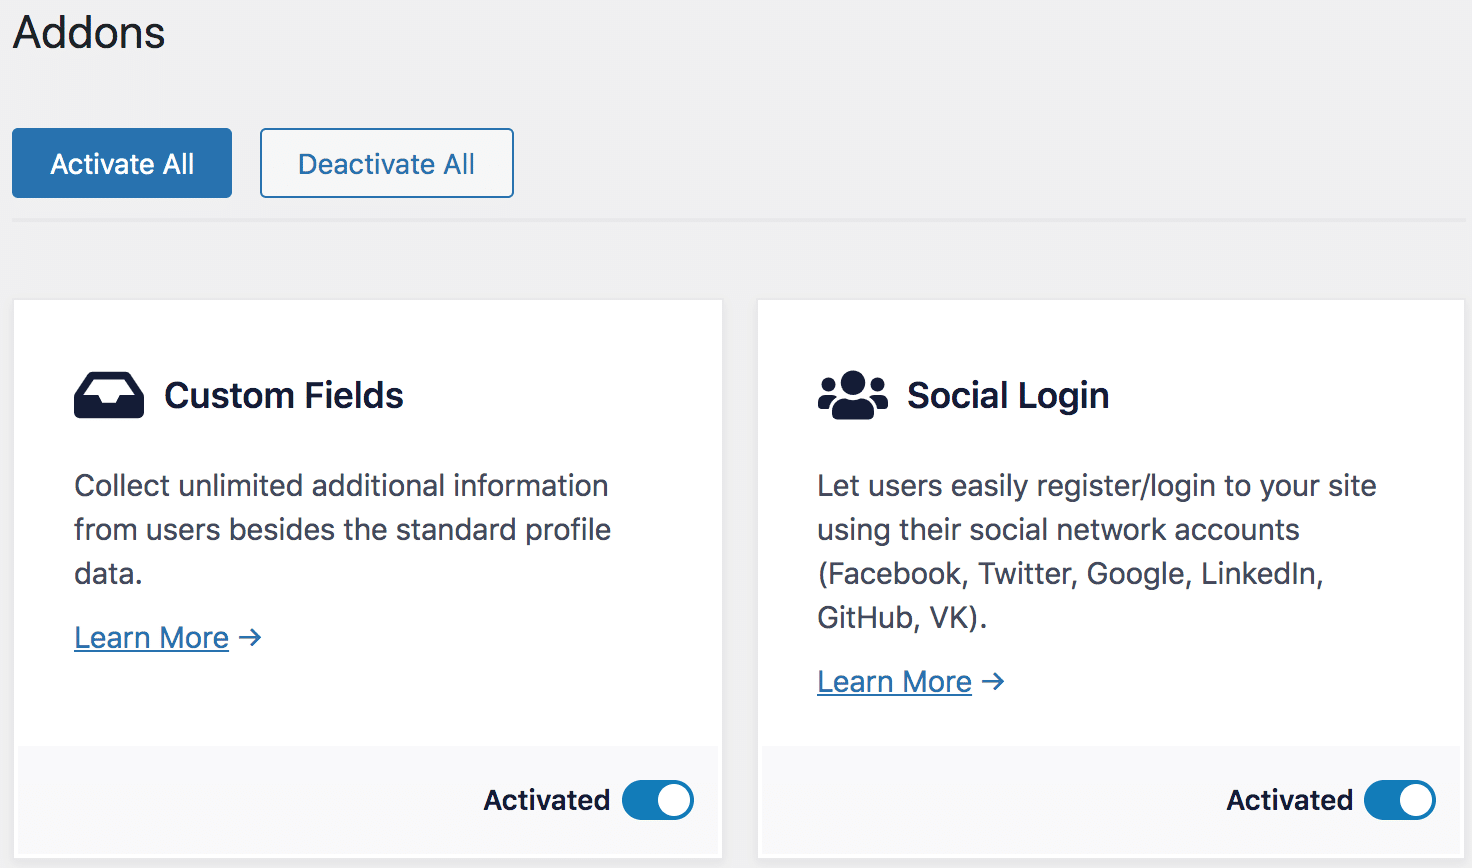
Next, we’ll create two custom file upload fields: one for the driver’s license and another for the résumé.
To do this, navigate to Settings >> Custom Fields and click Add New.
Fill out the form as shown in the screenshots below. The Options field accepts comma-separated file extensions that define which files will be valid and acceptable for upload.
The form is straightforward to complete.
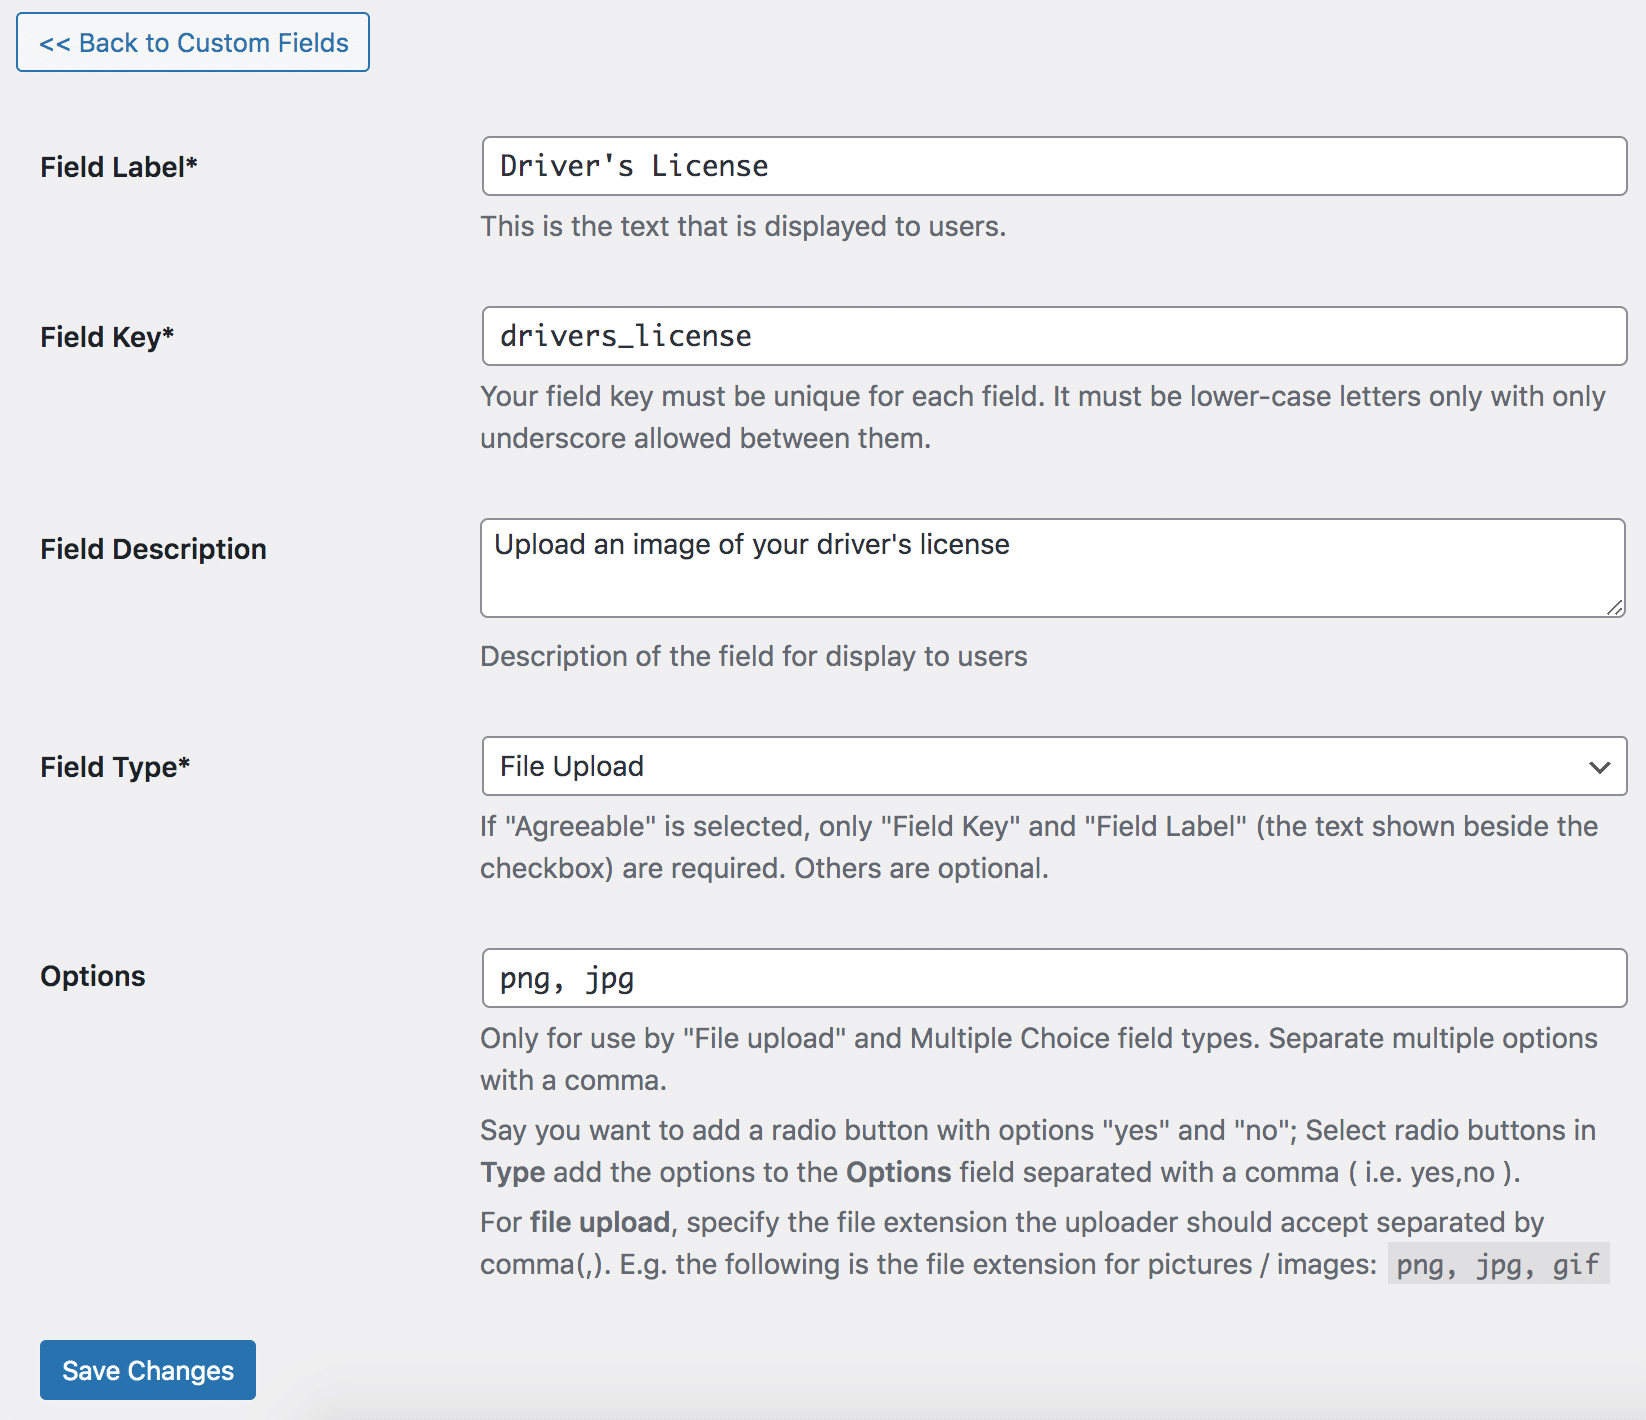
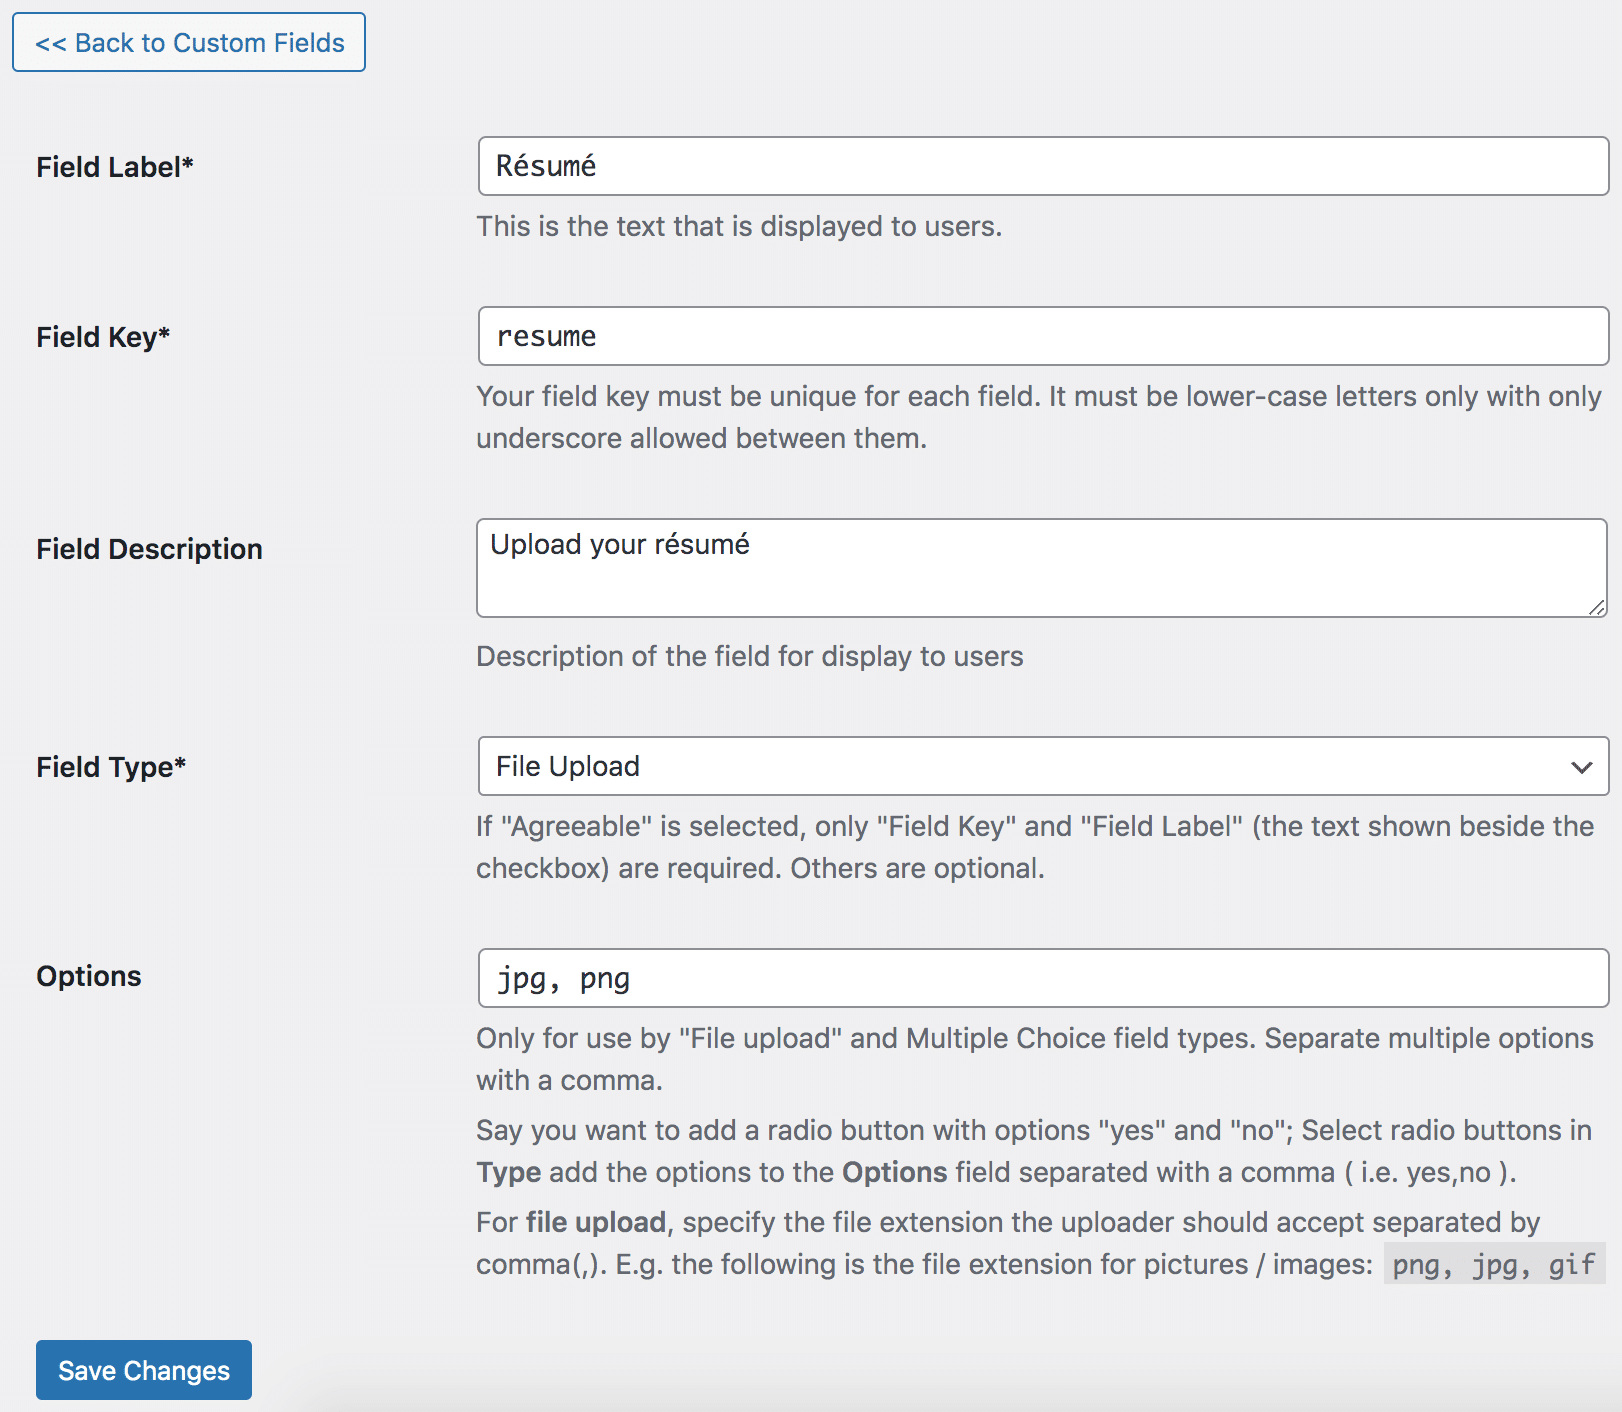
Having done that, let us proceed to add them to our WordPress registration form.
Adding File Upload Fields to Registration & Edit Profile Forms
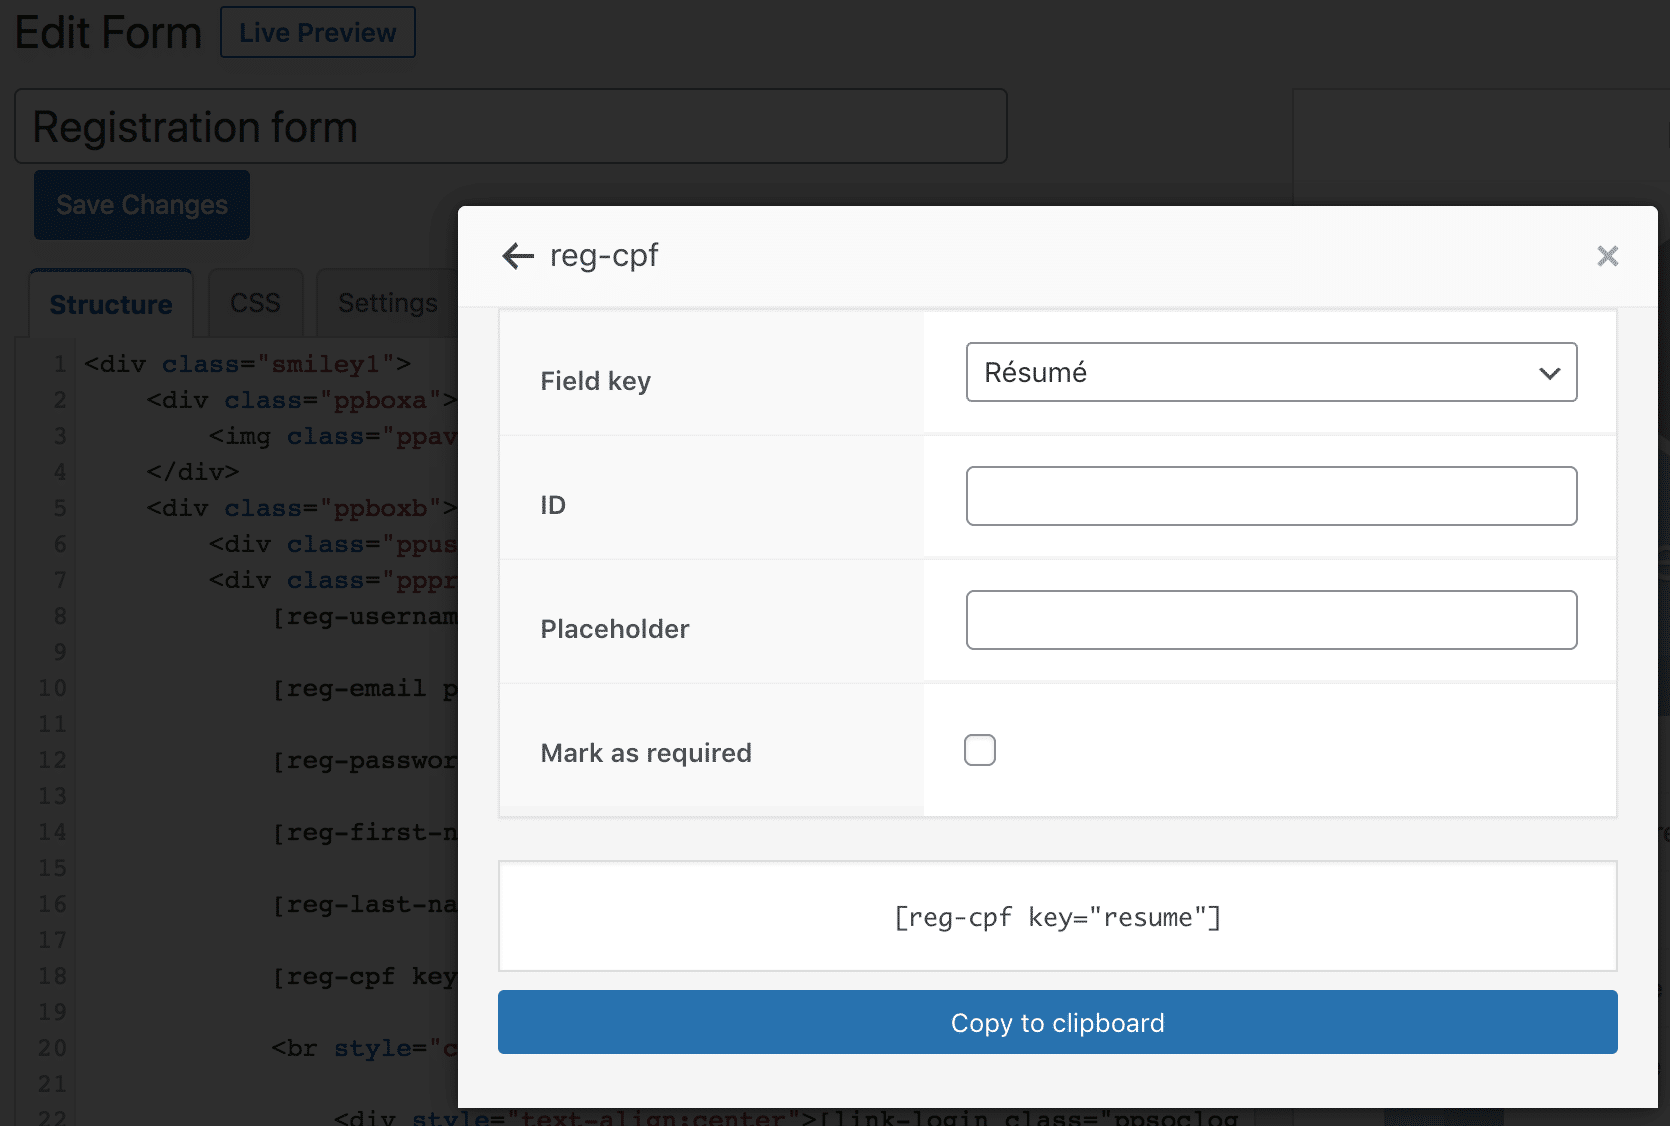
To add the driver’s license and résumé file-upload fields to a ProfilePress-created WordPress registration form and edit profile forms, use the custom field block if using the drag-and-drop builder.
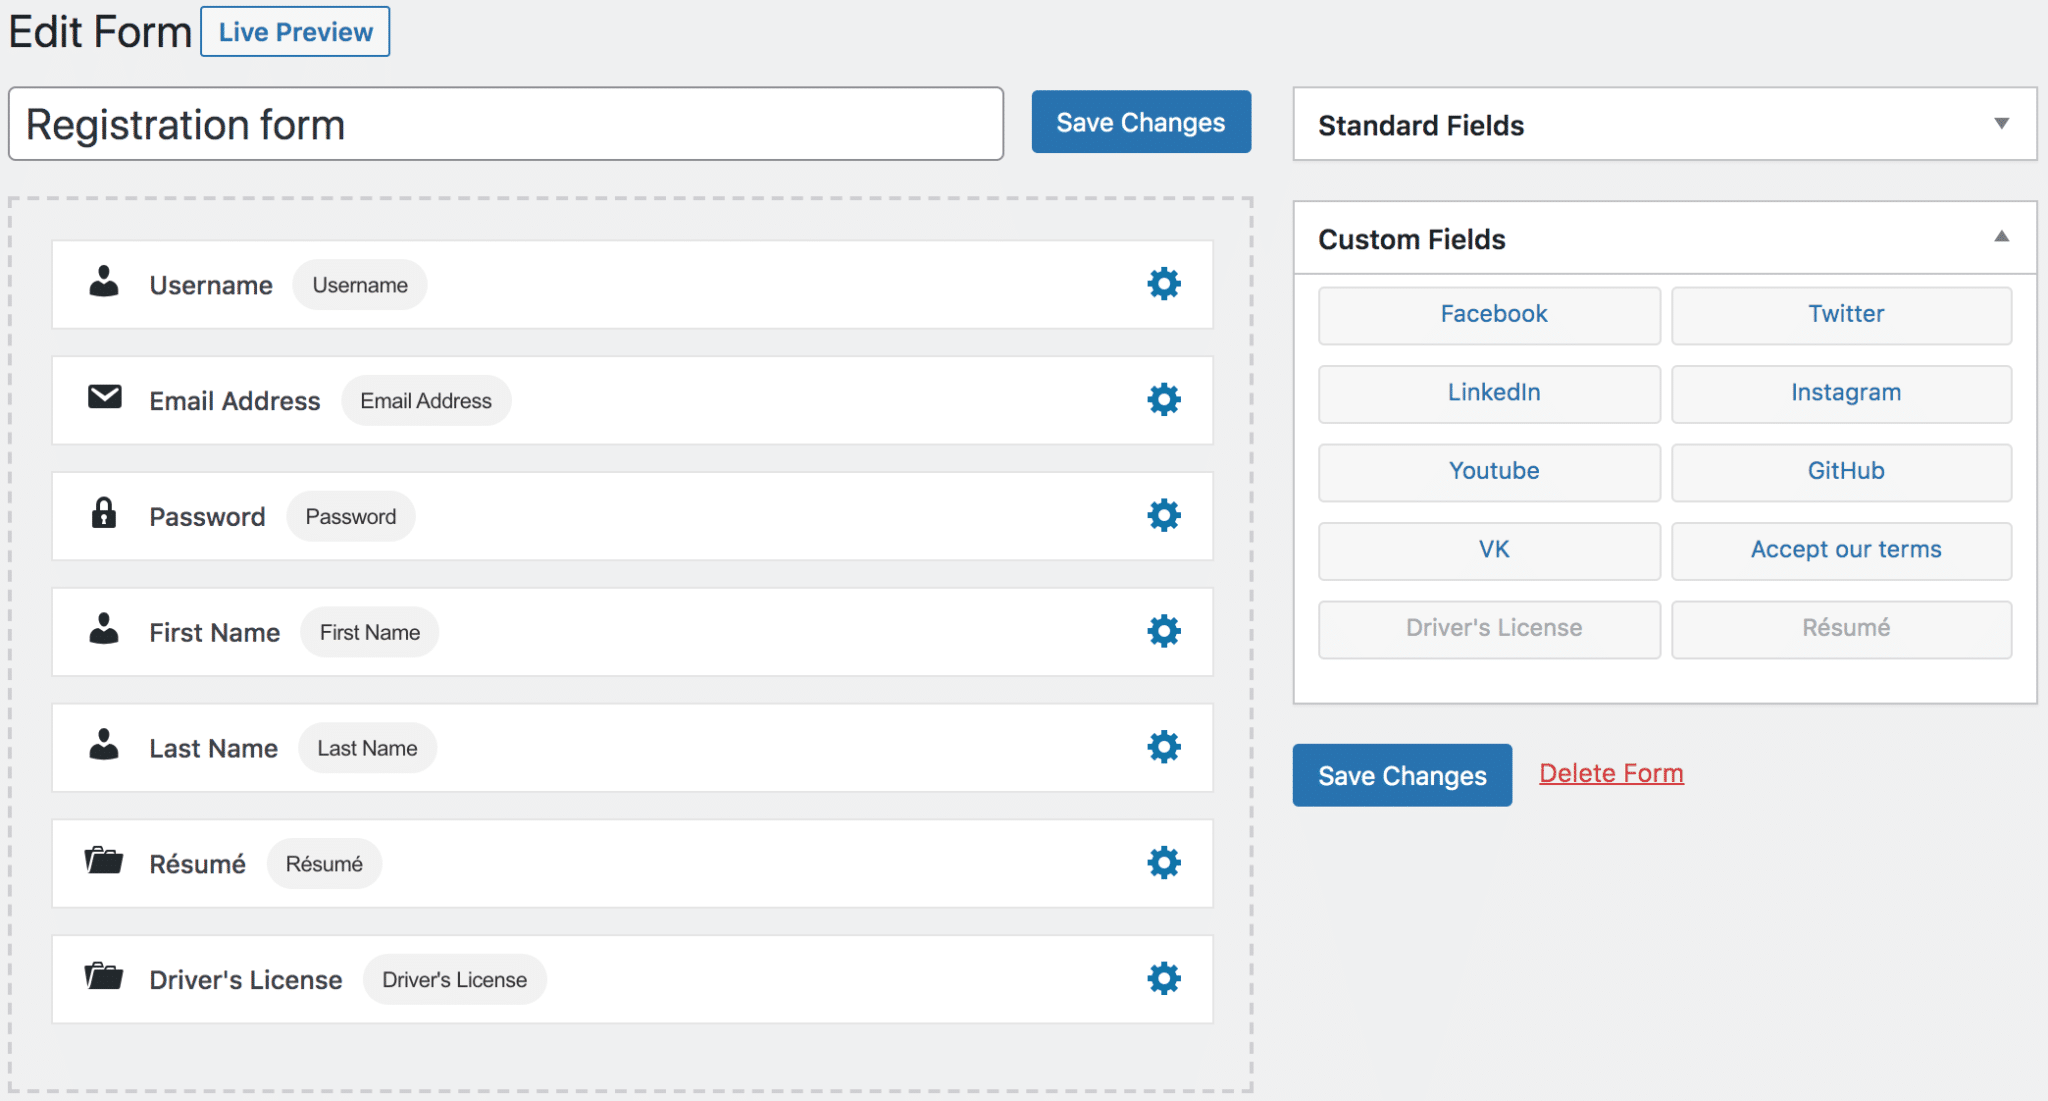
If using the shortcode builder, use the custom field shortcode [reg-cpf] and [edit-profile-cpf] for registration and edit profile forms, respectively.
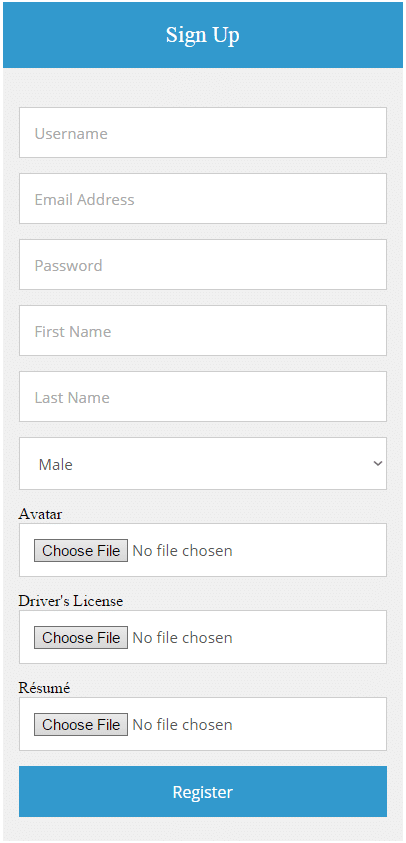
Here’s a registration form with a driver’s license and résumé file upload fields.
Displaying Uploaded Files on WordPress User Profiles
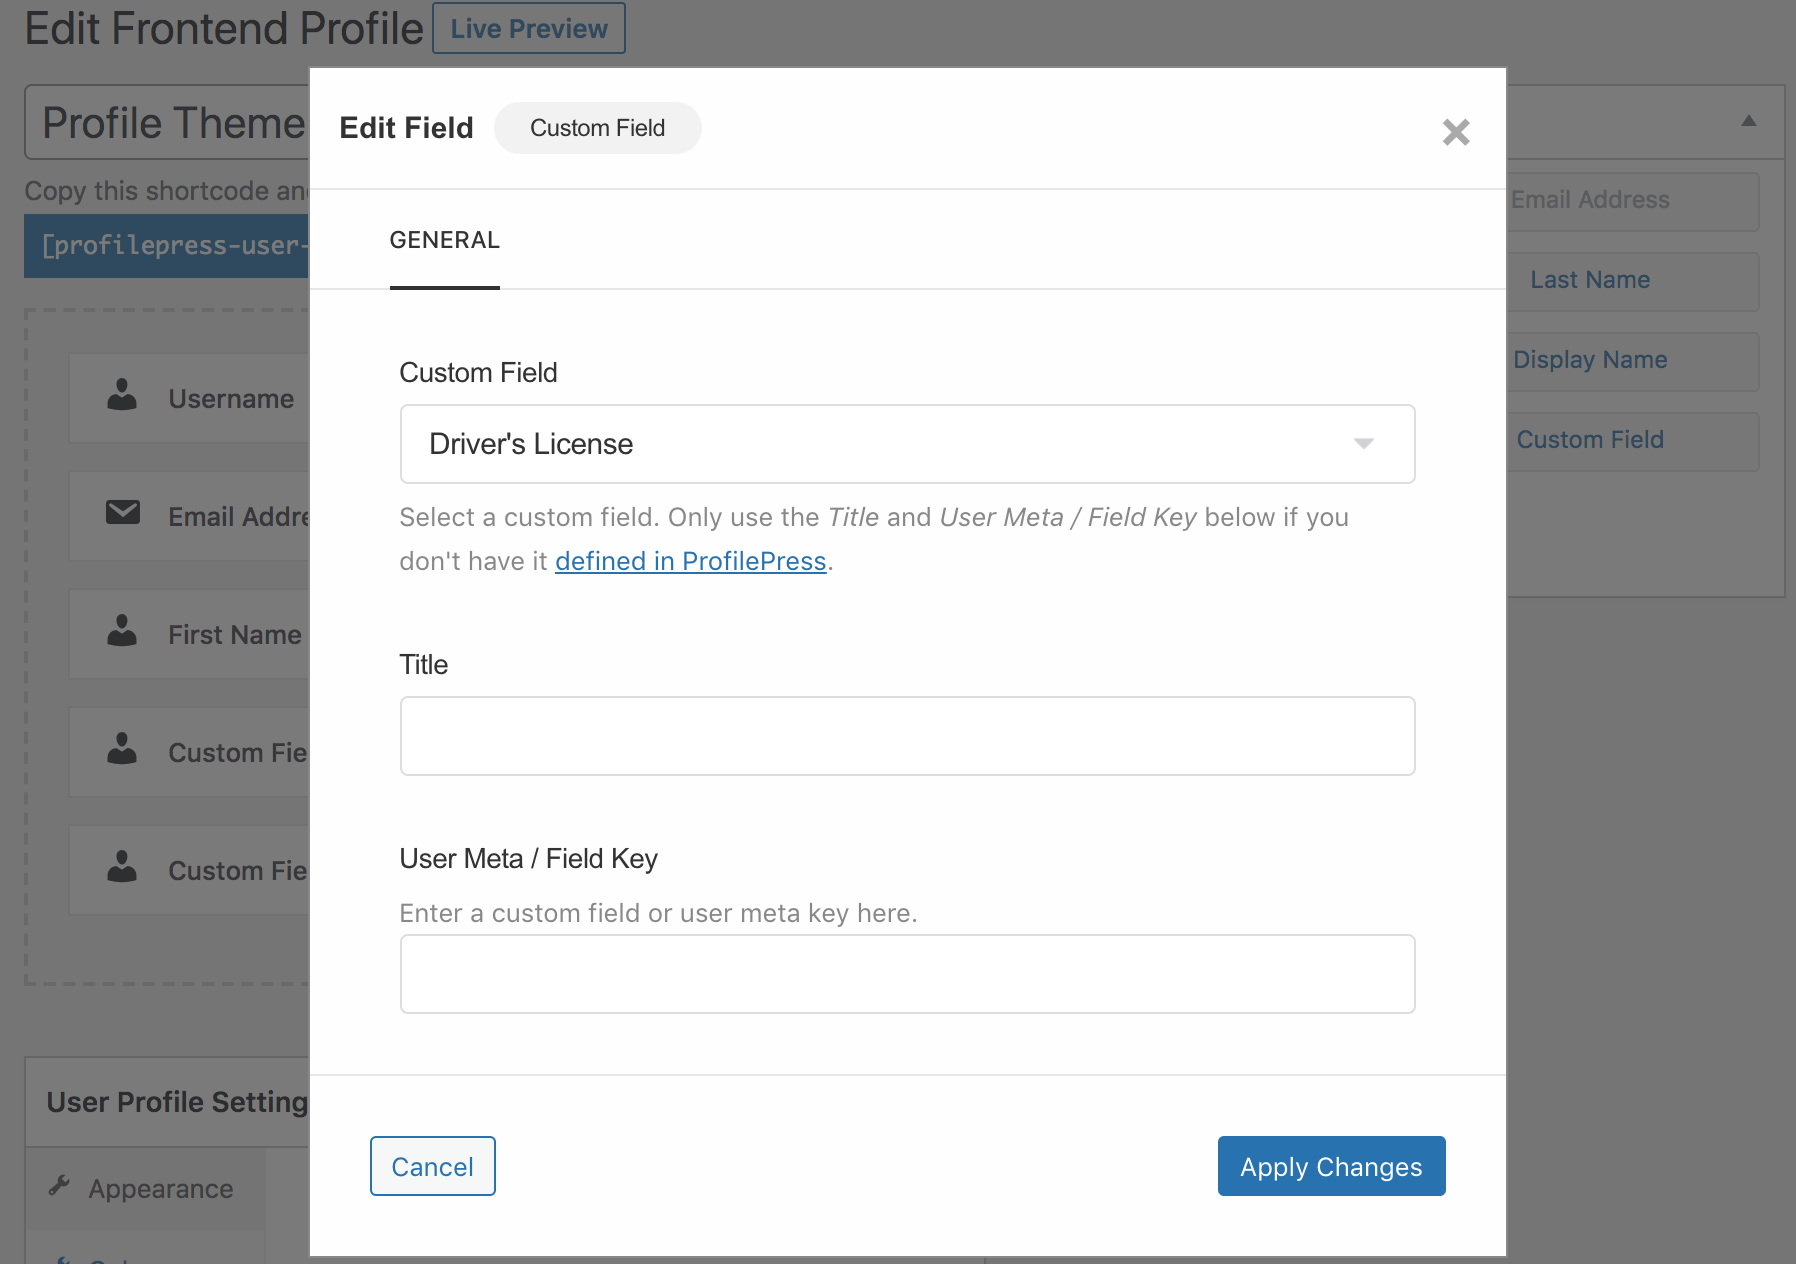
To display a link to users’ uploaded files on the users’ profiles page, open up the user profile builder and add the custom field block where you want it shown.
If using the shortcode builder, use the profile-file shortcode.
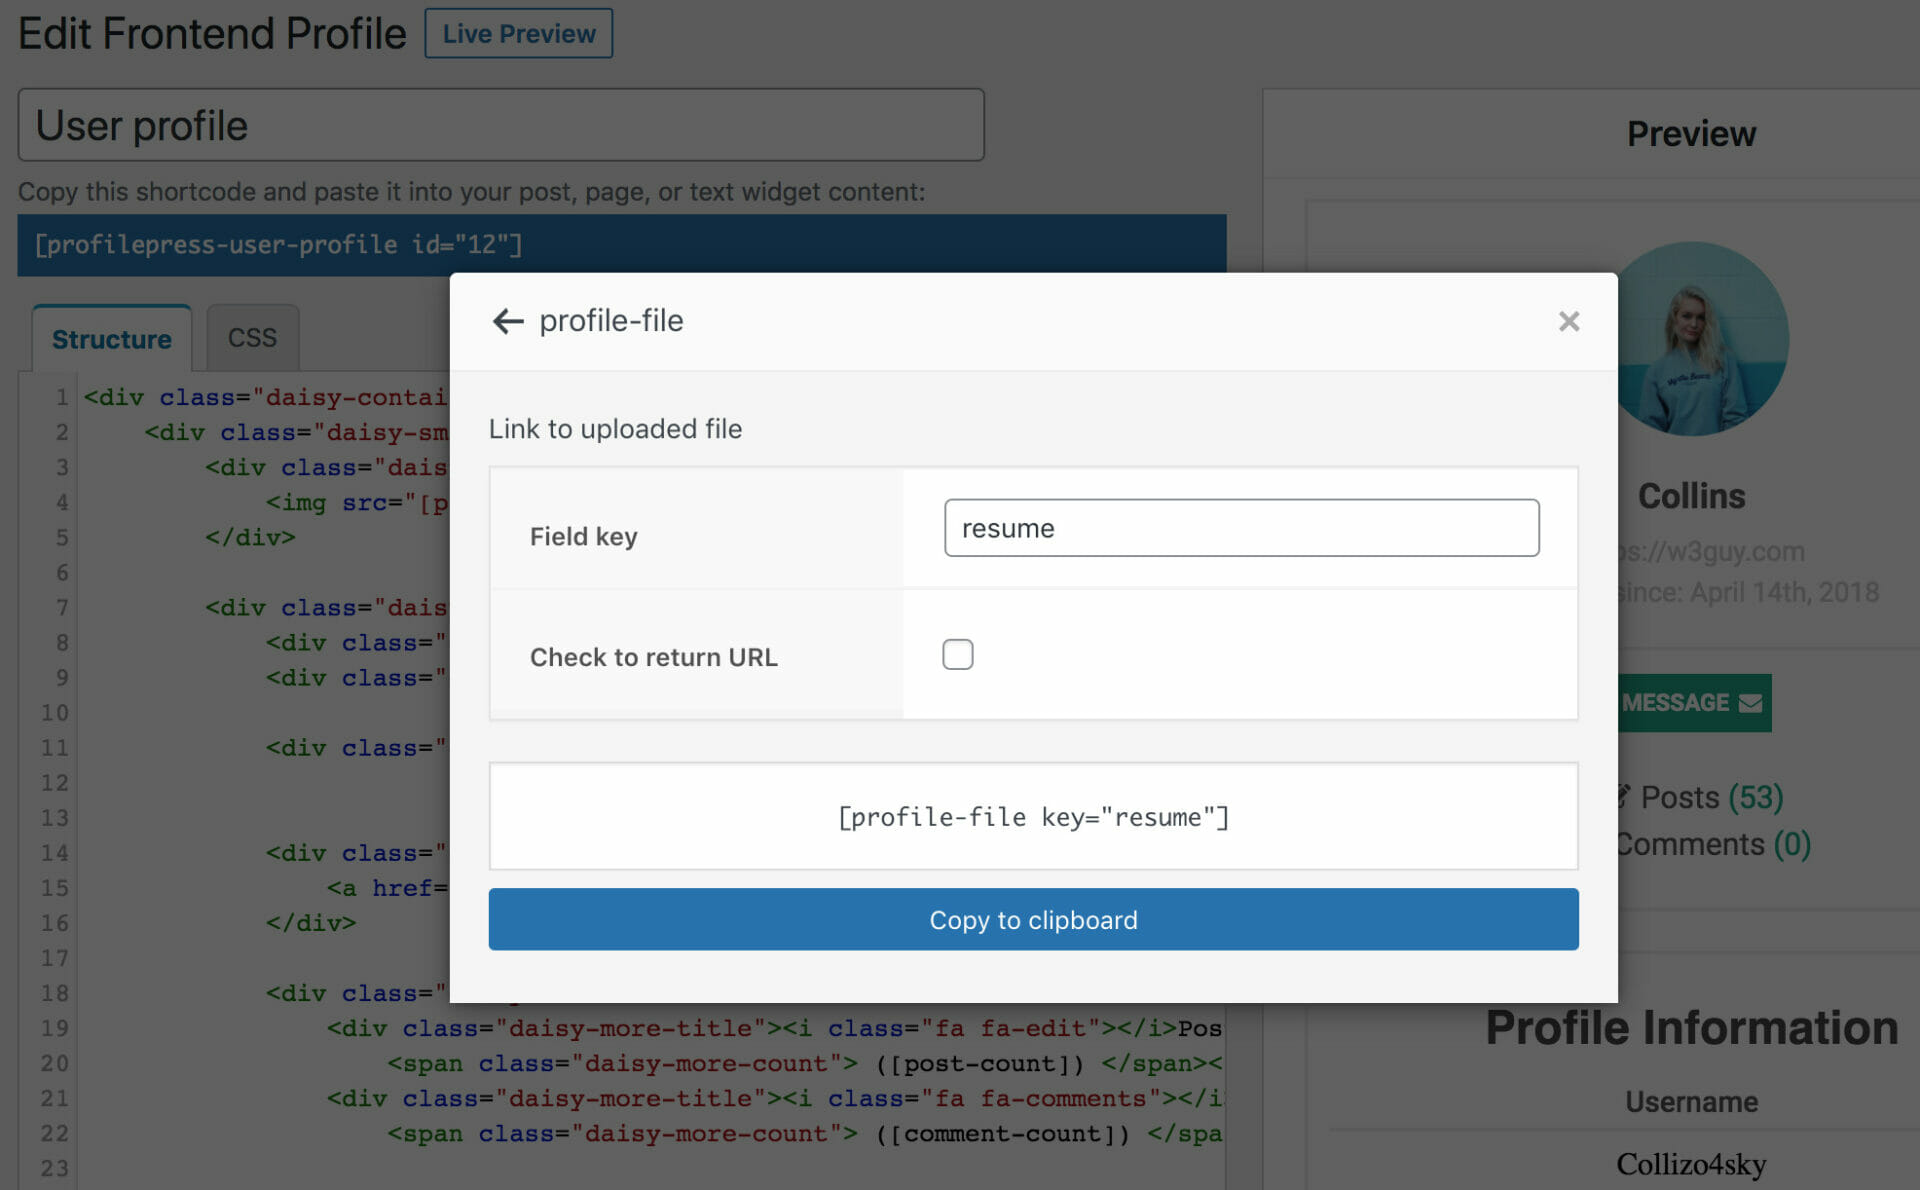
The shortcodes below will output a link to the file when used in the front-end user profile builder.
[profile-file key="drivers_license"]

[profile-file key="resume"]
What if you don’t want just the URL of the files? This can come in handy when the uploaded file is an image and you would want to display the image rather than link to it.
The above can be achieved with the profile-file shortcode like so:
<img src='[profile-file key="resume" raw]'>Other Integrations
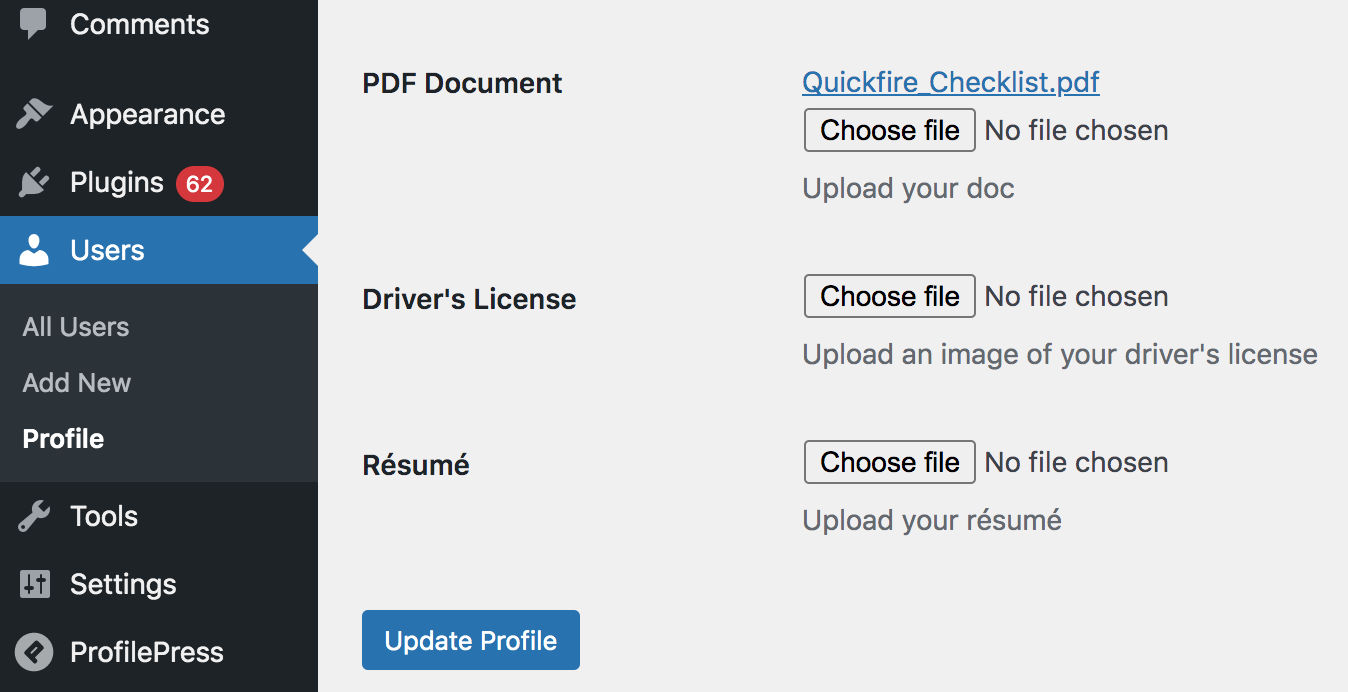
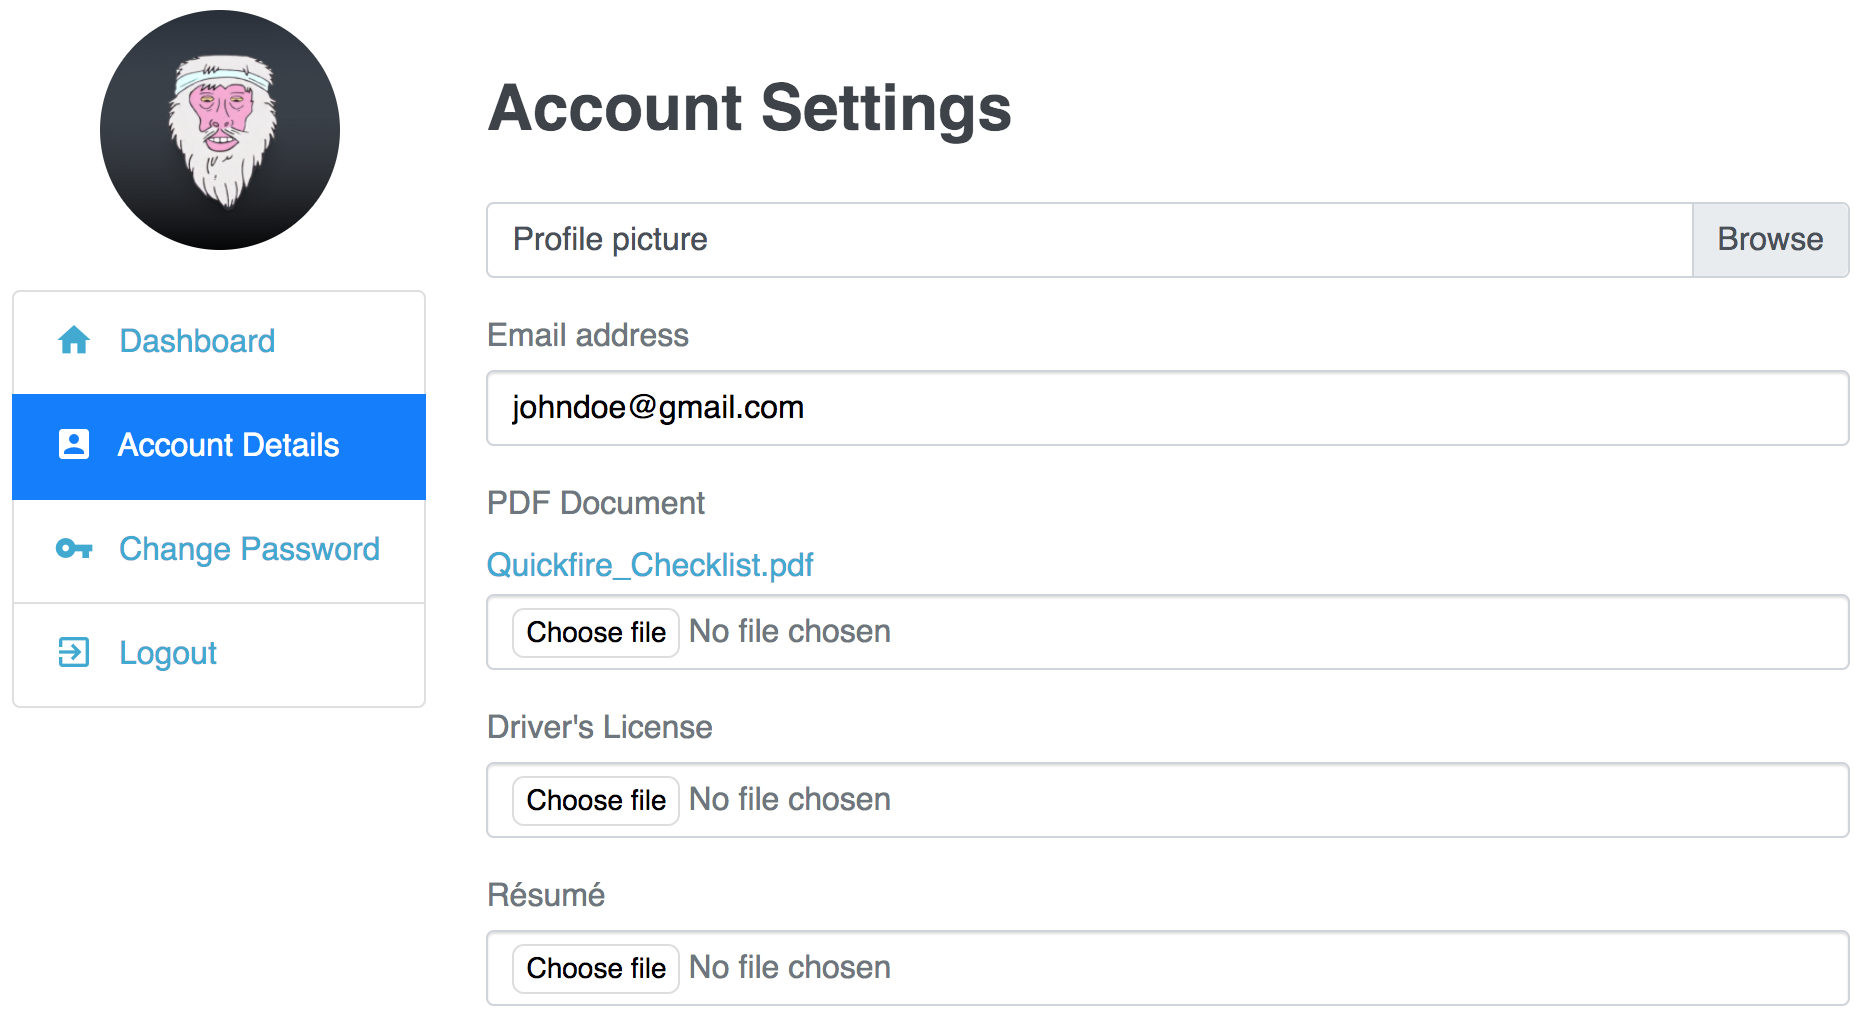
The uploaded files are also automatically shown on the default WordPress user profile and the Account Details section of the My Account page.
Conclusion
Integrating file upload fields using the ProfilePress custom field addon enhances the functionality of your WordPress forms. Whether you’re running a membership site, a school site, managing job applications, or gathering user-generated content, this feature provides a user-friendly solution for collecting necessary documents and files.
Following the steps outlined in this guide, you can create and display file upload fields that cater to your specific needs, improving user engagement and data collection on your website.
If you have any questions, inquiries, or contributions, get in touch.