How to Add Social Login with Amazon to WordPress
Do you want to add a social login with Amazon to your WordPress site?
Adding social login to your WordPress website simplifies users’ registration and login process. Instead of creating new accounts on your website, visitors can quickly sign in using their existing Amazon accounts with just a few clicks.
In this guide, you will learn how to integrate social login with Amazon into your WordPress site using the ProfilePress plugin.
Why Add Amazon Social Login to WordPress?
Improved User Experience: Amazon is a trusted platform with millions of users worldwide. By allowing visitors to log in to your WordPress site using their existing Amazon accounts, you eliminate the need for them to create new credentials. This makes the registration process faster and more convenient for users to access your site.
Increased Conversions: A complicated sign-up process can lead to higher abandonment rates. By providing a familiar social login option like Amazon, you reduce friction, which can result in more users completing the WordPress registration of your website.
Boost in Trust: Many people are already familiar with Amazon and trust its platform. By adding an Amazon social login to WordPress, you leverage that trust, giving users confidence in the security and reliability of your website.
Reduced Password Fatigue: Users tend to forget passwords for less frequently visited sites, leading to frustration and potential loss of engagement. With Amazon social login, users don’t need to remember another login credentials for your WordPress website.
Setting Up Social Login with Amazon in WordPress
To implement social login via Amazon in WordPress, you need to install and activate the ProfilePress plugin on your WordPress site.
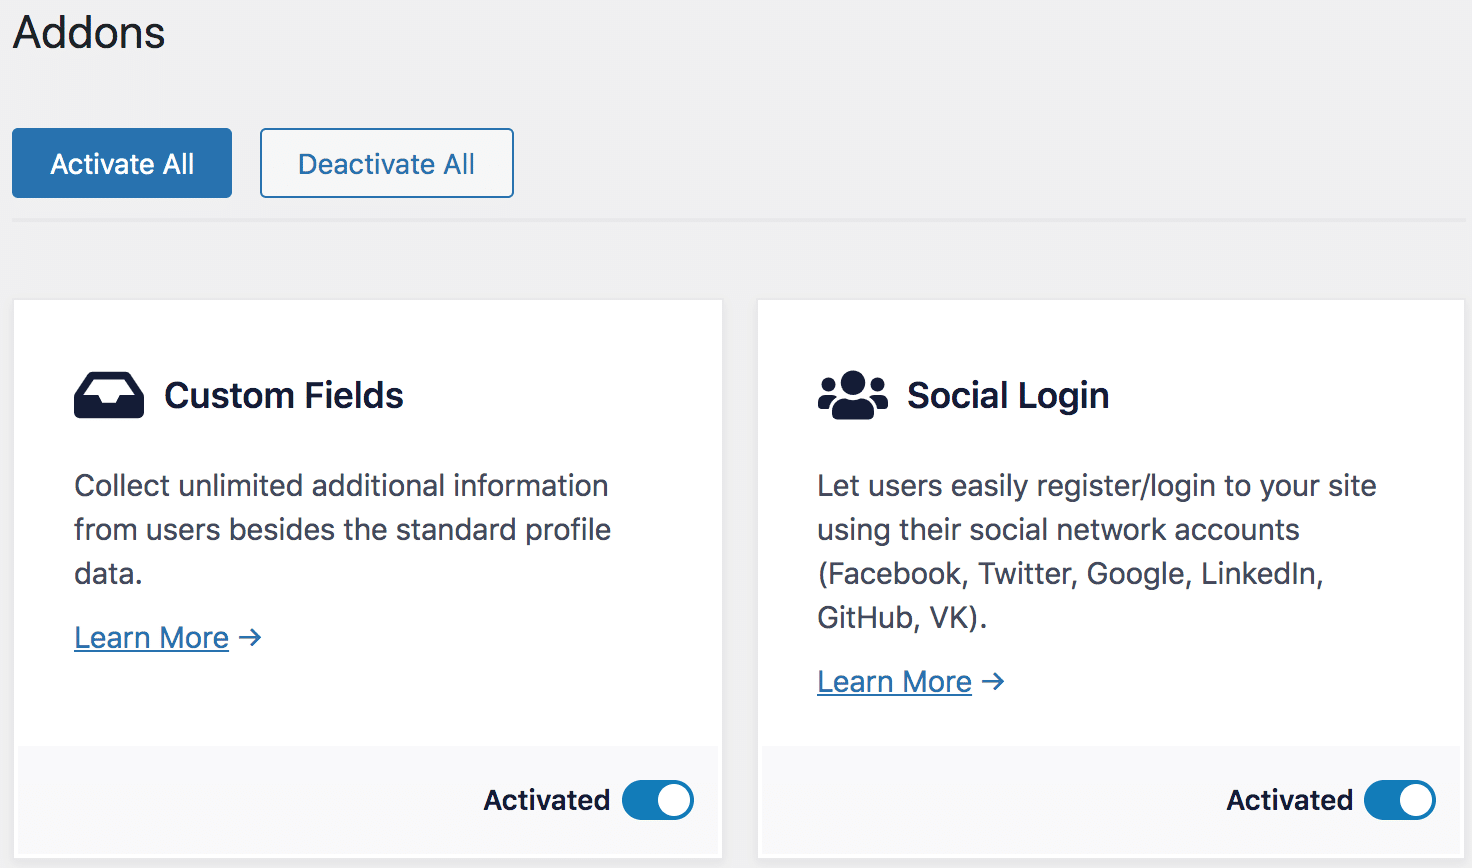
After successfully activating the plugin, you need to enable the Social Login addon feature from the WordPress dashboard >> ProfilePress >> Addons.
Creating an Amazon Security Profile
To implement an Amazon social login feature for your WordPress site, you must create an Amazon security profile.
To create a security profile, visit https://developer.amazon.com/loginwithamazon/console/site/lwa/overview.html. You will be asked to log in to the Developer Console, which handles application registration for Login with Amazon.
If it is your first time using the Developer Console, you will be asked to set up an account.
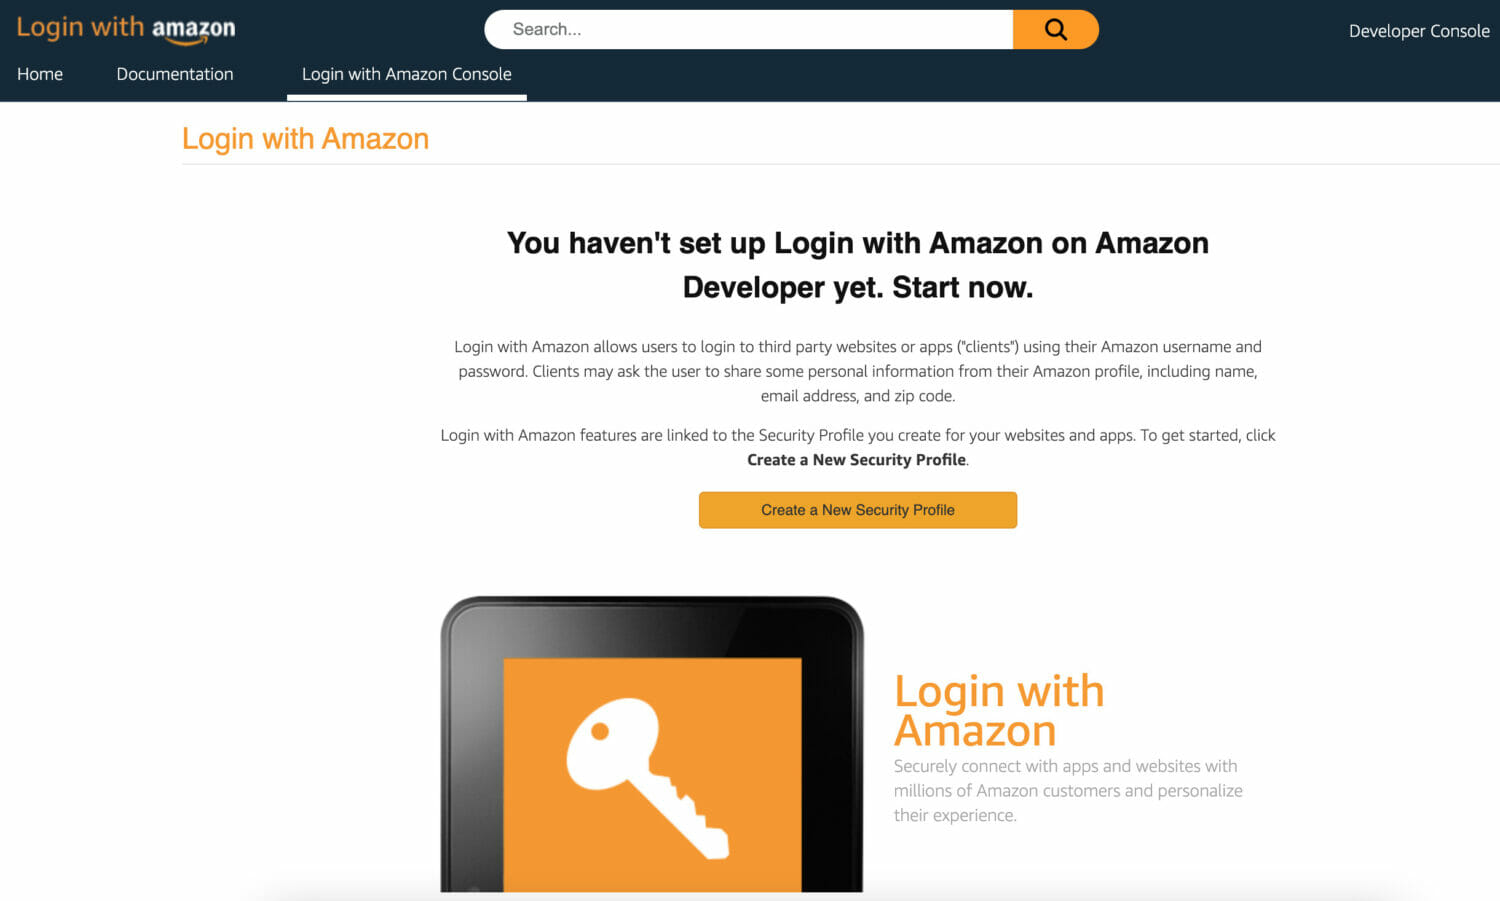
If you don’t have a Security Profile yet, you will have to create one. You can do this by clicking the orange “Create a New Security Profile” button.

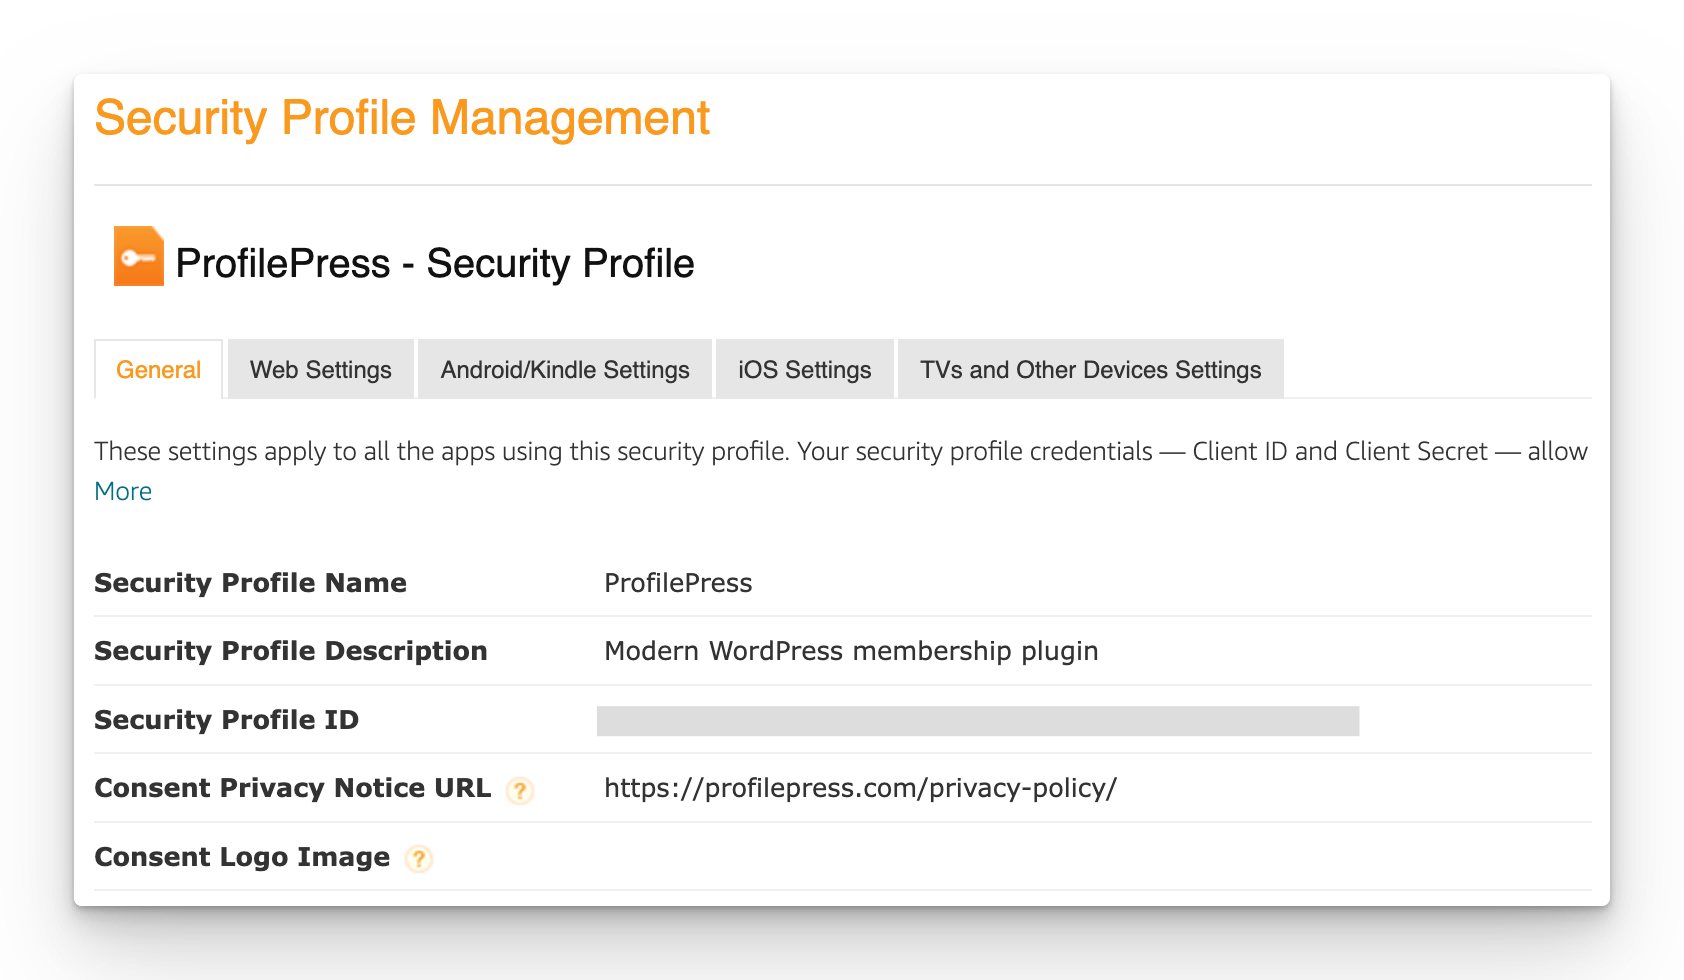
Enter a Name and a Description for your security profile. A security profile associates user data and security credentials with one or more related apps. The Name is the name displayed on the consent screen when users agree to share information with your application. This name applies to Android, iOS, and website versions of your application.
You must enter a Consent Privacy Notice URL for your application. The Privacy Notice URL is the location of your company or application’s privacy policy (for example, http://www.example.com/privacy.html). This link is displayed to users on the consent screen. It applies to Android, iOS, and website versions of your application.
If you want to add a Consent Logo Image for your application, click Upload Image. This logo is displayed on the sign-in and consent screen to represent your business or website. It applies to Android, iOS, and website versions of your application. The logo will be shrunk to 50 pixels in height if it is taller than 50 pixels; there is no limitation on the width of the logo.
Once you have filled in all the required fields, click the Save button.
Your security profile should look similar to this:
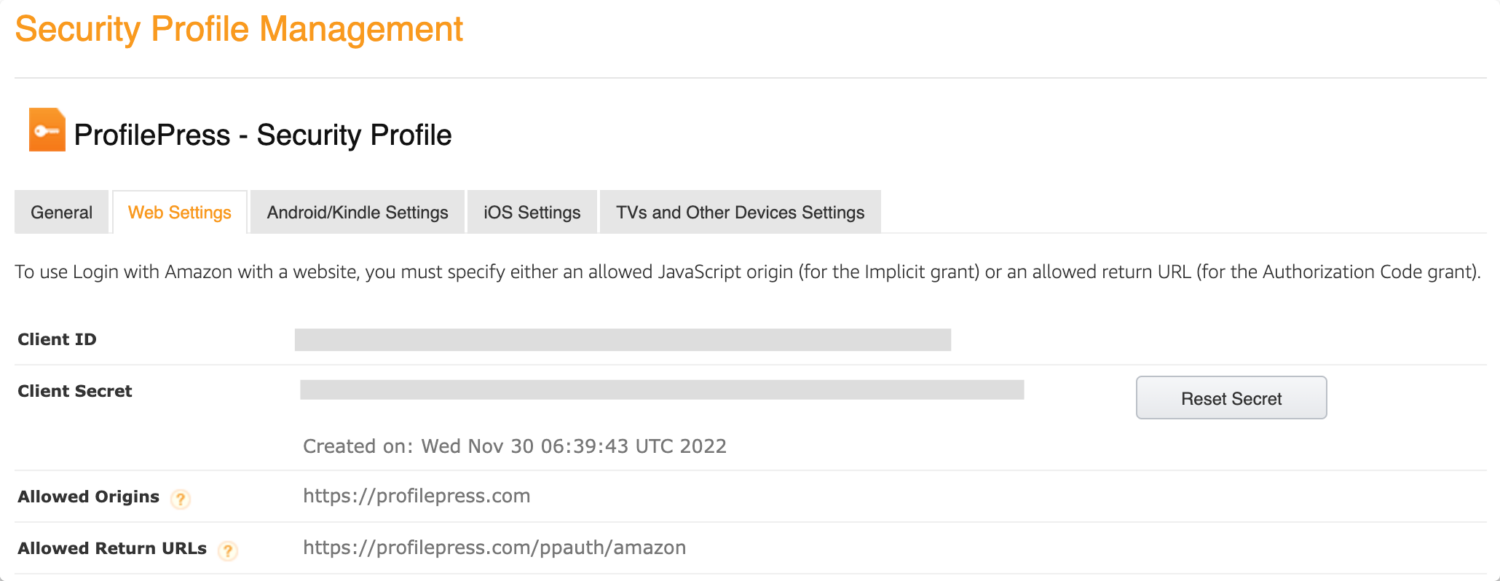
Next, click on the Web Settings menu tab.
Fill out “Allowed Origins” with the URL of your website. E.g. https://yoursite.com
Enter into the “Allowed Returned URLs” https://yoursite.com/ppauth/amazon. Don’t forget to replace “yoursite.com” with your website domain name.
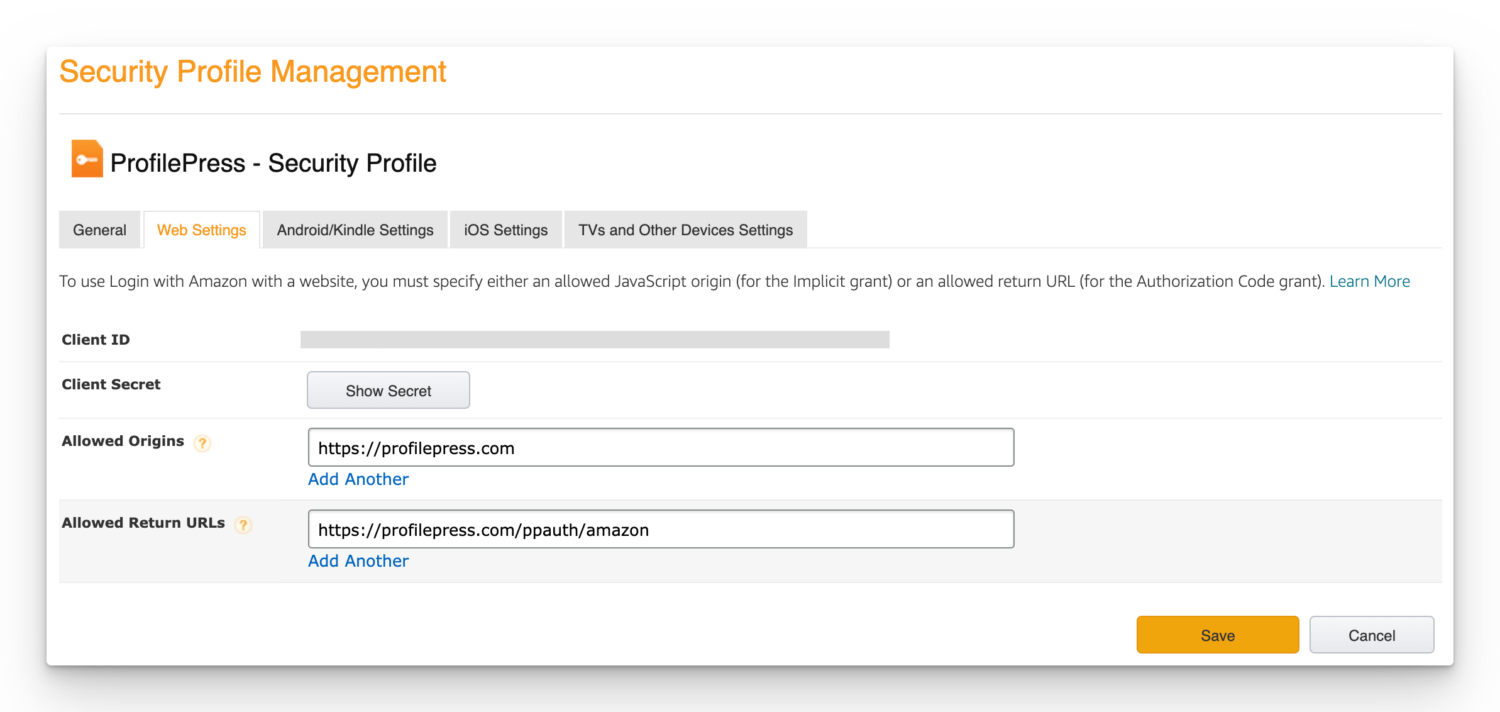
Save the changes.
Find the security profile’s “Client ID” and “Client Secret” and save them somewhere, as we need them shortly.
Integrating the Amazon Security Profile in WordPress
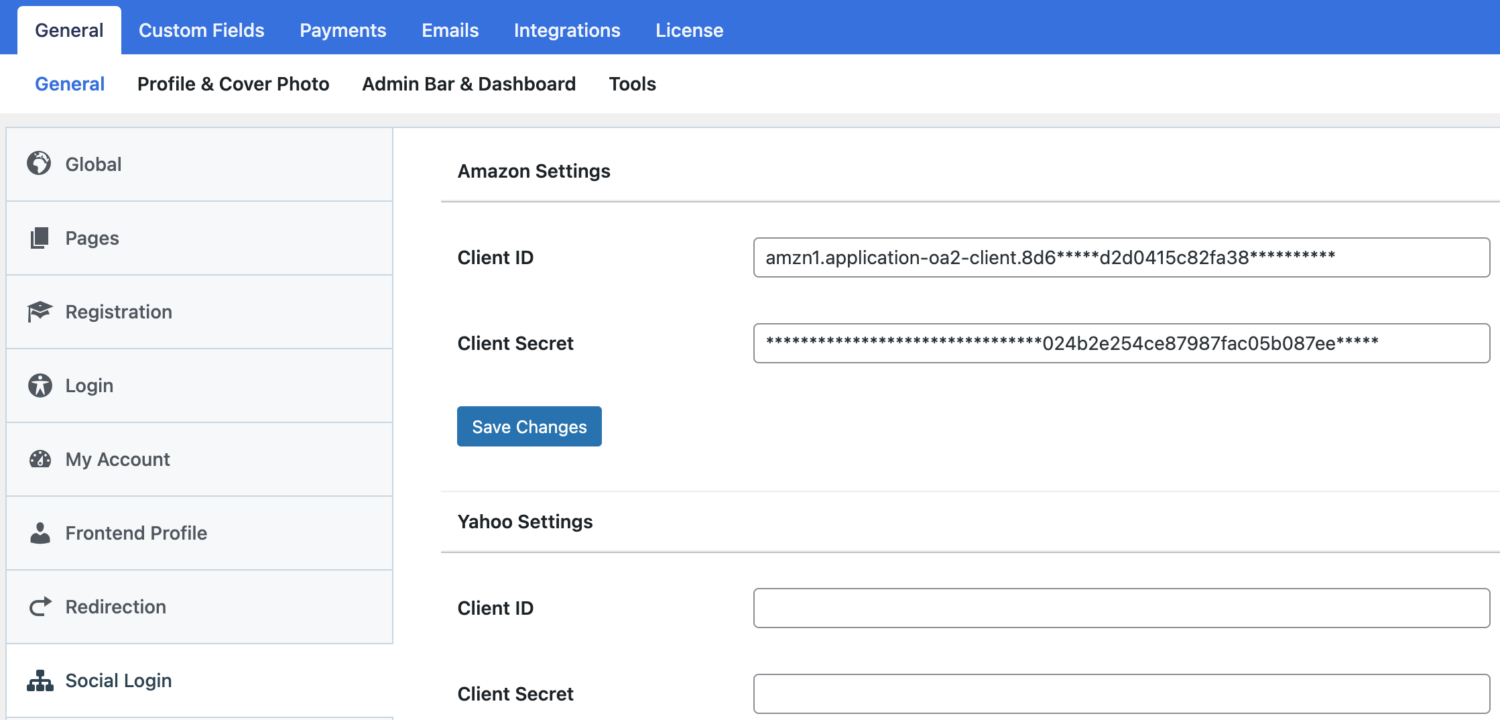
Login to your WordPress dashboard. Go to ProfilePress >> Settings >> Social Login.
Save the Client ID and Client Secret to the Amazon Settings.
To complete the WordPress Amazon social login integration, we need to create a custom WordPress login and registration form and add the Amazon login button.
Follow this article to learn how to add the Login with Amazon button to your registration and login forms.

Ready to Add Amazon Social Login to WordPress?
Adding an Amazon social login to your WordPress site using the ProfilePress plugin is a simple yet powerful way to enhance user registration and login experience. By allowing visitors to log in with their existing Amazon accounts, you make engaging with your site easier.
We hope this article helped you learn how to add a social login with Amazon on your website.
Get ProfilePress & The Social Login Addon