Creating a Custom Front-end Multisite Registration WordPress Form
Do you know that WordPress.com is a giant WordPress multisite installation? one obvious difference it has from others is the presence of a beautiful custom multisite registration form where visitors can create their own websites (new sites).
The default WP multisite registration page at https://yoursite.tld/wp-signup.php which allows users to create an account and a site after a form submission is ugly and difficult to customize. Thus, your sign up page will be similar to millions of other multisite networks. And secondly, the URL is SEO friendly as it is a direct link to a PHP file.
What if I tell you it’s possible to create a custom multisite signup form or a custom wp-signup.php or customized wp-signup.php that you can customize to conform to your website design? yes it is using our powerful ProfilePress plugin
Follow me as I walk us through the steps in creating a multisite user registration form.
Ensure the Site Creation addon is activated.
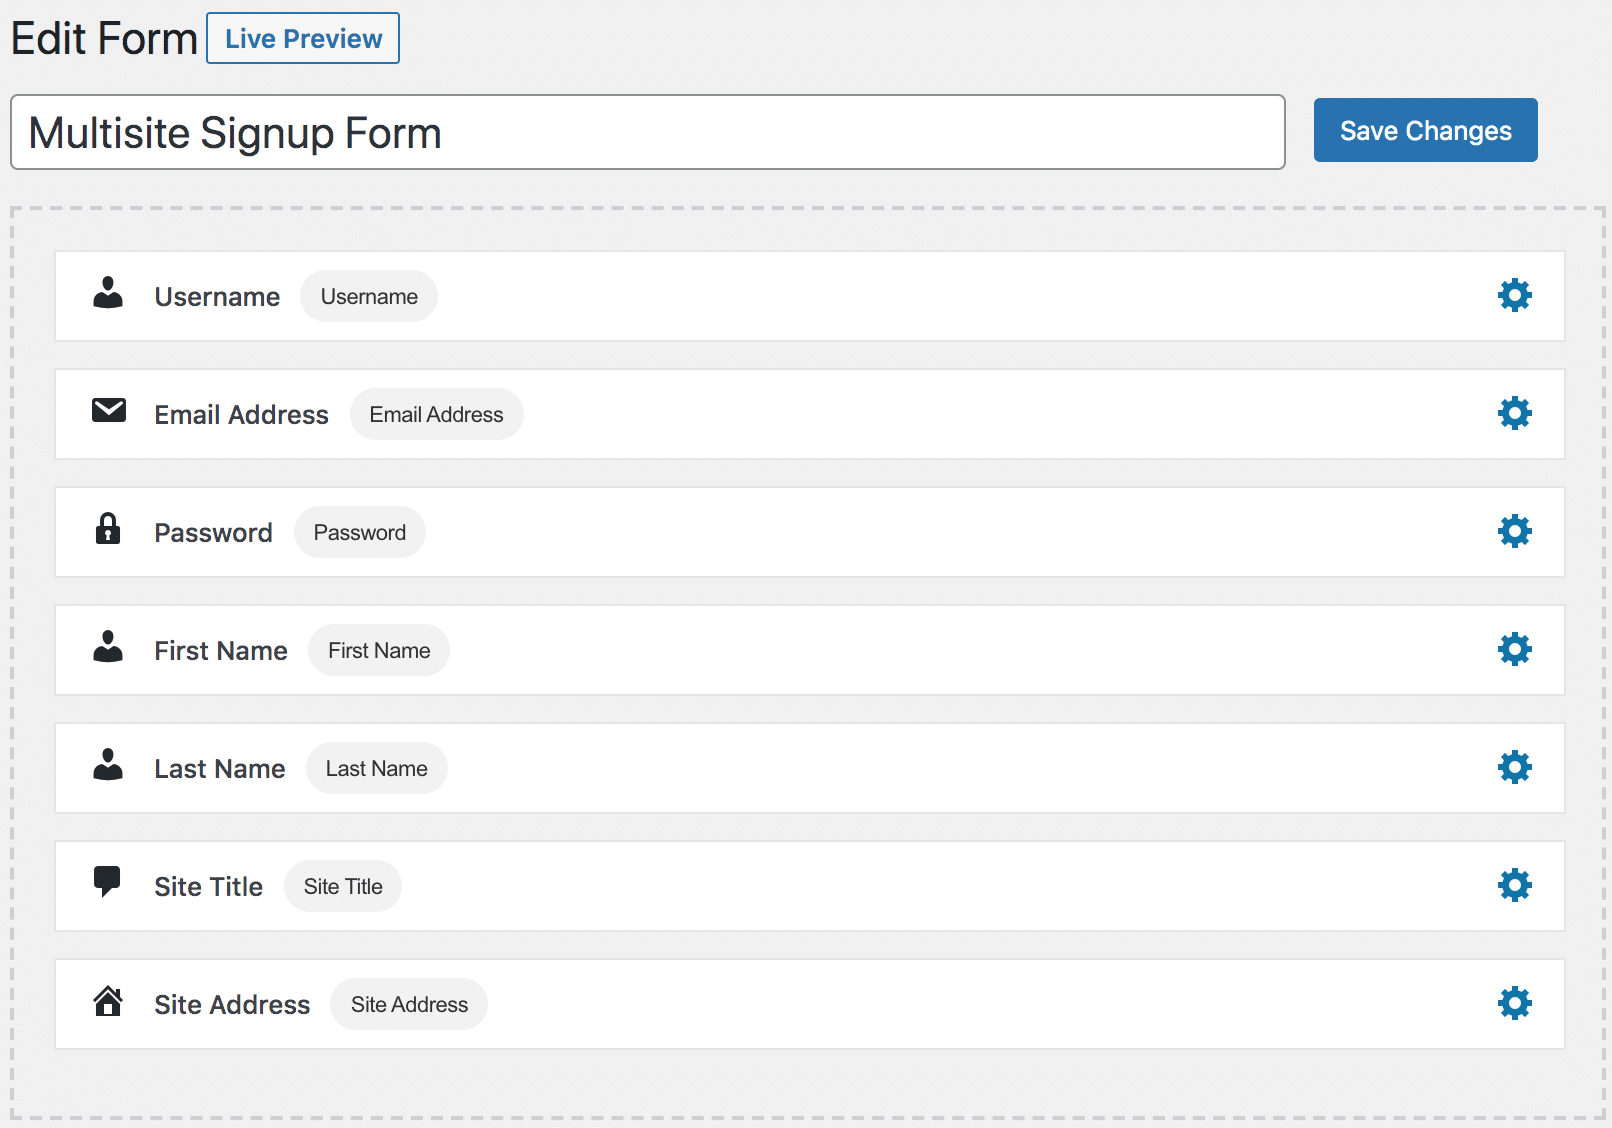
To build a custom registration form that creates sites in a multisite network, add the site address and site title fields to the form. It’s that simple.
Building the Multisite Registration form
Drag-and-drop Builder
If you created your registration form with our drag-and-drop builder, add the site title and site address blocks to the form.


Advanced Shortcode Builder
If your registration form was built with the advanced form builder, add the site title and address shortcodes to add the fields to the form.
The shortcodes for site address and site title fields are as follows:
* [reg-site-address placeholder="Site Address"]
* [reg-site-title placeholder="Site Title"]
Note: you can use any input attribute in the above shortcodes such as “title”, “class”, “id” etc.
<div id="sc-register">
  <h1>Sign Up</h1>
  <div class="sc-container">
    [reg-username title="Username" placeholder="Username"]
    [reg-email title="Email Address" placeholder="Email Address"]
    [reg-password title="Password" placeholder="Password"]
    [reg-first-name title="First Name" placeholder="First Name"]
    [reg-last-name title="Last Name" placeholder="Last Name"]
    <label for="siteAddress">multisite.dev/</label>
    [reg-site-address id="siteAddress" placeholder="Site Address"]
    [reg-site-title placeholder="Site Title"]
    [reg-submit value="Register"]
  </div>
</div>
The above presume your multisite installation is a sub-directories type. That is a path-based network in which on-demand sites use paths.
If yours is a sub-domains type (a domain-based network in which on-demand sites use subdomains), move the site address label beneath the input field to reflect it. That is:
<label for="siteAddress">multisite.dev/</label>

[reg-site-address id="siteAddress" placeholder="Site Address"]
becomes
[reg-site-address id="siteAddress" placeholder="Site Address"]

<label for="siteAddress">.multisite.dev</label>
After the above modification, save the changes. Don’t forget to save the generated registration shortcode to a WordPress page.
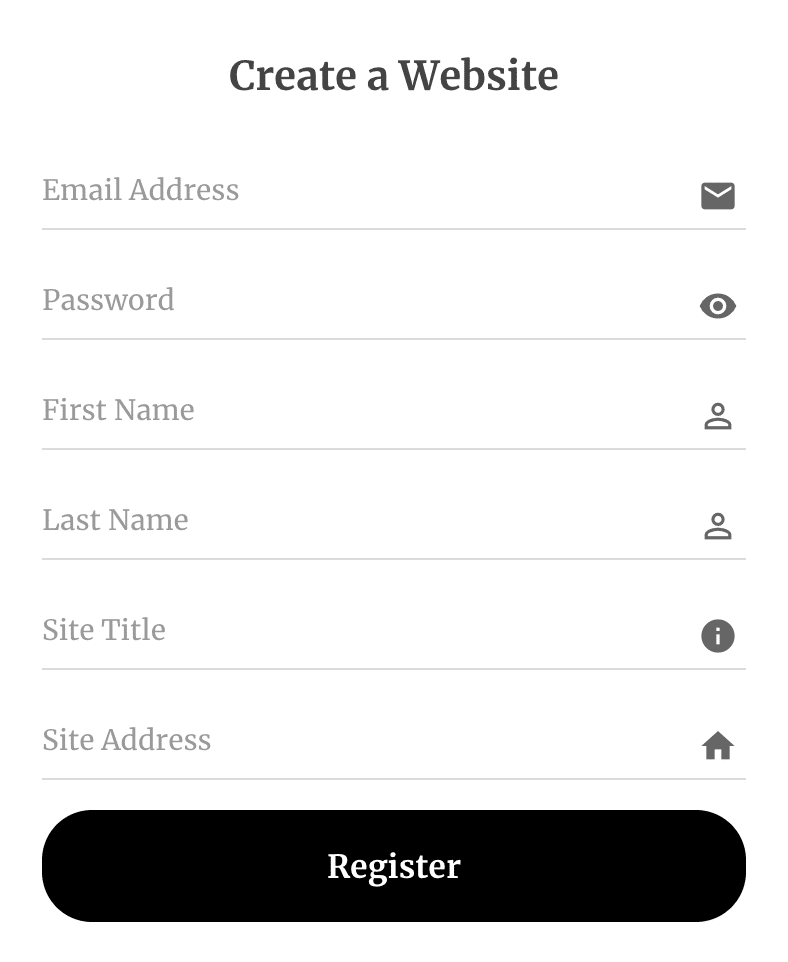
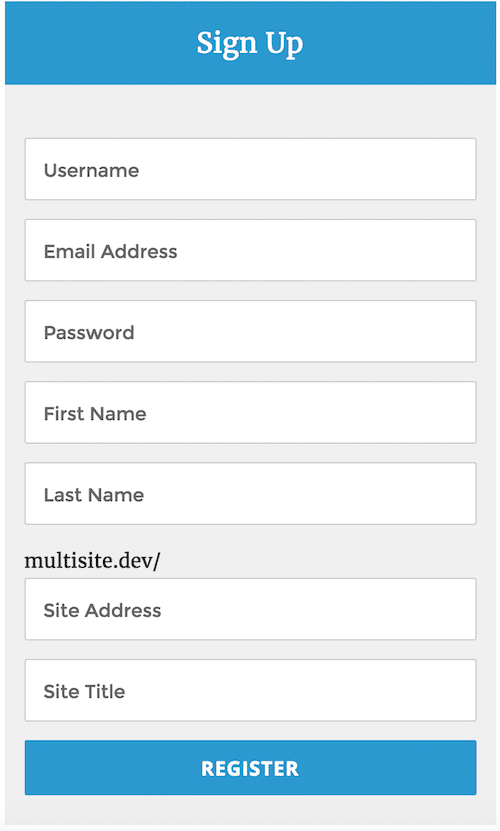
Here’s how the form will look.

Next, go to Settings >> Multisite Integration and select the page you’ve designated to be your sign up or registration page. By so doing, all visits to the default Multisite signup page at https://yoursite.com/wp-signup.php will be redirected to the selected page.

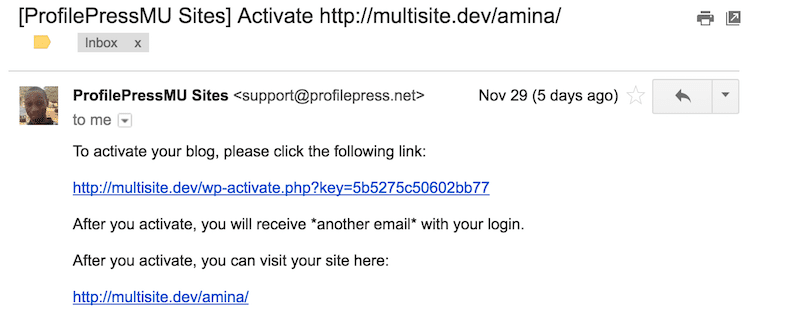
So when visitors fill and submit the registration form, an email will be sent for them to activate their site.

Sweet isn’t it?