How to Require Users to Log in to View WordPress Pages
When running a WordPress website, you might have sensitive data that is not for the public eye, and you want to restrict access to the pages/posts containing these sensitive materials. This might mean giving access to only logged-in users and/or allowing specific users access to specific pages on your WordPress website.
ProfilePress has a content protection feature that allows you to restrict access to content on your WordPress website or restrict access to the entire website to only logged-in users.
In this article, you will learn how to require users to log in to your WordPress site to view certain pages.
Installing the ProfilePress Plugin
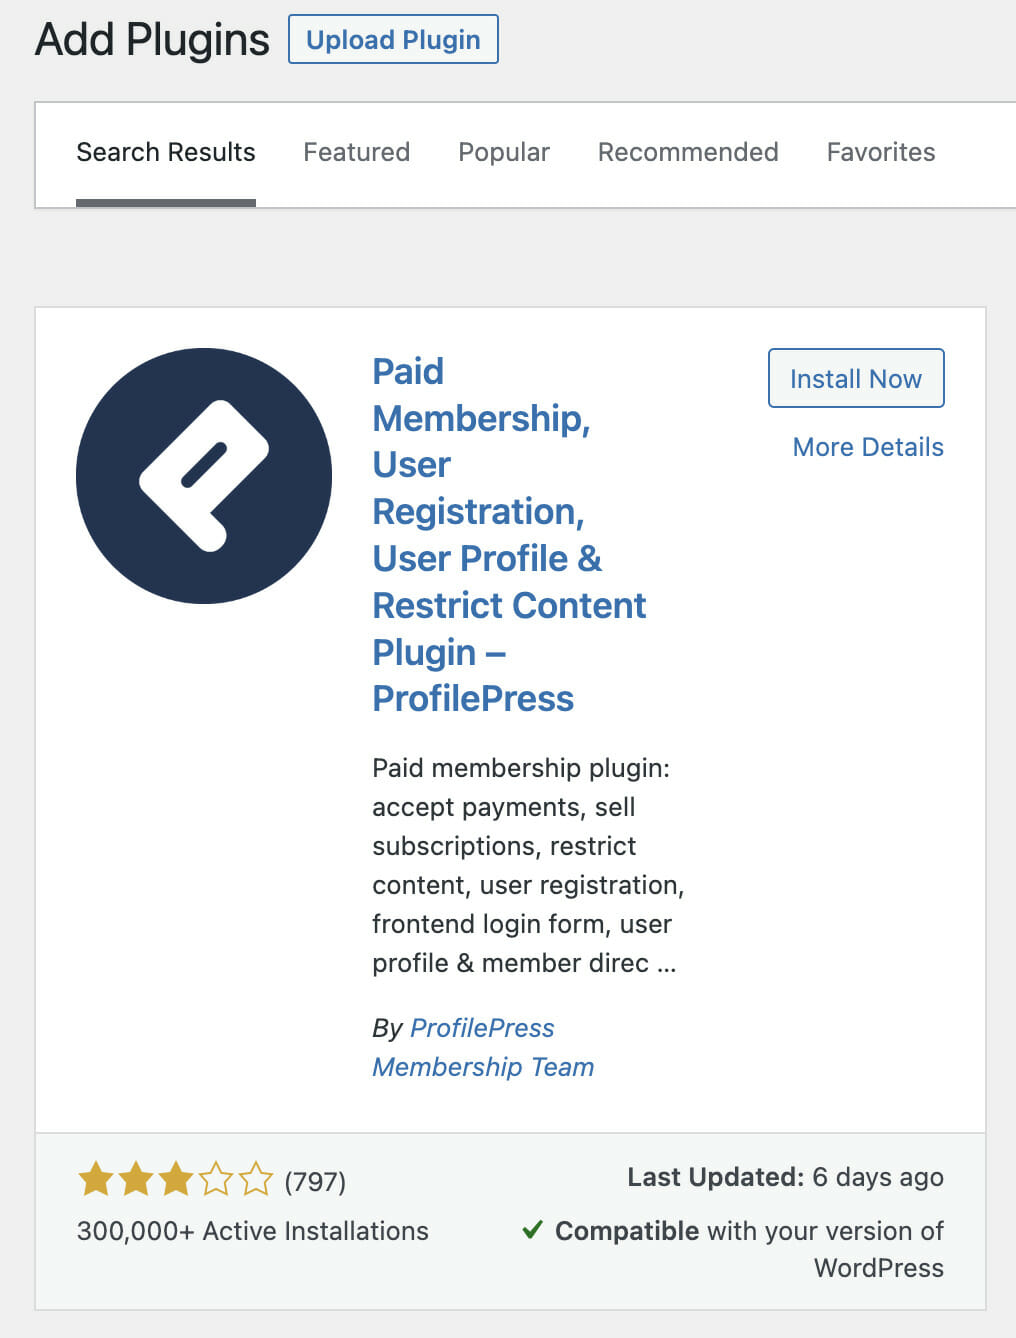
First, you will need to install and activate the ProfilePress plugin from the WordPress repository by going to Plugins>>Add New and searching for ProfilePress.

Click on the Install now button and activate the plugin on your website.
Restricting Access to Website Pages, Posts & Custom Post Types
To require users to be logged in and have specific user role before they can access certain posts or pages, create a content protection rule by going to ProfilePress >>Content Protection and clicking on the ‘Add a protection rule’ button.
Enter an easily identifiable name for the rule in the name field and scroll to the Content to Protect section.

In the Content to Protect section, you can select the condition to be all pages, posts, or custom post types like Woocommerce products or recipes. Once selected, proceed to the access condition section.

If you want to restrict access to only some of the pages, posts, and CPTs, you can select the condition to be ‘’selected’ pages, posts, or custom post types. This gives you the option to specify exactly what needs to be protected. Once selected, proceed to select all the pages, posts, or custom post types that you want to restrict access to.

Conditional Logic
With the Logical AND/OR, you can add conditional logic to the content to be protected. This gives you additional flexibility in setting the rules and reducing the effort of creating multiple rules.

Access Condition
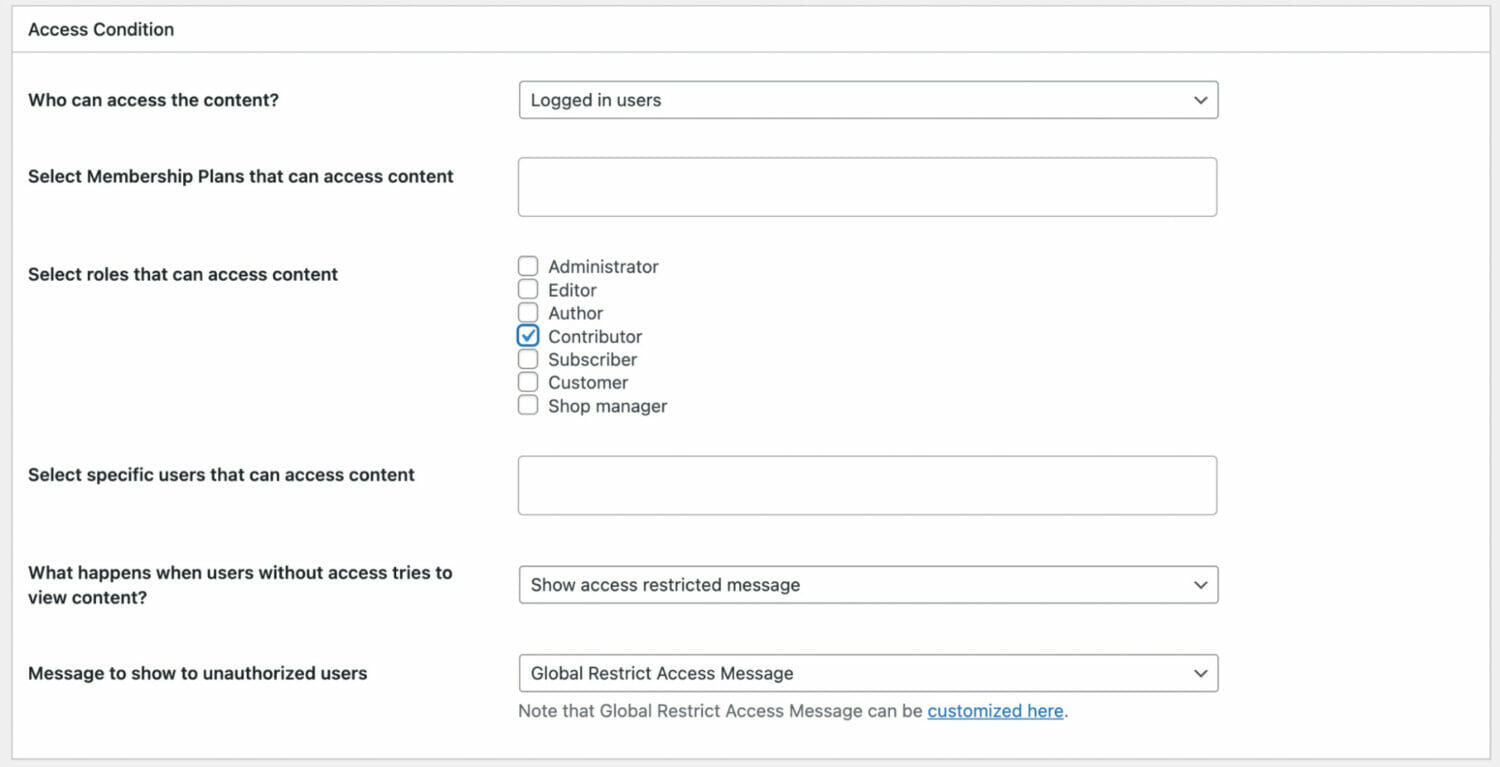
In the Access Condition, change the access to “Logged-in users” and select the user roles that this rule will be applied. You can also explicitly select specific users that will have access to this content.

In the subsequent section, you can decide to redirect users that try to access the content or display a restricted access message.

Restricting Access to the Entire Website
When you are setting up a private website or a client portal you might need to prevent access to the entire website by non-logged-in users. A great solution for Intranets or staging sites.
To restrict your entire website to only logged-in users read on.
Go to ProfilePress>>Settings>>Access and select the Accessible to logged-in users option.

Next, you need to redirect users that try to access the site to another page or custom URL. Select the page from the drop-down or provide a custom URL to redirect users that are not logged in.

NB: For this to work you MUST set a redirect page or custom URL.
You might need to exclude some pages besides the redirect page that will be accessible to everyone. You can select as many as you want here.

In some cases, the homepage might be used as a landing page and need to be accessible to all. ProfilePress allows you to do just that. To activate just tick the checkbox.

Set Up WordPress Require Login for Certain Pages With ProfilePress
With ProfilePress, you can force users to login to view certain WordPress pages or your entire website. You can hide membership content, create private content portals for VIPs, make users login to view support documentation, or even create a private WooCommerce store.
To get started, check out all the features of ProfilePress and start creating elegant user login and registration pages today.