
Setting Up Razorpay Payment Method
The Razorpay payment method allows you to accept one-time and recurring payments via over 100 payment methods, including Credit/Debit cards, Netbanking, UPI, and Wallets, with Razorpay from Indian customers on your WordPress sites.
Configuring Razorpay for WordPress with our ProfilePress plugin is simple and takes only a few moments.
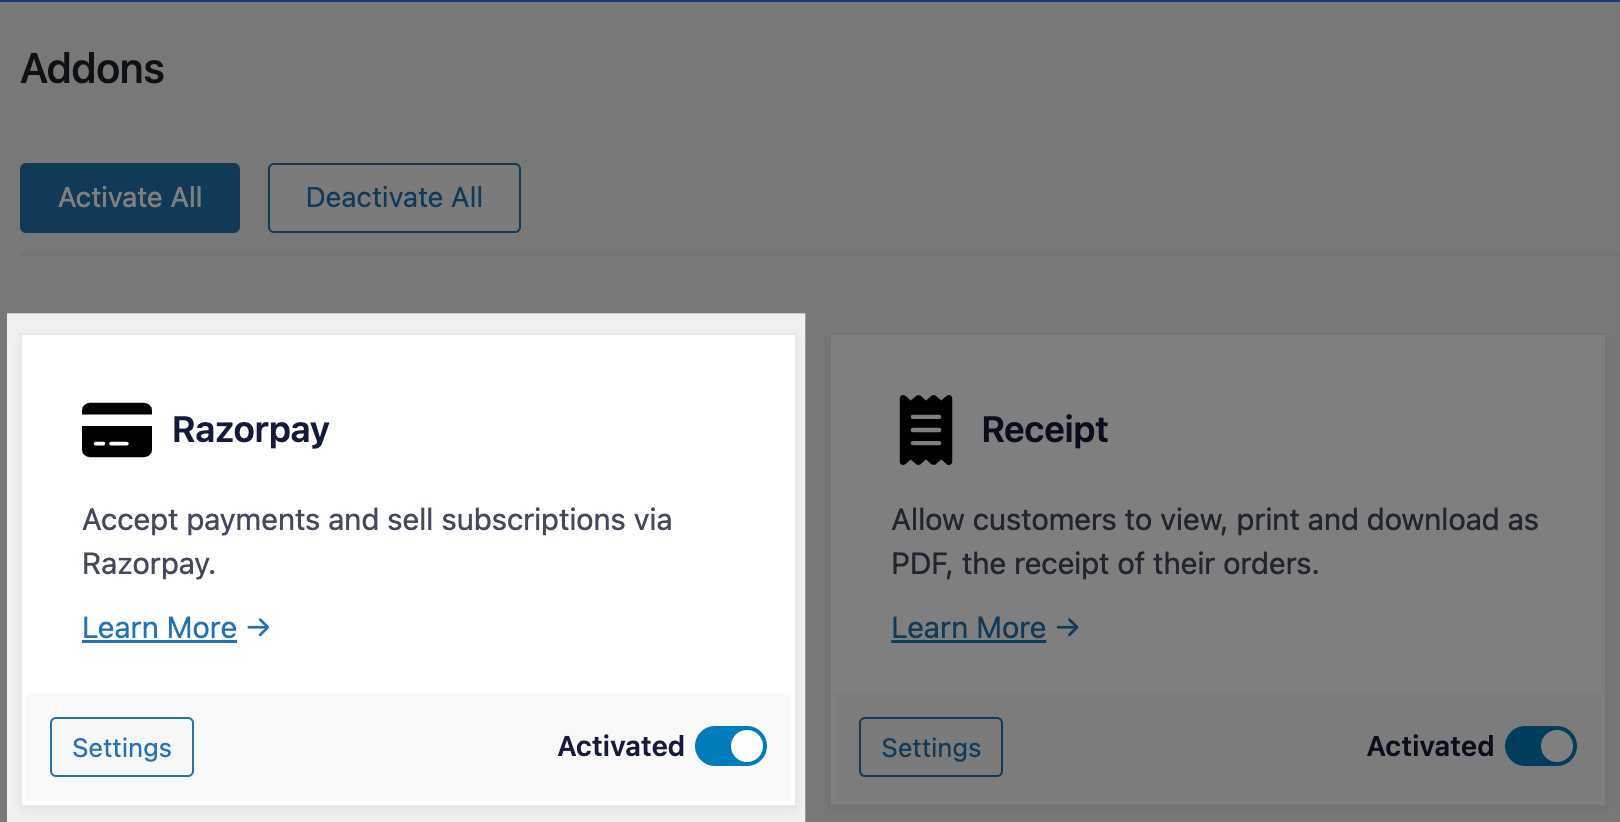
To set up Razorpay to accept payments in WordPress using ProfilePress, go to ProfilePress >> Addons and ensure the Razorpay addon is activated.
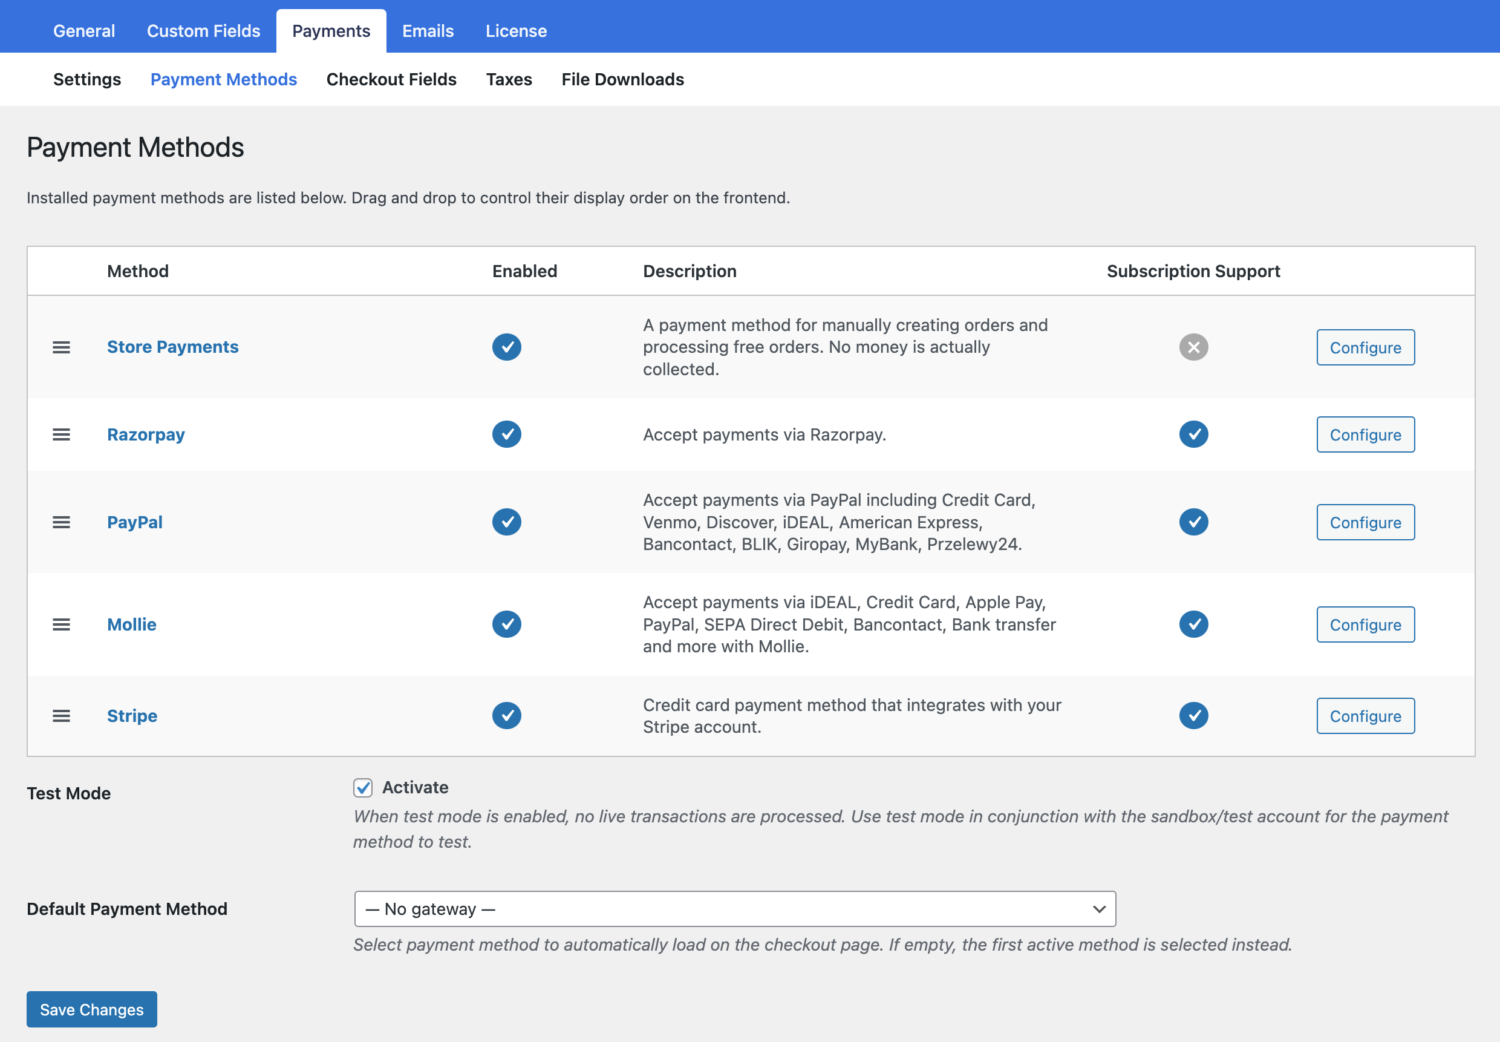
Next, go to ProfilePress > Settings > Payments >> Payment Methods and click the Configure button for Razorpay.
If you want to test the Razorpay payment flow on your WordPress website before going live, ensure you activate “test mode” here before going through the setup.
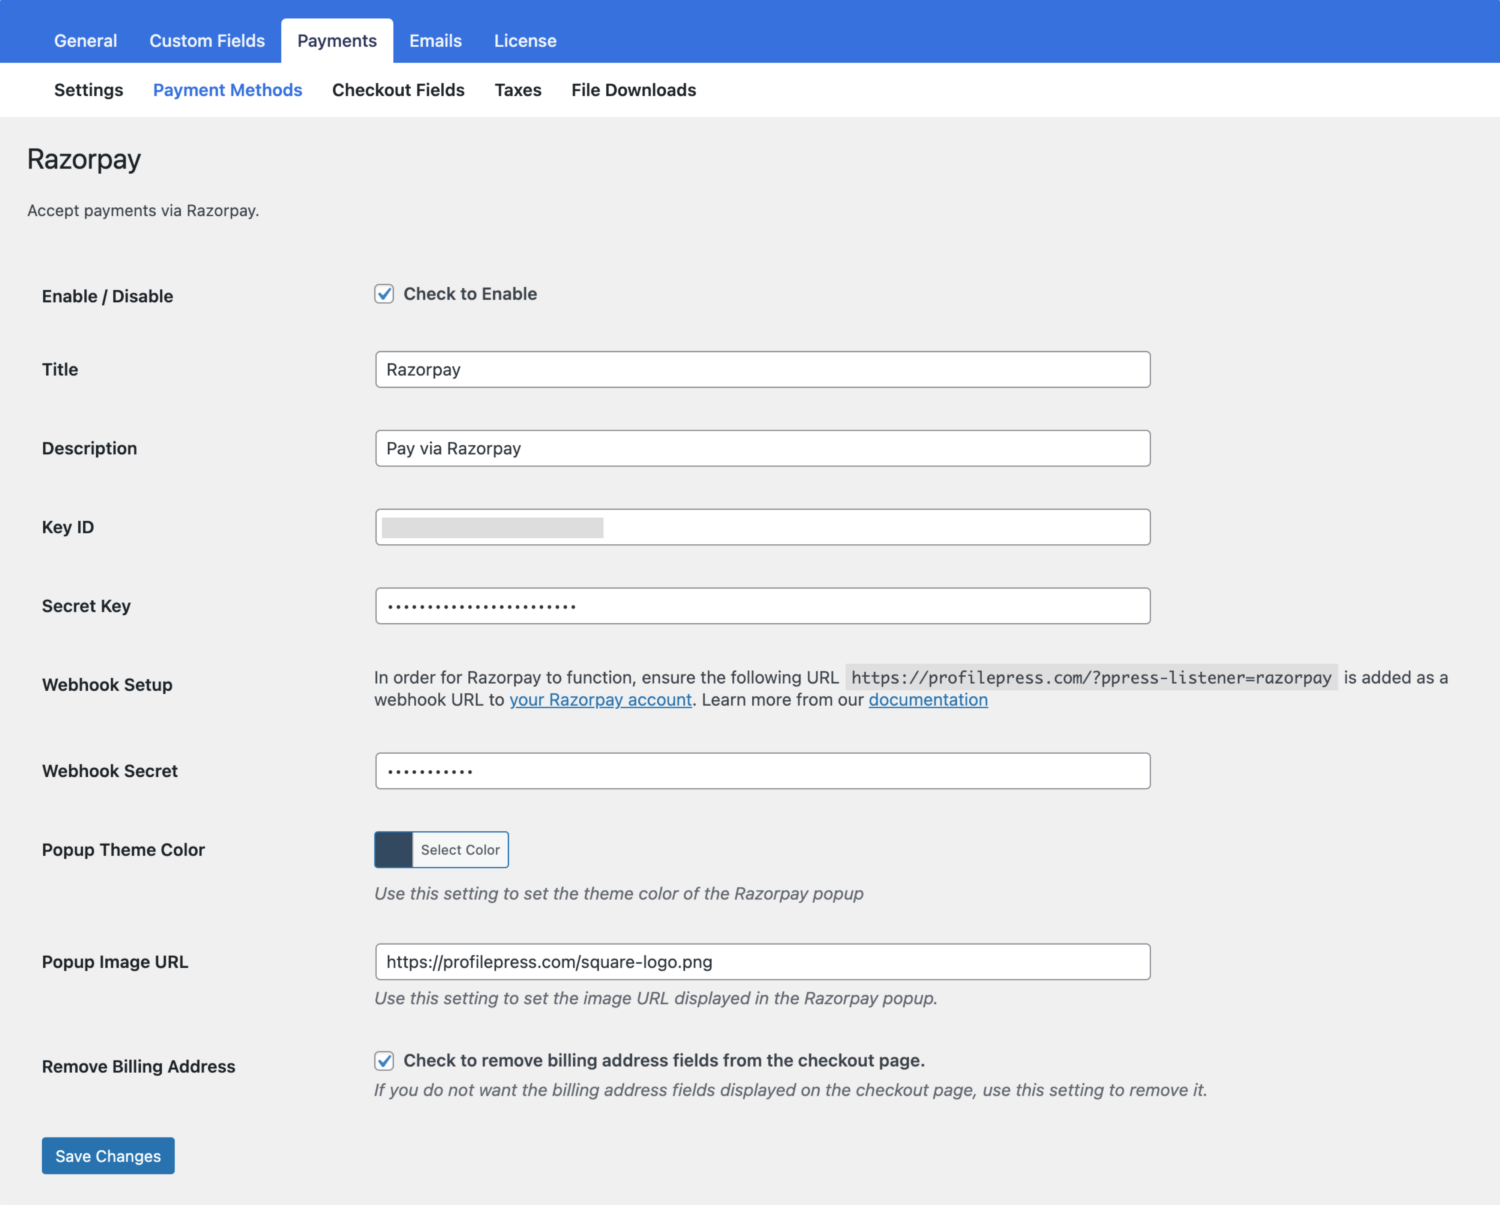
ProfilePress requires your Razorpay API keys and webhook setup in Razorpay to start accepting payments. You can also set the theme color and image/logo to use in the Razorpay popup checkout.
Finding Your Razorpay API Keys
Log into your Razorpay dashboard.
From the menu on the left, go to Settings > API Keys.
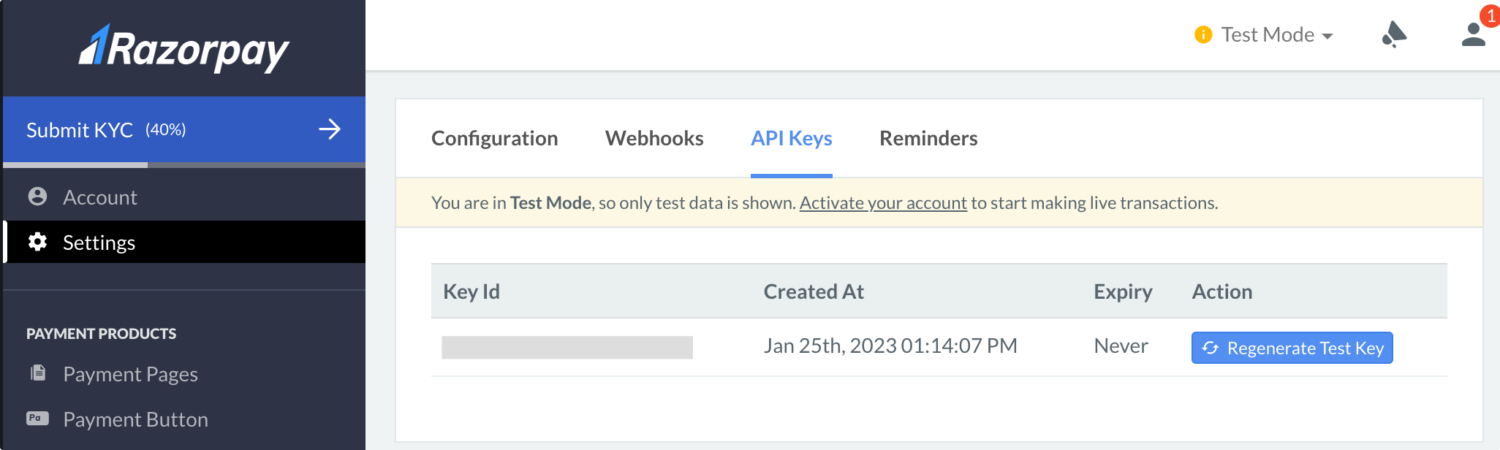
Copy and paste your Live Key ID and Secret Key or the Test Key ID and Secret Key (depending on whether you have test mode enabled in ProfilePress or not) into the appropriate Razorpay settings in ProfilePress.
Webhooks
Webhooks are how ProfilePress communicates with Razorpay. To add the appropriate webhook endpoints in your Razorpay application, follow the guide below.
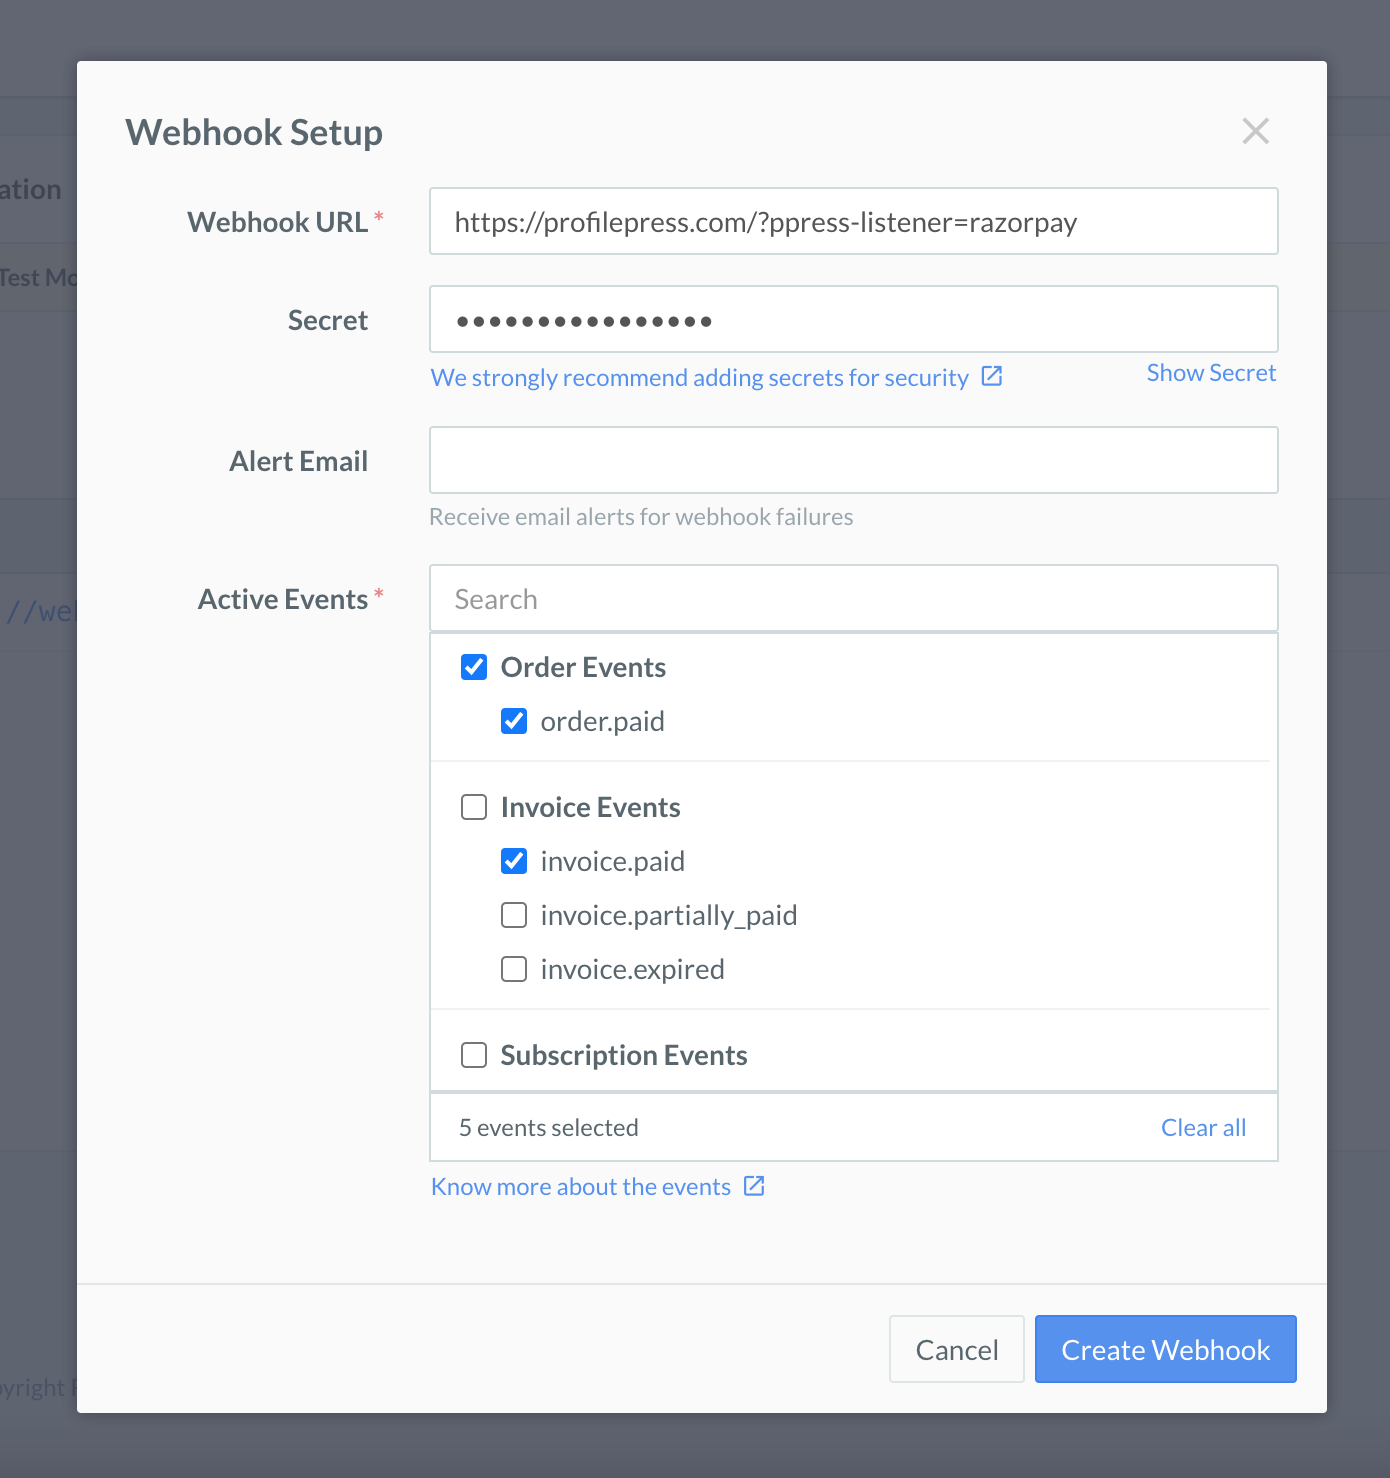
On your Razorpay account dashboard, go to Settings >> Webhooks >> Add New Webhook.
Enter your website webhook URL. You can get and copy the Webhook URL from the Webhook Setup section of the ProfilePress Razorpay settings page, which is usually https://example.com/?ppress-listener=razorpay.
Secret – Enter your webhook secret to further secure your transactions. Razorpay does not auto-generate this information, so you have to create it yourself.
Leave the “Alert Email” as it is.
Active Events – Make sure the following events are added:
order.paid
invoice.paid
subscription.authenticated
subscription.cancelled
subscription.pending
subscription.halted
subscription.paused
subscription.resumed
refund.processed
Once you’re done, click on the “Create Webhook” button.
Once the webhook is created, ensure you return back to the ProfilePress Razorpay settings page to save the webhook secret.
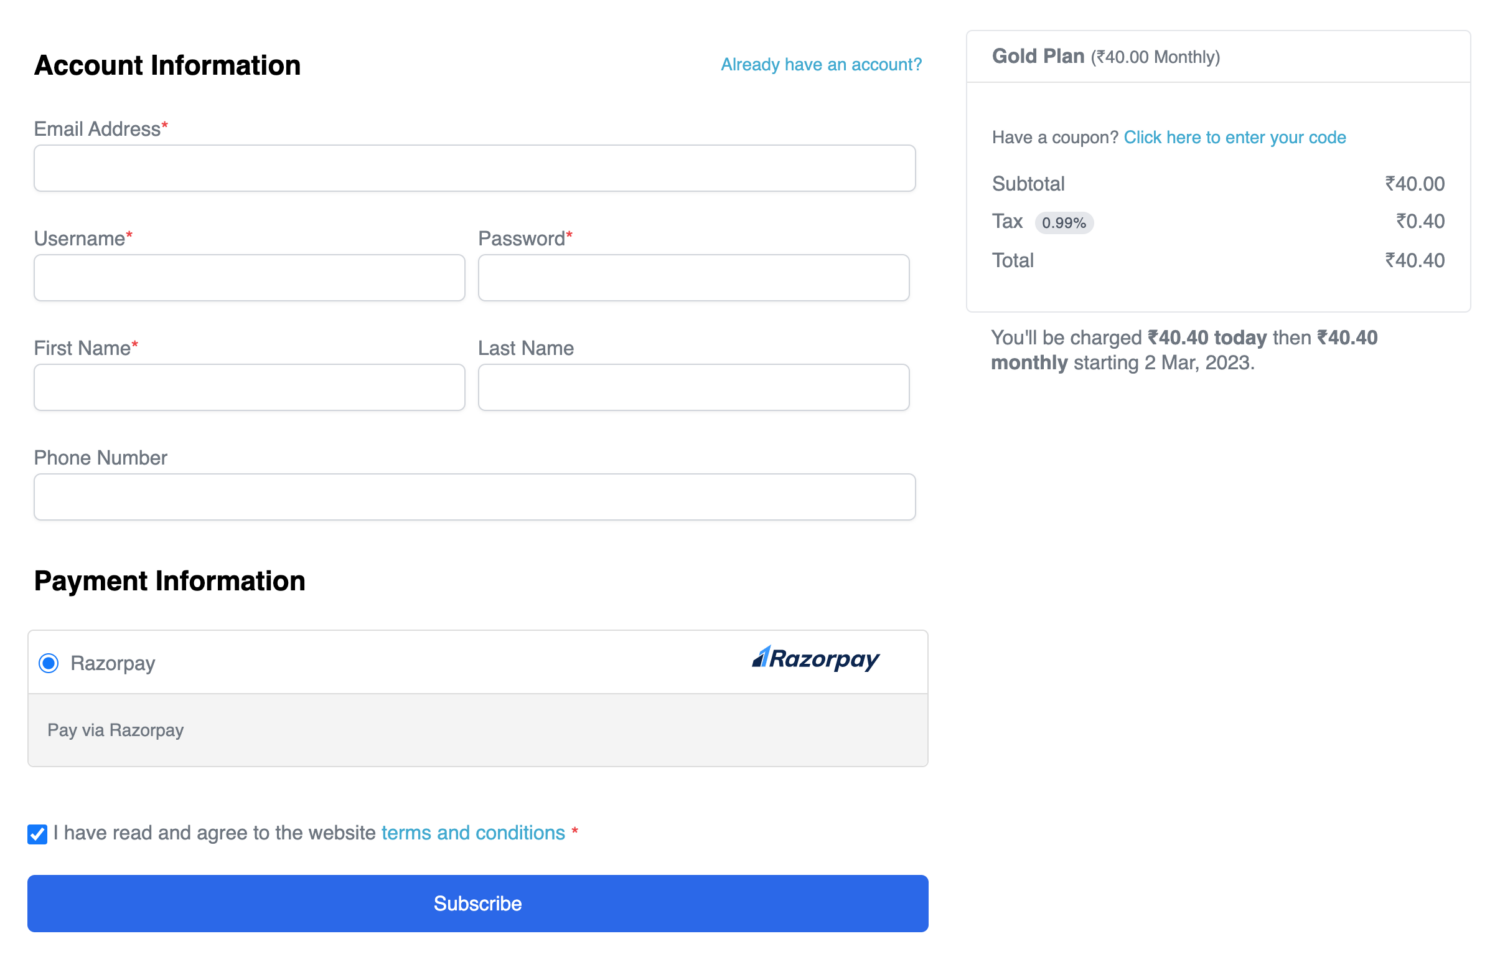
Here’s a demo of Razorpay payment on the ProfilePress checkout page.
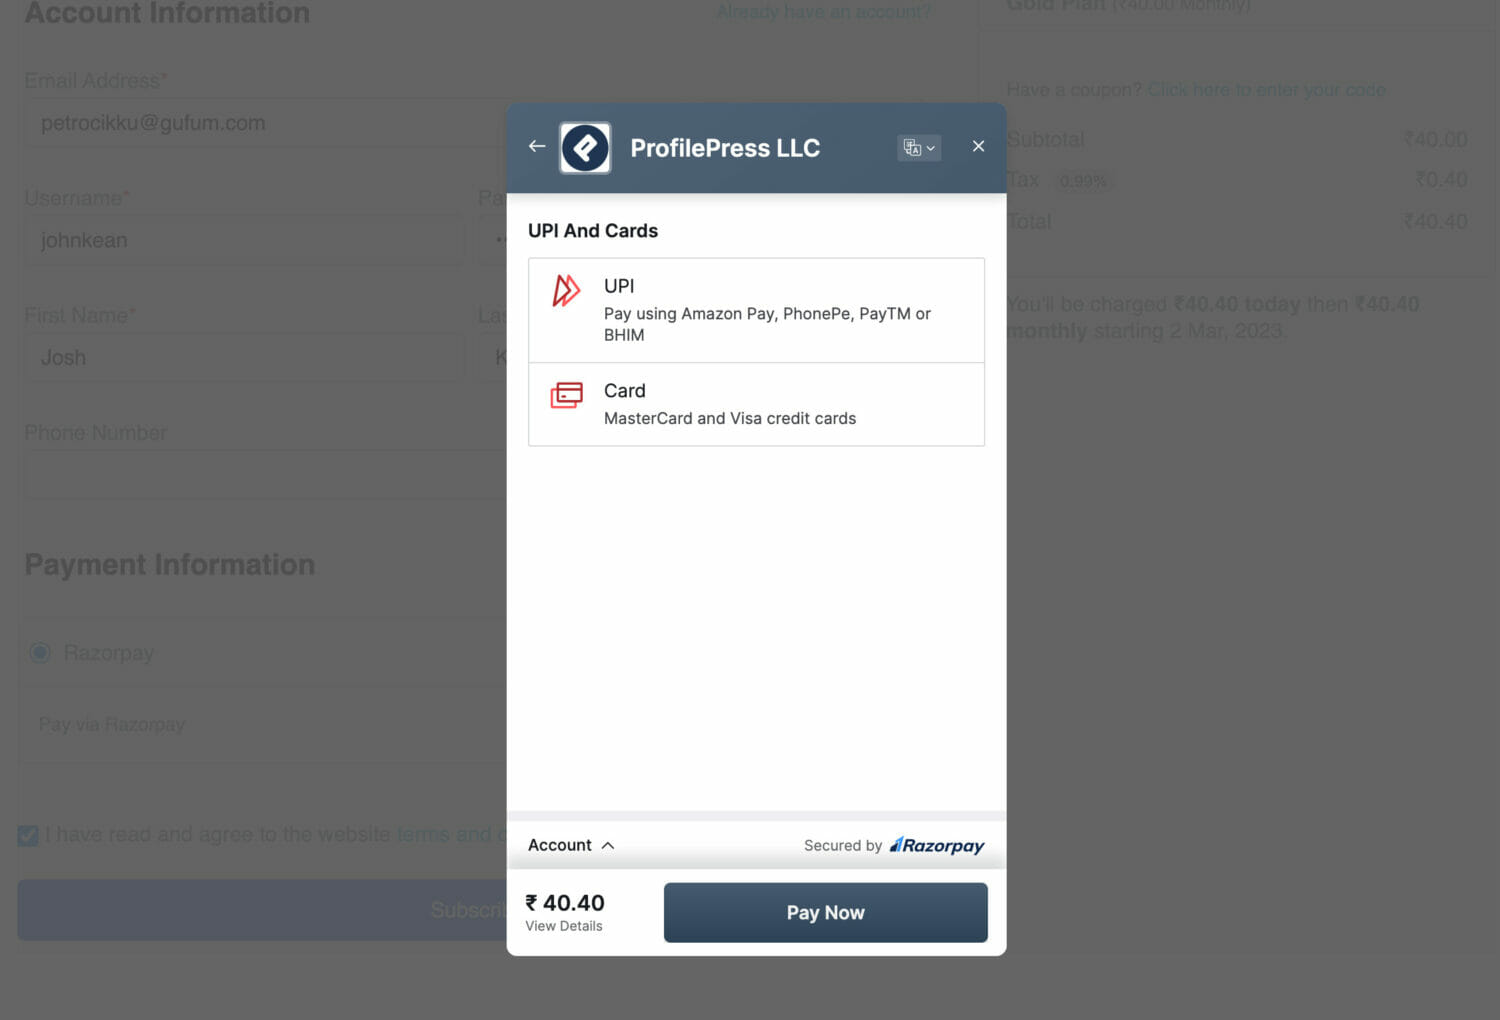
After submitting the form, your customers will see a Razorpay popup checkout to complete their payment in WordPress.
Warning
Razorpay does not support daily recurring payment plans or subscriptions. Other billing cycles, such as weekly, monthly, quarterly, and yearly, are supported.
Conclusion
If you need further guidance on using Razorpay or run into any issues setting things up, please reach out to our team, and we’ll be glad to help.