How To Setup WooCommerce Email Verification
Do you want to learn how to set up WooCommerce email verification on your WordPress site?
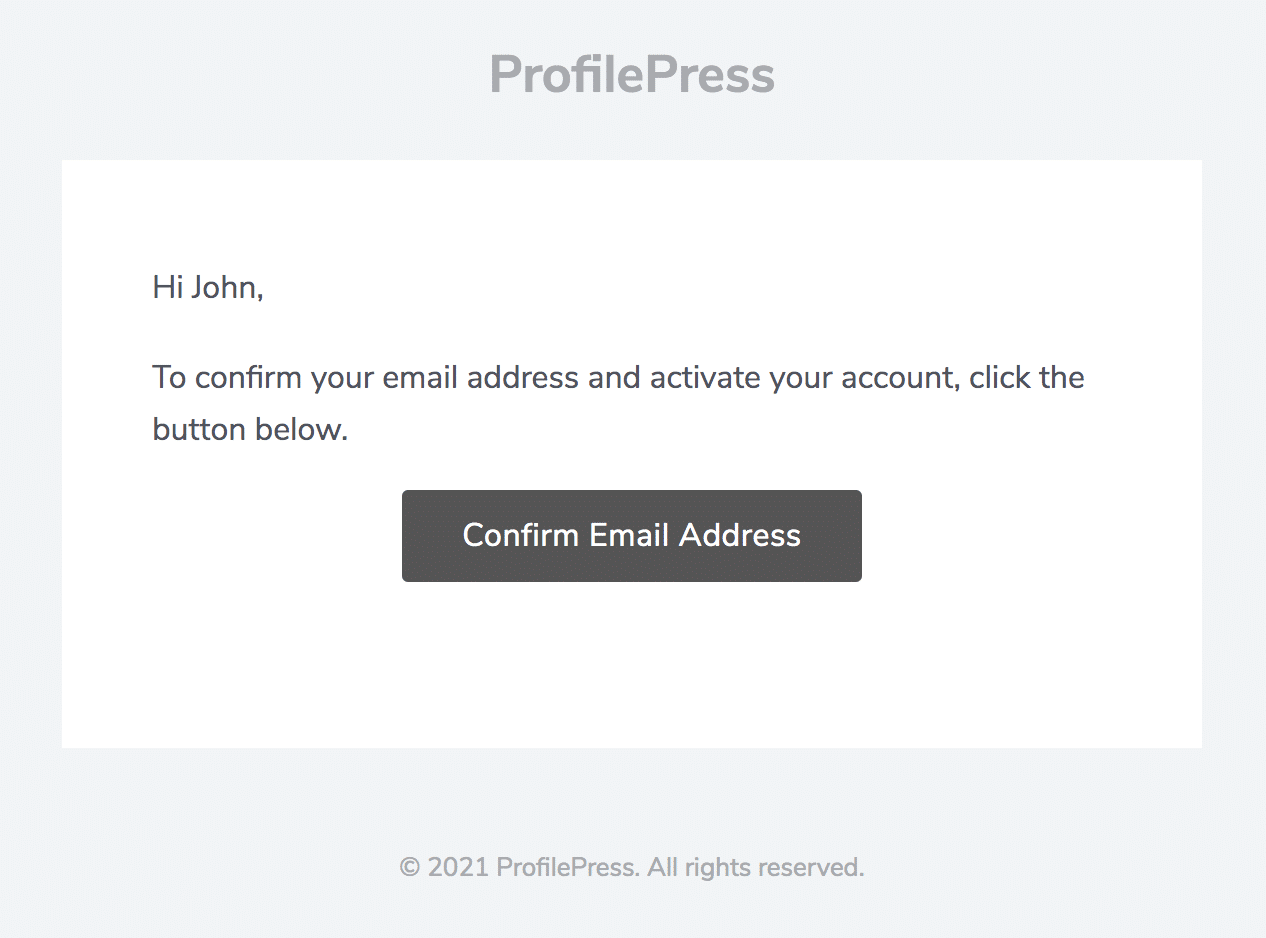
Imagine a system automatically sending a custom verification email when a new user registers on your WooCommerce site. This email encourages the user to confirm their email address before they can access their account or complete a purchase. By doing so, you can protect your store from fake sign-ups and improve the overall quality of your customer database.
A verified email list ensures important communications, such as order confirmations, shipping updates, and promotional offers, reach the intended recipients, improving marketing effectiveness and customer satisfaction.
This guide will walk you through setting up a WooCommerce confirmation email using ProfilePress.
Why Email Verification is Essential for WooCommerce
Email verification is essential for WooCommerce for several reasons such as:
Enhanced Security: By requiring users to confirm their email addresses, WooCommerce stores can prevent fake or fraudulent accounts. This added layer of security helps protect sensitive customer data and reduces the risk of unauthorized access or malicious activities on your site.
Improved Communication: When customers verify their email addresses, you can be confident that your communications, such as order confirmations, shipping updates, and promotional offers, will reach the intended recipients. A verified email list boosts deliverability rates, ensuring important messages aren’t lost in spam folders.
Compliance with Regulations: In many regions, particularly under regulations like the GDPR, verifying customer data is crucial for legal compliance. Email verification helps ensure that user consent is appropriately recorded and that you maintain a secure and reliable customer database in line with data protection standards.
Accurate Analytics and Marketing Data: Verified email addresses lead to more reliable customer segmentation and targeted marketing. By ensuring that your communications reach real, engaged users, you can improve the performance of your email campaigns and ultimately increase conversion rates.
Setting up WooCommerce Confirmation Email
To set up a WooCommerce confirmation email, install and activate the ProfilePress membership plugin. This plugin ensures that every new registration is verified before the user can access your e-commerce features.
Installing and Activating the ProfilePress Plugin
ProfilePress is a powerful WordPress membership plugin that lets you create WooCommerce membership sites, sell digital products, and manage user access to your content. Its user management features include implementing WooCommerce email verification for newly registered users.
To install and activate the ProfilePress plugin on your WordPress site, first purchase a plan from the ProfilePress pricing page. After your purchase, check your email for a link to download the plugin zip file.
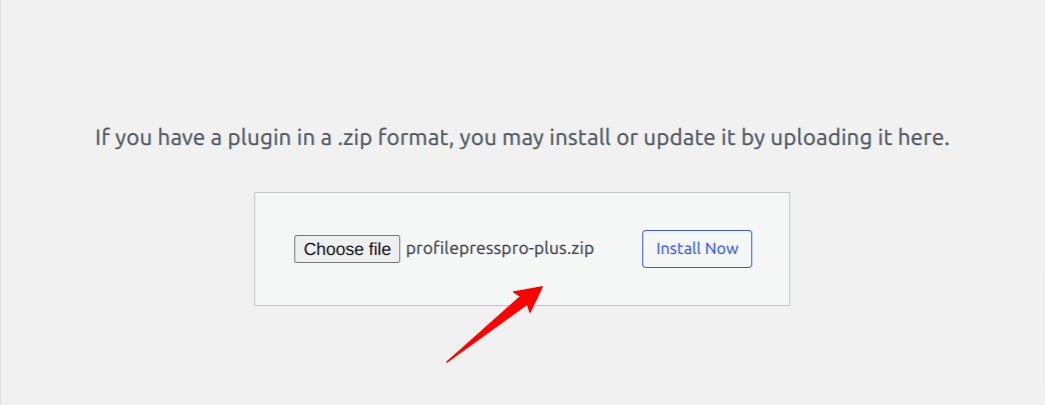
Log in to your WordPress admin dashboard, go to “Plugins,” and click “Add New.” Select “Upload Plugin,” choose the downloaded zip file, and click “Install Now” to start the installation.
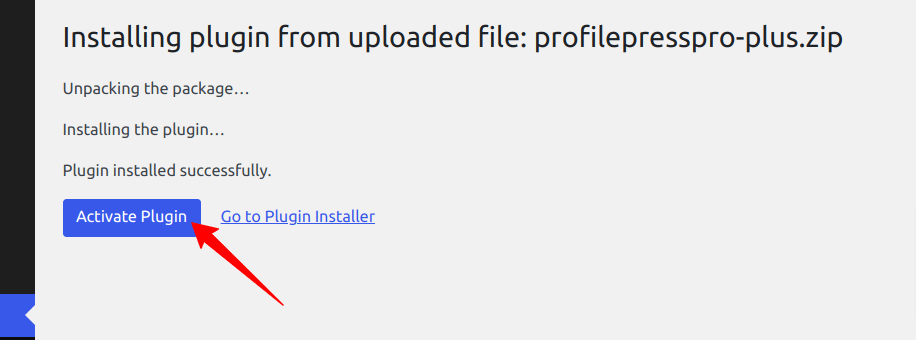
Once the installation is finished, click the “Activate Plugin” button to enable it.
Once you complete these steps, the ProfilePress plugin will be up and running on your WordPress site.
Enabling WooCommerce Registration
We need to ensure user registration is enabled in WooCommerce. To do this, navigate to WooCommerce > Settings in your dashboard. Under the “Privacy and Accounts” section, select the option to allow customers to create an account on the “My Account” page.
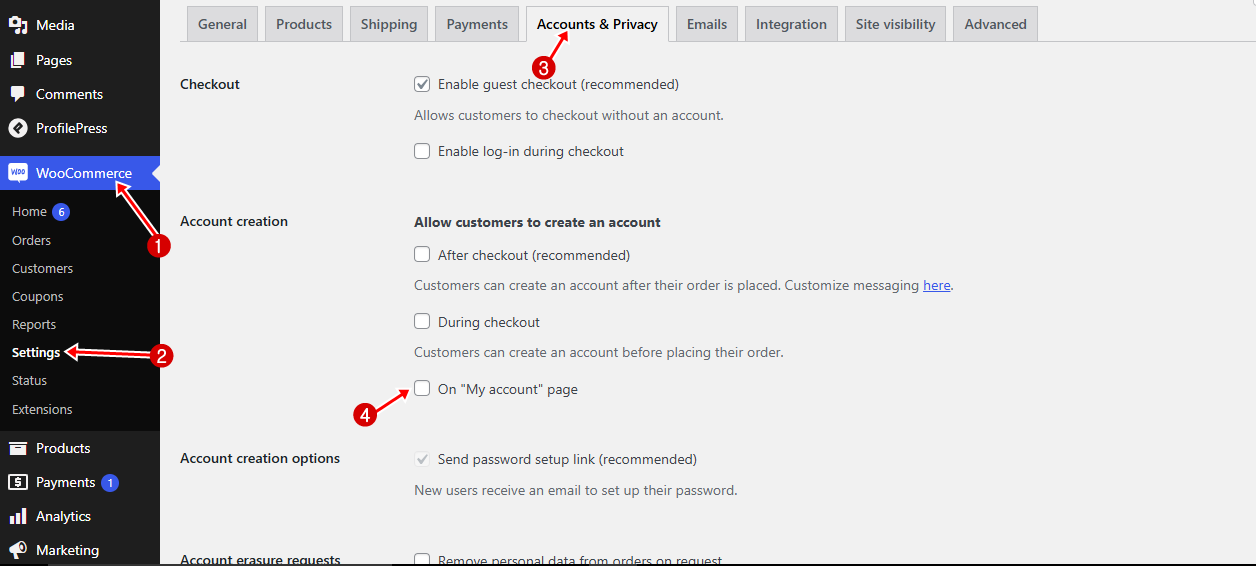
Once you’re finished, click Save Changes.
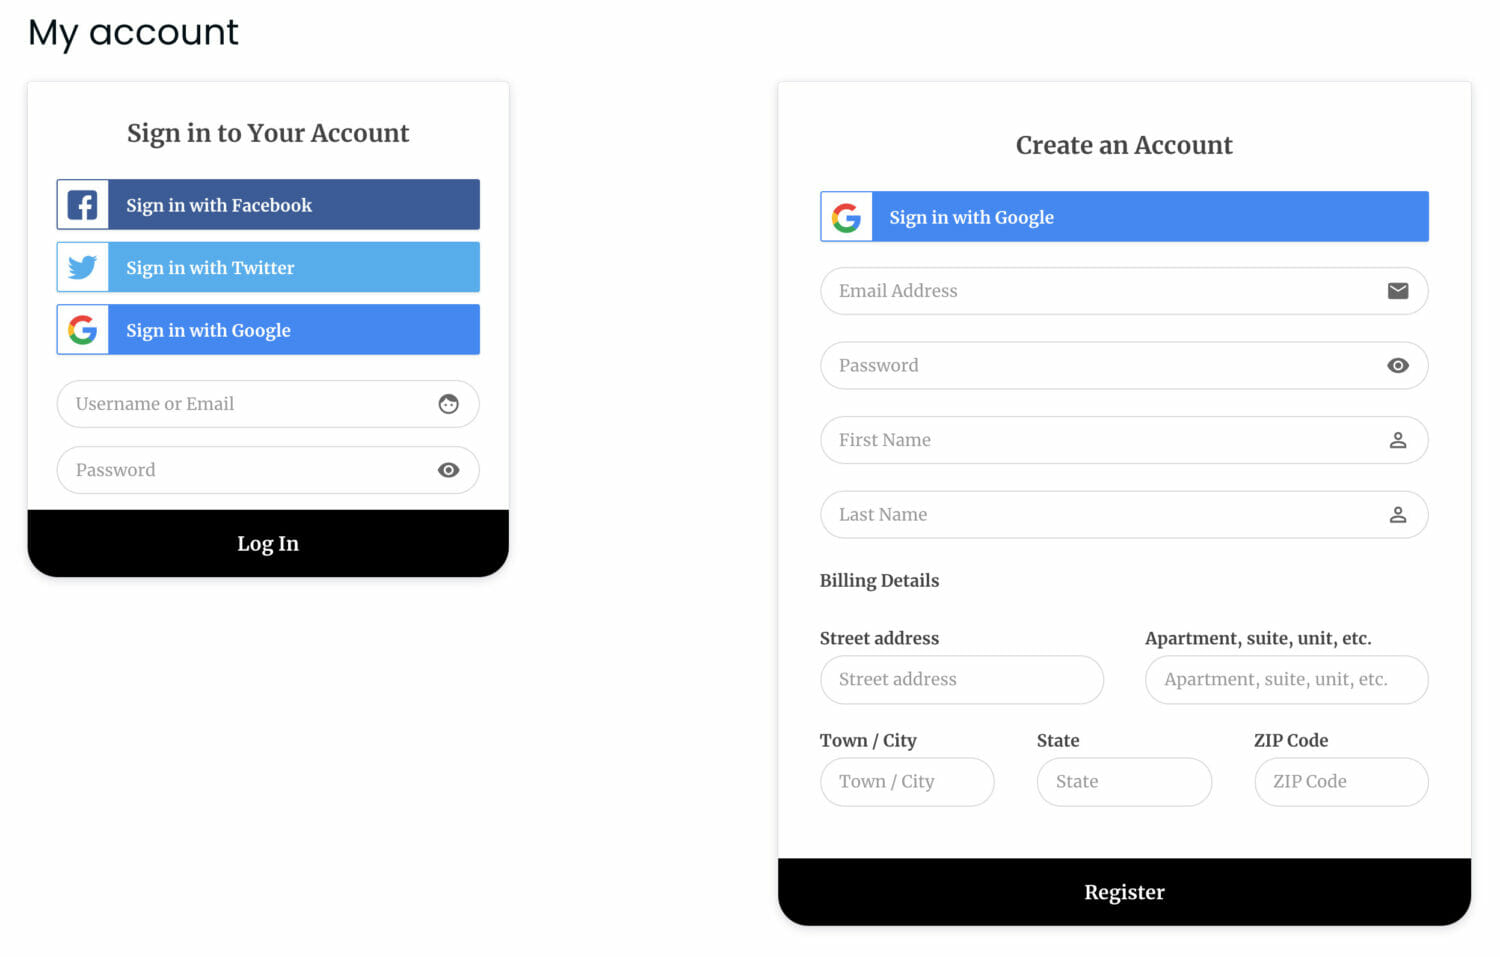
Next, you’ll need to create a custom registration form. Follow this guide on creating a custom WooCommerce registration & login form, where you’ll learn how to do this using ProfilePress and replacing the default WooCommerce forms.
After setting up your forms, return here to configure the WordPress email verification feature.
Configuring WooCommerce Email Verification
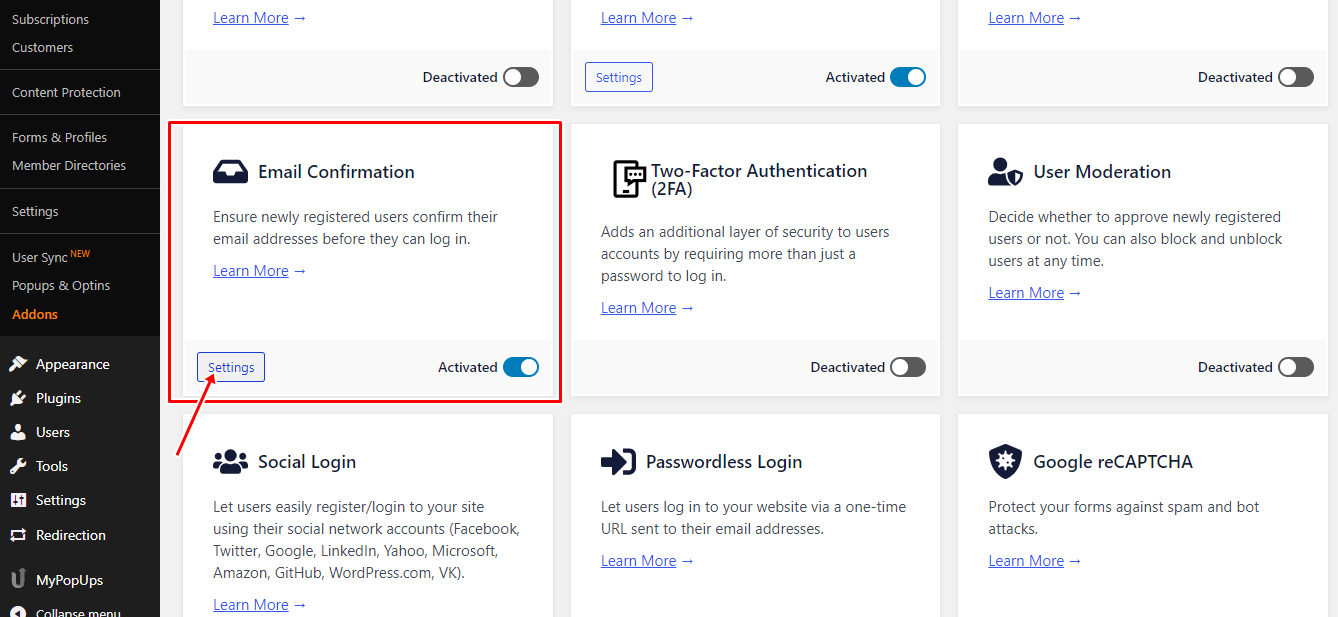
To set up WooCommerce email verification, go to ProfilePress → Addons in your WordPress dashboard and switch on the activation toggle for the Email Confirmation addon. This ensures users verify their email addresses before accessing your WooCommerce site.

To configure WooCommerce email verification settings, navigate to ProfilePress >> Settings and scroll down to locate the Email Confirmation section.
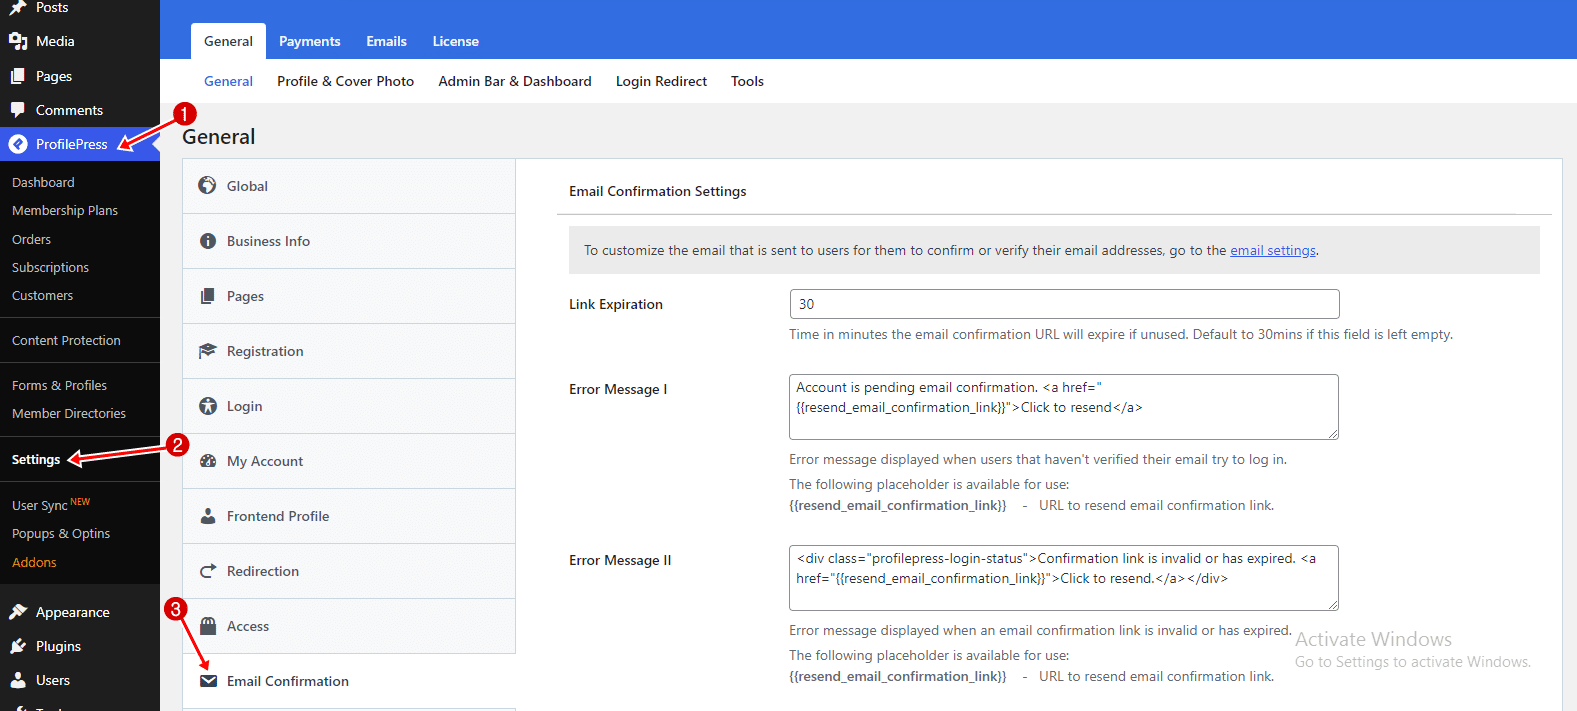
You can also navigate directly to these settings by clicking the Settings tab after activating the add-on.
The settings page includes the following options:
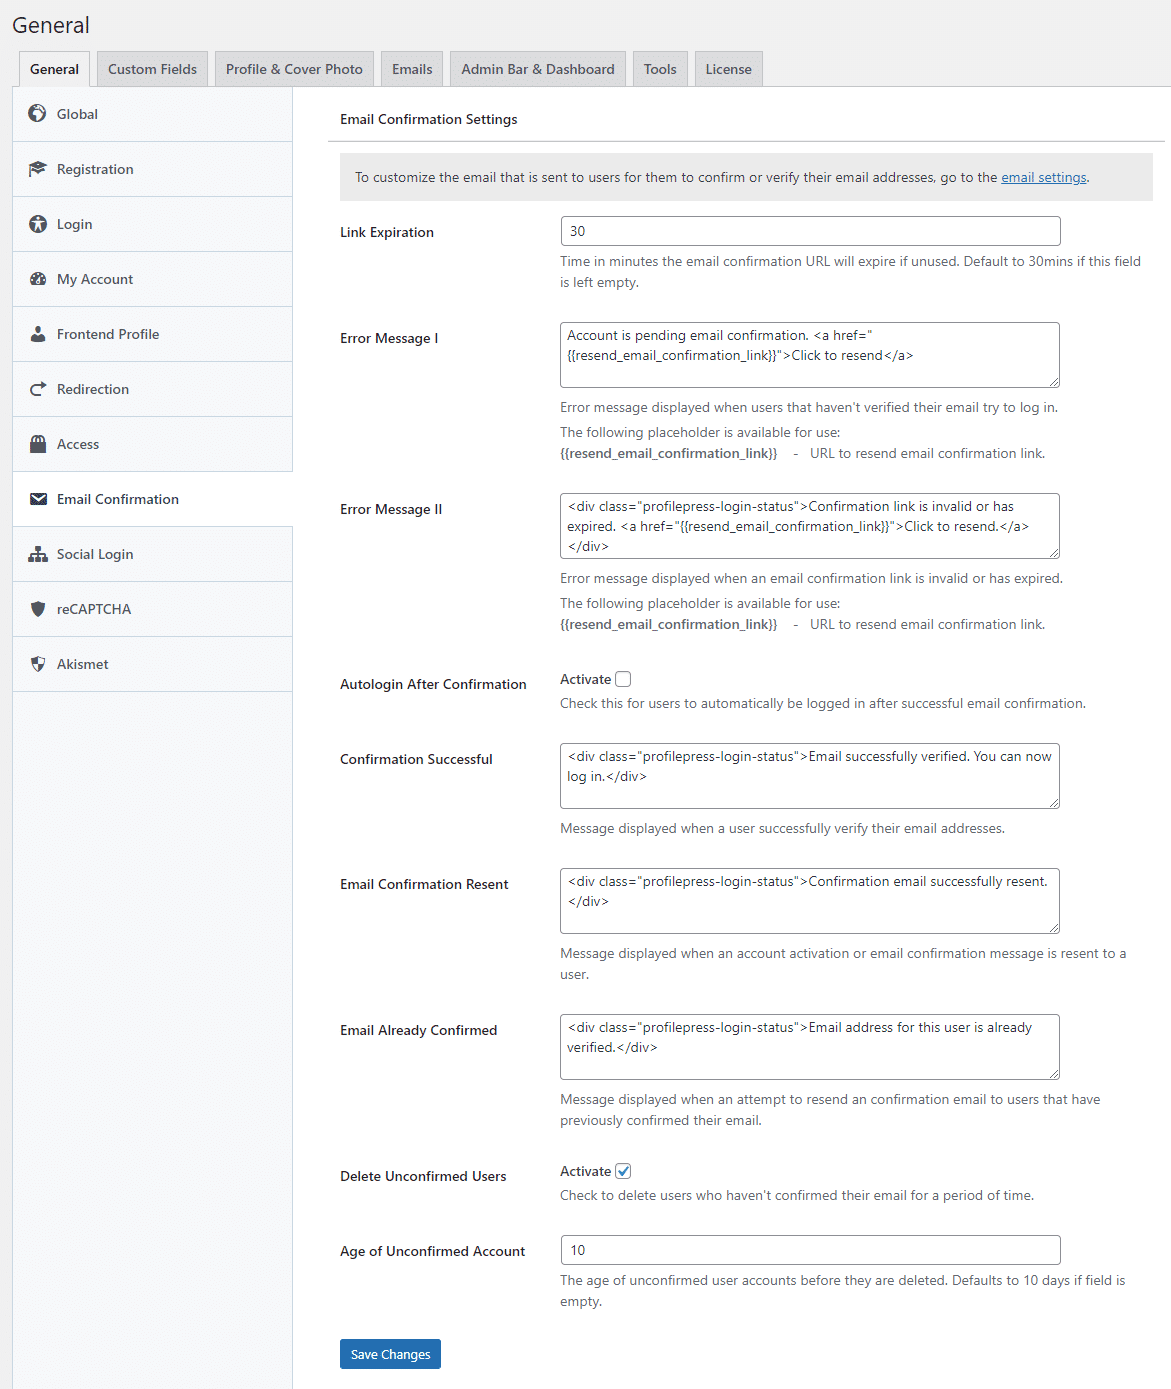
Link Expiration setting lets you define how long a confirmation link remains valid before it expires if unused. You can specify the duration in minutes; if left blank, the default expiration time of 30 minutes will apply.
The Error Message I setting allows you to customize the message displayed to users whose accounts are still pending email confirmation.
Error Message II allows you to specify the message users will see if the confirmation link is invalid or expired.
The Autologin After Confirmation option, when enabled, automatically logs users in after they successfully confirm their email.
Alert Messages allows you to customize notifications displayed when an email is successfully confirmed, when the confirmation email is resent, and when the email has already been verified.
The delete Unconfirmed Users feature lets you automatically remove users who haven’t confirmed their email within a specified timeframe. To enable this, activate the feature and set the maximum number of days before an unconfirmed account is deleted. If left blank, the default period is 10 days.
Once you’ve configured the settings to your preference, click Save Changes to apply them.
Customizing the WooCommerce Confirmation Email Content
To customize the email sent to users to confirm their email addresses, navigate to ProfilePress > Settings in your WordPress dashboard and click the Emails tab.
Next, locate the Email Address Confirmation section and click the Gear icon on the right-hand side to access customization options.

From here, you can modify the email content to match your brand’s tone and messaging, ensuring a seamless user experience.
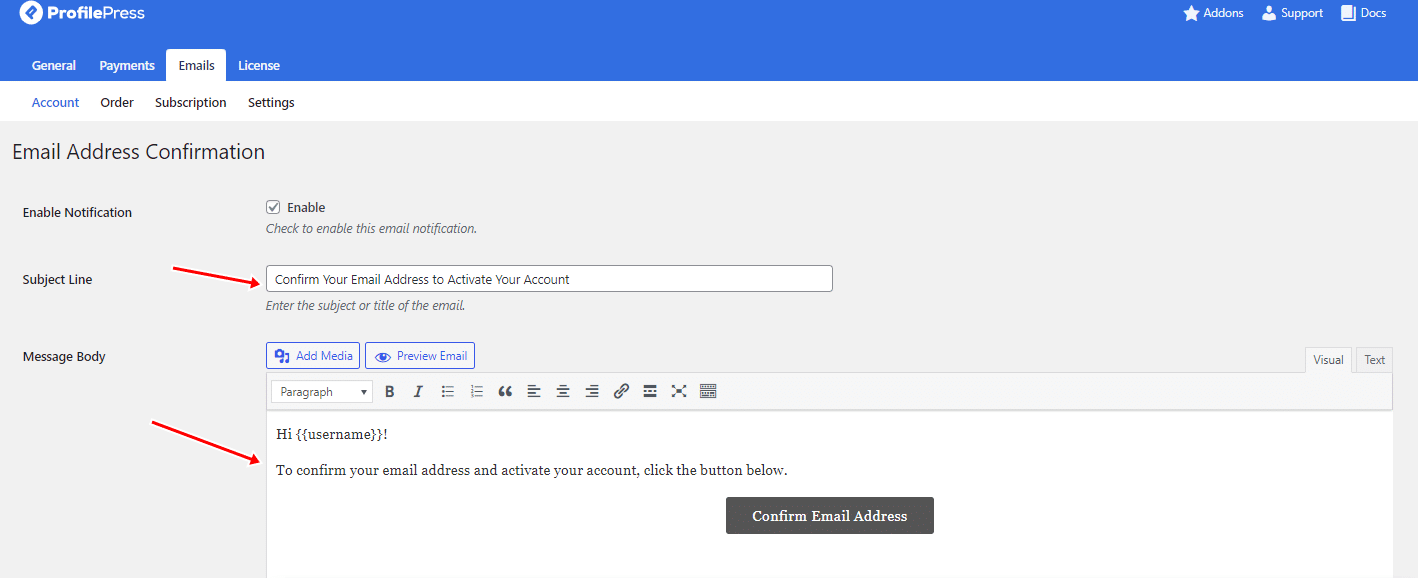
Note: You can use the {{username}} and {{email_confirmation_link}} shortcodes to insert the current user’s username and the confirmation link, respectively, anywhere within your email templates. This helps create customized and engaging confirmation emails, improving user experience and clarity.
Once you’ve made your changes, click Save Changes to apply them.
Testing the WooCommerce Email Verification Process
After setting up the Woocommerce confirmation email settings, testing the process to ensure everything works as expected is essential.
To do this, register a test user account on your WooCommerce site and check if the email verification process is triggered correctly.
If you haven’t created a custom WooCommerce registration page yet, refer to our guide on creating a custom WooCommerce registration & login page.
Look in your email inbox for the verification email and follow the provided instructions to confirm your email address.
After verifying their email addresses on your WooCommerce website, users can log in and access their accounts.
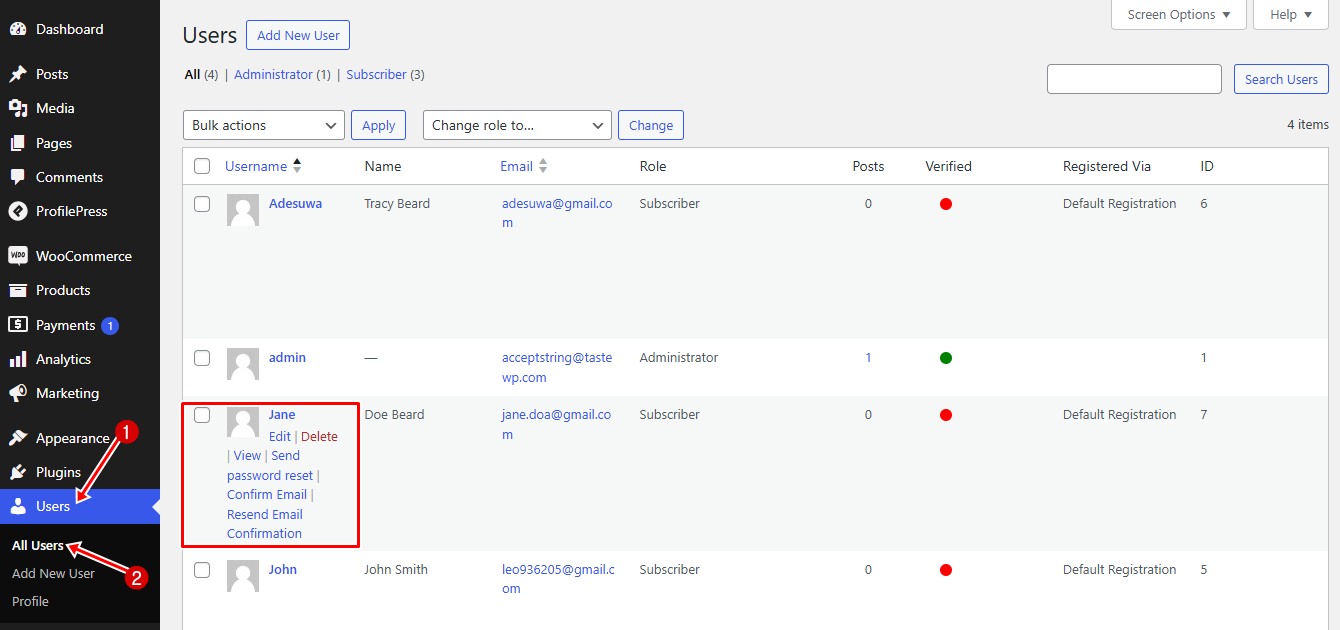
The Email Confirmation addon in ProfilePress allows the WooCommerce site administrator to manually verify a user’s registration or resend the confirmation email if needed.
To do this, navigate to the WordPress dashboard, click on Users > All Users, hover over the user’s username, and select the appropriate action.
Conclusion
Setting up WooCommerce email verification with ProfilePress increases your store’s security and communication. Allowing only verified users to register and purchase prevents fake sign-ups and maintains a quality customer database.
Following the steps in this guide, from installation to testing, will enhance the security and efficiency of your eCommerce operation.
We hope this article has helped you learn how to set up email verification 0f users in your WooCommerce store.