How to Restrict Content in WordPress to Specific Users
Do you want to protect or restrict content to specific users on your WordPress website?
There’s an easy way to do it. You don’t need to be a web developer or have technical knowledge to restrict your WordPress content.
Perhaps you want to restrict access to important content to just your team members or build a membership website where individuals can subscribe to a monthly plan to view your content.
In this article, you will learn the easiest way to restrict your WordPress content to specific users.
Why Restrict Your WordPress Content?
Restricting access to your content or protecting your WordPress content behind a paywall is the easiest way to monetize your audience. Unfortunately, every other way you can profit from your audience requires much additional work and maintenance. For example, creating a course or a product can take years. And even after all that effort, there’s no guarantee it will succeed.
On the other hand, restricting your WordPress content takes only a couple of minutes and requires no technical knowledge. Therefore, you can restrict your content using ProfilePress in no time.
The best part is that most of your fans will be willing to pay $5 to $10 per month to access your best members-only WordPress content.
Don’t believe me?
Take a look at this Patreon page for comedian Tim Dillon’s podcast:
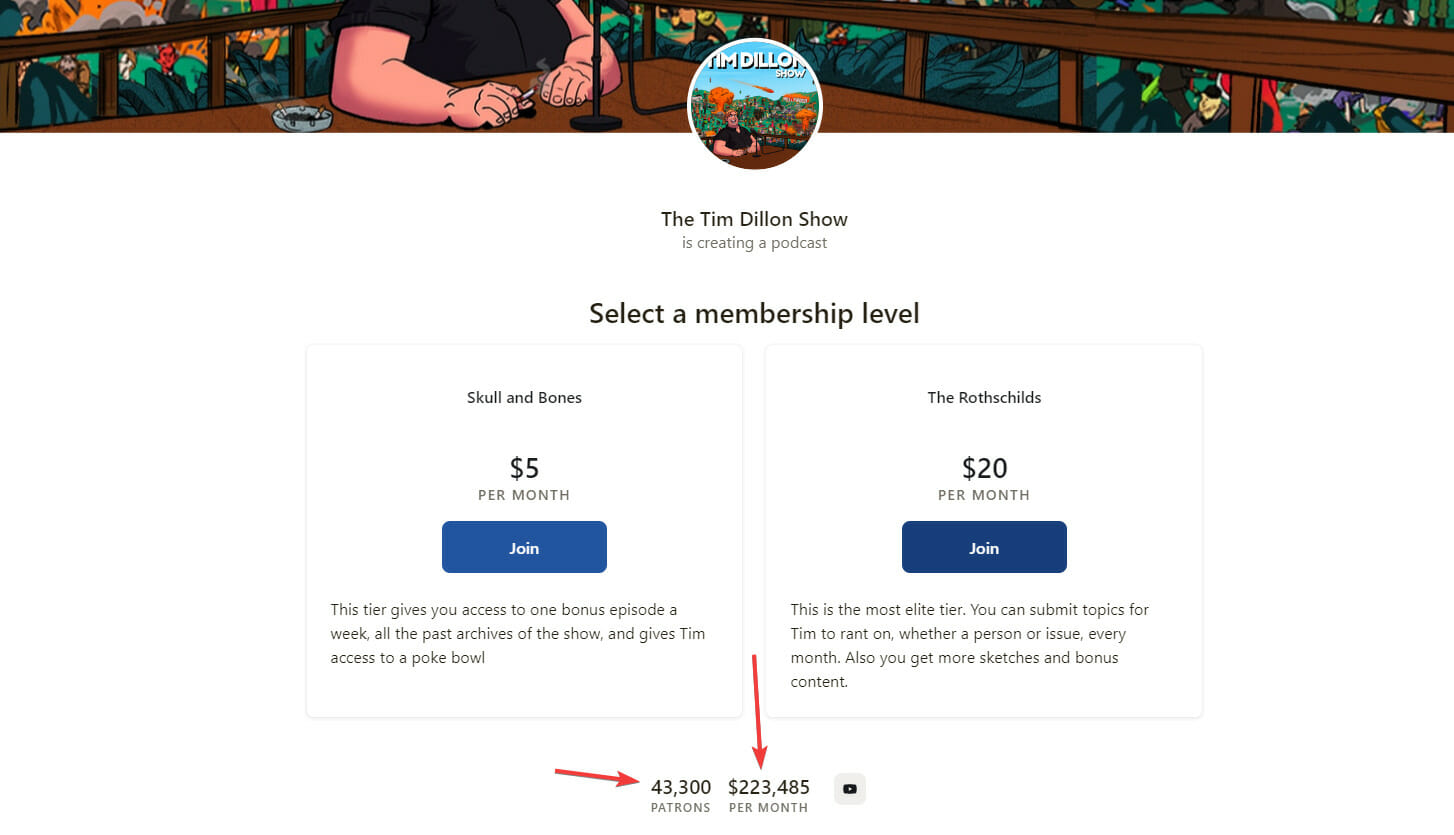
Tim Dillon makes over $200,000 a month by releasing premium episodes on his Patreon page.
If people are willing to pay $5 a month to listen to a comedy podcast, your fans will be ready to pay $5 a month to read your best content.
Now let me give you an example of what a membership site looks like:
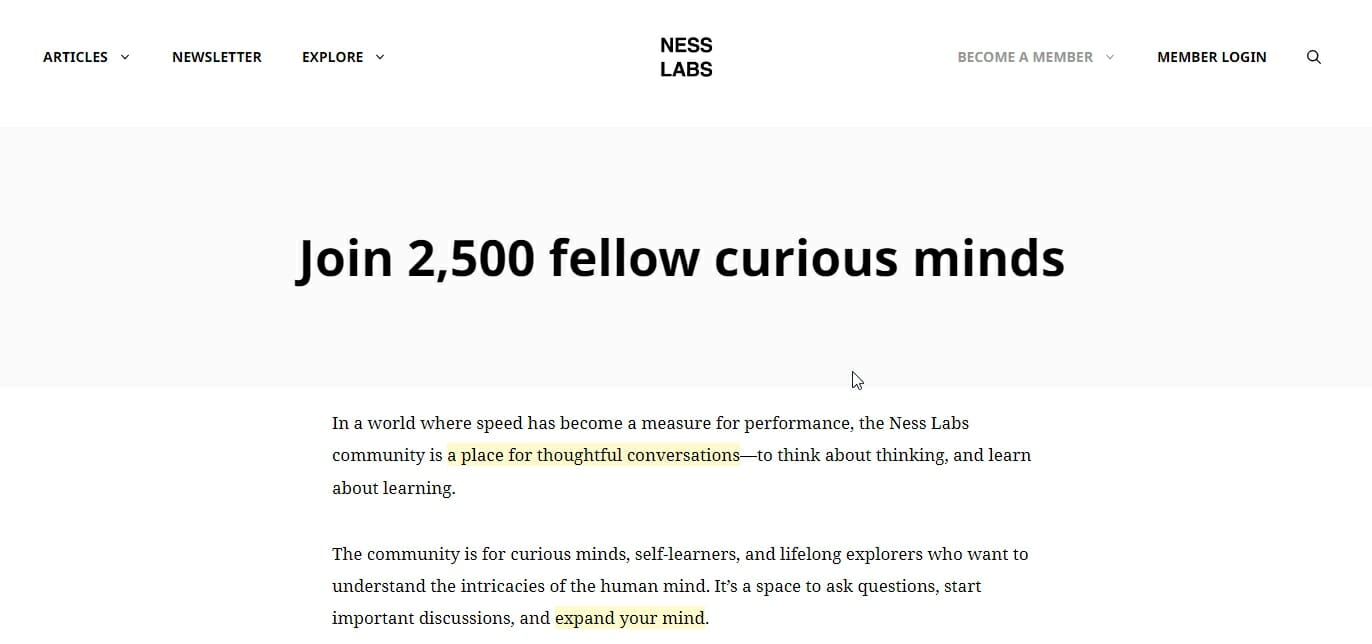
Anne-Laure Le Cunff’s Ness Labs is a blog about productivity. Most of her articles are free, but if you want access to premium content, subscribe to her membership site.
Her site’s paid membership allows subscribers to access members-only content and live events and join the private Ness Labs community. Her membership site has over 2,500 subscribers.
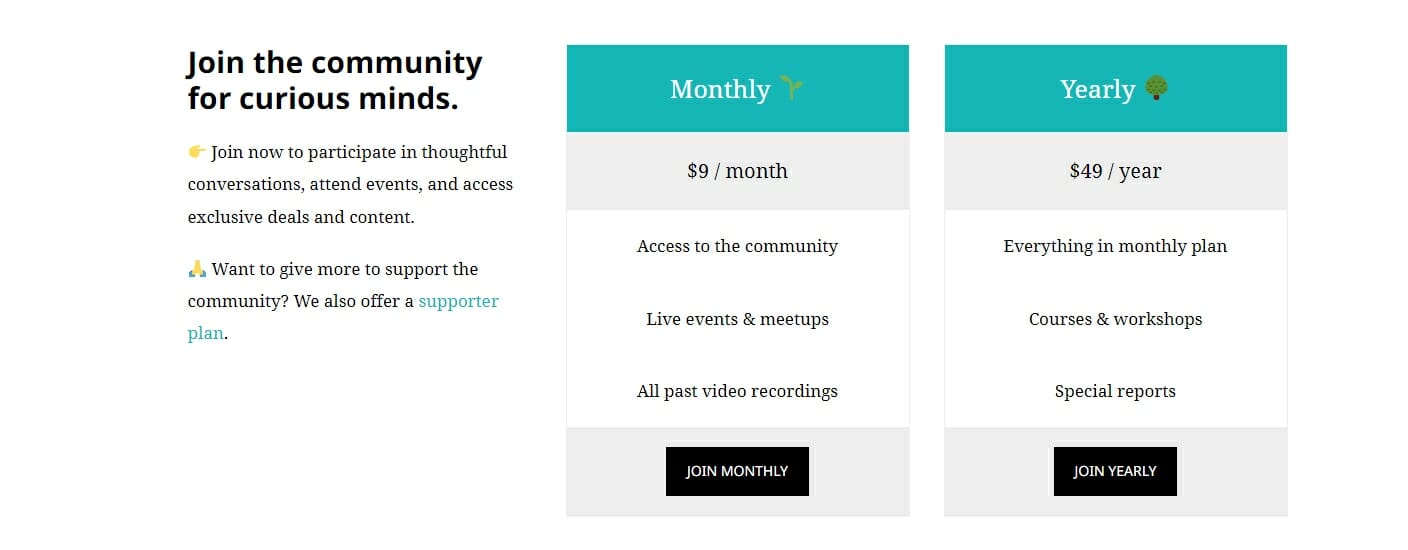
The pricing for the membership starts at $9 per month:
You can build a site similar to Ness Labs yourself by using ProfilePress. Ness Labs also has a community on its site. You can use BuddyPress and our BuddyPress sync addon if youaddon to add a community to your membership site.
Restricting WordPress Content To Specific Users & Roles
The easiest way to restrict WordPress content by user role or to specific users is to use ProfilePress. It’s a powerful plugin that helps you restrict content and create a membership website.
ProfilePress offers you three different ways to restrict your content:
Method 1: How To Restrict Individual WordPress Pages
If you want to restrict only a few WordPress pages on your website, you can easily do so using ProfilePress. If you’re going to restrict most pages on your website and only make some pages public, read the third method below.
After installing the ProfilePress plugin, navigate to the Content Protection section of ProfilePress settings. Then click the ‘Add a Protection Rule’ button:

This will take you to the New Protection Rule form:
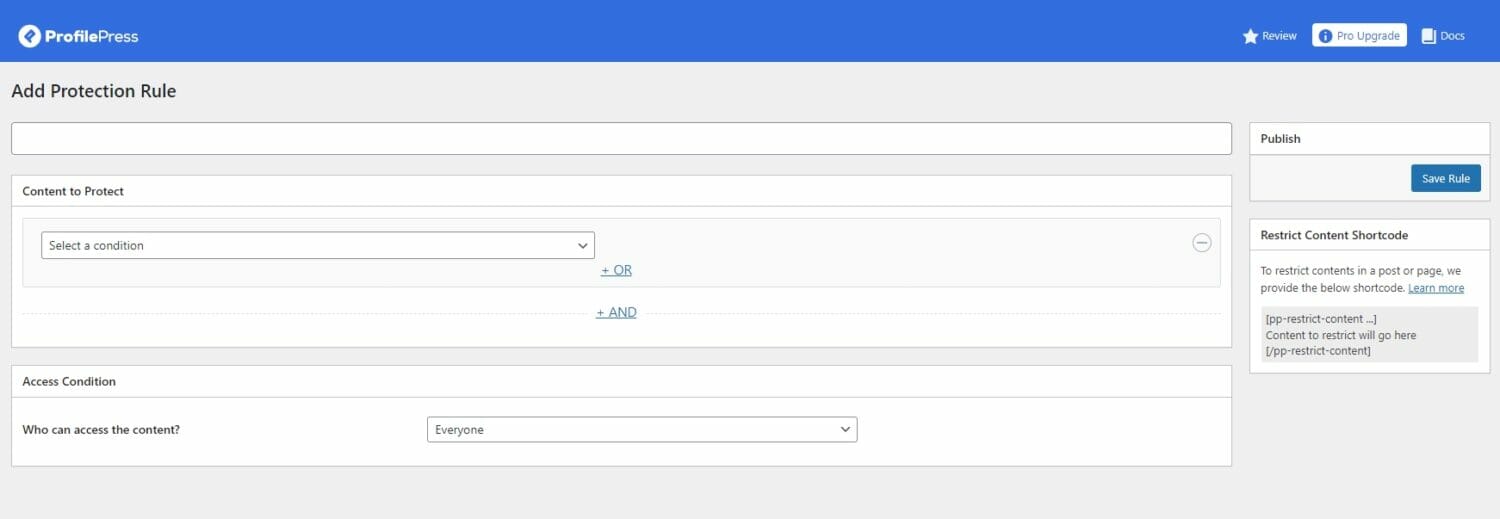
First, enter a name for this rule at the top.
Now, select the content that you want to protect by selecting a condition:
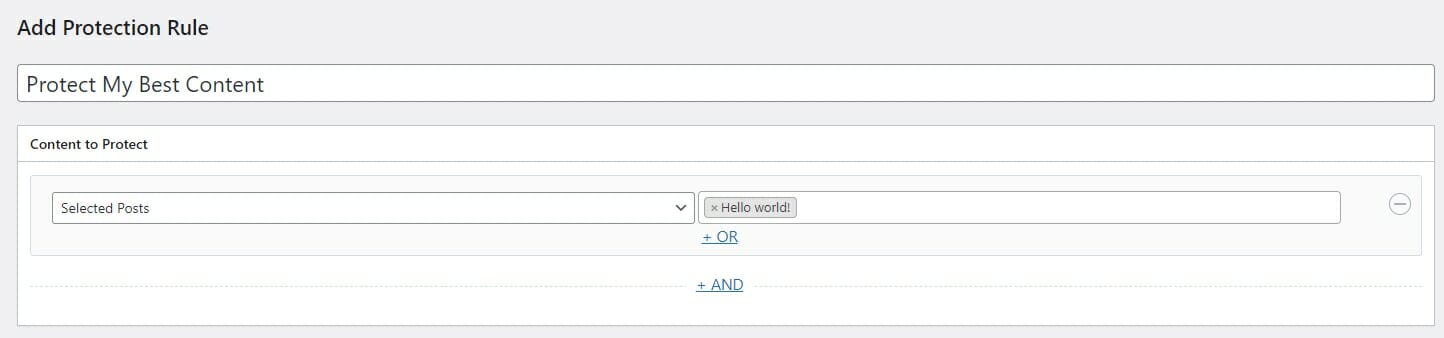
I chose ‘Selected Posts’ as the condition and the Hello World post as the target. This condition allows you to select individual posts to which you want to restrict user access. You can restrict access to as many posts as you wish. Search and select the posts you want to restrict from the input field adjacent to the selected condition.
You can add as many conditions as you want. To add more conditions, you can click the ‘+AND’ button.
Adding individual posts one by one can be tedious. You will have to come back and edit this rule whenever you create a new post to which you want to restrict access.
An easier way to restrict WordPress content is to select a Category or Tag. This way, whenever you add a new post to your blog, you must add this tag or category to restrict access to your latest post.
To do this, select Posts with Categories as the condition, and enter the Categories you want to restrict access to:
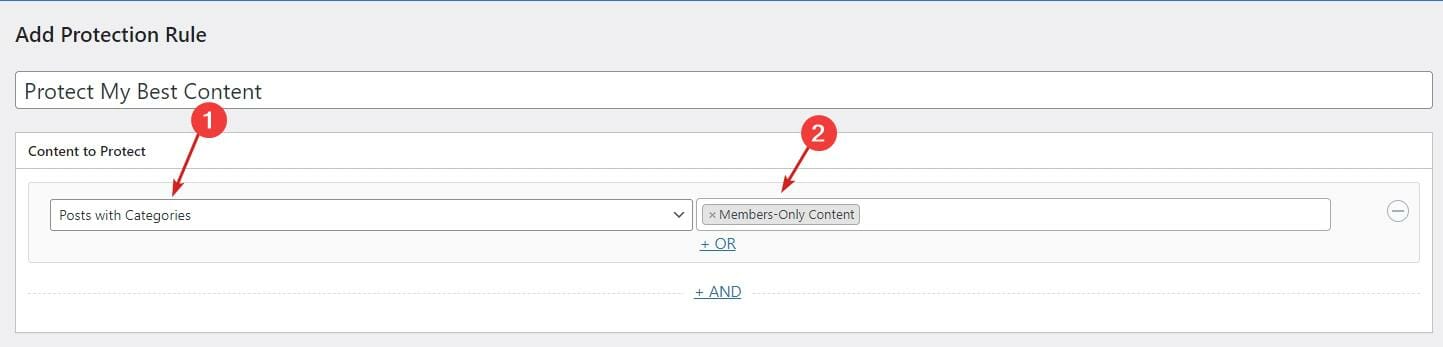
I created a new category called ‘Members-Only Content’ and selected it. Now, all posts that fall under this category will be restricted. All I have to do to restrict new content is add this category to it.
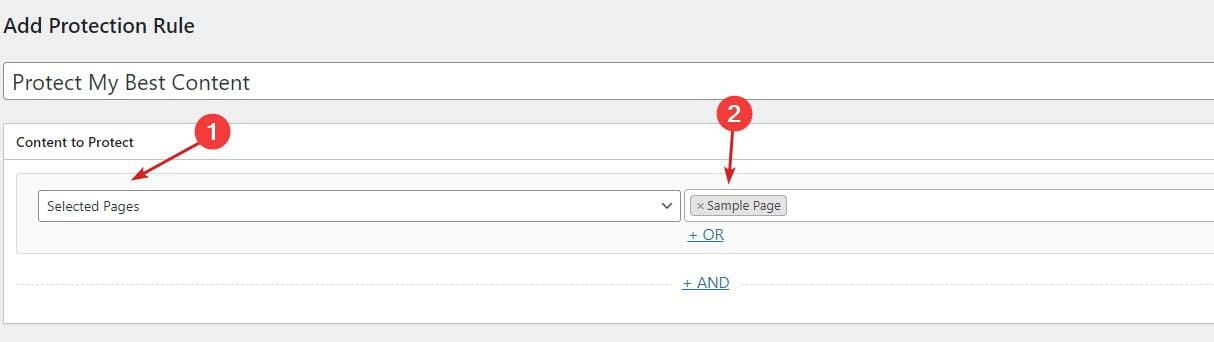
If you want to restrict pages on your website, you can choose the ‘Selected Pages’ as the condition and then choose the pages you want to restrict:
Finally, select who you want to be able to view your selected posts and pages from the bottom ‘Access Condition’ section:

Select ‘Logged in users’ from the drop-down menu:
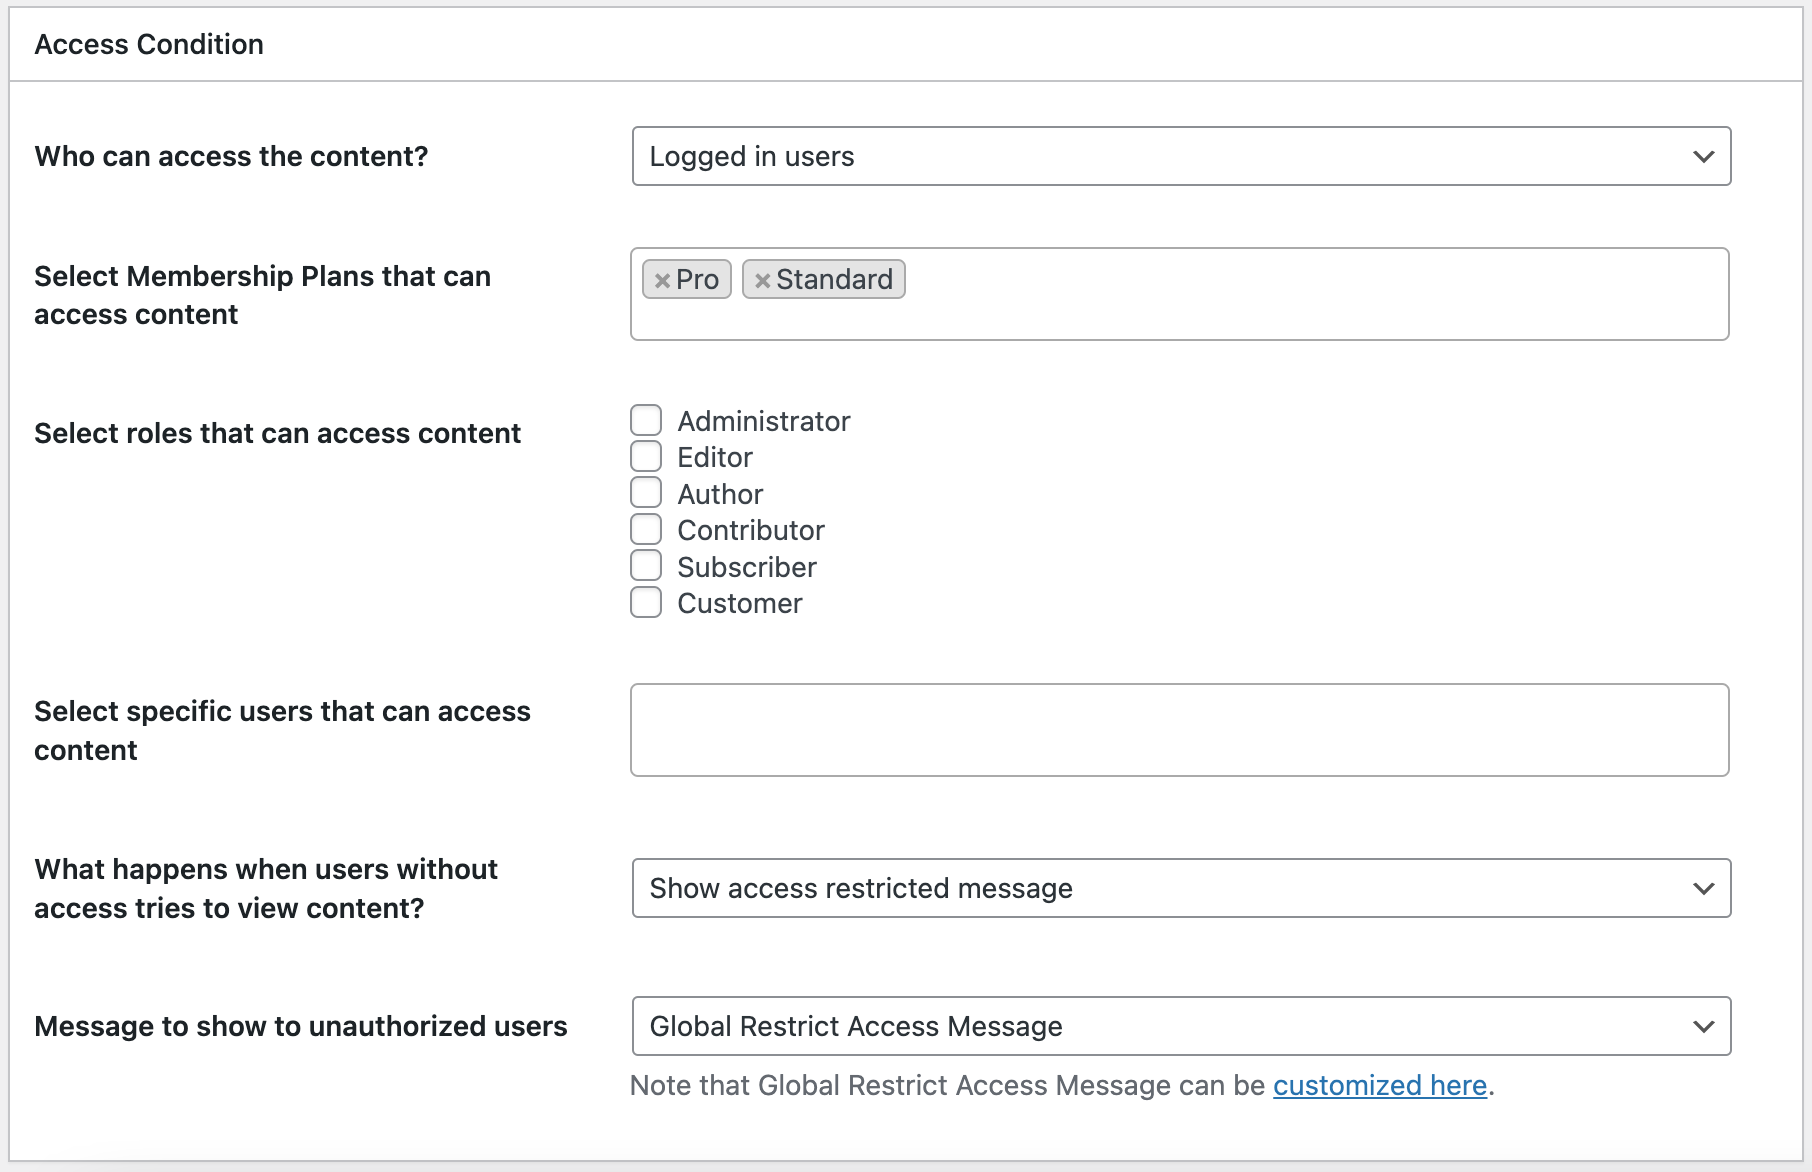
Now, select the user roles you want these WordPress pages to be available for, such as Administrator and Subscriber. These are the user roles that will be able to see the content. Anyone who doesn’t have any of the selected user roles will not be able to view this content.
If you run a paid membership website, you can select the membership plans to restrict the content to. Then, only users or customers with an active subscription to the chosen plan can access the content.
You can also select specific users that you want to display this content by typing their names and selecting them:

Finally, you can choose to redirect the user or display a message when they aren’t allowed to view the restricted pages that fall under this rule:

For now, leave it as is. Your users will see an error message when they try to visit restricted content if they aren’t allowed to do so. You can edit this global message later from the settings or use a custom one.
Once you play around with the settings, click the Save Rule button on the top right to publish this rule.
Method 2: Restricting Parts of Contents & Pages
If you want to restrict only part of your content, you can use the content restriction shortcode pp-restrict-content.
Anything you put between the opening and closing shortcode tags will be restricted. This is useful if you only want to limit the bonus or essential parts of a post or a page. You can also use this shortcode to hide crucial confidential information from public users.
Put the content you want to restrict between the opening tag [pp-restrict-content] and the closing tag [/pp-restrict-content].
To specify the roles you want this content to be visible to, use the ‘roles’ attribute like this:
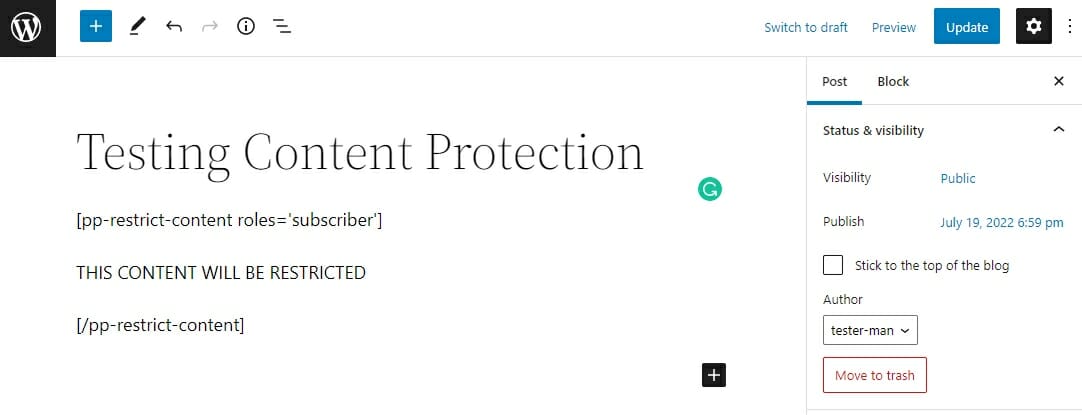
[pp-restrict-content roles='subscriber, editor'] This Content Will Be Restricted [/pp-restrict-content]You can enter as many roles as you want by separating them with a comma.
Here’s an example of what this will look like in the WordPress editor:
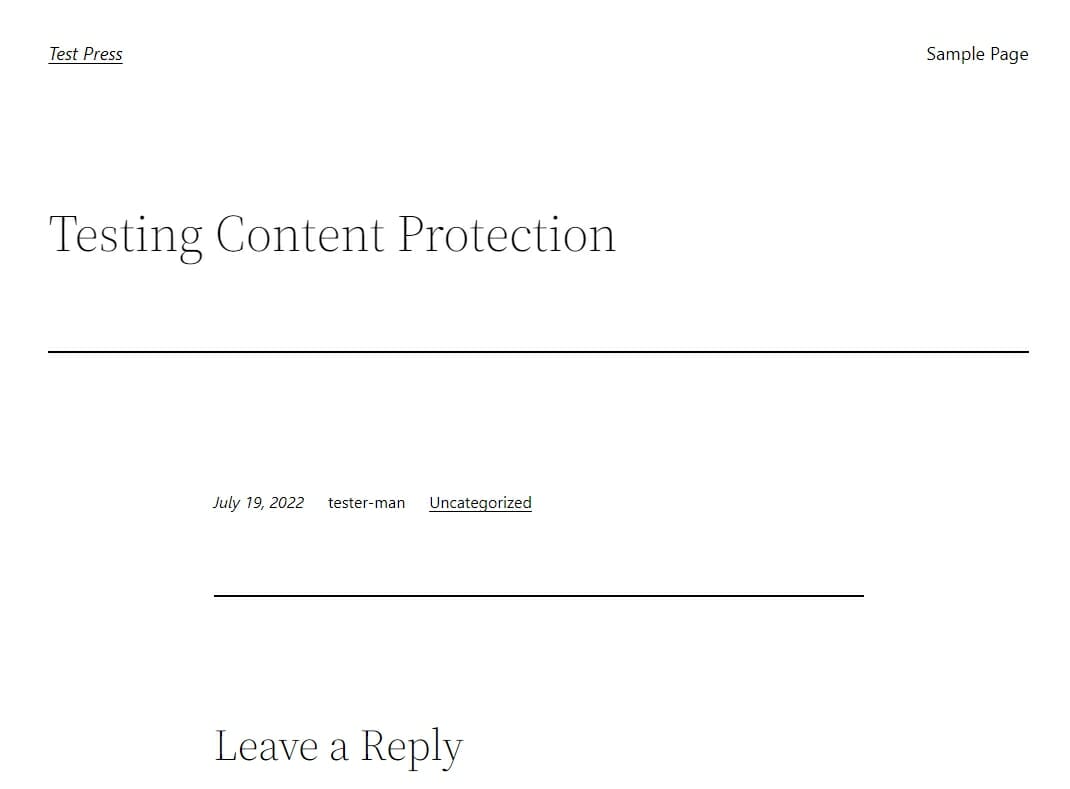
If I visit this page, I won’t see the content because the account I’m logged in to doesn’t have the ‘Subscriber’ role:
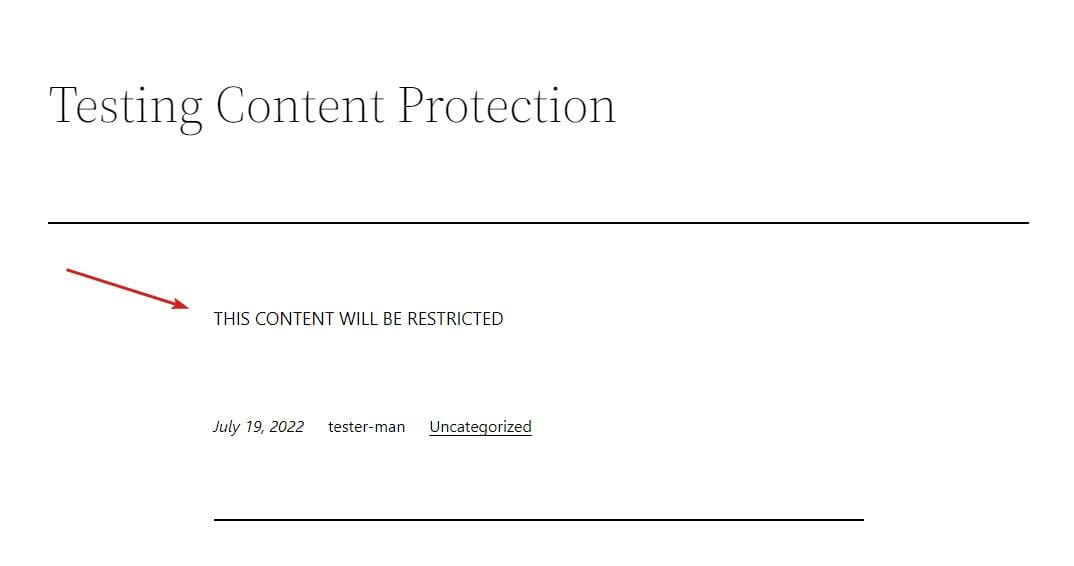
But if I log in with a subscriber account, I will be able to see the content:
So, if you want to hide some content from anyone who isn’t logged in, you can use the pp-logged-users shortcode regardless of their role. Just wrap this shortcode around the content you want to restrict.
To restrict WordPress content to logged-in and registered users, use the shortcode [pp-logged-users] like so:
[pp-logged-users]
Content to restrict to registered and logged in users
[/pp-logged-users]
To restrict content to non-logged-in users, use the shortcode [pp-non-logged-users] like so.
[pp-non-logged-users]
Content to restrict to non-logged in users
[/pp-non-logged-users]
Method 3: Restricting Your Entire WordPress Website To Create a Membership Site
If you are creating a membership website, you might want to restrict access to all its pages. This way, any important members-only page will never be leaked.
And don’t worry; ProfilePress allows you to exclude individual pages. So you can easily exclude any pages you want to make public from the settings.
To restrict all your content in WordPress, navigate to the ProfilePress settings page and select the Access tab:
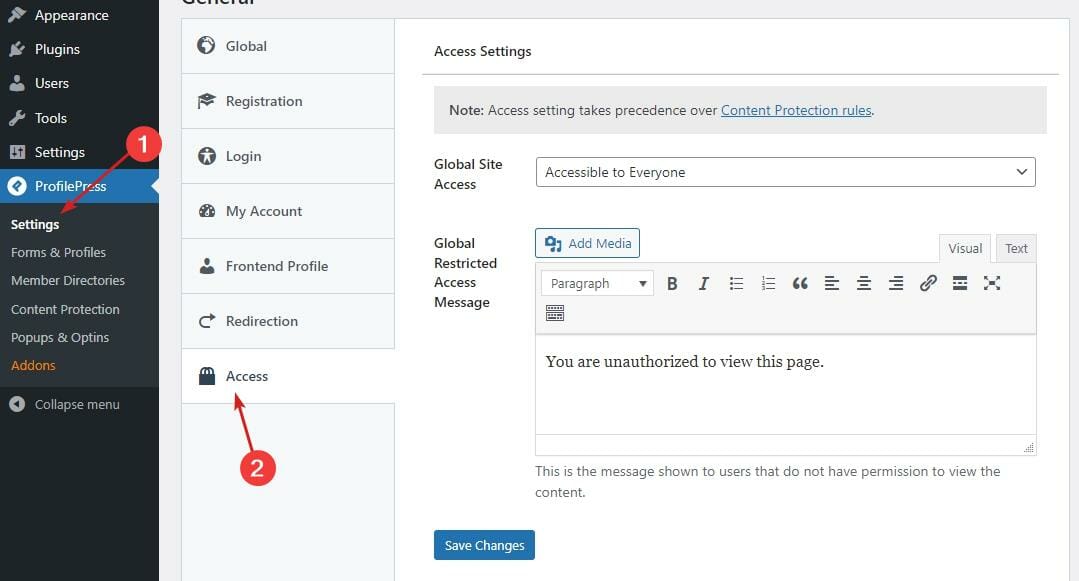
By default, your website’s content is visible to everyone. The only content that is restricted is content you’ve added Content Protection rules for (see Method 1).
Select Accessible to Logged-in Users as the Global Site Access option:
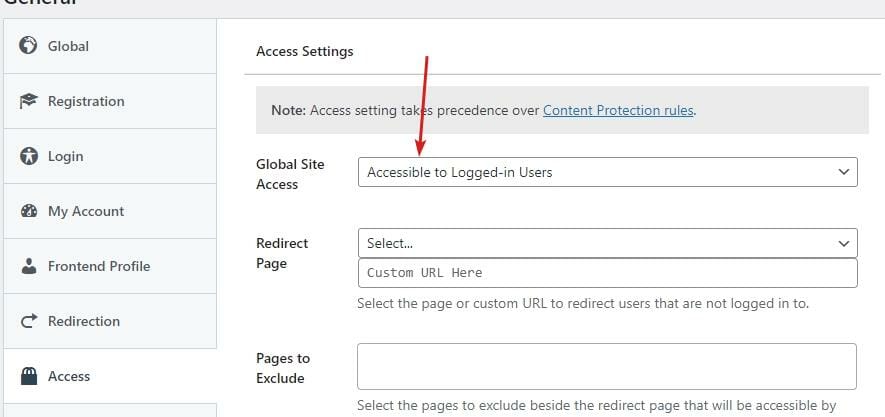
Now, all of your website’s posts and pages will only be visible to users who are logged in.
You can choose to redirect non-logged-in users to any page on your website. Click the Select drop-down to select from a list of all your website’s pages. Or you can enter the URL of any page on your website:
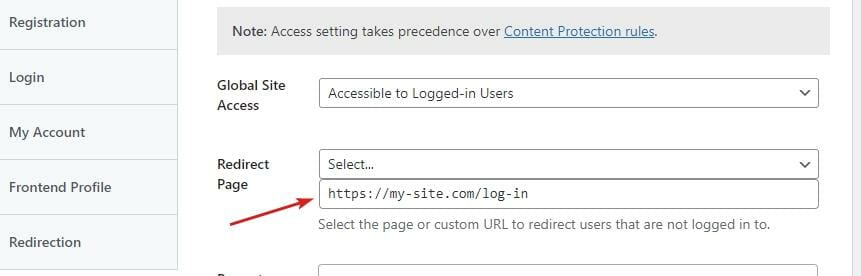
For example, I entered a custom URL to the login page on my website.
Under the redirect options, you will see a Pages to Exclude setting. This input box will allow you to select pages that you want visible to logged-out users. Search the names of pages you want to exclude and select them:
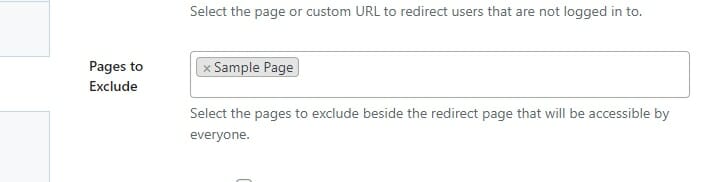
You might want to exclude public pages such as your Privacy Policy page, your About page, your Contact page, etc.
The following setting allows you to make the homepage of your website accessible to the general public:

You will want to make your homepage accessible to all if you wish your website to be discoverable by new users.
Finally, you can customize the Global Restricted Access message:
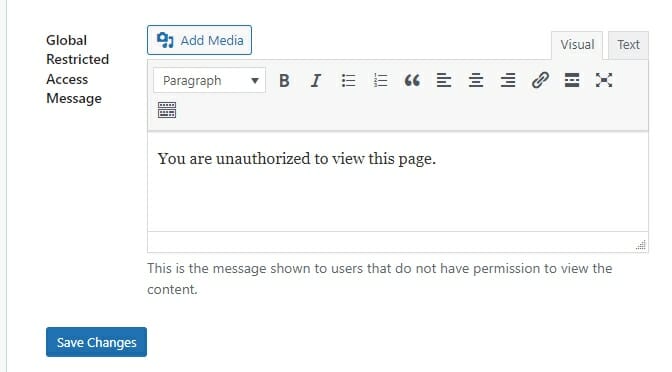
This is the message that will be displayed to your visitors by default when they try to visit a restricted page. You can override this global message in your Content Restriction Rules.
Once you are done customizing the message, click the Save Changes button.
This will restrict all content on your website, except the excluded pages, to logged-in users. Keep in mind, this setting doesn’t check the user’s role. Anyone logged in can view your content regardless of their role.
If you want finer control over who can and cannot view your content, see Method 1 above. You can also read the documentation on adding content protection rules.
Conclusion
Restricting your content in WordPress is the easiest way to monetize your blog. It takes no time and requires no maintenance. You can start restricting your content in less than 5 minutes. Just follow this tutorial.
If you want to create a paid WordPress membership website, ProfilePress is the only plugin you need. It has all the features you need to launch and run a successful membership site. If you want more features, you can always install available add-ons to add new functionality.