Setting Up Campaign Monitor with WordPress Integration
The Campaign Monitor addon lets you add your WordPress membership site users to a Campaign Monitor email list when they register on your site or purchase a product or membership plan via the checkout form.
It can automatically sync profile changes and membership subscriptions with Campaign Monitor and allow users to manage their email preferences from their account page of your WordPress website. That is, they can unsubscribe or subscribe to some of your emails and not others.
Activating the Addon
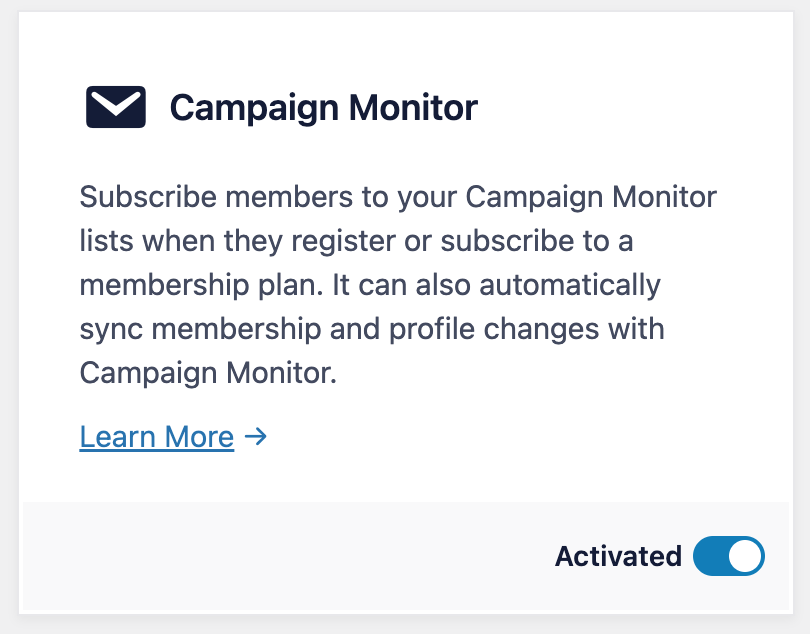
To activate the Campaign Monitor addon, go to ProfilePress>>Addons>> Scroll to Campaign Monitor and switch it ON.
Setting up Campaign Monitor
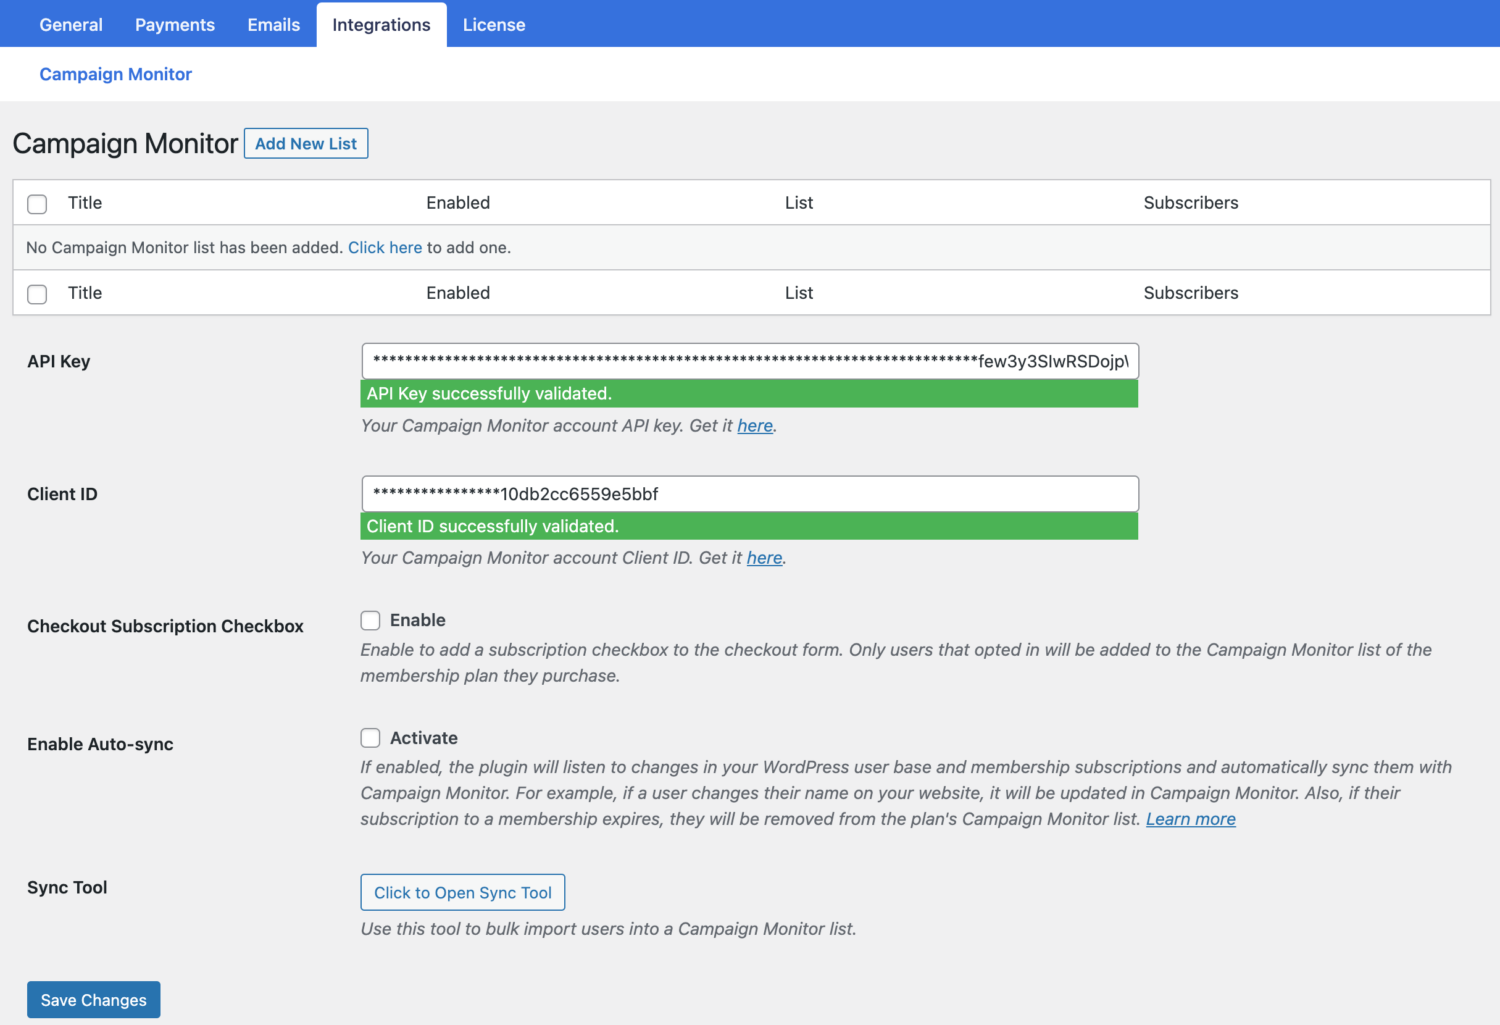
Go to ProfilePress >> Settings >> Integrations >> Campaign Monitor.
Adding your Campaign Monitor API Key
If you already have your Campaign Monitor account API key, you can paste it in the field or click “Get it Here” below the field to navigate the API page of Campaign Monitor (you will be required to log in to your Campaign Monitor account).
Newsletter Subscription Checkbox
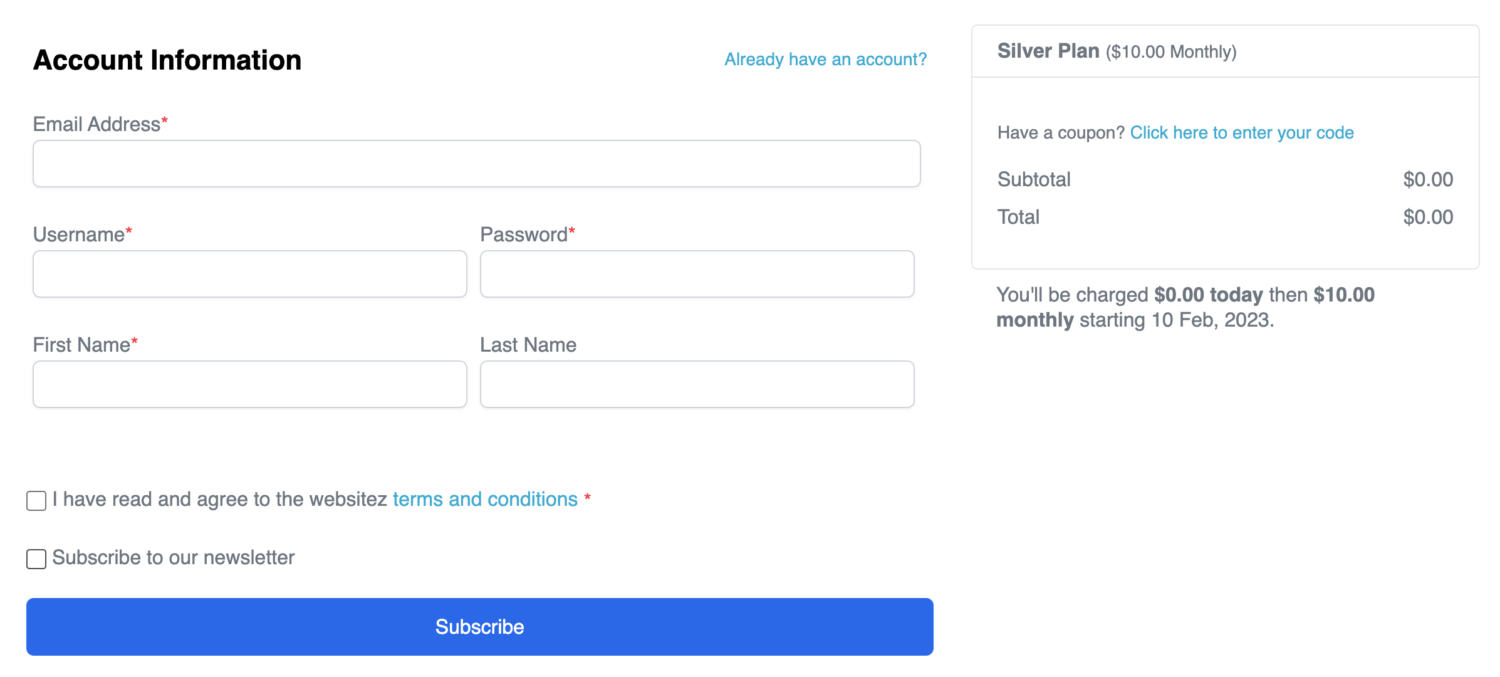
If you want users to opt-in or tick a subscribe checkbox before they are added to the Campaign Monitor list of the membership plan they purchase during checkout, enable the “Checkout Subscription Checkbox” setting.
Enable Auto Sync
Enabling auto-sync allows the plugin to listen to changes in your WordPress user base and membership subscriptions and automatically sync them with Campaign Monitor.
For example, if your members or users update their profile information or change their account email address, their profile in Campaign Monitor will be updated to reflect the changes.
Similarly, if you have every membership plan on your site set up to sync to a specific Campaign Monitor list when members subscribe to a plan, they will be added to the Campaign Monitor list you have configured for that plan. And if their subscription expires, they will be removed.
Sync Tool
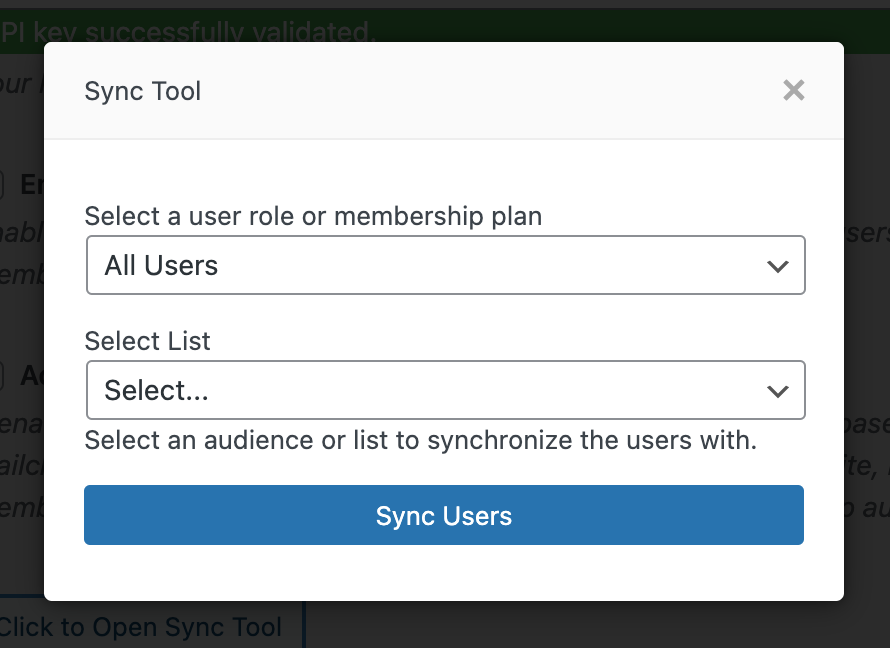
This tool allows you to import users in bulk to your Campaign Monitor list. Learn more about the sync tool.
Click on “Save Settings” to save and activate your API Key.
Note: This will add an “API key successfully validated” message to the API field
Adding Email Lists
ProfilePress allows you to create multiple audiences for use with Campaign Monitor. To Create your first list, click “Add New List” at the top of the Campaign Monitor setup page to reveal the page for adding new lists.
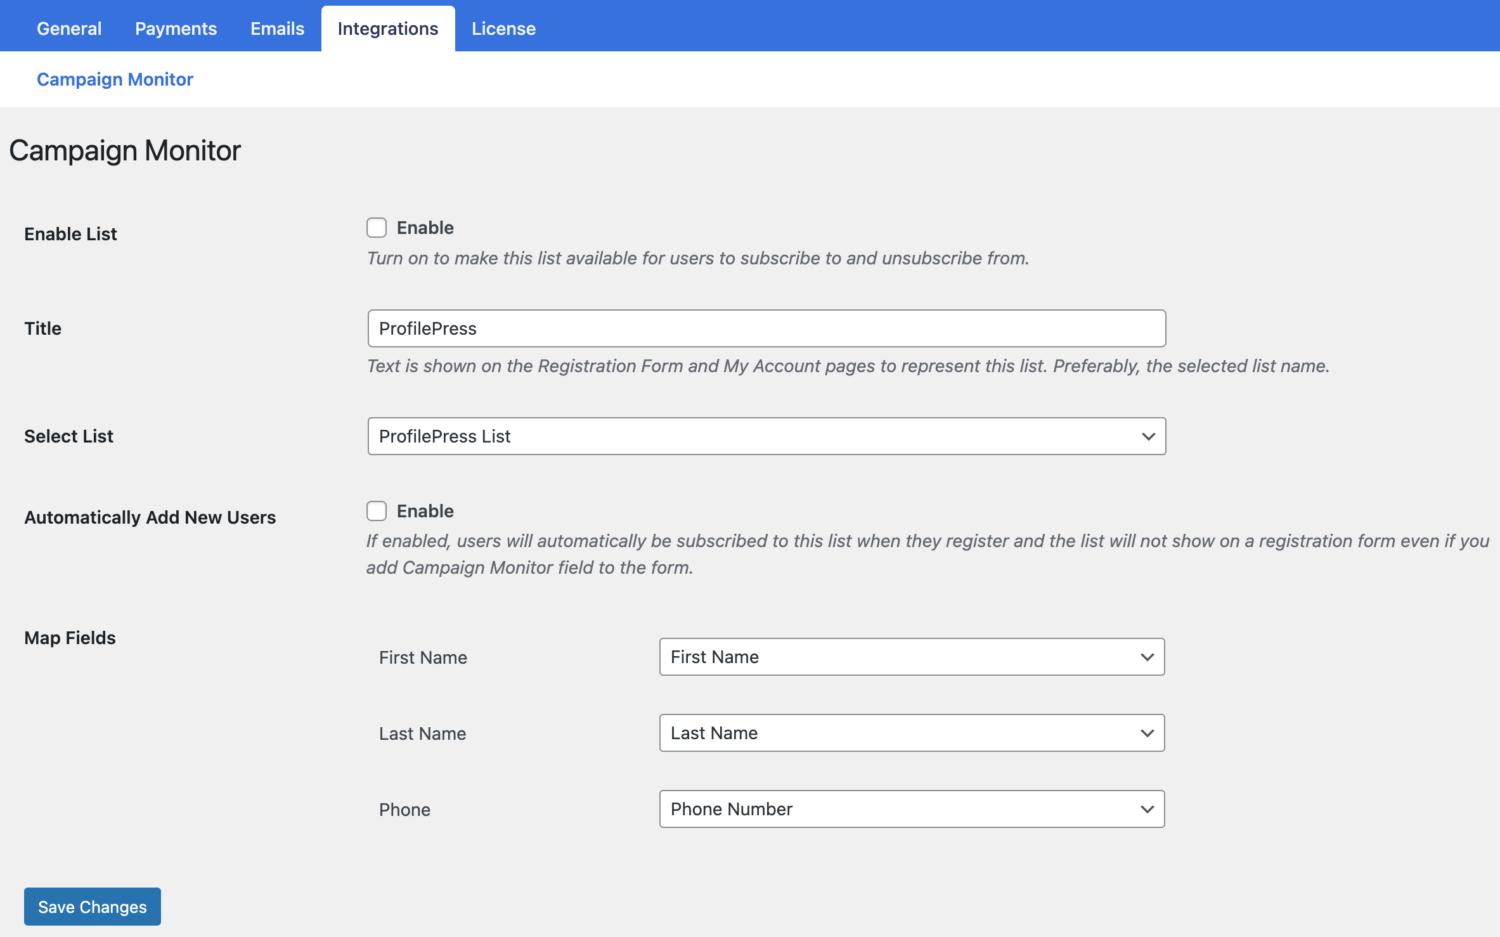
Enable List: Activating this will make this list available in your forms and the user notification settings to subscribe to and unsubscribe from.
Title: This is the title text shown on the Registration Form and My Account pages to represent this list—preferably the selected list name.
Select List: This allows you to select the Campaign Monitor list you want the new users added to.
Automatically Add New Users: If enabled, users will automatically be subscribed to this list when they register. The list will not show on a registration form even if you add the Campaign Monitor field.
Mapping Custom Fields: If you have custom fields in your registration form, this section allows you to map them to their respective attributes in Campaign Monitor.
After filling out the form, click the submit button to add the Campaign Monitor email list to ProfilePress.
Add as many Campaign Monitor email lists as you will need in ProfilePress.
Wrapping Up
When you are done, see the links below to learn how to integrate the created lists with ProfilePress registration forms and membership checkout forms.
Add Users to Campaign Monitor Based on Subscribed Membership Plans
Subscribe Registering WordPress Users to Campaign Monitor List