How To Create a Paid Newsletter in WordPress (Substack Alternative)
Are you looking to monetize your newsletter and offer exclusive content to your dedicated subscribers? One way to do this is by creating a paid newsletter subscription.
With the right tools and strategy, you can easily set up a system where your readers can sign up and pay for access to premium content.
In this article, we’ll show you how to use sell paid newsletters on WordPress (instead of using Substack) using our WordPress membership plugin, connect it to a newsletter service such as Mailchimp or Campaign Monitor, automatically sync subscribers’ data, and send exclusive content to the email list.
Paid newsletters are an incredibly popular way to make money online from your email subscribers, but using a platform like Substack can get expensive.
Let’s get started.
What’s the Difference Between Free and Paid Newsletters?
Paid email newsletters like Substack are becoming a very trendy and profitable way to make money online. They’re similar to standard email newsletters but with exclusive premium content that’s sent to paying subscribers only.
The primary difference between free and paid newsletters is that free newsletters typically provide basic information and are usually supported by advertisements. In contrast, paid newsletters offer more comprehensive coverage and analysis and are typically subscription-based.
Free newsletters are available to anyone who wants to sign up without cost. They cover various topics, from news and current events to personal stories and advice.
However, their information is usually limited and is not in-depth or analytical. In addition, free newsletters often include advertisements, which can be distracting and take focus away from the content.
Paid newsletters, on the other hand, are usually subscription-based and offer more comprehensive coverage and analysis. In addition, they provide detailed information and in-depth analysis of a specific topic.
Paid newsletters are often written by professional writers and editors dedicated to providing subscribers with high-quality content. They are also ad-free, allowing subscribers to focus on the content without distractions.
Now that we know the difference let’s look at how to create a paid newsletter in WordPress.
How To Create a Paid Newsletter Subscription in WordPress
ProfilePress is a powerful WordPress membership plugin that allows you to create and manage membership plans, user profiles, and custom registration forms.
The plugin includes several extra features and integrations, such as connecting to popular newsletter services like Mailchimp and Campaign Monitor and payment gateways like Stripe, PayPal, Razorpay, Paddle, Paystack, Direct Bank Transfer, Mollie.
Let’s see how to install it on your WordPress website and use it to create a paid newsletter subscription.
1. Install ProfilePress and Connect It to a Newsletter Service
Install and Set Up ProfilePress Plugin
The first step is to purchase and install ProfilePress. To do so, head to the ProfilePress website and purchase the plugin.
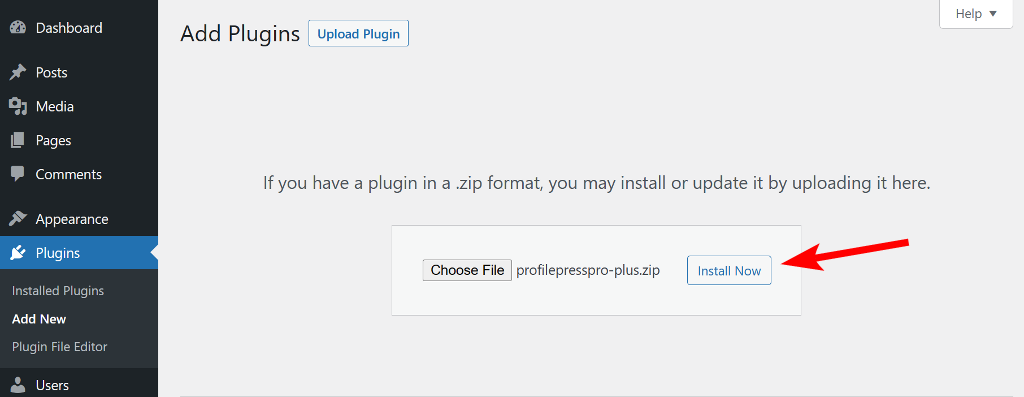
After purchasing the plugin, download the zip file to your computer. Then, log in to your WordPress dashboard and navigate to the Plugins section.
From there, click the Add New button at the top and then Upload Plugin. Next, choose the plugin file you downloaded and click on Install Now. Finally, activate the plugin once the installation is complete.
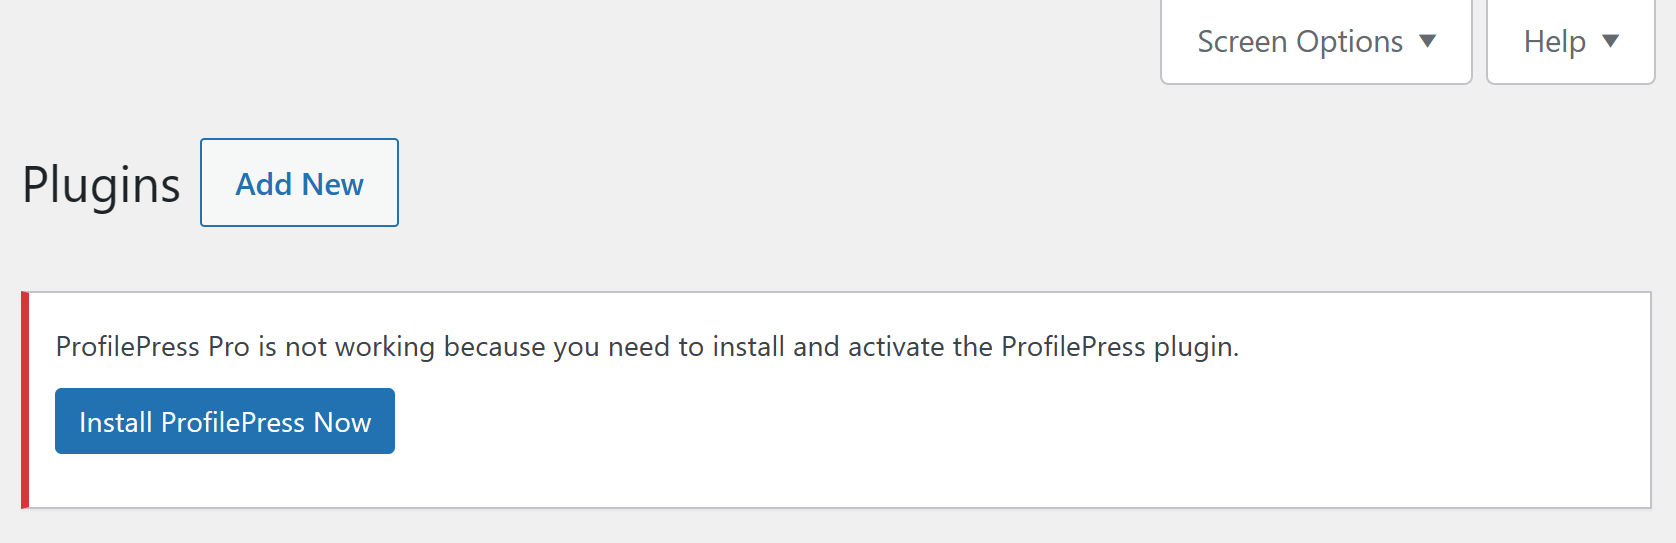
You’ll see a notice informing you that the core version of ProfilePress is also required for the plugin to work. Click the Install ProfilePress Now button to install and activate the core version of the plugin.
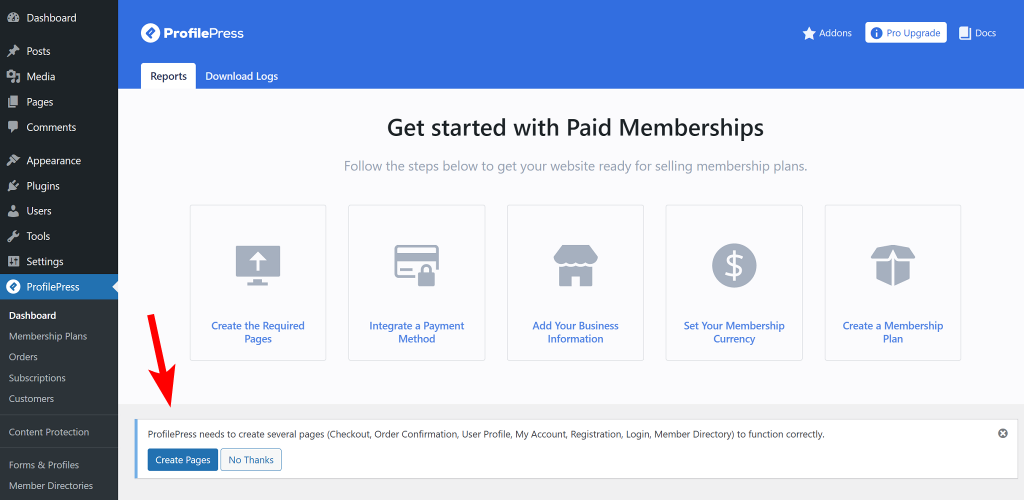
To function correctly, ProfilePress needs to create pages such as Checkout, Order Confirmation, User Profile, My Account, Registration, and Login.
To create these pages automatically, go to ProfilePress > Dashboard and click the Create Pages button at the top.
After these pages are created, you’ll be taken to the plugin’s settings page, where you must select the newly created page next to each name.

Once done, click the Save Changes button at the bottom.
Connect ProfilePress to an Email Newsletter Service
After setting up the plugin, the next step is to connect to an email service like Mailchimp or Campaign Monitor. For this article, we’ll demonstrate the steps for Mailchimp, but you can check out our documentation articles for Campaign Monitor.
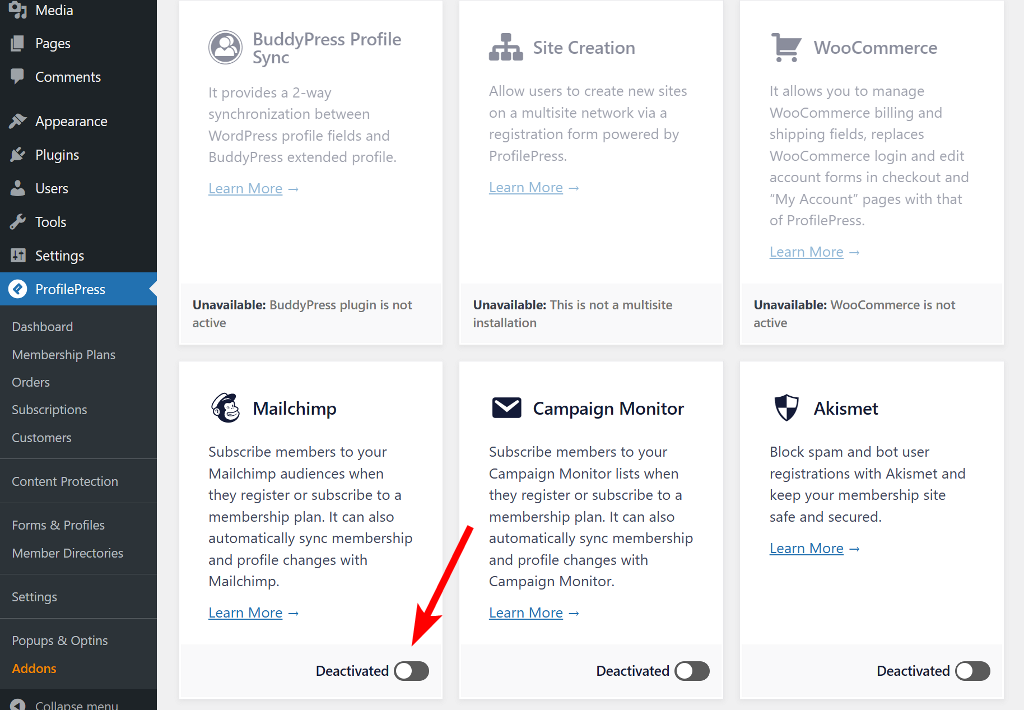
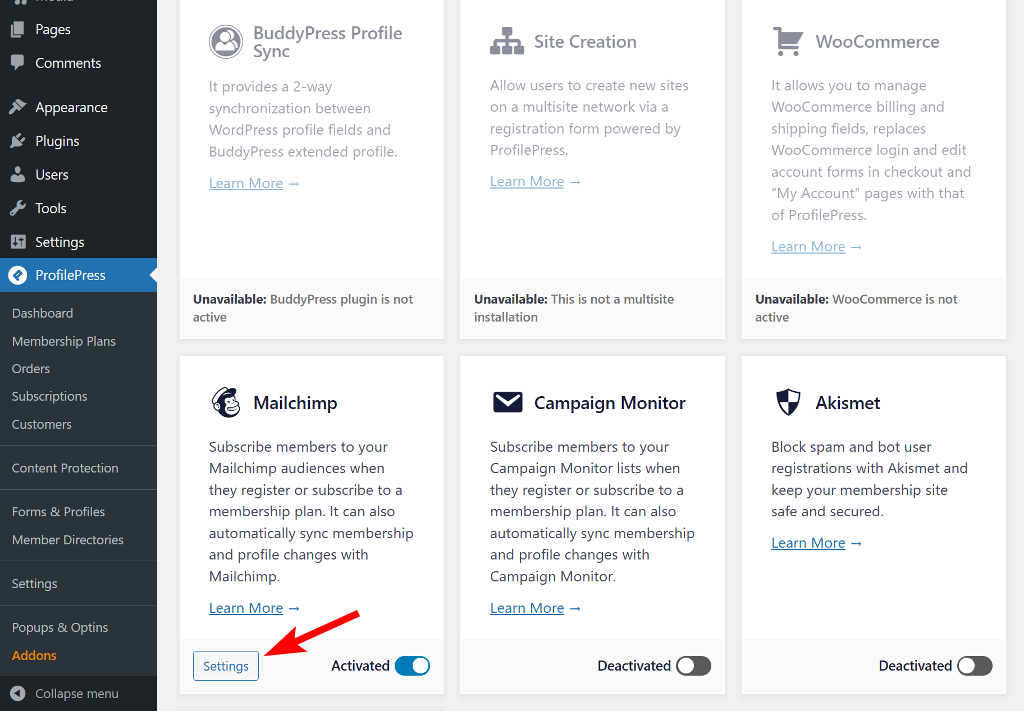
To connect ProfilePress to Mailchimp, navigate to ProfilePress > Addons and look for Mailchimp in the list. Once you spot it, shift the toggle to activate the addon.
Once activated, you’ll see a new Settings button next to the toggle. Click on it, and you’ll be taken to the Integrations tab on the Settings page.
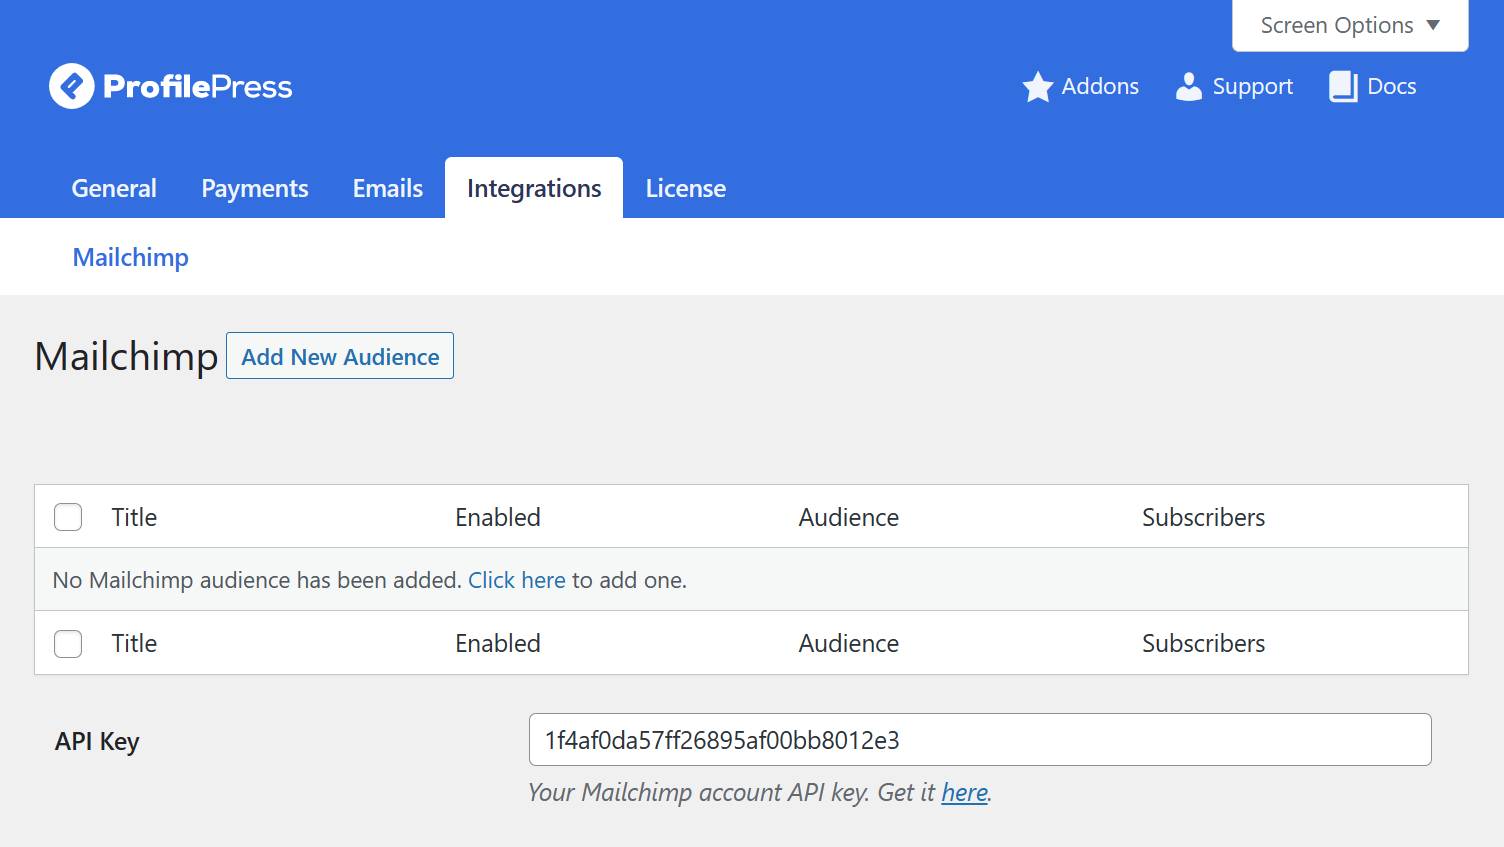
You’ll need to connect the Mailchimp API to automatically add users who purchase your paid newsletter subscription to the Mailchimp mailing list.
If you already have your Mailchimp account API key, you can paste it into the box. If you don’t have one, click on the Get it Here link below the box to navigate the Mailchimp API page (you will be required to log in to your Mailchimp account).
Next, leave the Checkout Subscription Checkbox unticked, as we want to add all paying members to the email list automatically.
Scroll down and check the box for Enable Auto-sync to allow the plugin to listen to changes in your WordPress user base and membership subscriptions and automatically sync them with Mailchimp.
For example, if your members or users update their profile information or change their account email address, their profile in Mailchimp will be updated to reflect the changes.
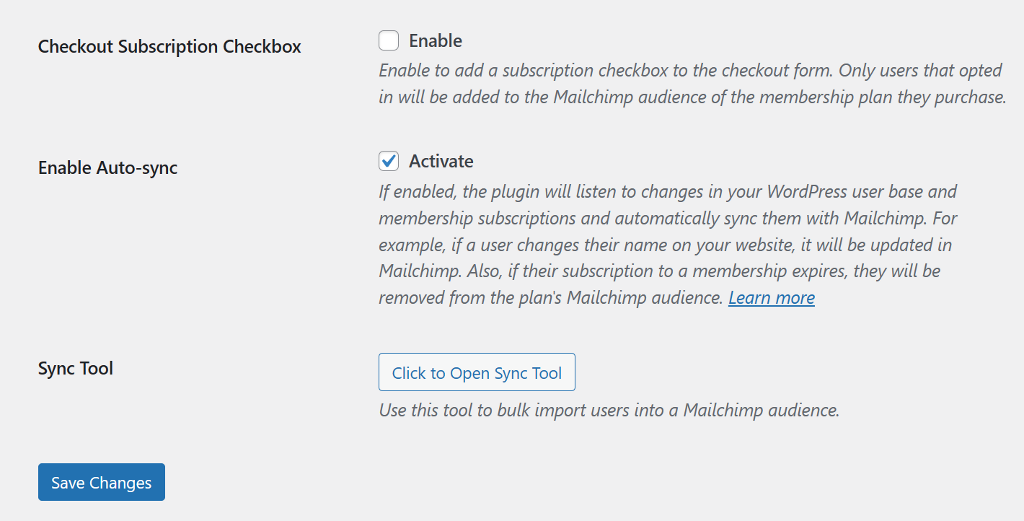
Once done, click the Save Changes button to save the API key and update changes.
Let’s now create an audience list to which the paid newsletter members will be added.
Create Paid Newsletter Audience
To add new members to the correct list, you’ll need to create a custom tag in your Mailchimp account. Follow this guide to create the tag inside Mailchimp to have it appear inside ProfilePress.
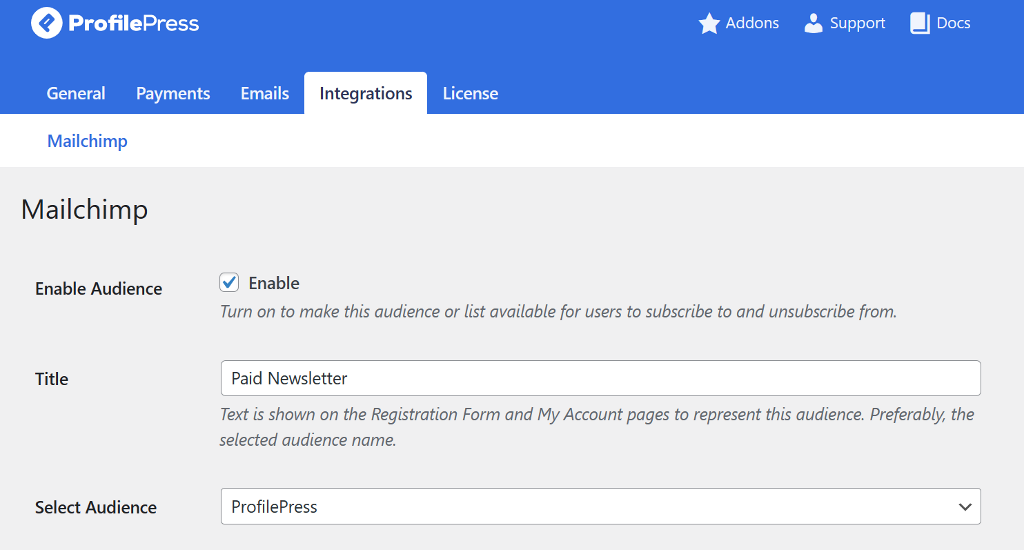
Once the tag is ready, switch to your WordPress dashboard and navigate to ProfilePress > Settings > integrations. Then, on the Mailchimp page, click the Add New Audience button at the top and check the box for Enable Audience.
Next, enter a name and select the paid newsletter audience from the dropdown.
After that, map the fields and scroll down to select the tag we created above. Once everything is done, click Save Changes at the bottom to publish it.
Let’s now look at how to create a paid newsletter membership plan and connect it to Mailchimp.
2. Create a Paid Newsletter Subscription Plan
Creating a paid newsletter subscription plan using ProfilePress is easy. ProfilePress allows you to create multiple membership plans with different prices and access, but we’ll focus on creating a single plan.
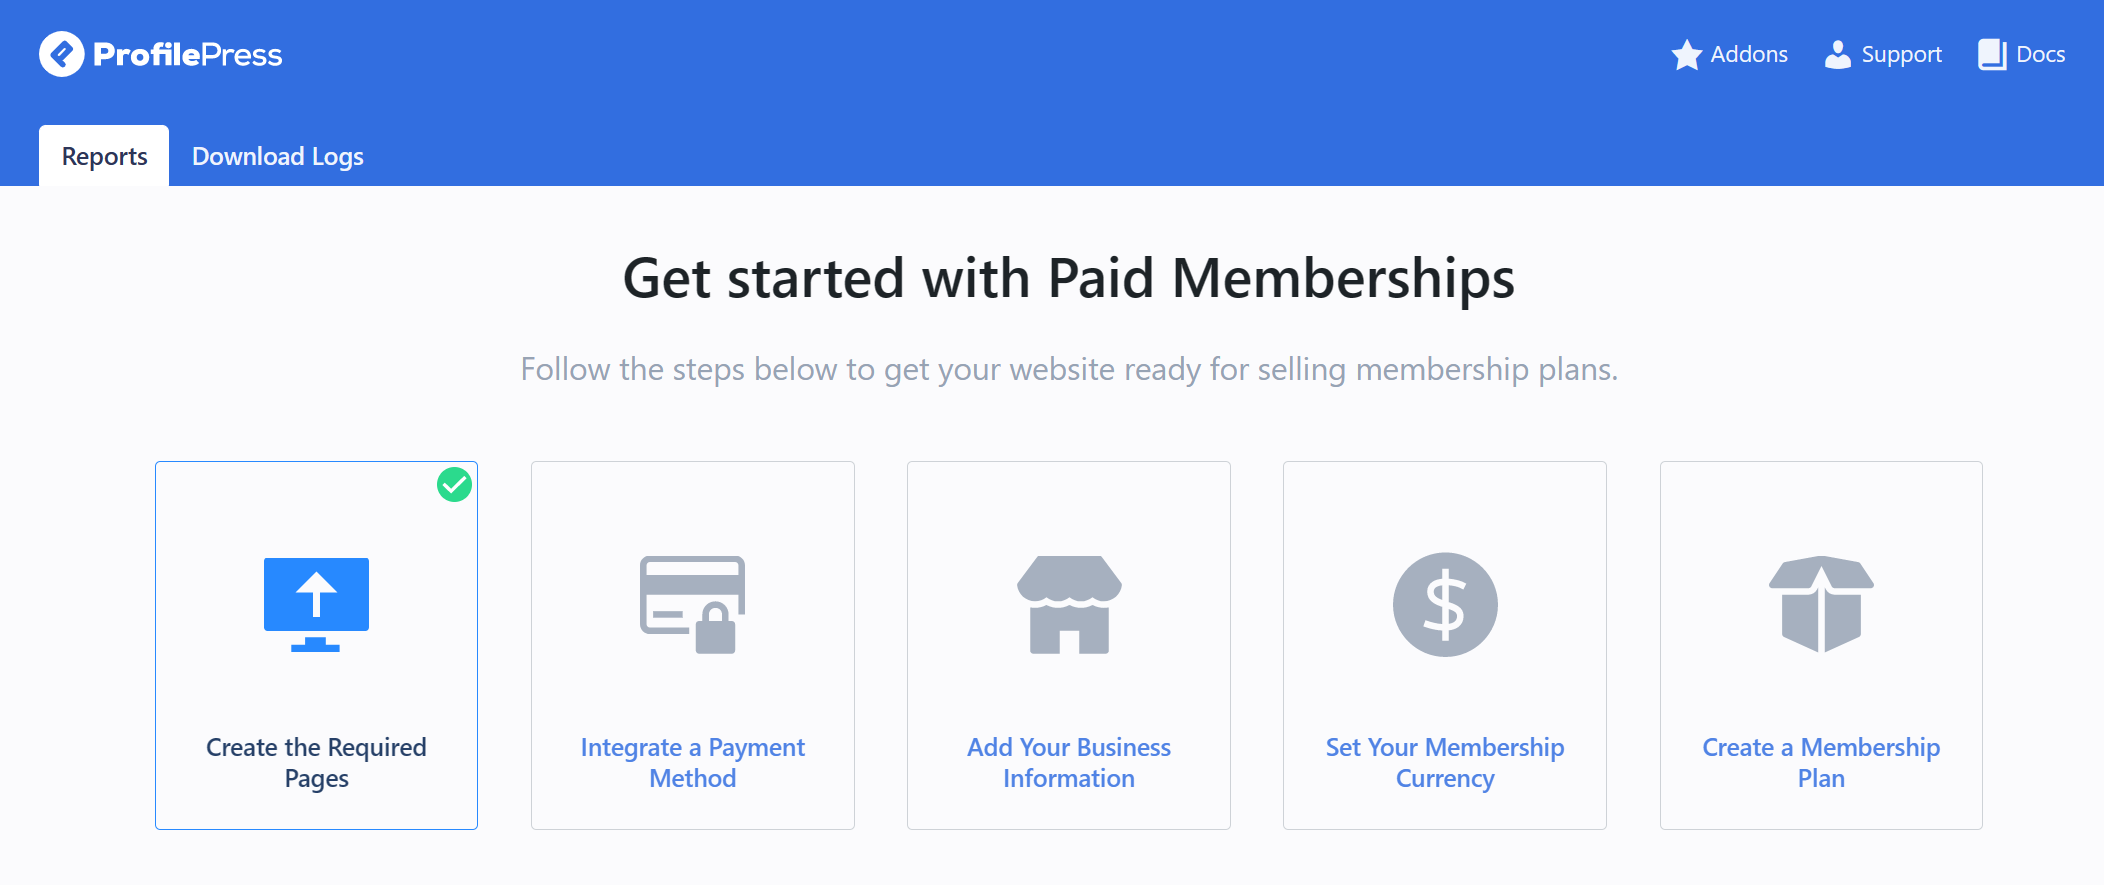
ProfilePress provides a 5-step Get Started guide in the plugin dashboard to help you set up paid newsletter membership plans on your website. To access it, navigate to ProfilePress > Dashboard, and you’ll see it at the top. We have already completed the first step, so let’s proceed to the next one.
Integrate a Payment Method
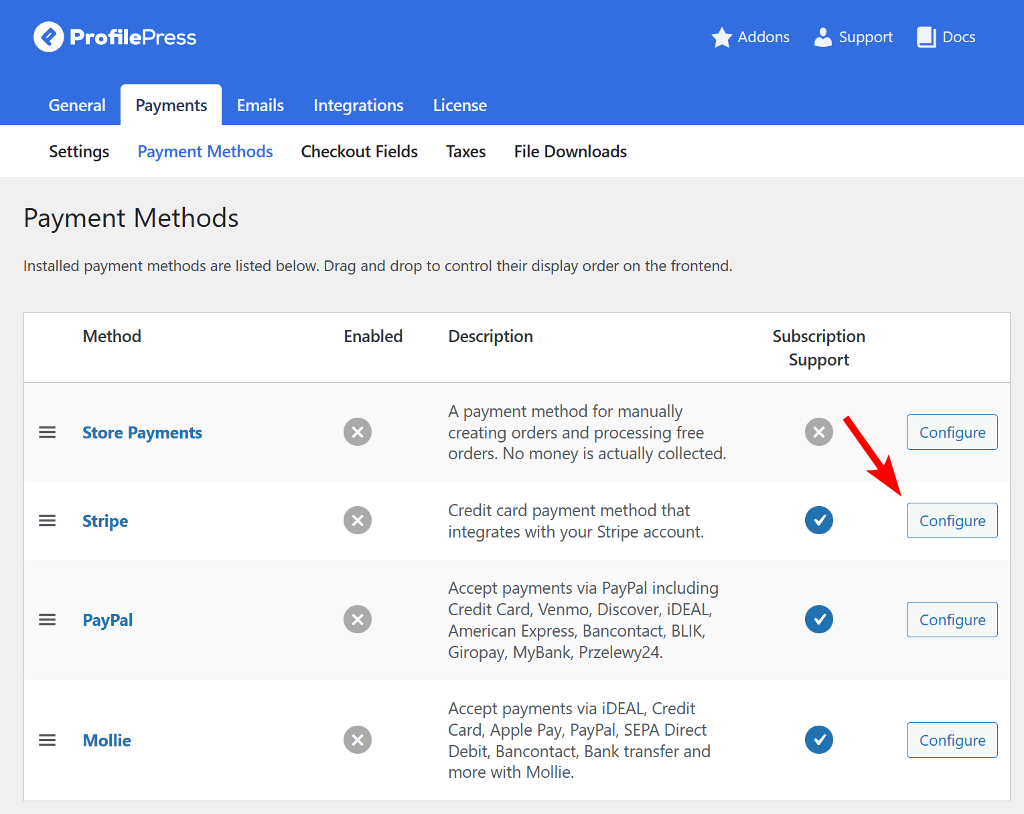
Click on the Integrate a Payment Method button, and you’ll be taken to the Payments page. Alternatively, you can navigate to ProfilePress > Settings > Payments to access the page. ProfilePress integrates with various payment gateways, including Stripe, PayPal, Razorpay, Paddle, Paystack, Direct Bank Transfer, Mollie, listed under Payment Methods.
Click on the Configure button next to any of the Payment Methods you want to use. In this tutorial, we will walk you through the steps for Stripe.
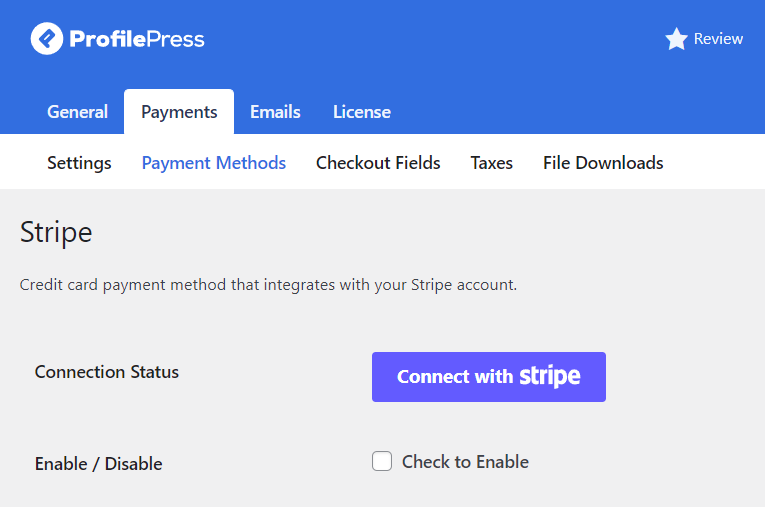
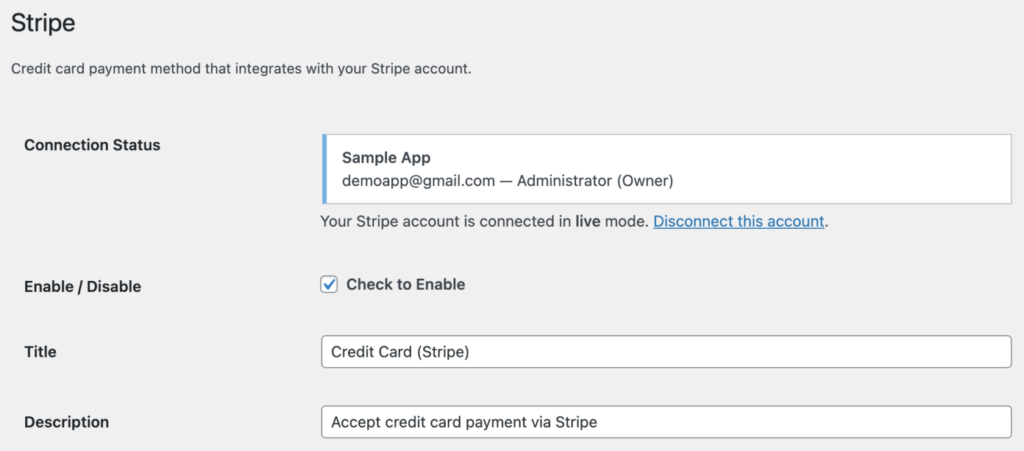
Click the Connect with Stripe button to connect ProfilePress to your Stripe account on the Stripe page.
You’ll be taken to Stripe.com, where you’ll be prompted to either create a new Stripe account or log in to your existing one.
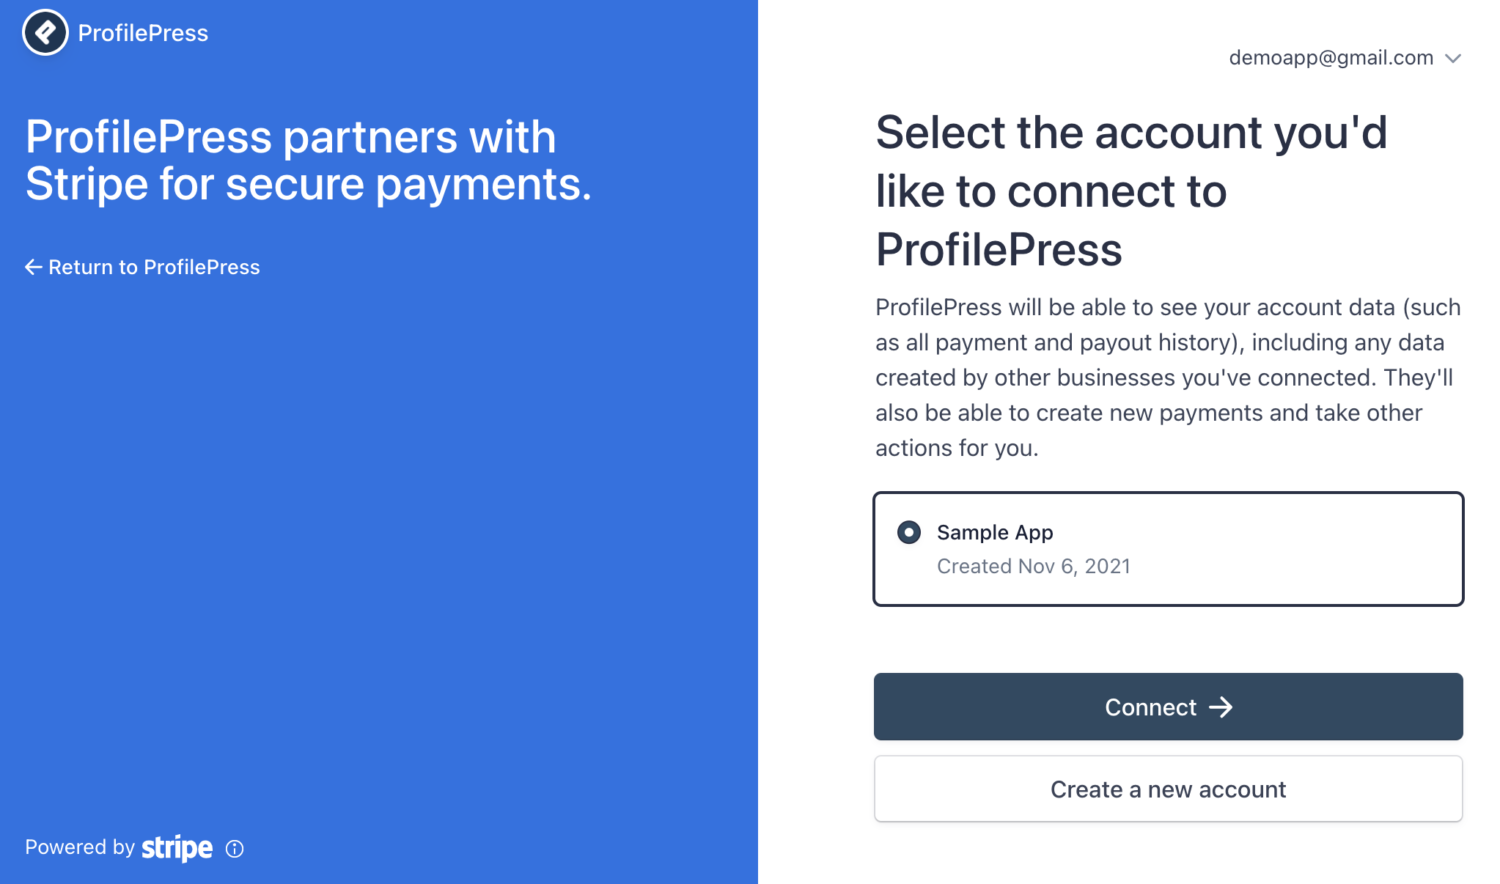
Once you complete the form, you’ll be taken back to your website.
Next, enable the payment method by checking the Enable / Disable option. You can also edit the Title and Description that will appear on the checkout page.
Next, we need to set up the webhook to allow ProfilePress to communicate with Stripe. You can check our documentation article on how to do it.
Add Your Business Information
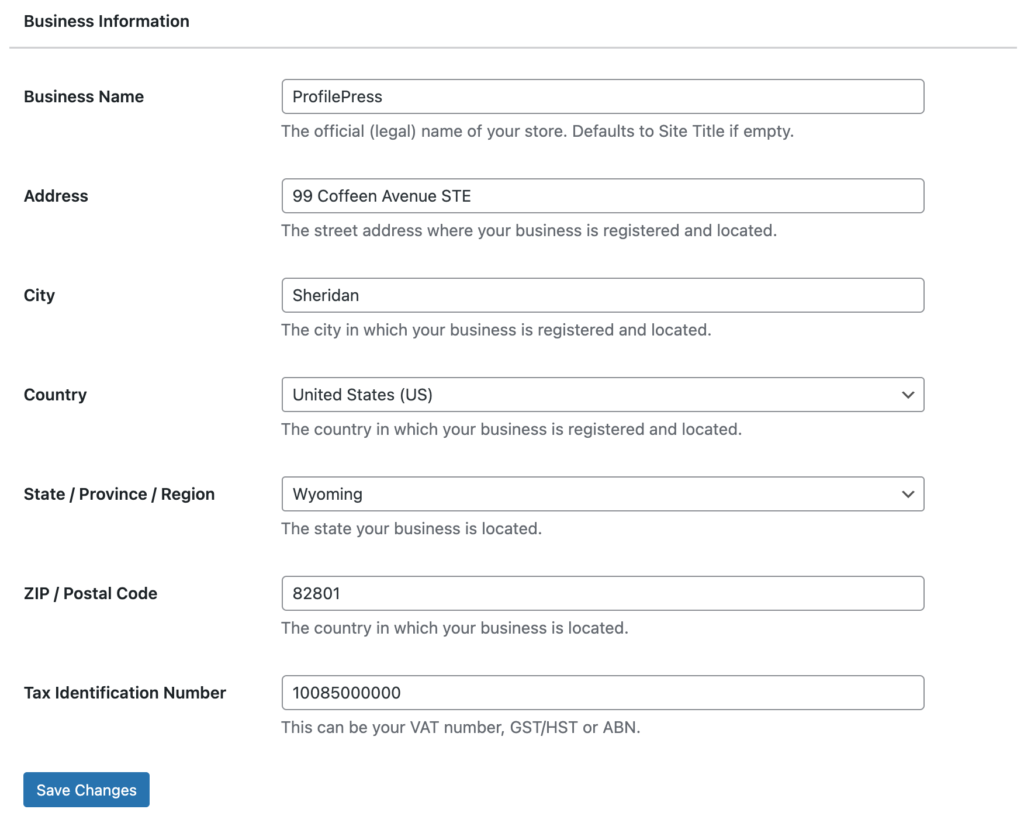
Returning to the ProfilePress dashboard page, click on the next step to add your business information.
You’ll need to provide your business name, a complete address, and the tax identification number. Once you’ve filled in all the information, click the Save Changes button at the bottom.
Go back to the dashboard page and click the next button to proceed to the next step.
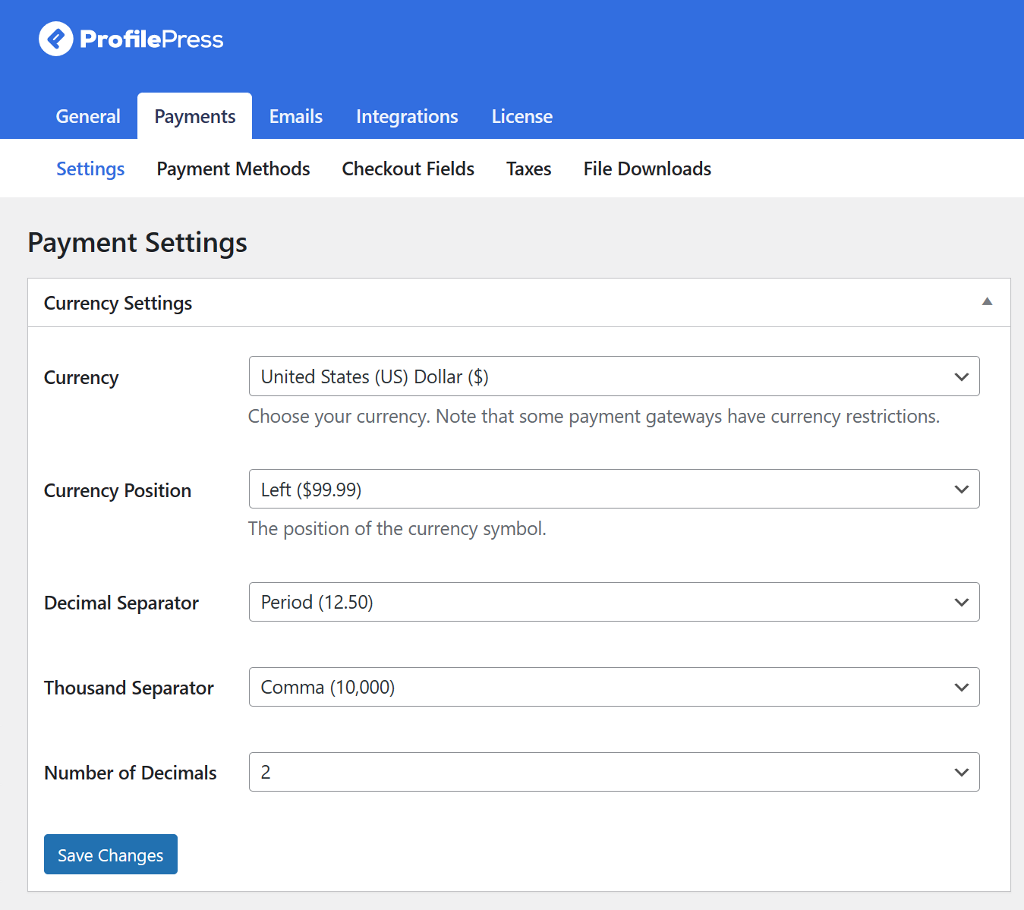
Set Your Membership Currency
With ProfilePress, you have the flexibility to choose your preferred currency. The default currency is set to USD, but you can easily switch to any of the world’s major currencies by clicking on the dropdown menu and selecting your preferred option. You can also set the currency position, decimal and thousands separator.
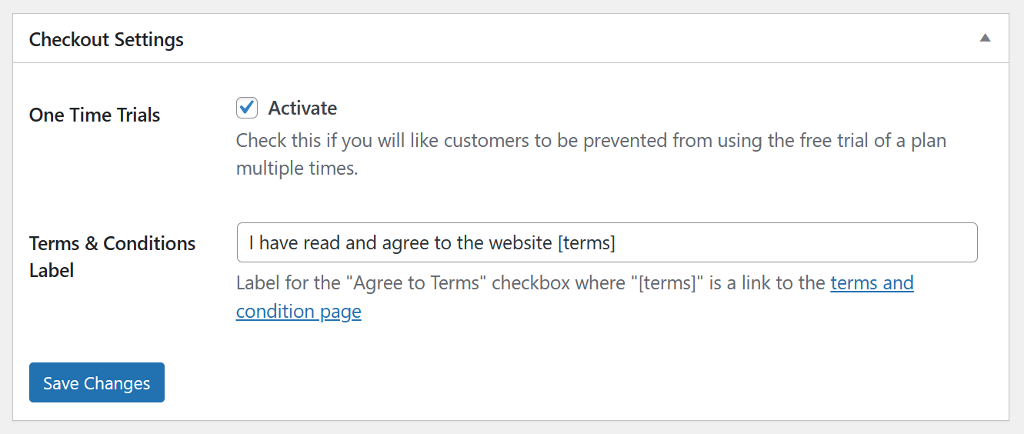
Next, scroll down to set the checkout settings. Here, you can tick the One Time Trials option to prevent users from using the free trial of a plan multiple times. You can also edit the text that shows up for the “Agree to Terms” checkbox.
Don’t forget to save your changes and move on to the receipt settings. Here, you can disable receipt generation for free orders and specify the URL customers will be redirected to if they click on the logo on the receipt. You can also add a thank you note or edit the receipt button label.
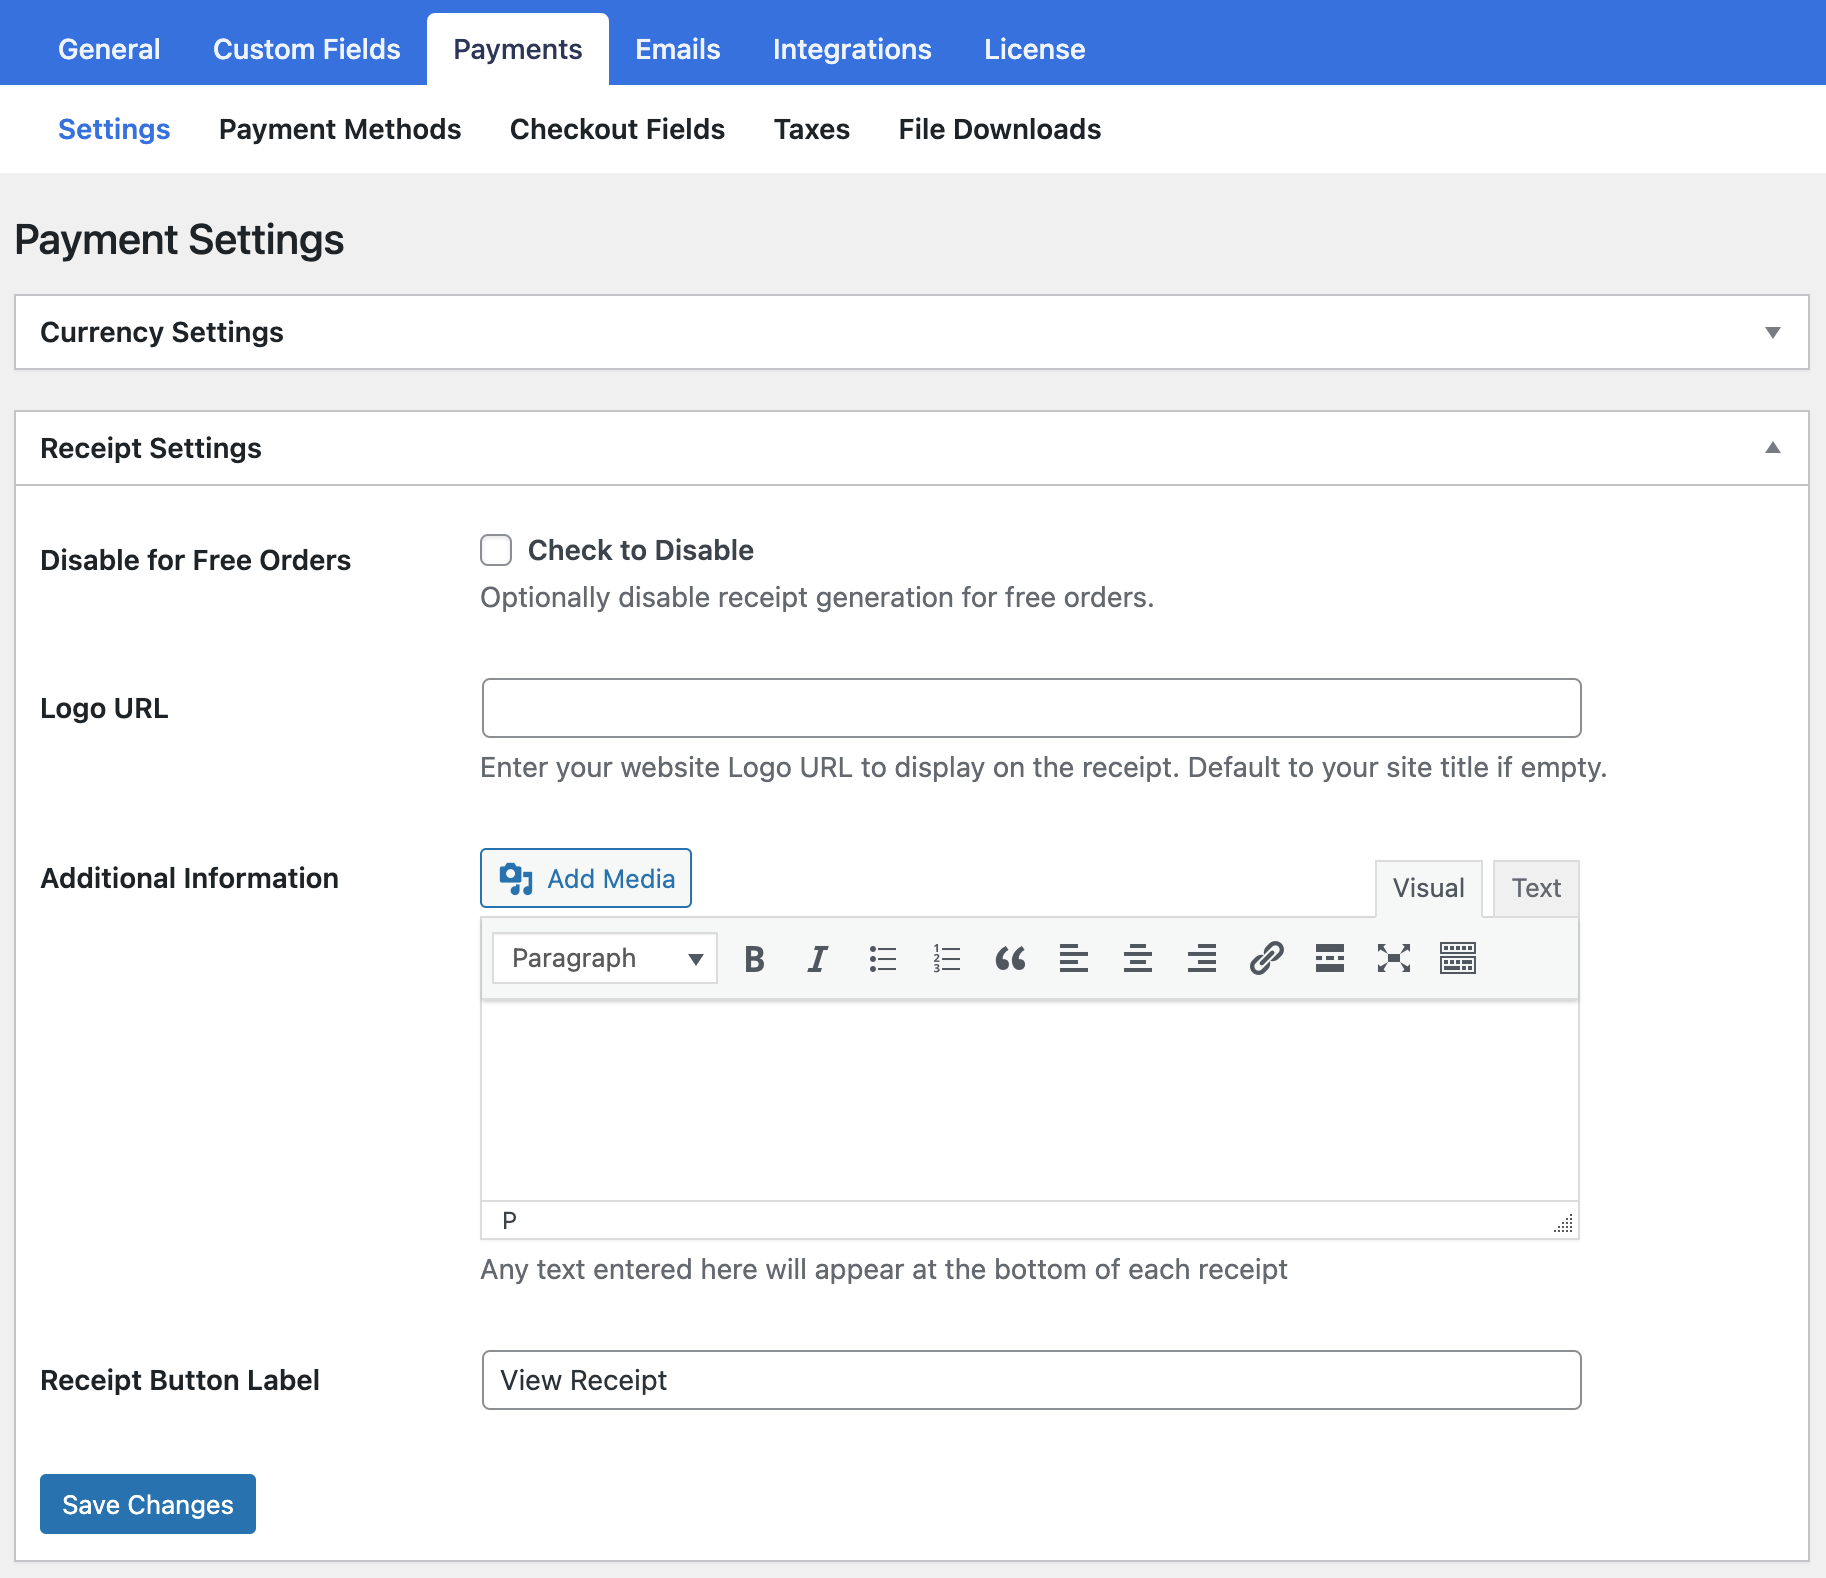
When you’re all done, click the Save Changes button at the bottom of the page. Then, go back to the Dashboard page to move to the next step.
Create a Membership Plan
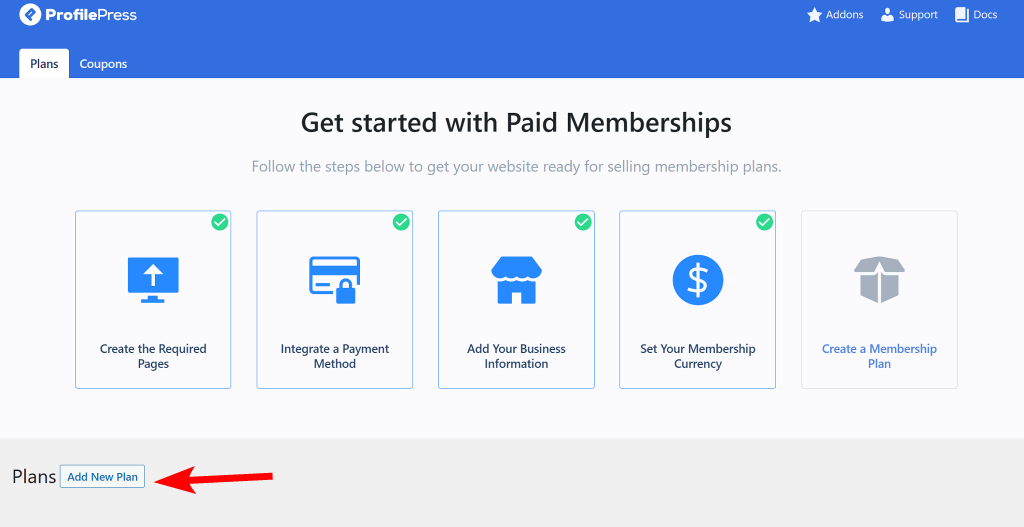
The next step is essential as we’ll create the membership plan for our paid newsletter. Click on the Create a Membership Plan button and then click on the Add New Plan button at the bottom.
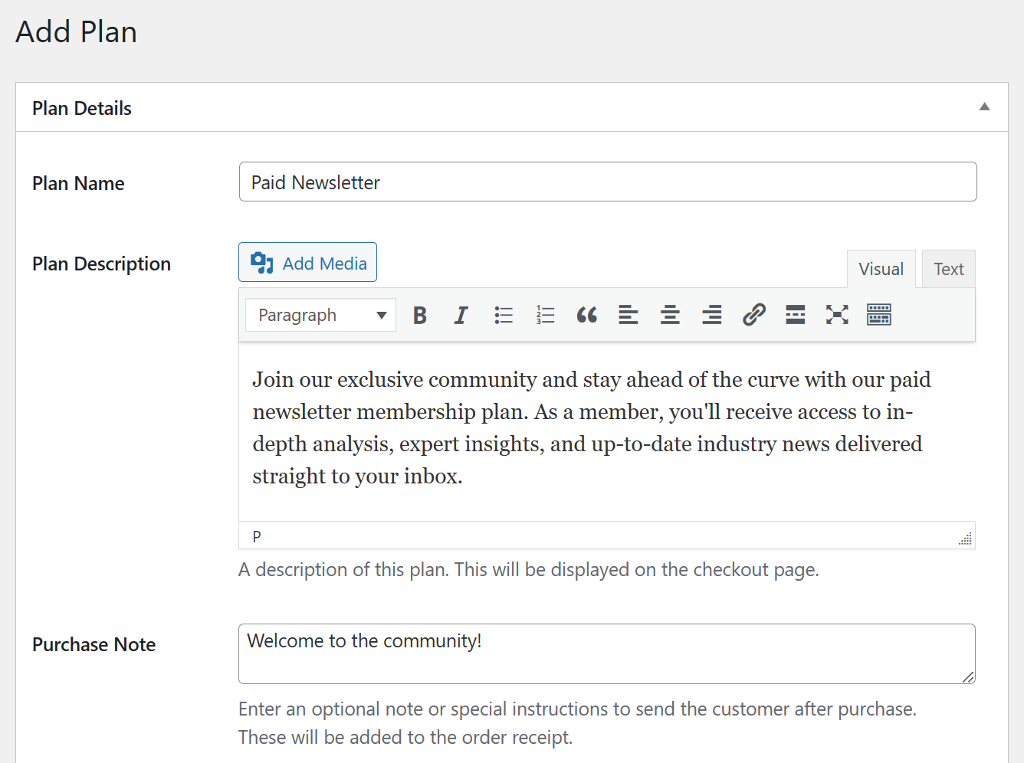
Name your plan and add a short description that explains what your paid newsletter is all about. Make sure to choose a simple and self-explanatory name. You can also optionally enter a Purchase Note which is a great place to add a thank you note or usage instructions.
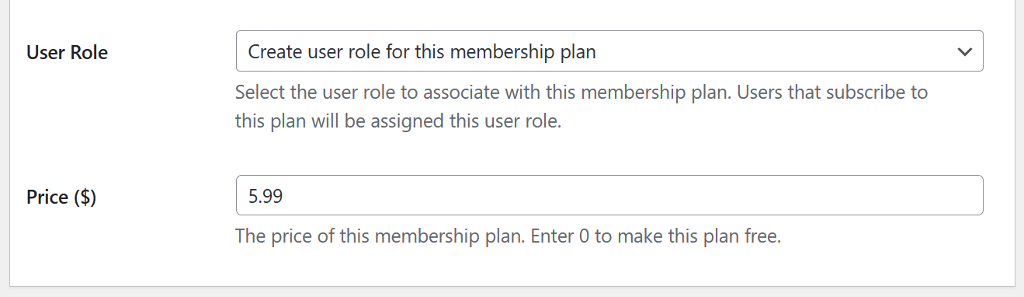
Next, select the user role that will be associated with the plan. It’s recommended to choose “create user role for this membership plan” so that a new role is created and associated with the plan. This way, anyone who subscribes to this plan will have this user role assigned.
Finally, enter a price for your paid newsletter membership plan.
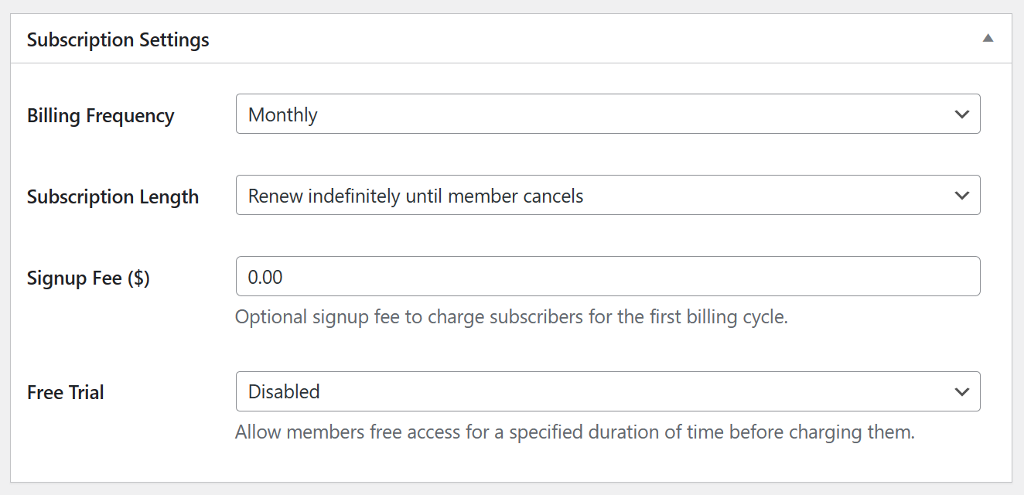
Scroll down to the next set of settings which allows you to fine-tune your subscription by setting the billing frequency and subscription duration. You can choose from monthly, weekly, daily, quarterly, every six months, yearly, or one-time payment options for billing frequency. You can select a fixed number of payments for the subscription duration or have it renew automatically until the member cancels. For our paid newsletter subscription, it is recommended to keep the duration to renew it automatically until the member cancels.
If you want to charge a one-time fee in addition to the membership plan price, you can set that in the Sign-up fee box.
If you want to offer your members or customers a free trial to your paid newsletter, you can set the duration before they are charged. Don’t want to offer a free trial? You can have the option disabled.
Finally, scroll down to the Downloads and Integration section and switch to the Mailchimp tab. This is where you can select the Mailchimp audience to which paid newsletter members will be added.

If you want to add customers or users to a the same audience or email list regardless of the memebrship plan they are subscribed to, but segmented by tags, see Membership Segmentation with Mailchimp Tags
Once you’ve finished making all your changes, click the Save Plan button to publish your membership plan for your paid newsletter.
Now that our membership plan is ready let’s look at how to add it to the website so that users can easily subscribe to the plan.
Let Users Buy the Membership
Adding the membership to the frontend of the website will allow users to buy your paid newsletter subscription. After you publish your membership plan, ProfilePress generates a unique checkout link. You can add this link anywhere on the website using a button or hyperlink to allow users to purchase the paid newsletter membership plan.
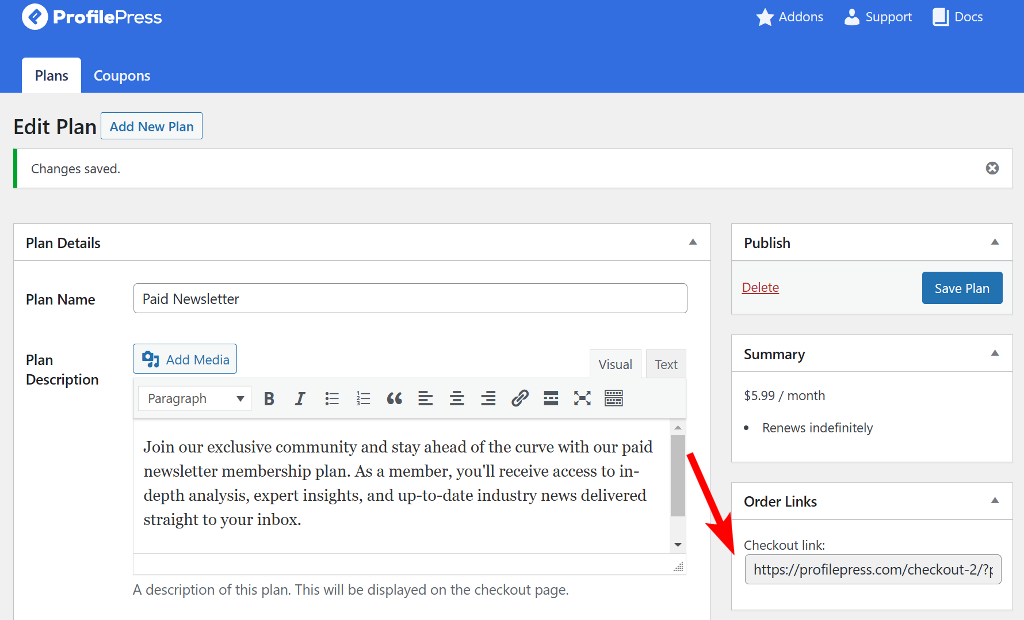
The link directly takes the user to the checkout page, where they can fill out their information and complete the purchase.
The website part is complete. Let’s now look at how we’ll restrict email campaigns to these paid subscribers.
3. Create Newsletters for the Paid Subscriber List
After a user purchases the paid newsletter subscription from the website, they’ll automatically be added to the Mailchimp audience list. And if their subscription expires, they will be removed from the Mailchimp audience of the subscribed membership plan.
When you create a new email campaign on the Mailchimp website, select the audience and tag to whom you want to send the newsletter.
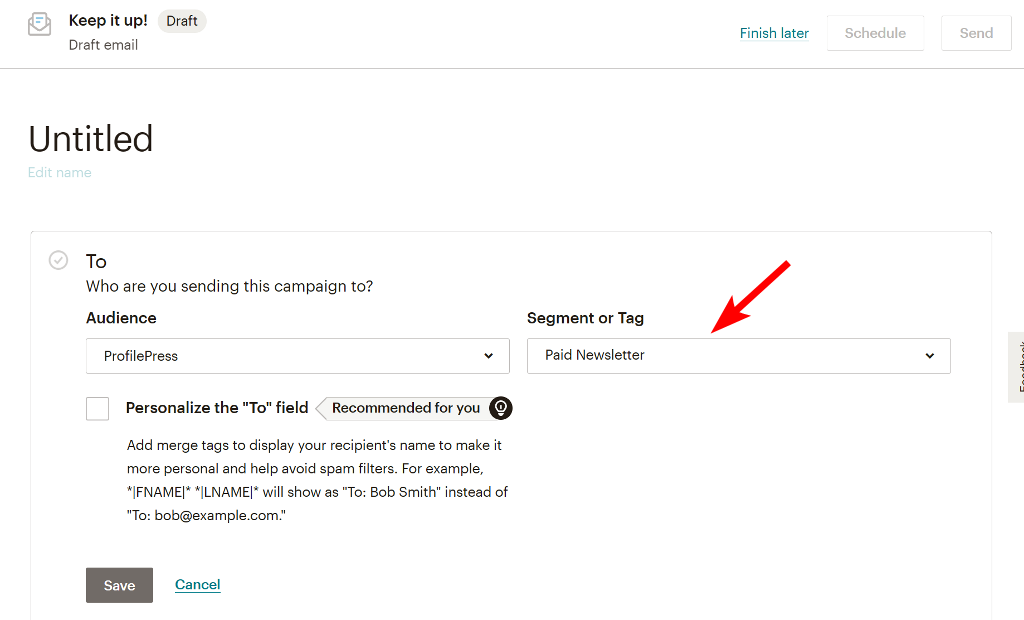
Next, write a subject line and design your email newsletter. You can refer to this link to learn more about how to create a newsletter in Mailchimp.
Once your newsletter is ready, you can publish or schedule it, and it’ll be sent to members of your paid newsletter membership.
The same steps apply if you use Campaign Monitor or any of our supported email marketing software.
Wrapping Up: Create Paid Newsletter in WordPress
Creating a paid newsletter subscription in WordPress is a great way to monetize your newsletter and provide value to your loyal subscribers. By using a plugin like ProfilePress, you can easily set up a paid newsletter system that integrates seamlessly with Mailchimp.
Whether you’re a blogger, business owner, or content creator, a paid newsletter can be a valuable asset to your online presence and help you build a loyal following. With a bit of time and effort, you can easily create a paid newsletter subscription in WordPress and start earning revenue from your content.
Get ProfilePress today!