How to Integrate Mailchimp With WordPress
Do you want to integrate Mailchimp with WordPress on your website? Mailchimp is a popular email marketing software providing small and large businesses with powerful tools to engage with customers
Email still remains the popular form of communication serving as a primary channel for exchanging digital messages. Whether it’s newsletters, promotional offers, or follow-up messages, email continues to play a pivotal role in engaging and nurturing website visitors.
Imagine this situation: A potential customer comes across your website, interested in your products or services, but not quite ready to make a purchase. By capturing their email address, you can maintain a valuable connection with them and offer the information they need to make an informed decision. You can even provide them with exclusive discounts or incentives to increase the chances of turning them into loyal customers.
In this tutorial, we’ll walk you through the process of integrating Mailchimp with WordPress using our powerful Mailchimp addon.
Whether you’re a seasoned marketer or just dipping your toes into the world of email marketing, this tutorial will equip you with the knowledge and tools necessary to connect Mailchimp with your WordPress site.
Getting Started Integrating Mailchimp With WordPress
Firstly, ensure the ProfilePress plugin is installed and activated on your website. Also, ensure the Mailchimp addon is enabled.
Go to Settings >> Mailchimp, enter your account API key, and hit the Save Changes button.
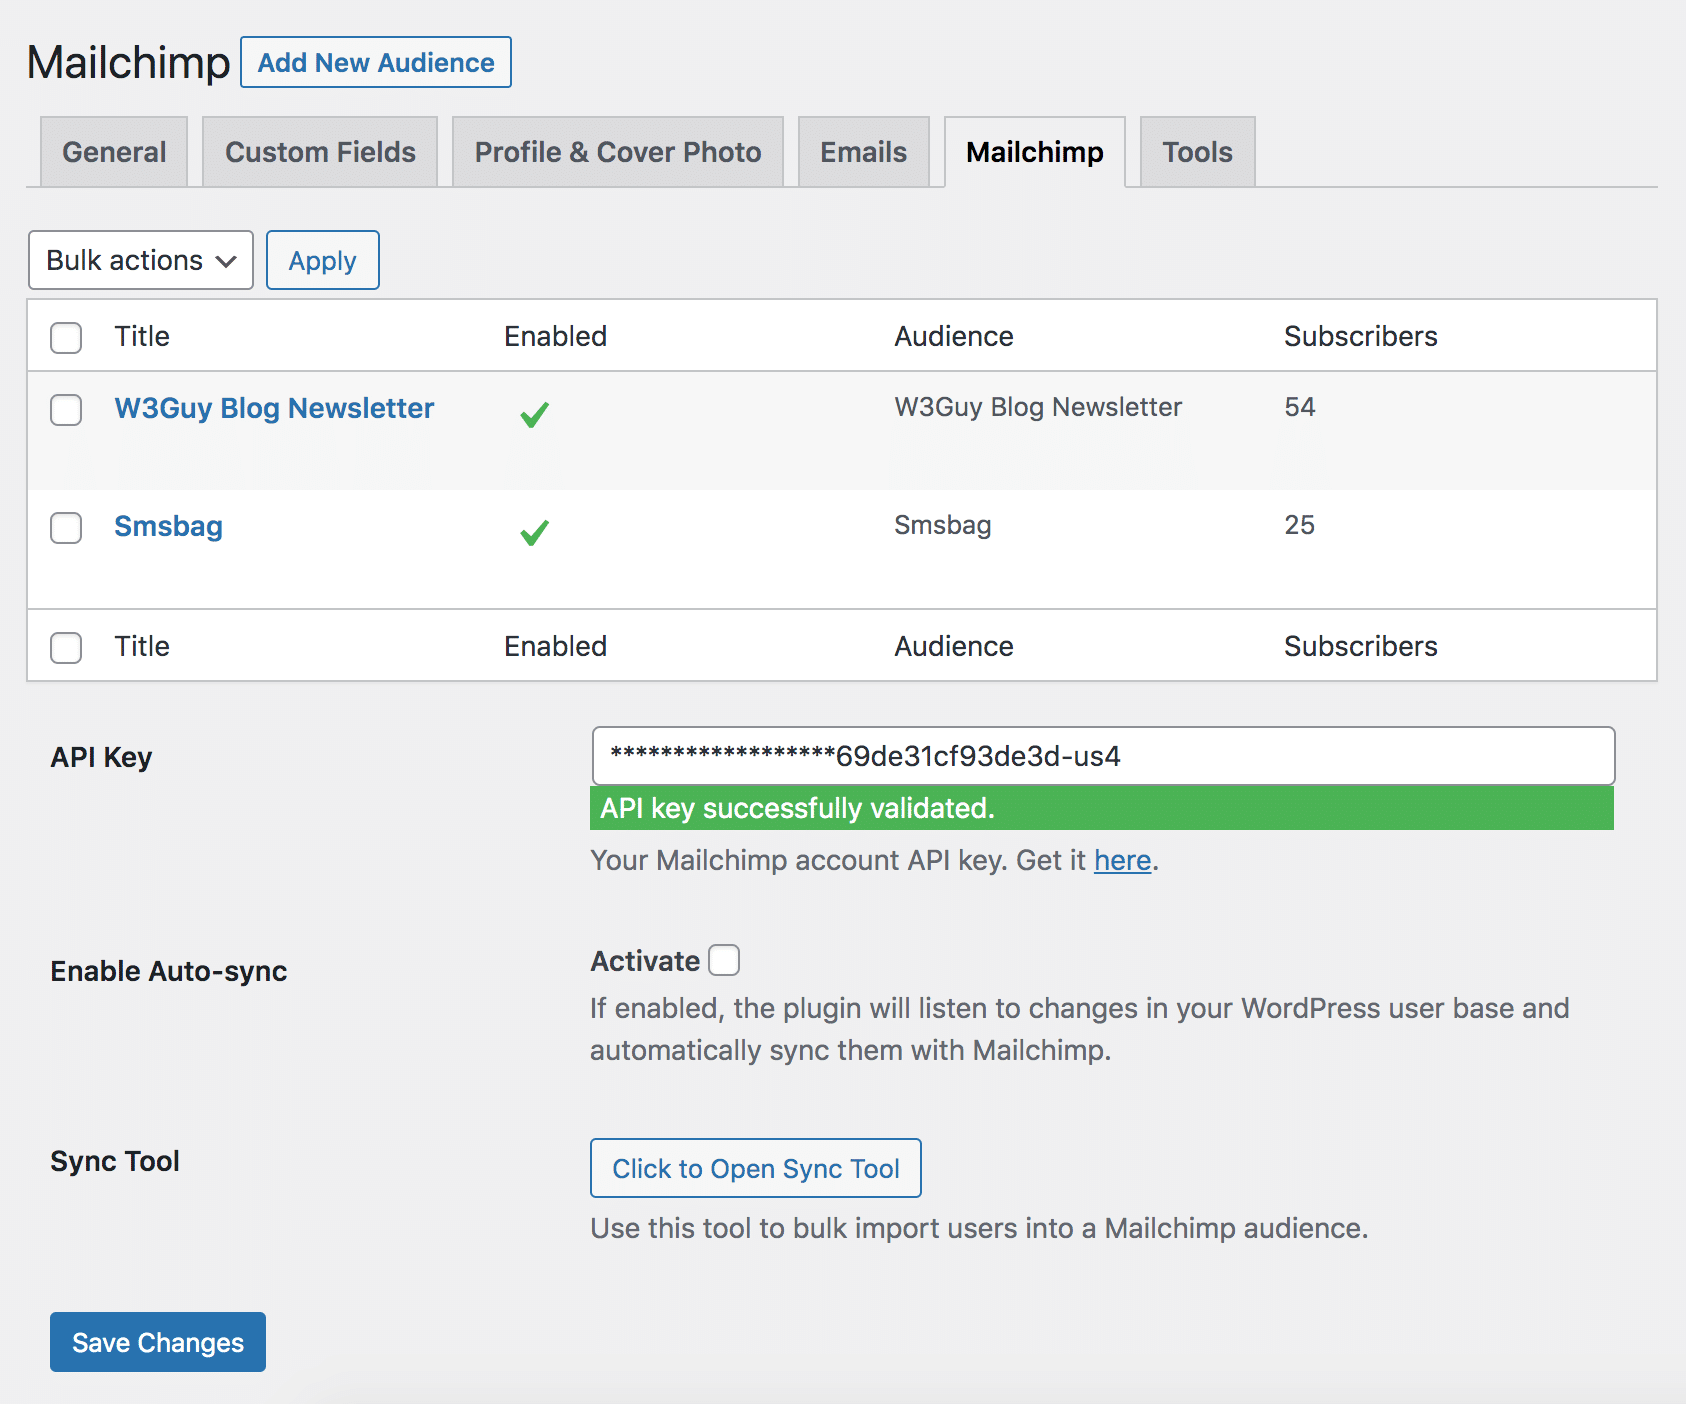
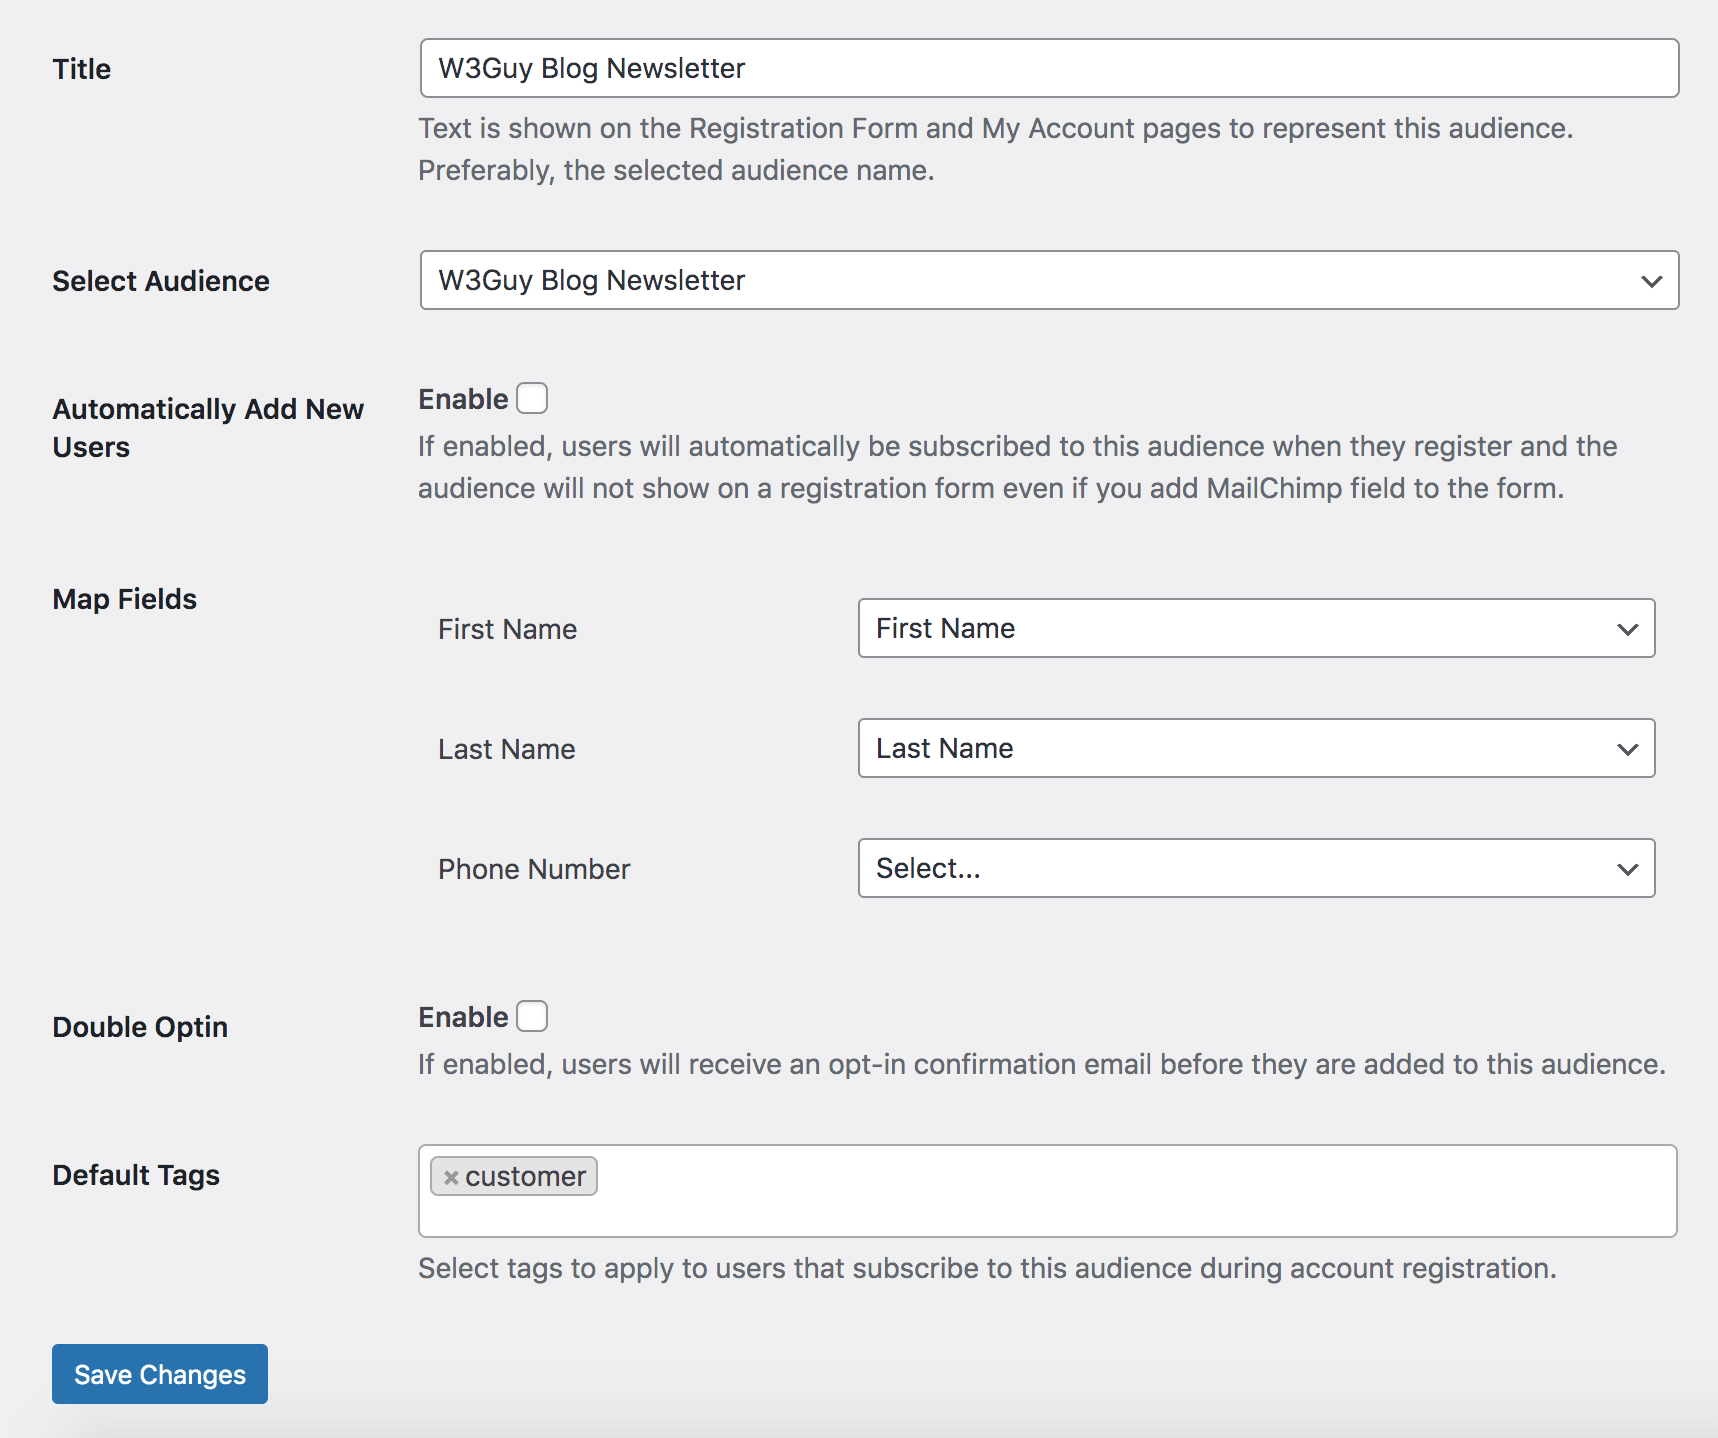
Click the “Add New Audience” button to add the audiences that users can subscribe to. You have the option to map fields, enable double optin, and decide whether to automatically add new users when they register without them having to explicitly opt-in.
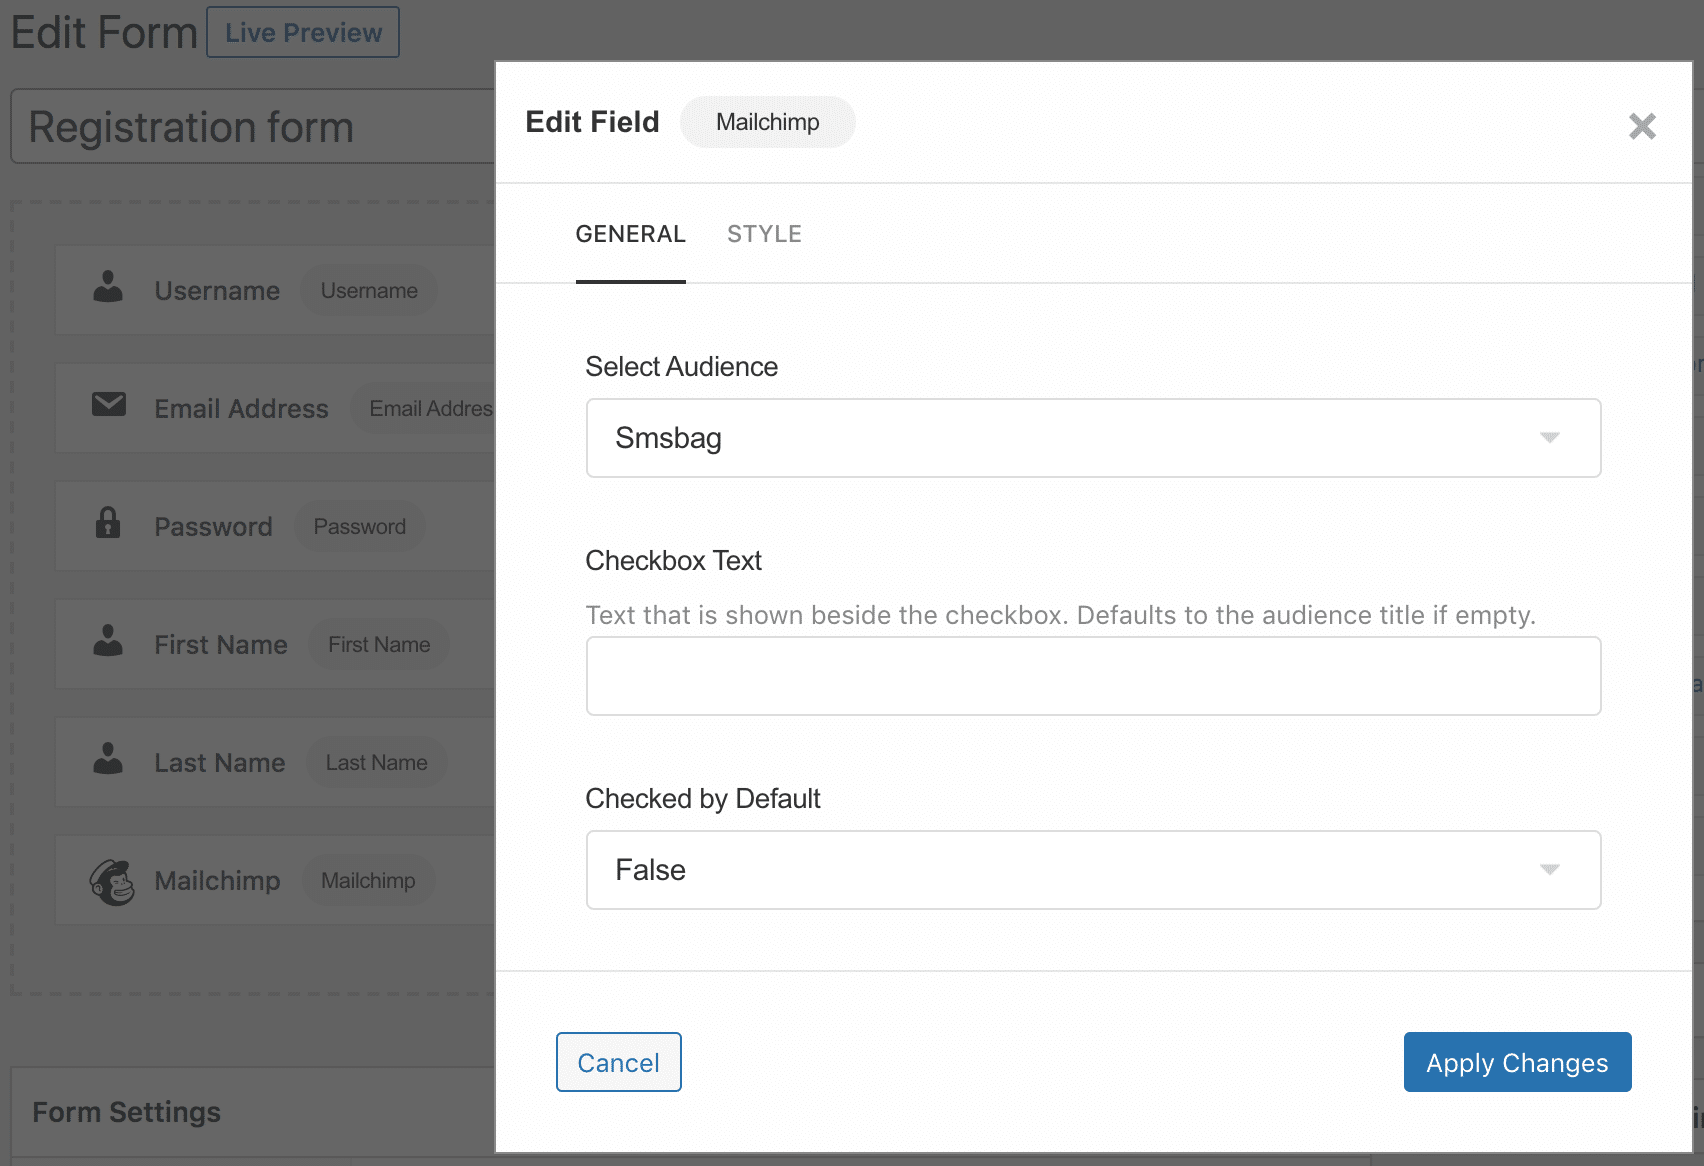
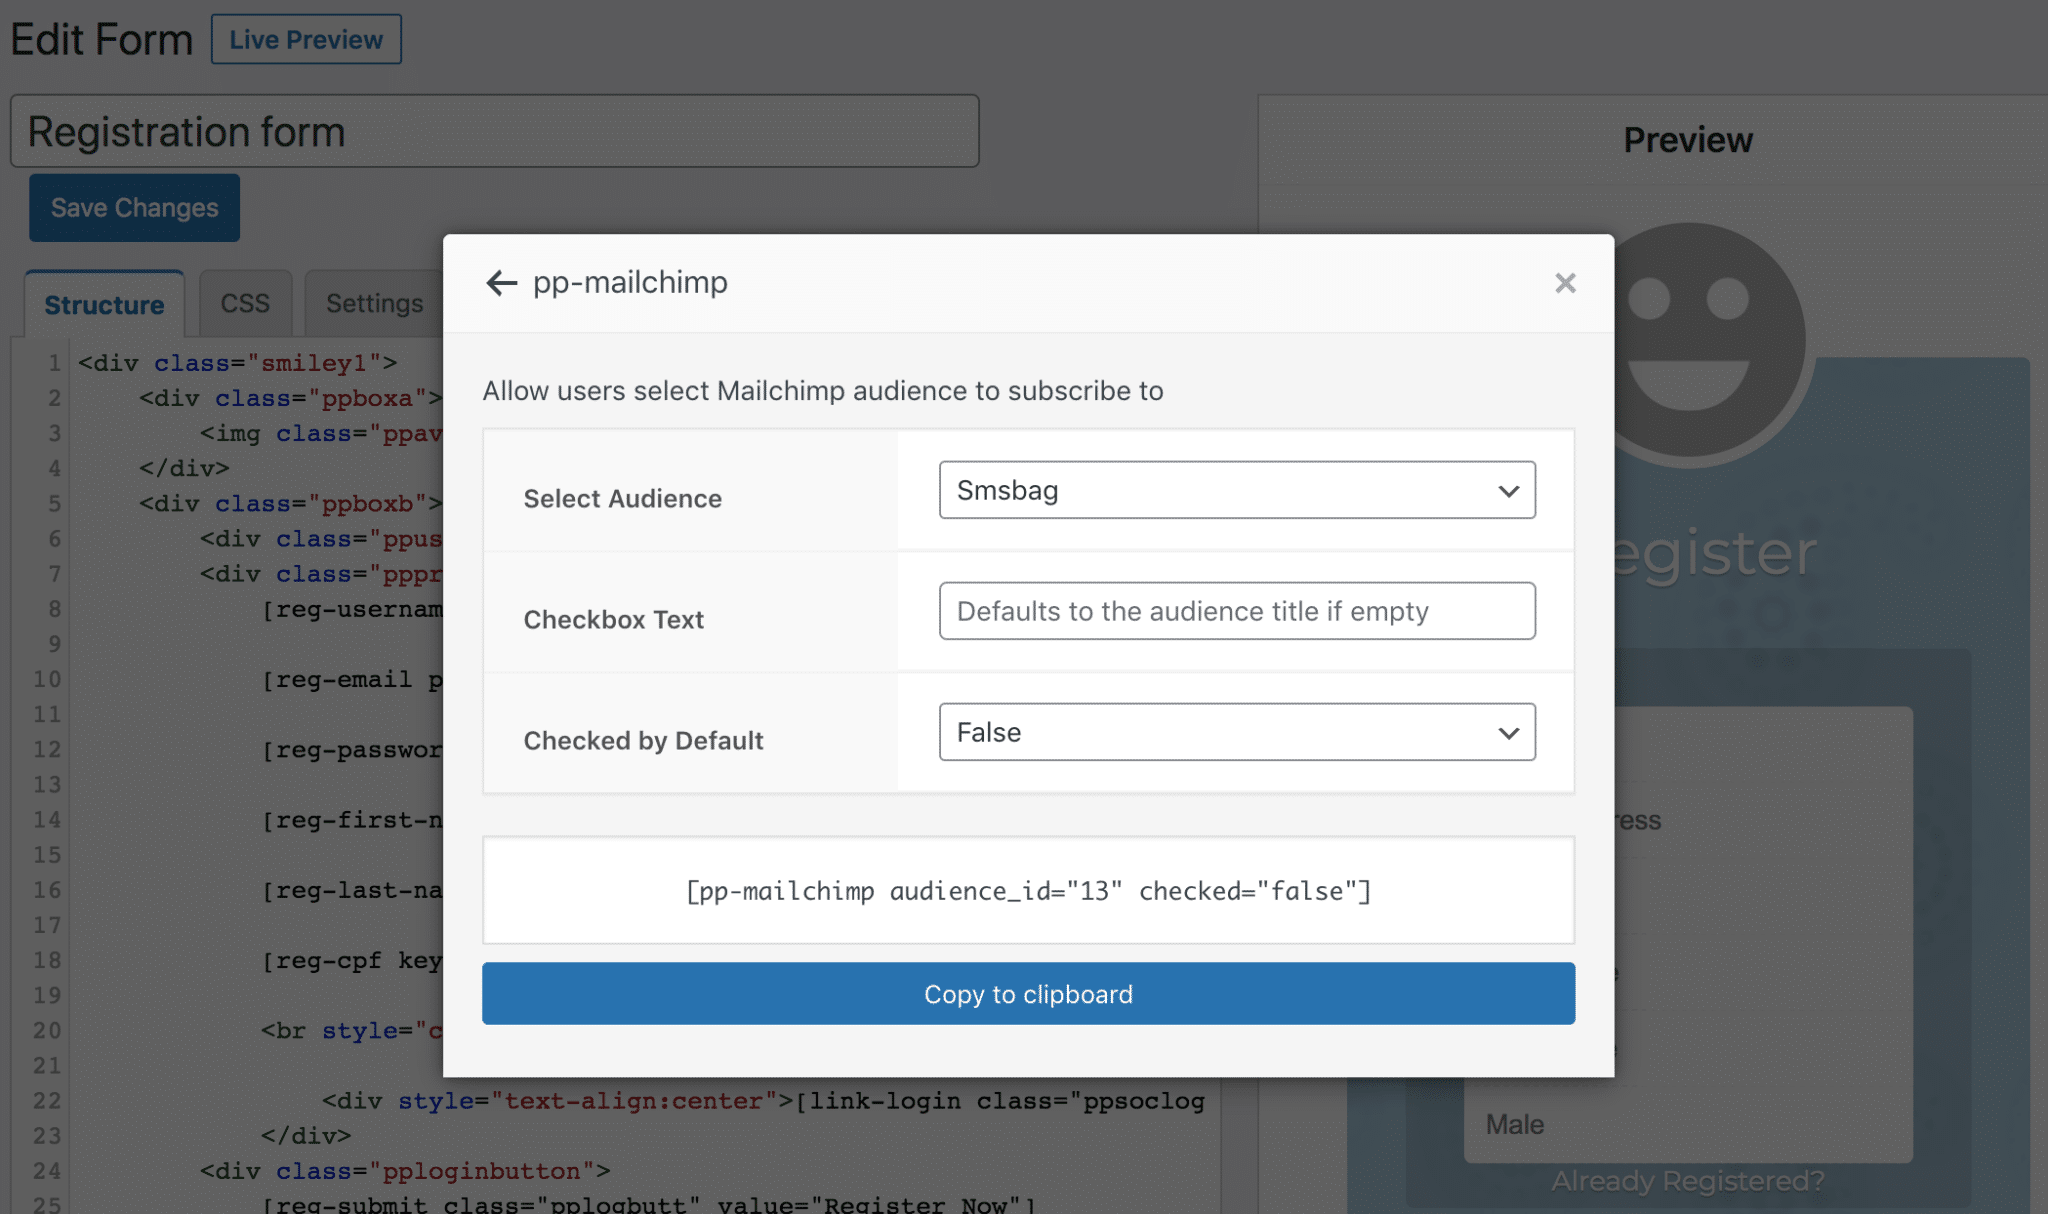
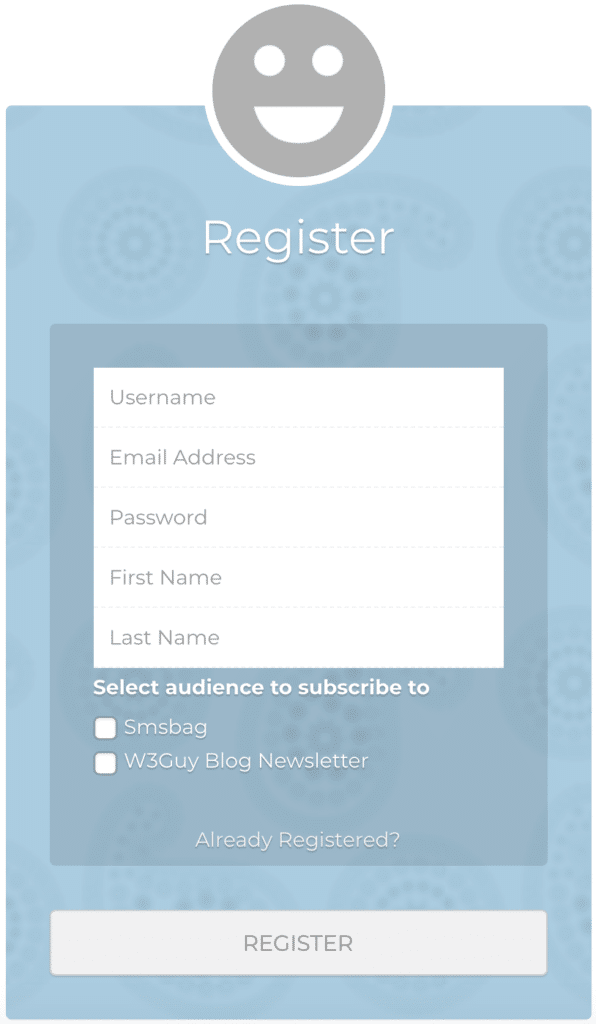
To allow users to decide whether to opt-in or not to your list, add the Mailchimp block if you are using the drag-and-drop form builder or the shortcode [pp-mailchimp] (if using the advanced form builder) to your custom WordPress registration form, which will display a checkbox for users to select the audience they wish to be subscribed to.
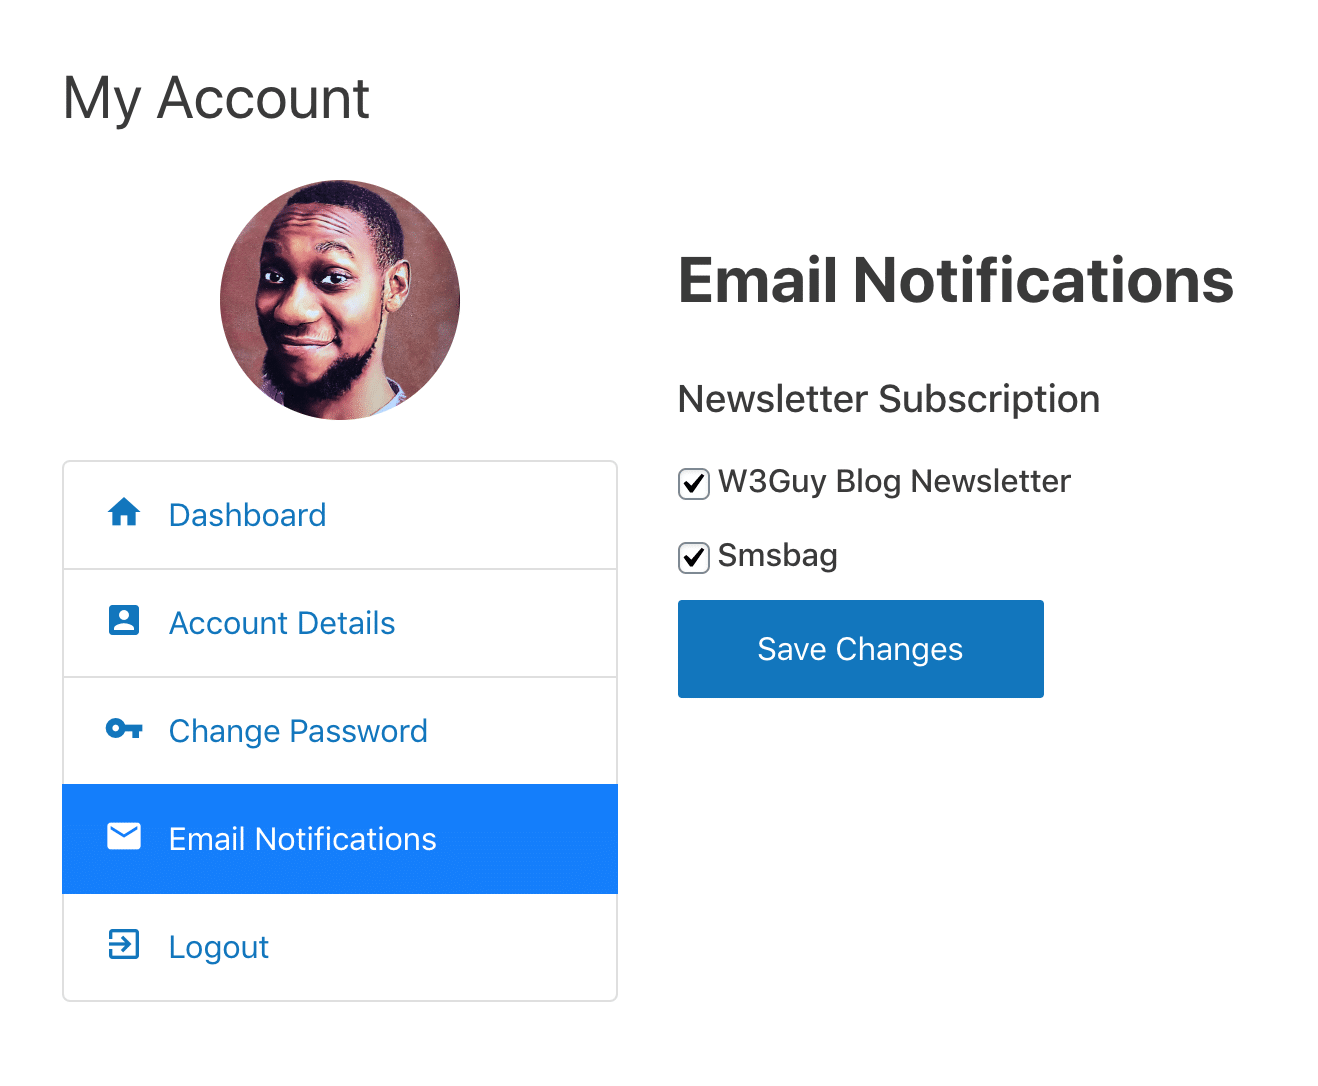
Mailchimp Manage Subscription Page
A “manage my subscriptions” page where logged-in users can manage their own email preferences from their account page. That is, they can unsubscribe or subscribe themselves to some of your emails and not others.
Our Mailchimp addon automatically includes this feature to your My Account page where users can select the audience they want to be subscribed to.
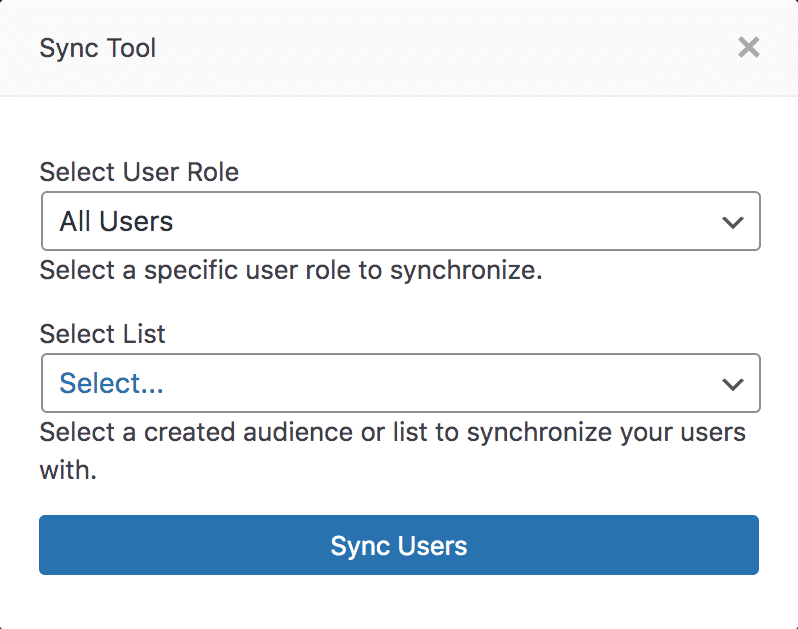
WordPress to MailChimp Sync
There is a Sync tool that lets you import all users of your WordPress into a Mailchimp audience. You can decide to sync only users of specific roles to import.
When you check “Enable Auto-sync”, the addon will watch for changes in users and automatically synchronize any detected changes with your Mailchimp audience.
If you feel there are users missing in your Mailchimp list, or you installed the addon for the first time and want all registered users to be in your audience, use the sync tool.
Ready to Integrate Mailchimp with WordPress?
In this tutorial, we have learned how to connect Mailchimp with WordPress. This will allow us to automatically add WordPress users to a specific Mailchimp audience.
The users can also choose the email list they want to join during registration. We can detect any changes in our registered users and sync them with our Mailchimp audience.
Lastly, we can allow users to manage the audience they want to be subscribed to.
Now that you’re equipped with the knowledge and tools to integrate Mailchimp with WordPress, it’s time to elevate your email marketing game and drive meaningful results.