Create an Online Course Website in WordPress with Tutor LMS
Want to share your knowledge and earn money? Create and sell online courses with WordPress- the easiest way to get into e-learning. The upfront investment is low, and no technical knowledge is needed for success.
Online learning platforms like Udemy and Coursera provide an ideal avenue for people to gain new knowledge, acquire new skills, and chase their passions. Many internet users use them to learn coding, photography, cooking, and other exciting topics.
If you’re looking to sell online courses, WordPress is the most popular option out there, and it’s very versatile and ideal for even complete newbies. WordPress helps you escape the dilemma of deciding where to start and easily create multiple income streams in minutes.
In this article, we’ll share everything you need to know about how to sell online courses with WordPress, including the essential plugins to make the entire process very easy. Tutor LMS will be the Learning Management System (LMS) plugin, while ProfilePress will create one-time or subscription plans to sell the courses.
Why Sell Online Courses With WordPress?
WordPress is our top recommendation for creating and selling online courses. It offers flexible and robust features for content creation, payment processing, user management, and content marketing.
Total Control: With WordPress, you have complete control over your online course platform. You can customize the design, layout, and functionality to align with your branding and vision.
Easy Setup: WordPress offers a user-friendly interface and intuitive tools for creating and managing online courses. You don’t need extensive technical knowledge or coding skills to get started.
Flexibility: WordPress provides numerous plugins and themes designed for online course creation. These tools offer course progress tracking, quizzes, certificates, and more, allowing you to tailor your courses to meet your learners’ needs.
Scalability: As your online course business grows, WordPress can scale with you. You can easily add new courses, manage enrollments, and accommodate a more extensive student base without significant limitations.
Cost-Effective: WordPress itself is a free and open-source platform. While there may be costs associated with hosting, premium themes, or plugins, overall, WordPress offers a cost-effective solution for creating and selling online courses compared to building a custom platform from scratch.
Monetization Options: Allow your site learners to choose from third-party tools and payment gateways they’re already used to. Your site visitors can pay for your courses using multiple methods. Whether you prefer Stripe, PayPal, Mollie, Razorpay, or Paystack, you’ll get access to your preferred payment method using an e-commerce and membership plugin like ProfilePress.
However you look at it, there are many benefits for anyone looking to sell online courses with WordPress. This explains why it’s now a popular choice amount digital educators and course creators across industries.
Now, let’s look at the simple steps you can follow if you’re looking to sell online courses with WordPress.
How to Sell Online Courses With WordPress
Ready to create and sell online courses using WordPress? The process is incredibly easy. We will break everything down into simple steps you can complete in just a few minutes. Here are the essential tools you will need to get started:
- A WordPress site
- A Learning Management System (LMS) plugin such as Tutor LMS.
- A membership plugin. We recommend ProfilePress.
Let’s run through the steps quickly!
Step 1: Get a Domain Name, Hosting, and Set Up Your WordPress Site.
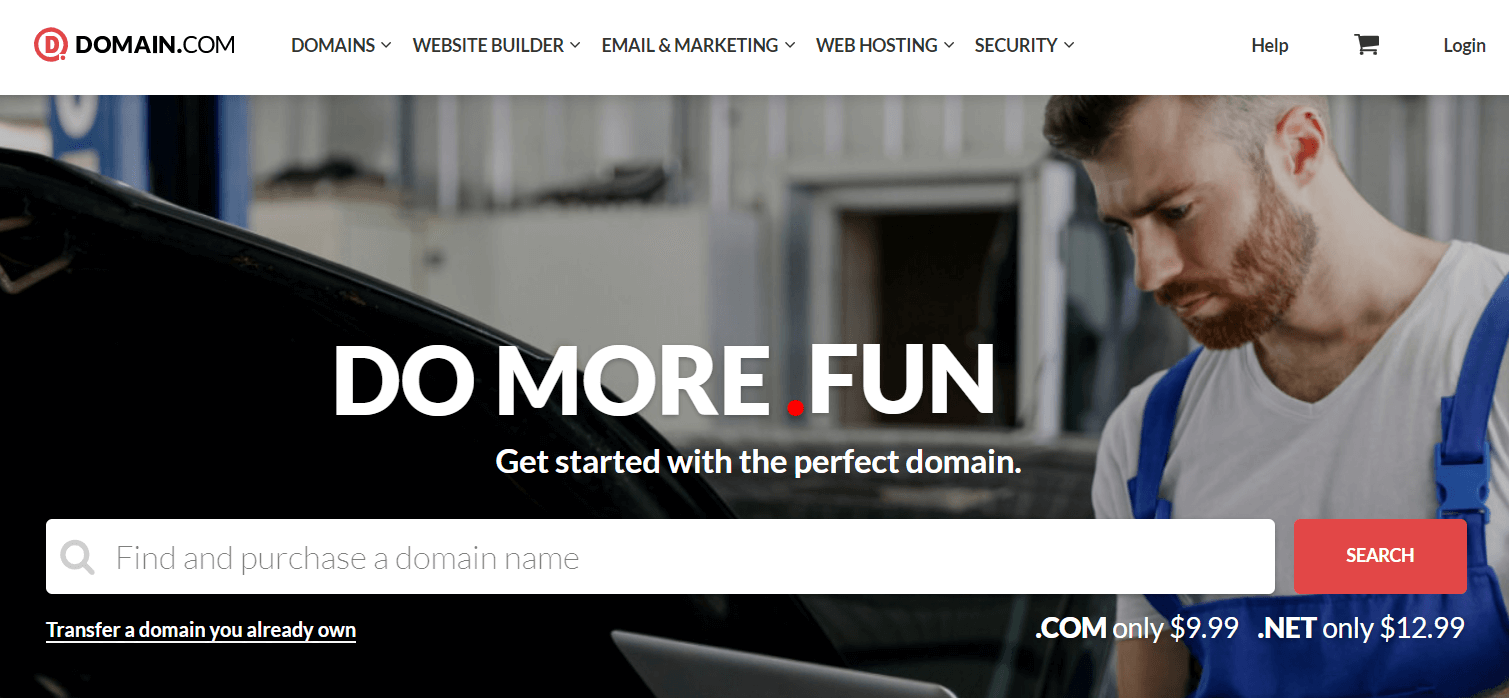
To start, choose a domain name that reflects your brand and is easy to find for learners. For most cases, ‘.com’ should be your first choice for the domain extension.
Once you have decided on a domain name, you can secure it with a popular domain registrar like Domain.com, NameCheap, or GoDaddy. On average, prices are around $9.99/year. Many WordPress hosts offer a free domain when purchasing a hosting plan.
Talking about WordPress hosting, there are many options to choose from. If you are new to WordPress, consider managed hosting instead of shared hosting. You’ll get automatic backup and updates, as well as priority support. You can check out hosting plans from Kinsta, SiteGround, and Hostinger.
Once you have your WordPress hosting, you will gain access to the hosting account dashboard. Most modern hosts allow you to install WordPress in just one click.
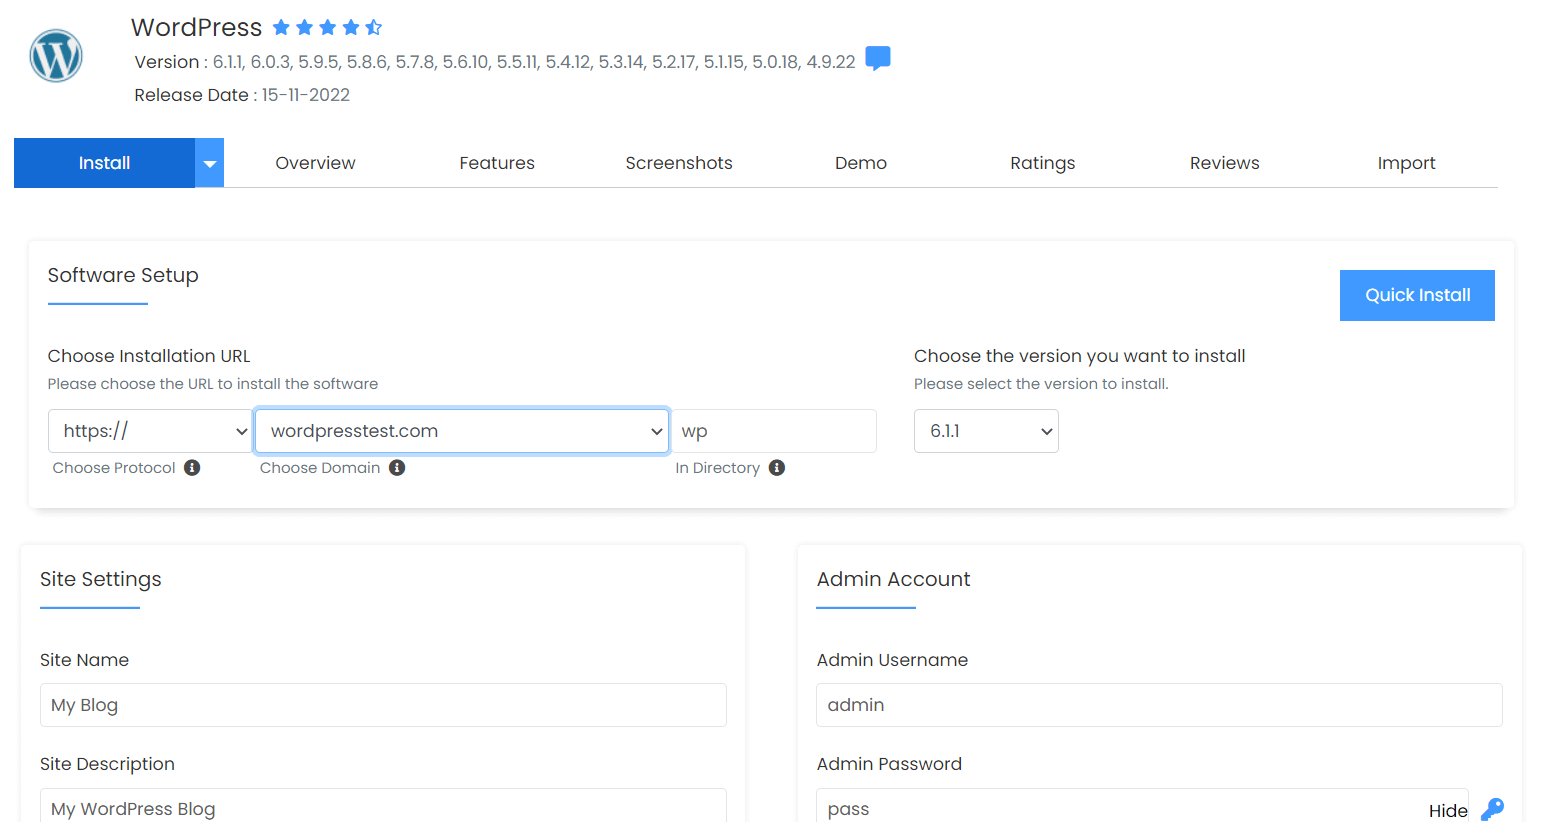
After setting up your WordPress credentials, you can now log into the WordPress admin dashboard. First, install a theme such as Astra and essential plugins like Jetpack. Congratulations, you have successfully set up your WordPress site.
Step 2: Install the Tutor LMS plugin
Now, it’s time to add the first essential plugin you need to sell online courses with WordPress. It’s a Tutor LMS plugin. The plugin packs powerful course creation and management features. And it’s also straightforward to use.
Log into your WordPress dashboard. Then go to Plugins > Add New. Search for Tutor LMS and install it.

After installation, activate the plugin and follow the plugin setup wizard to configure your site.

Step 3: Create and Structure Your First Course
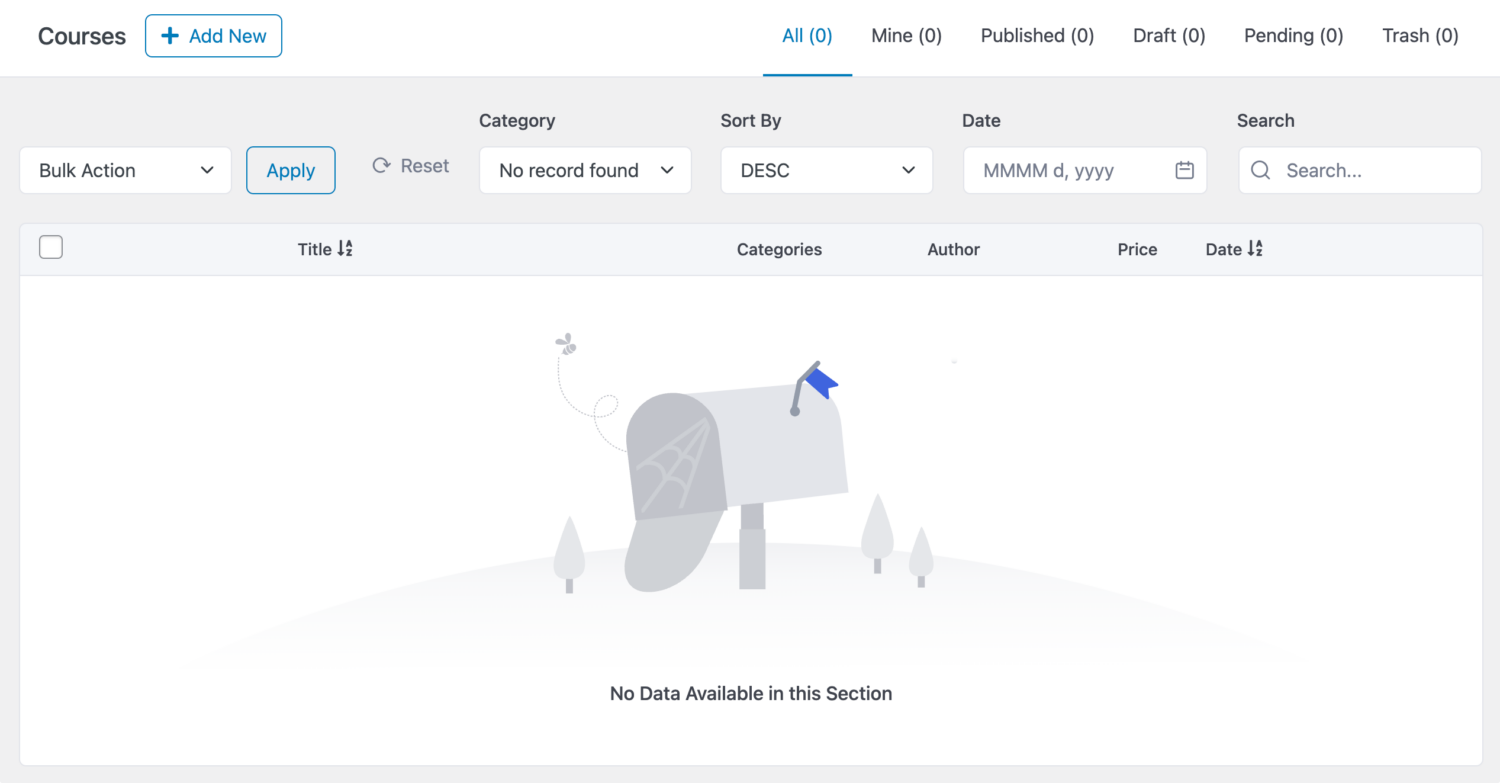
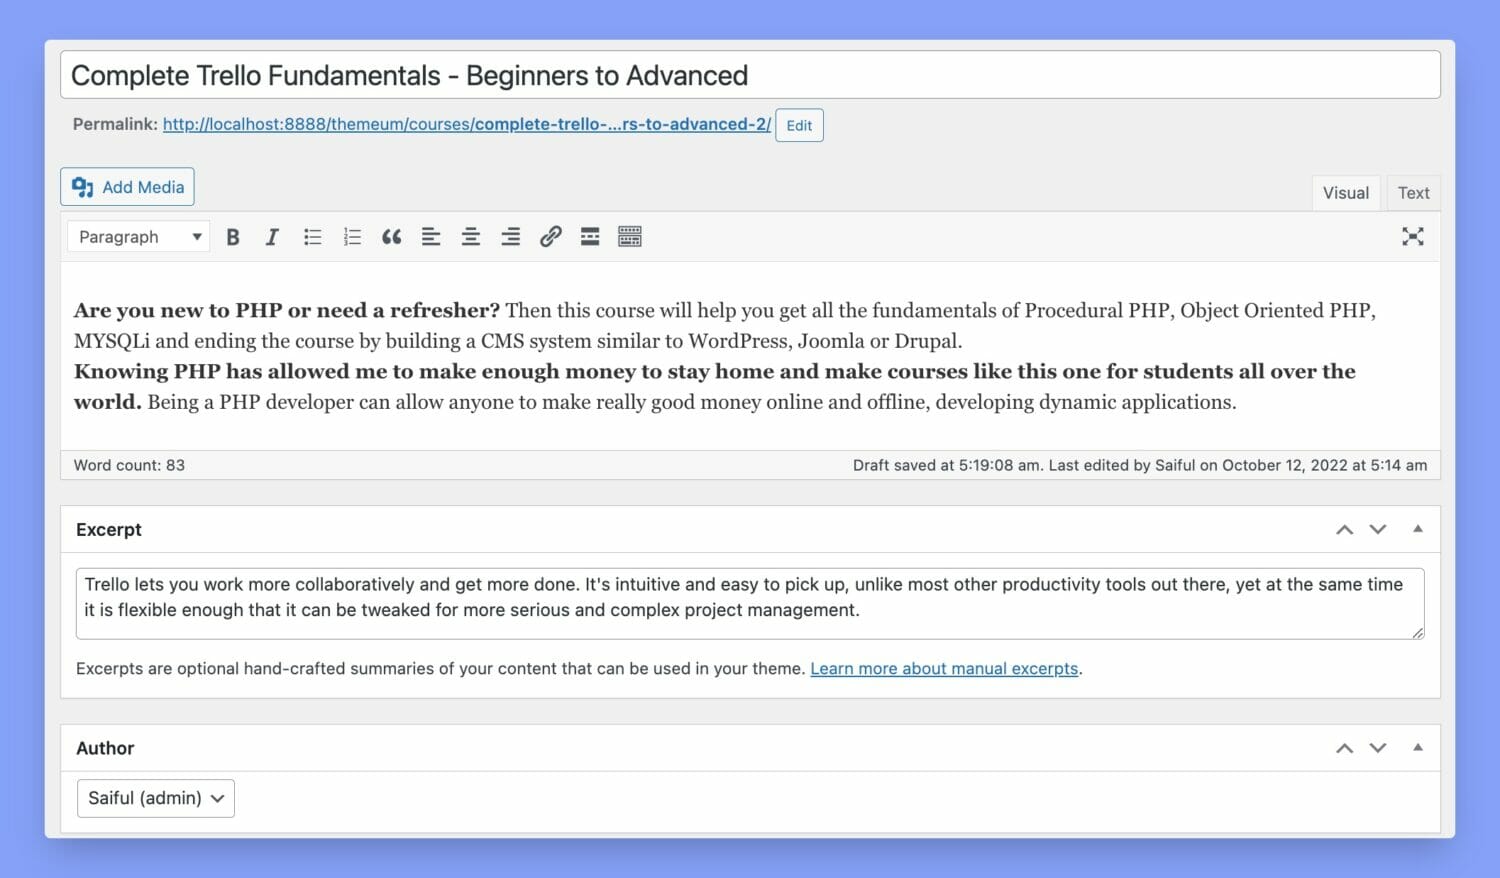
To be able to sell online courses with WordPress, you need to create one. To do this, go to Tutor LMS > Courses > Add New.
This opens the course builder page. Enter the course title and course content.
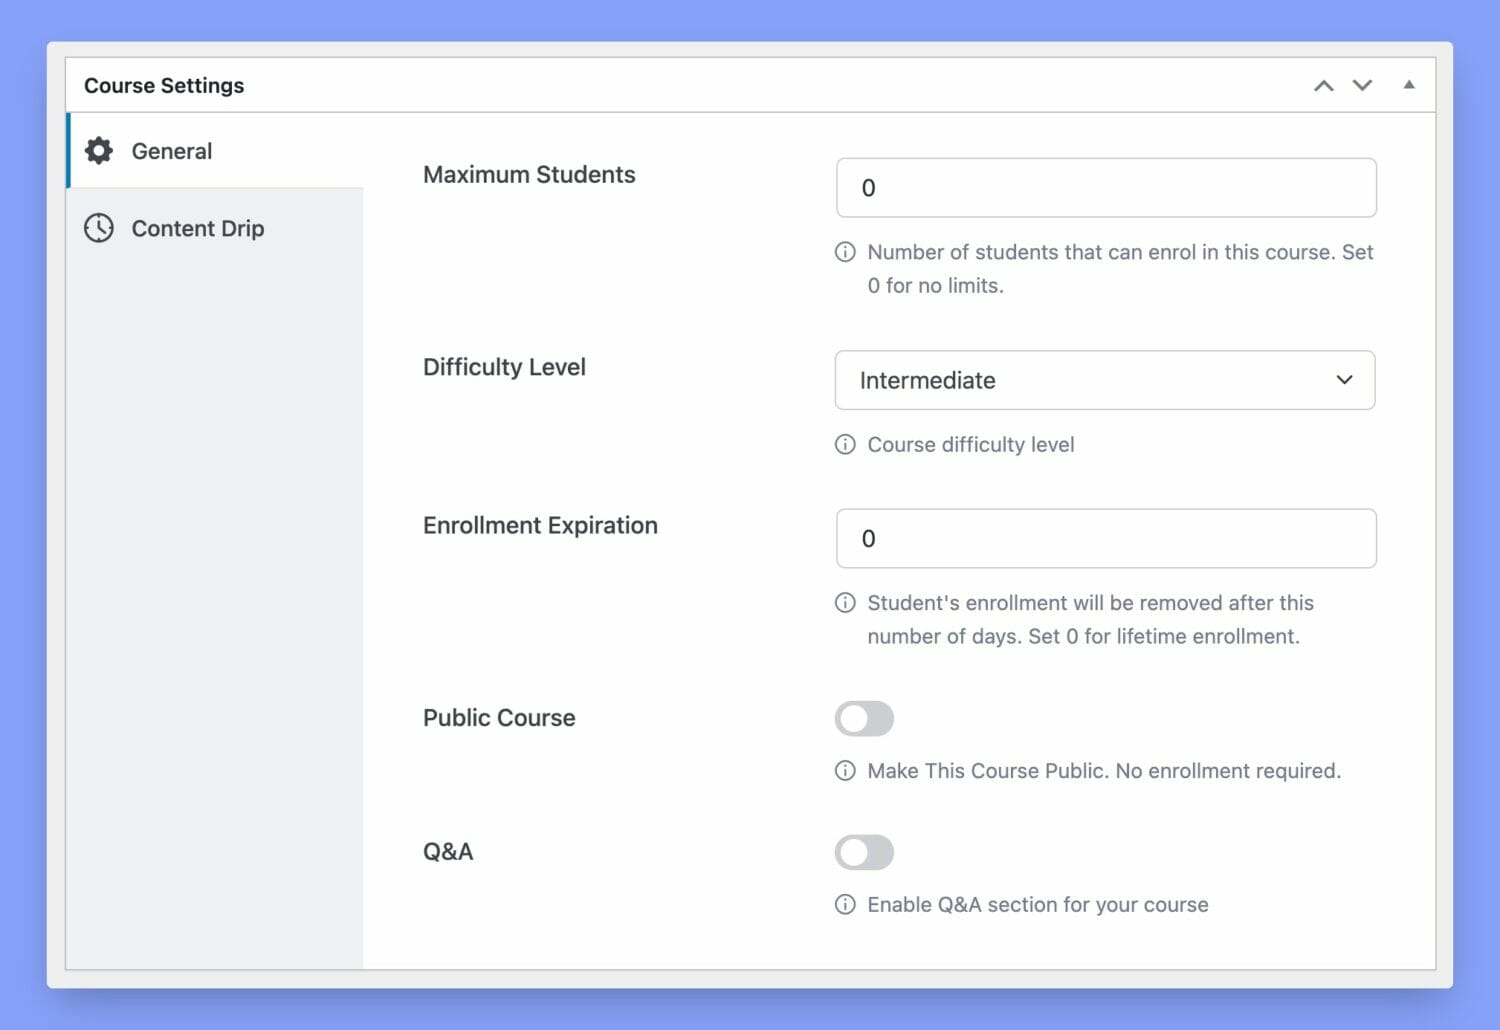
Under Course Settings, you’ll find the tabs General and, if enabled, Content Drip. Listed below, you’ll find explanations of what the options in these tabs can do.
- Maximum students: Set the maximum number of students that can enroll simultaneously. This is useful if you are running an academic institute.
- Difficulty Level: Limit the difficulty level so students know how advanced the course is before buying it.
- Enrollment Expiration: Set the number of days a student will be enrolled in a course. If you set this to 0, that would mean students have lifetime enrollment. You have to turn on this option from the course settings.
- Public Course: Enable this option to make a course public. Public courses don’t require enrollment.
- Q&A: Enable the Q&A section for this course. This feature is an excellent way for students to contact the instructor.
- Content Drip: A Tutor LMS Pro Add-on that lets you release content based on a pre-condition.
The Course Builder section is where you create your courses and structure them.
A Course can have Topics, and Topics will have Lessons and Quizzes. There can be multiple quizzes and lessons inside a single topic, but we highly recommend 2-5 lessons and one quiz for maximum effectiveness.

To add a topic, click the Add new topic button, give the Topic a Name, and add a Summary. There are tooltips to guide you through the process.

You can create and add lessons to topics by clicking the + Lesson button in the topic window.
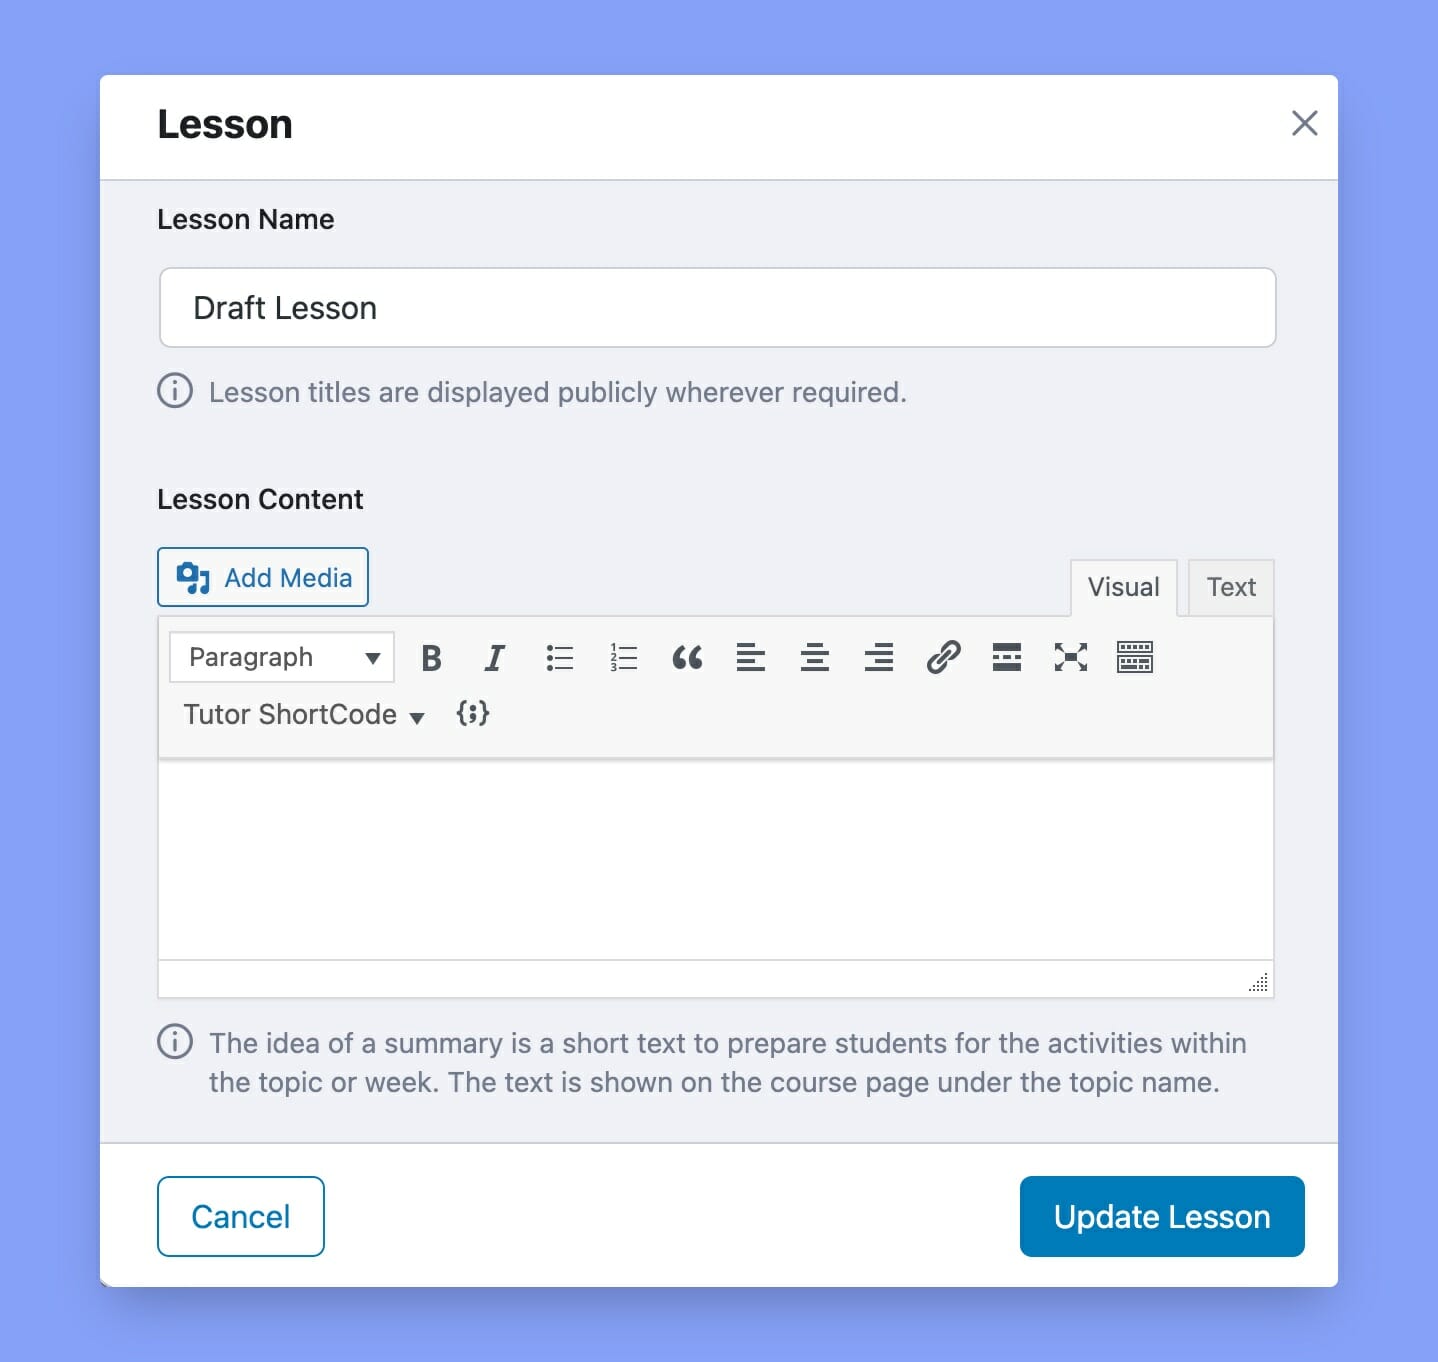
When you are done crafting your course. Hit the Publish. Before then, you can click Preview to see the results.
Step 4: Install and Activate ProfilePress and Tutor LMS Addon
Remember, we talked about adding a membership plugin to your WordPress site. ProfilePress will help you sell your online courses and register new users. You can use it to manage access to different courses and lessons.
ProfilePress is straightforward to set up; you get additional features when you sell online courses with WordPress. Here are a few:
- Group multiple courses into one membership plan. ProfilePress seamlessly integrates with Tutor LMS, allowing you to sell subscription plans. These plans can be linked to multiple courses and sold as a bundle. Plus, canceling course access is easy when a user cancels their membership or it expires.
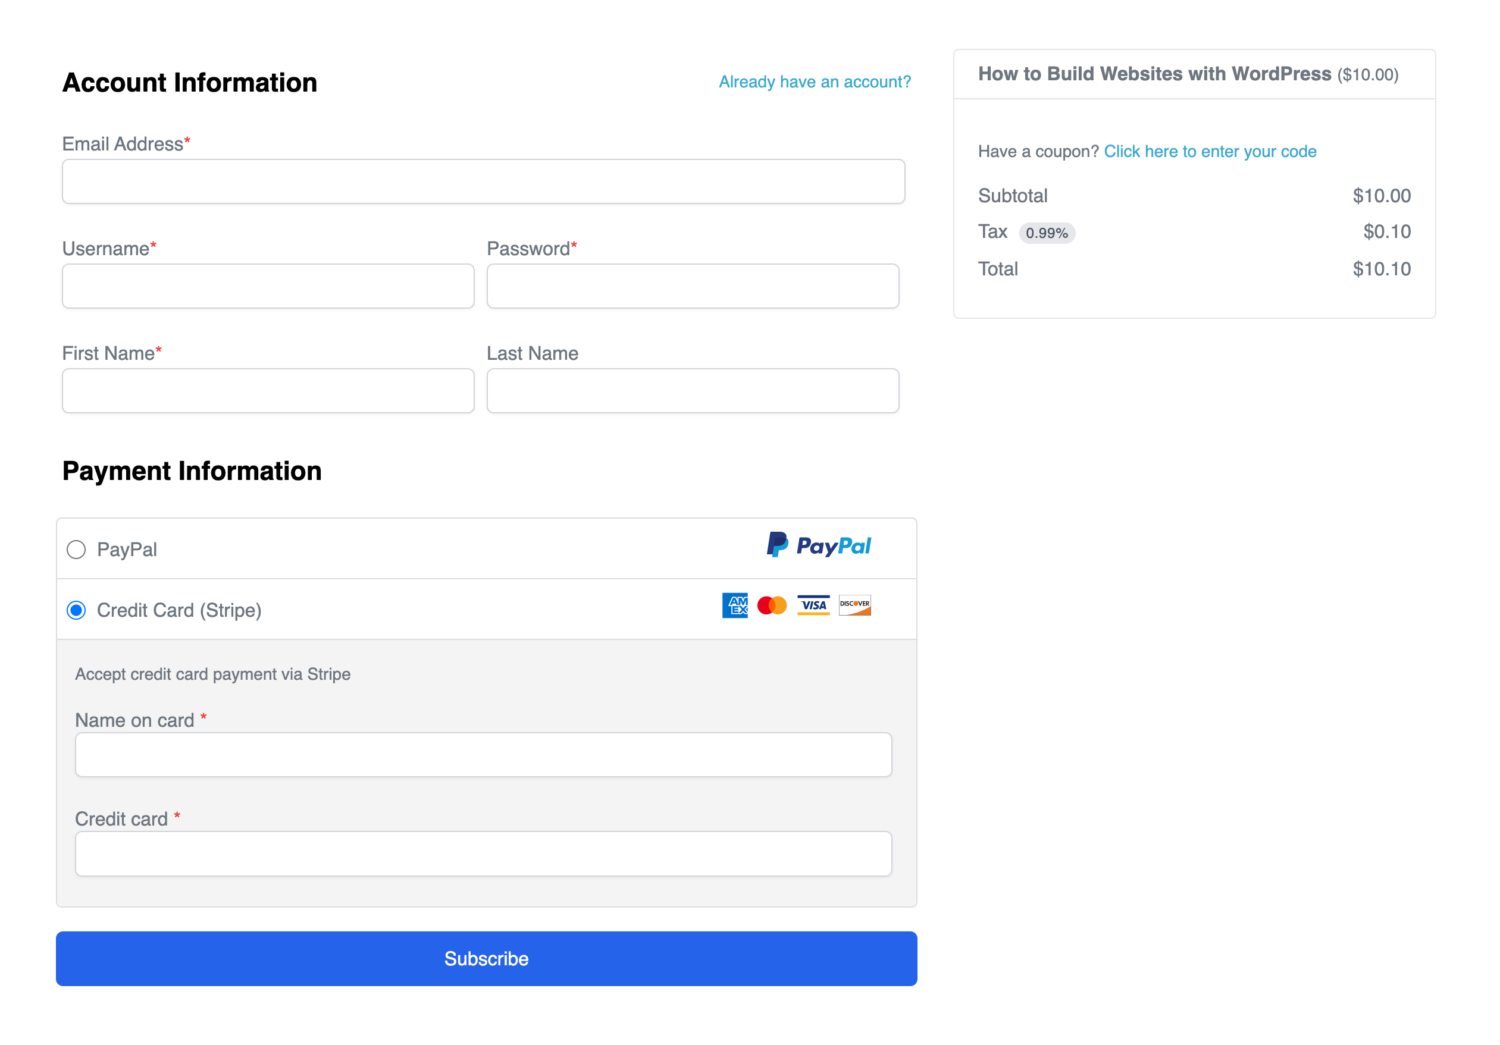
- Custom registration, login, and checkout. With this plugin, you can redesign and replace Tutor LMS’s default student registration and login forms, giving your subscribers a unique enrollment and login experience.
You can get your copy of ProfilePress here to start enjoying the features listed above.
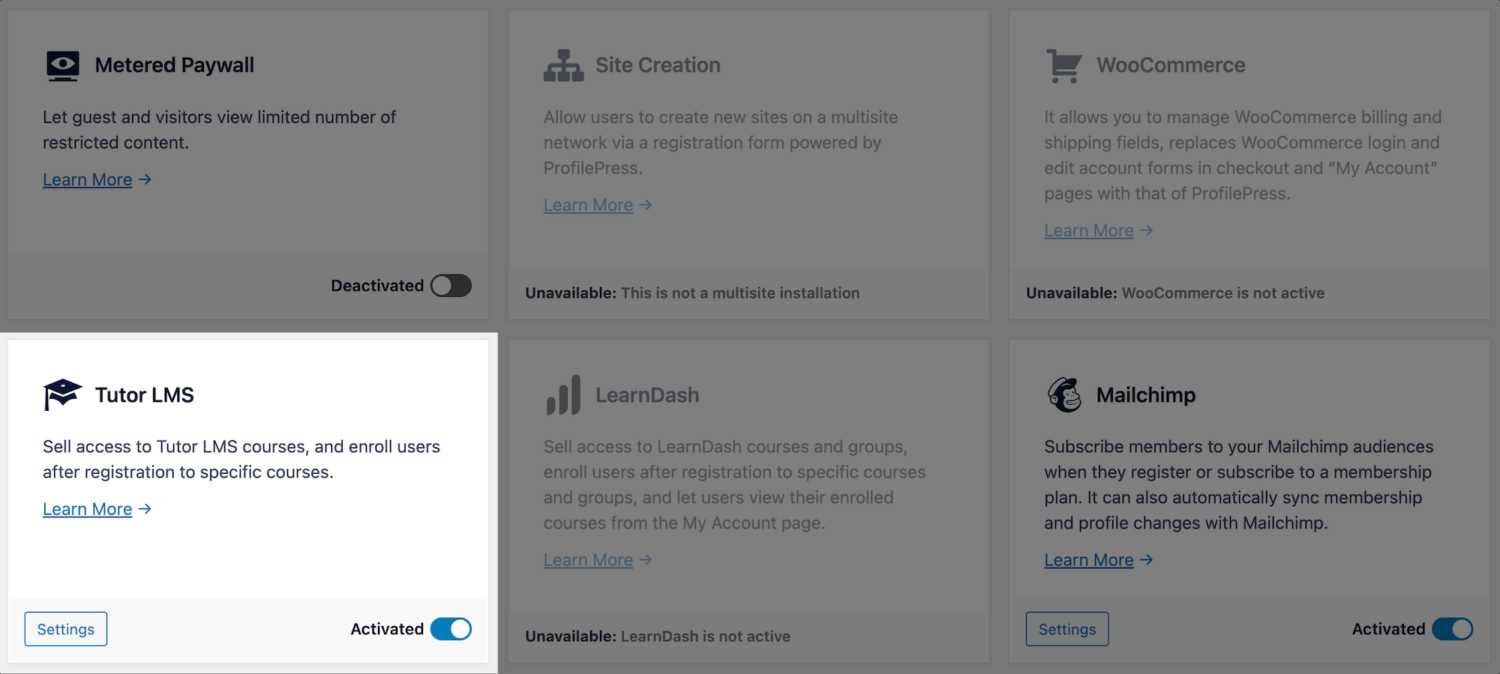
To use ProfilePress with Tutor LMS, you’ll need to activate the addon. To do this, go to ProfilePress > Addons. Then, scroll until you find the Tutor LMS addon and toggle on to activate it.
Step 5: Set Up the Payment Options
To start accepting payments using ProfilePress, you must set up a payment gateway and a membership plan.
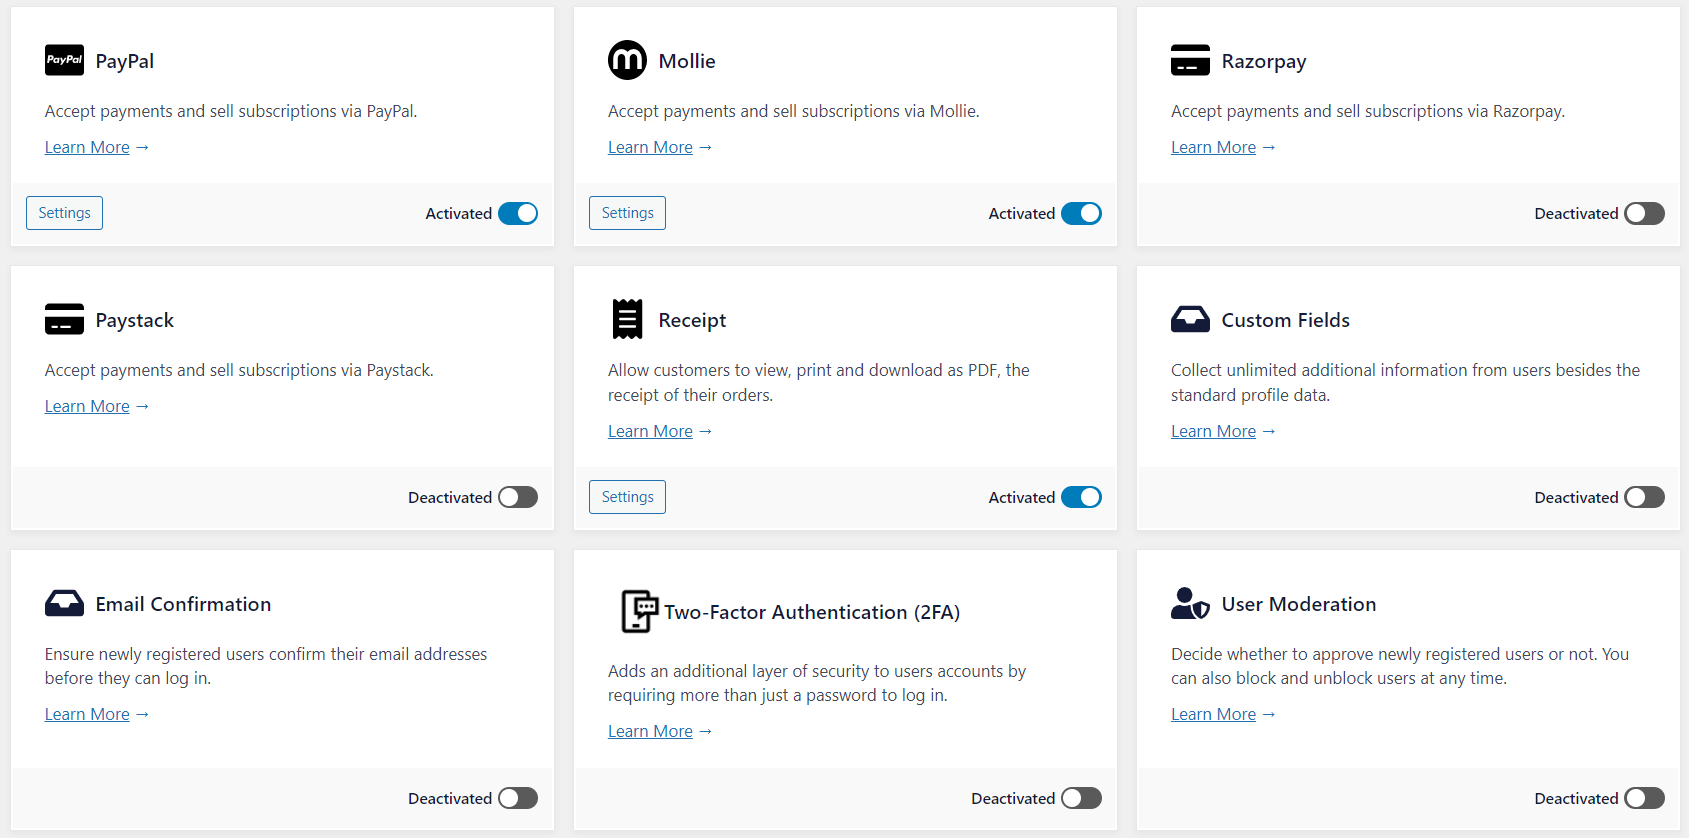
Go to ProfilePress > Settings > Payments > Payment Methods to set up payment. You can choose from Stripe, PayPal, Razorpay, Paddle, Paystack, Direct Bank Transfer, Mollie. There are addons you can also activate to use more payment gateways.
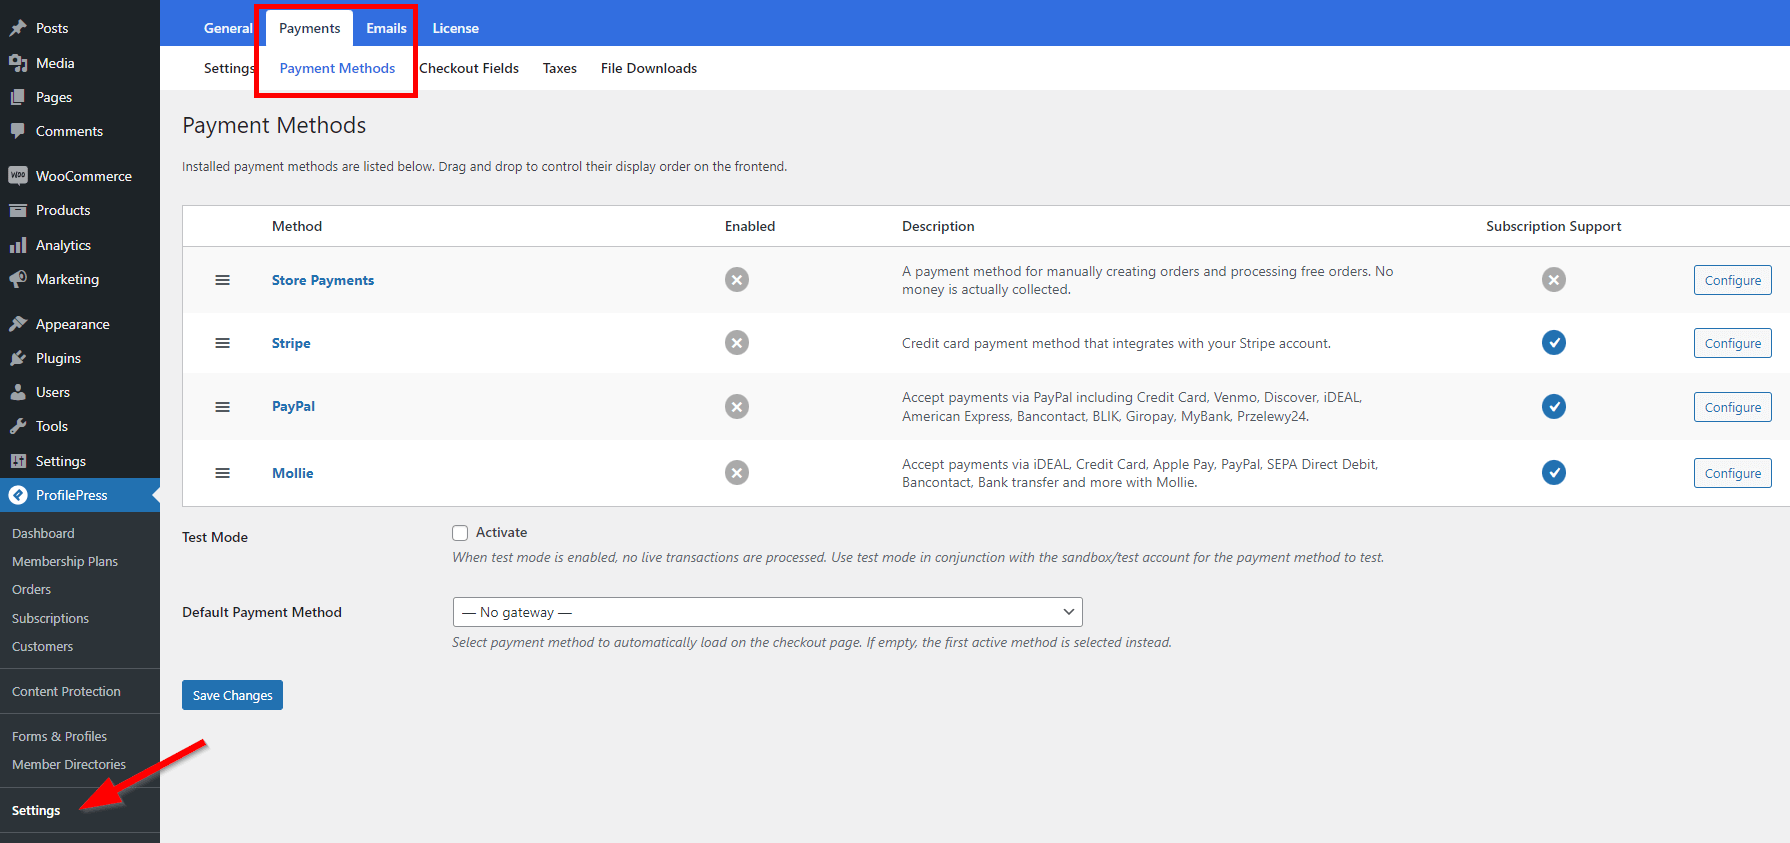
You can manually process orders and disable in-store payments. Configure the Store Payments option and select a preferred payment gateway to enable automatic payment on checkout.
To test the payment gateway during configuration, use the sandbox account in test mode. Activate this mode by checking the box. Once everything is set, uncheck the box.
Step 6: Create a Membership Plan and Add Online Courses
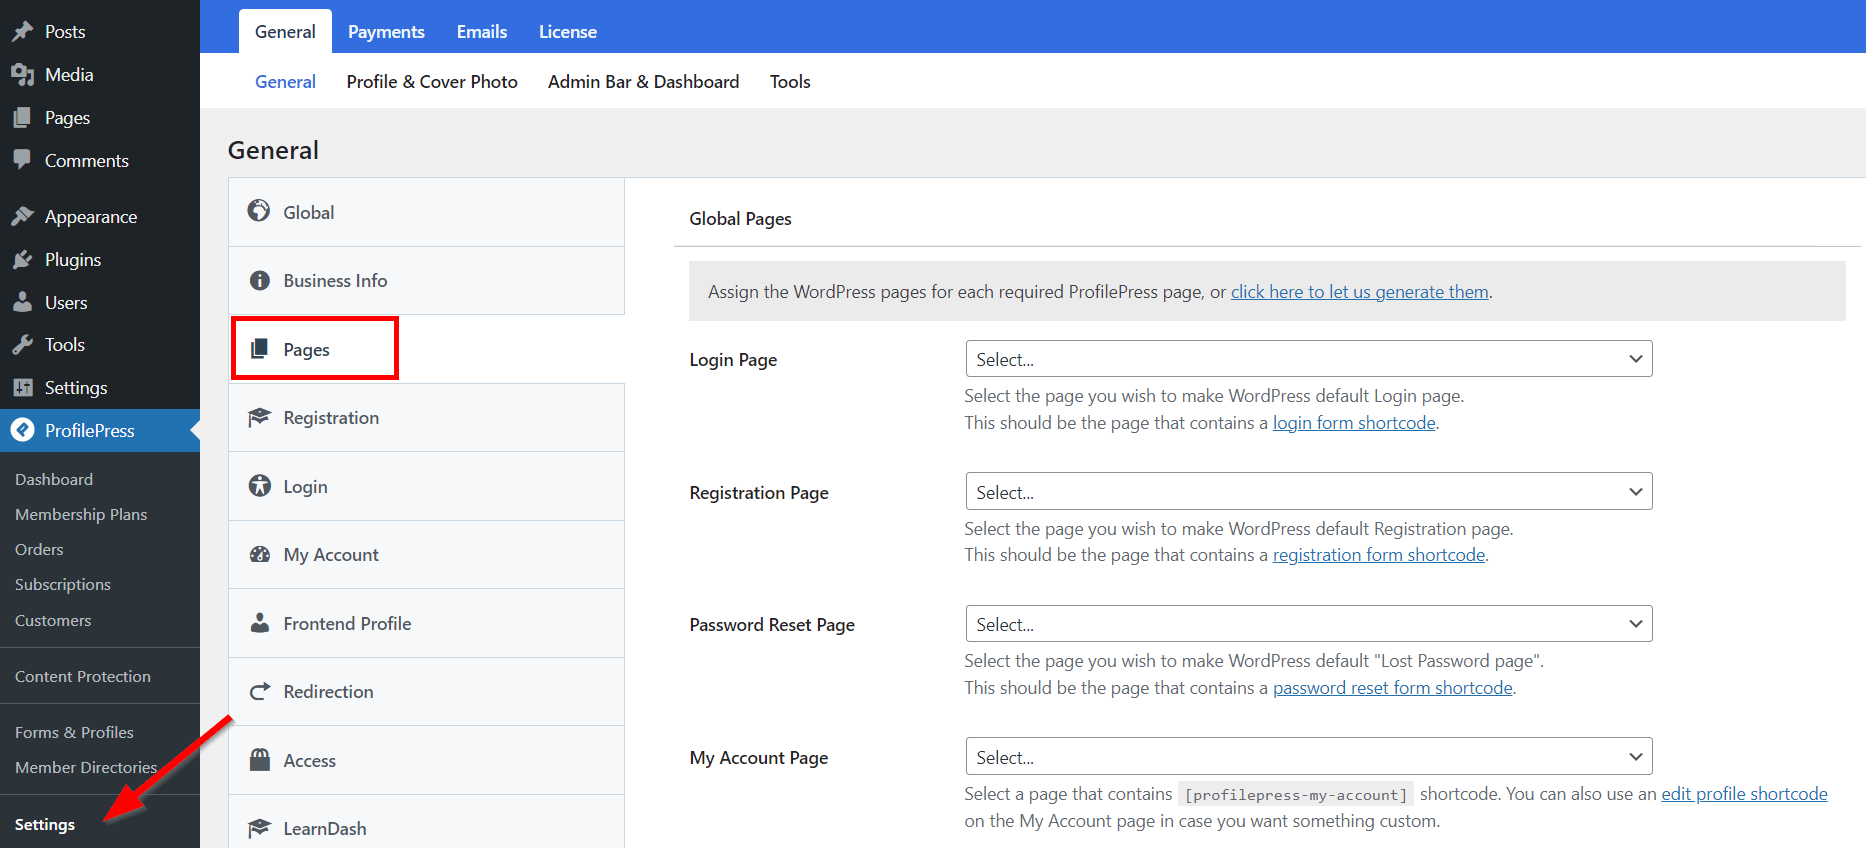
Once ProfilePress is up and running, you can start configuring essential pages. You should pay attention to the Checkout, Registration, User Profile, and all the payment pages. Next, go to ProfilePress > Settings. Then open the Pages tab to assign existing pages. You can create and edit those pages individually.
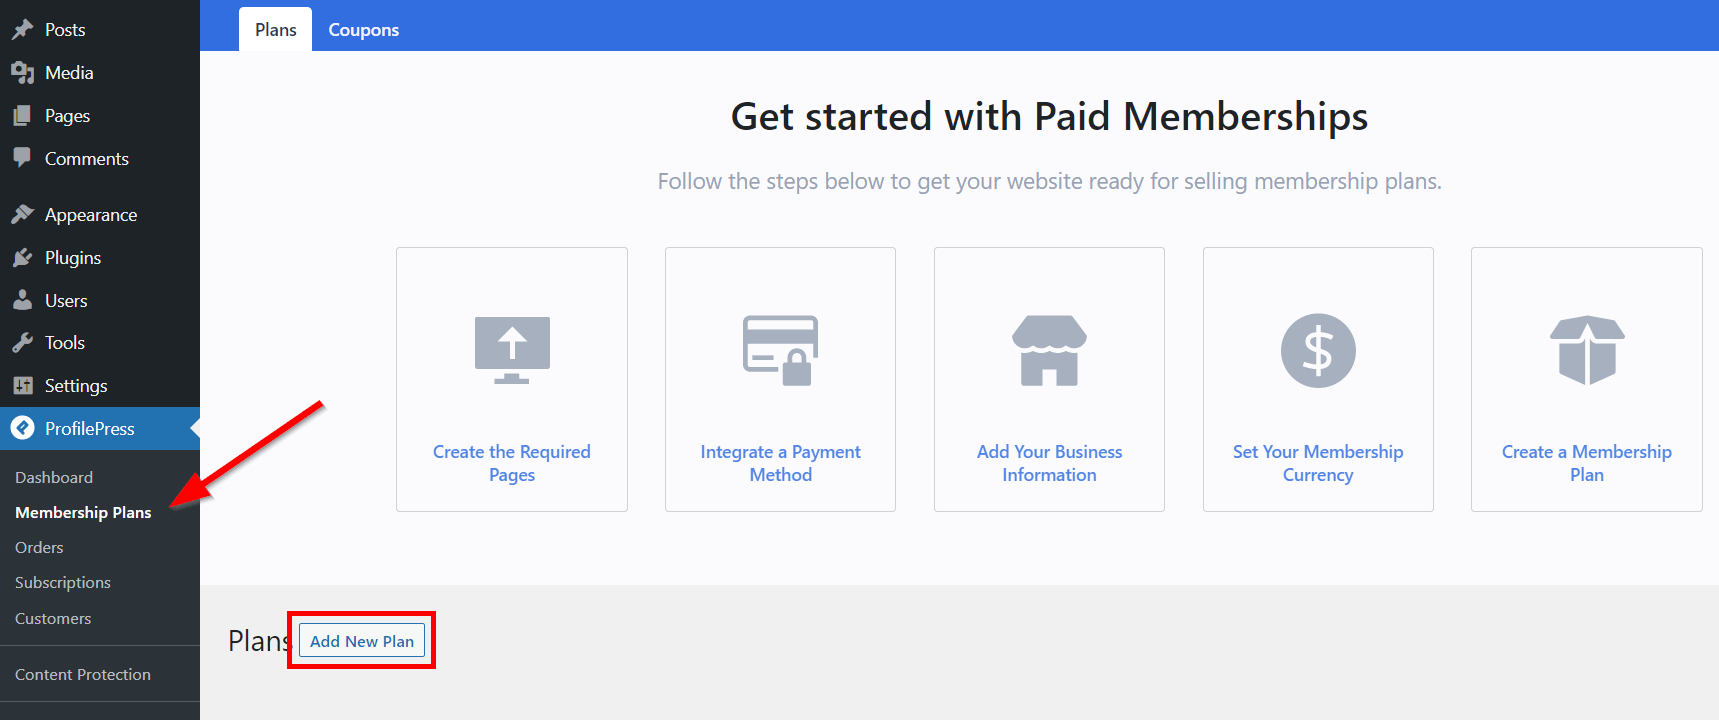
Next, let’s create a membership plan! Head over to ProfilePress > Membership Plans > Add New Plan.
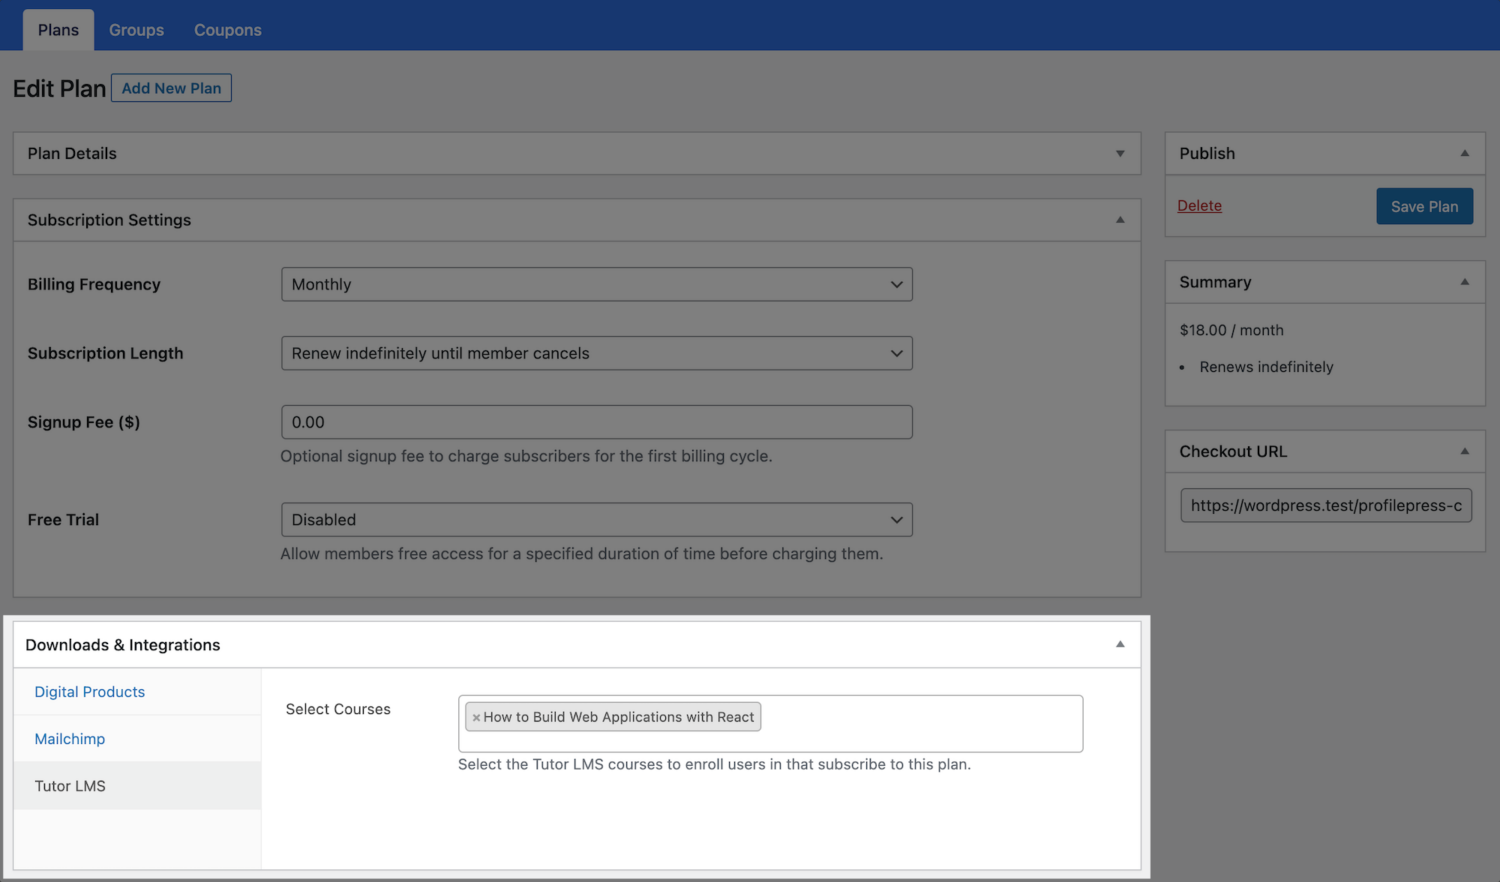
Fill in the plan title and other necessary information on the next page. Pay attention to items like the Description, User Role, Price ($), and Billing Frequency.
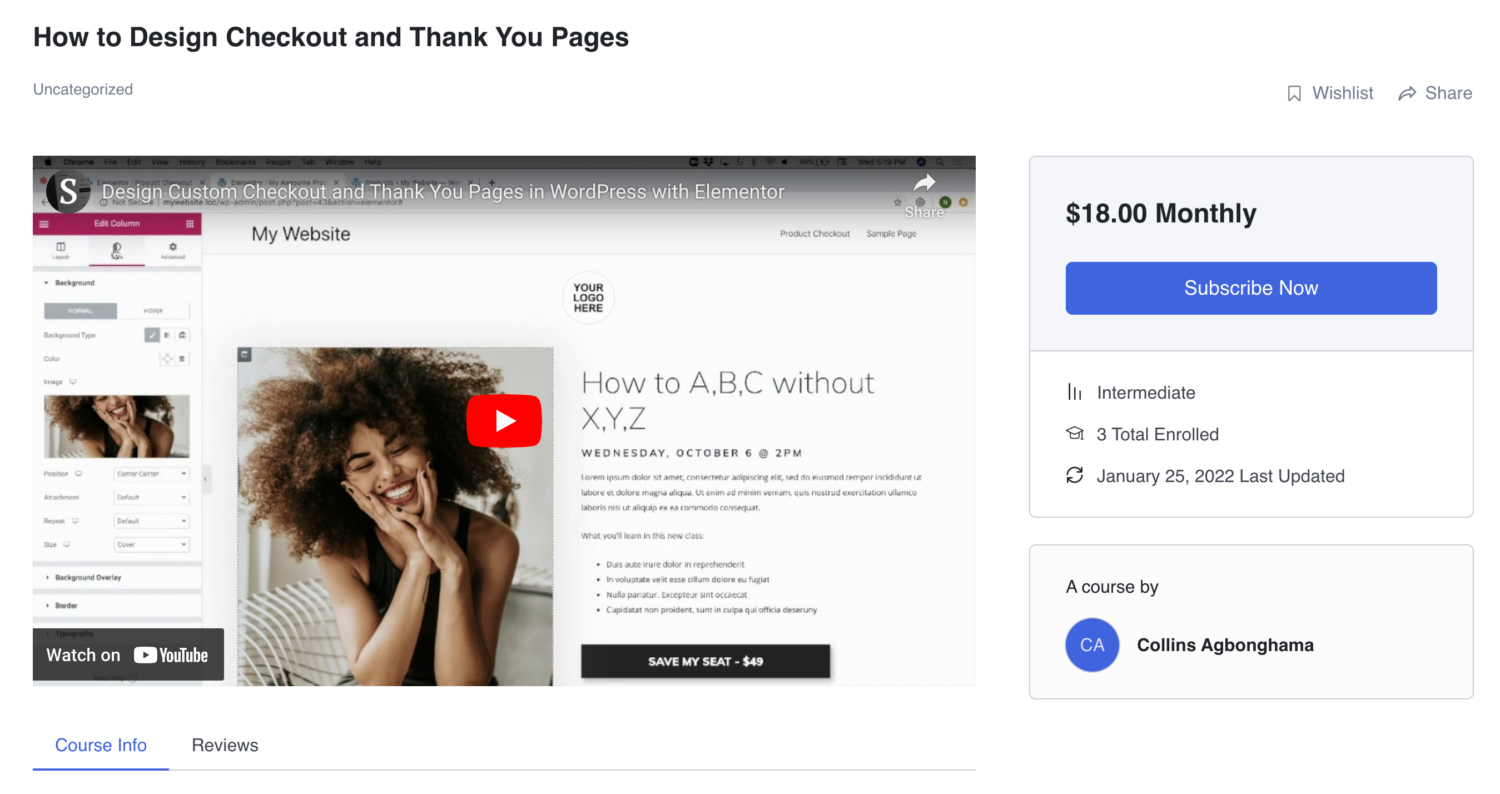
ProfilePress has a built-in field called “Purchase Note” shown to the customer after a successful purchase on the order confirmation page and in the customer’s receipt email. Consider using this field to provide instructions or the next steps for taking your course, along with a link to the course page.
This field accepts HTML. Here’s an example of creating a link to your course. Replace the URL with the URL to your specific course.
<a href="https://yoursite.com/courses/build-websites-wordpress/">Start this Course</a>Scroll down to the Tutor LMS tab under the Downloads & Integrations section. Click within the Select Courses field to add courses to the membership plan. Users can access these courses when they subscribe to the membership plan.
When you’re done, click Save Plan. Then head back to ProfilePress > Membership Plans and copy the plan’s Checkout URL.
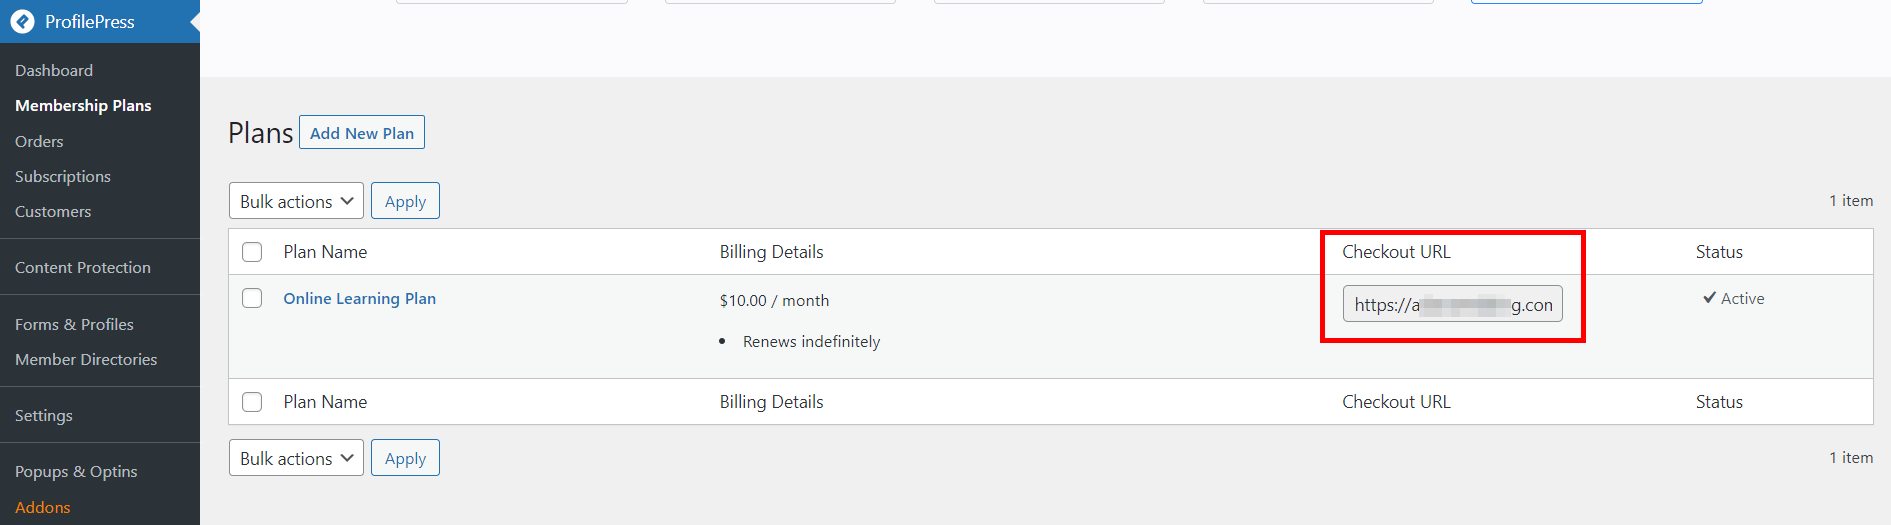
Now you can add this link to the course registration page, pricing page, or any page on your WordPress site. And when the URL is visited, it will open the checkout page for the membership plan.
Setting ProfilePress as Tutor Monetization Engine
We need to enable ProfilePress as an eCommerce Engine under Monetization settings for a deeper integration when selling your courses.
Go to Tutor LMS > Settings > Monetization. Select ProfilePress as your eCommerce Engine and click the Save Changes button at the top.

When users visit any course page protected by a ProfilePress membership plan, they will see a “Subscribe Now” button that takes them to the checkout page to complete their purchase.
If the membership plan is a subscription that charges a recurring fee, access is immediately revoked if the subscription is refunded or expired.
Conclusion
Creating and selling online courses has become popular for individuals and businesses to share their expertise and generate revenue. This article discusses how to create and sell online courses in WordPress with Tutor LMS and ProfilePress.
Tutor LMS is a powerful and flexible learning management system that can help you create engaging and interactive courses. It features course progress tracking, quizzes, and assignments, creating professional-looking courses that will quickly engage your learners.
ProfilePress is a user registration and membership plugin that can help you create a seamless user experience for your learners, making it easy for them to sign up for your courses and access your content.
Combining these two plugins allows you to build a powerful online learning platform that is easy and effective. So why wait? Start building your online course today and take your expertise to the next level with ProfilePress.