How to Restrict WordPress Content to Paid Members
Do you want to restrict WordPress content to paid members of your website?
Restricting access to your website content is the easiest way to monetize your audience. If you try to do it manually, it will take months to set up! And it comes with a steep learning curve. But lucky for you, there’s an easy plugin called ProfilePress. It’s a complete WordPress membership plugin for creating membership sites and adding paid content to WordPress. And is easy to learn.
In this tutorial, I’ll show you the easiest way to set up a membership website that restricts WordPress content to paid members.
Setting Up Membership Plans
Setting paid memberships in WordPress is easy and doesn’t require technical knowledge. First, we need to install and activate the ProfilePress plugin. This all-in-one plugin creates paid membership sites and has all the features you’ll need to launch and manage your membership website.
Before you can restrict your content to paid members, you’ll first need to create paid membership plans by navigating to the Membership Plans page of ProfilePress:
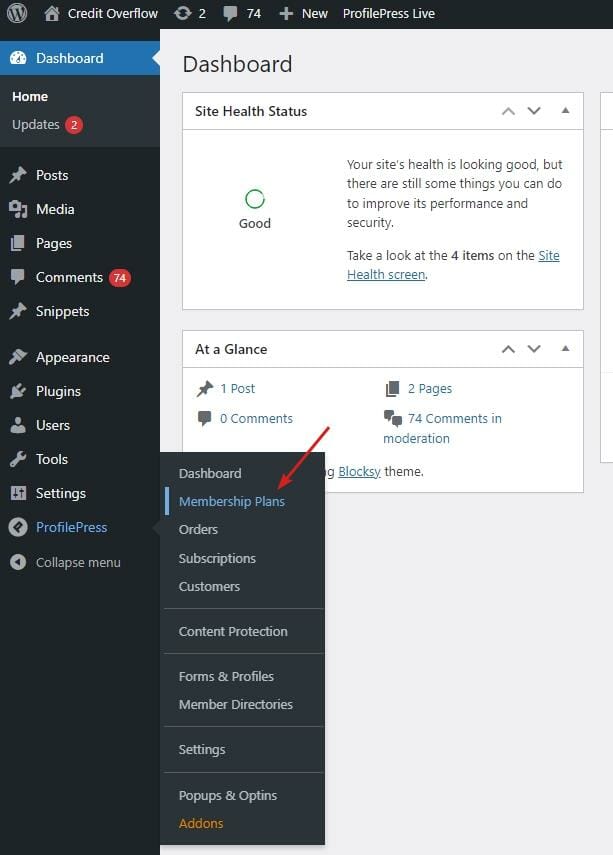
Now, click the Add New Plan button to create a new membership plan:
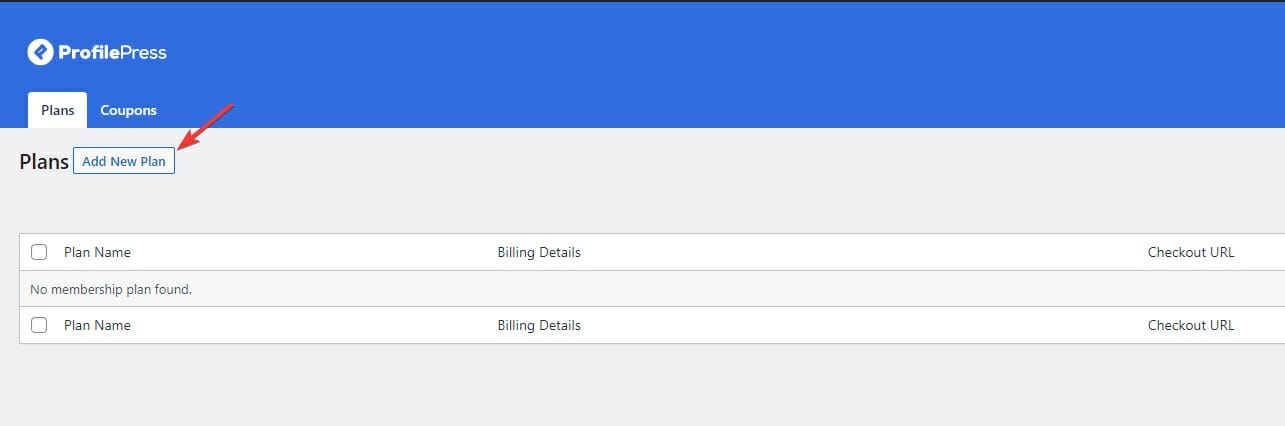
This will take you to the Add Plan page:
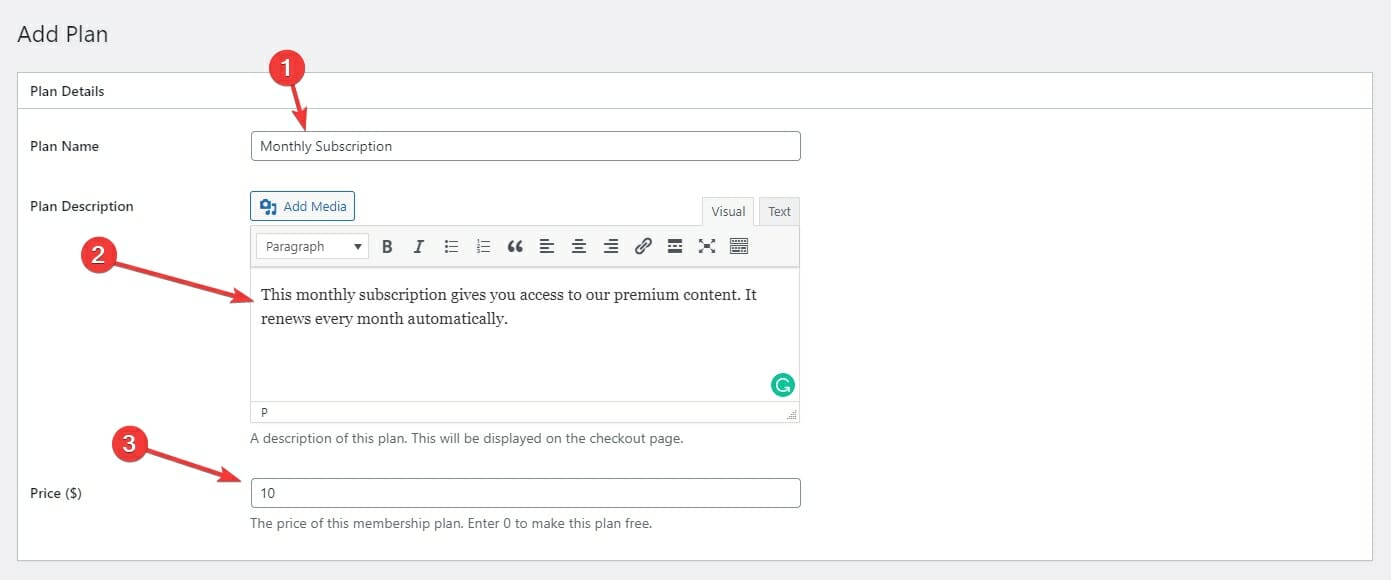
But first, enter a name for your new plan.
Then, enter a description of your plan. Describe everything this plan offers. What type of content is the user going to get access to? Make sure this description is as straightforward as possible. Your customers will see this on the checkout page.
Finally, enter a price for this plan. This is the amount your customers will be charged every month.
Now, scroll down to the bottom of the page. You’ll see the Subscription Settings for your new plan:
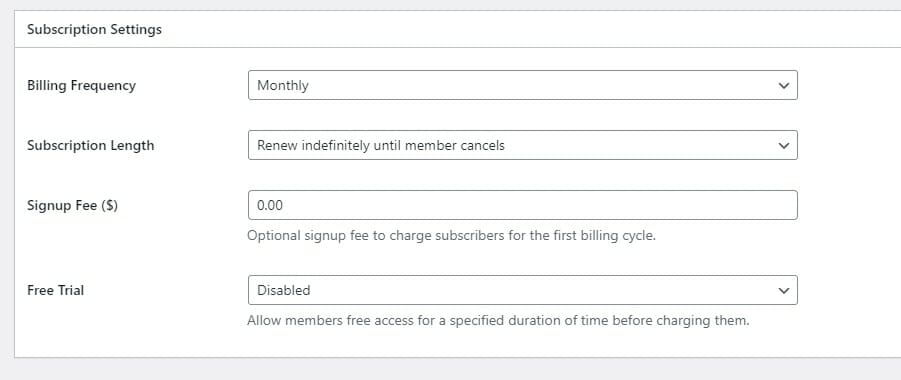
The first option lets you select the frequency for charging your customers. This is how frequently your customers will be charged. For example, if you want to create an annual plan, select yearly. Or leave it to monthly to make this a monthly subscription:
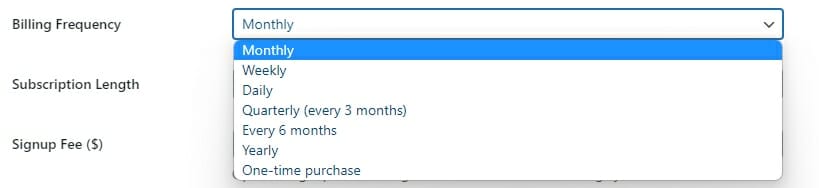
You can also make this a one-time purchase where the user only pays once. This option is for when you want to make a lifetime membership.
ProfilePress allows you to create as many plans as you want. You can have as many plans of different frequencies and subscription lengths as possible.
Now, select the Subscription Length. This is how many payments you want to collect from the user:

The first option renews the subscription indefinitely until the member logs into their account and cancels it. This is what you will want for most membership websites.
The second option is for when you want to create an EMI system where the user pays a fixed number of installments till they own the product. This option is well-suited for high-end courses. In addition, you can use this option to allow your users to make easy monthly payments.
ProfilePress also gives you the option to create a one-time Sign-Up fee:

Your customers will only be charged this once when they set up their subscription. This option lets you charge your customers a small fee for setting up their accounts.
Finally, you can set up a free trial period:
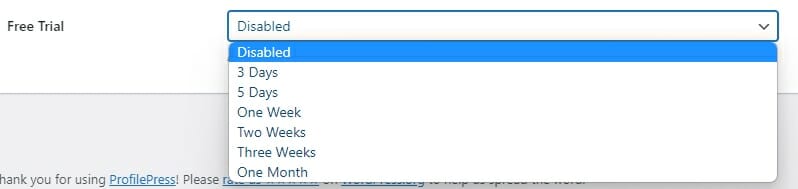
This option allows your customers to enjoy a free trial before they get charged. If you enable a free trial, your customer’s card will be charged only at the end of their free trial. That’s when their paid subscription will begin.
Customers who cancel their subscription before the trial ends won’t get charged.
Once you are done setting up your subscription, click the Save Plan button on the top right of the page:
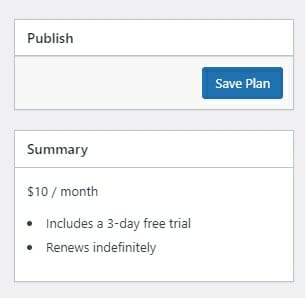
This will publish your new plan and create a checkout page for it.
The Checkout Page
When you create a new plan, ProfilePress generates a checkout page for that plan. This is the URL you will link to from your pricing page or wherever you want to give your users the option to subscribe.
Once you save your new plan, you’ll see its checkout page link right under the summary section:

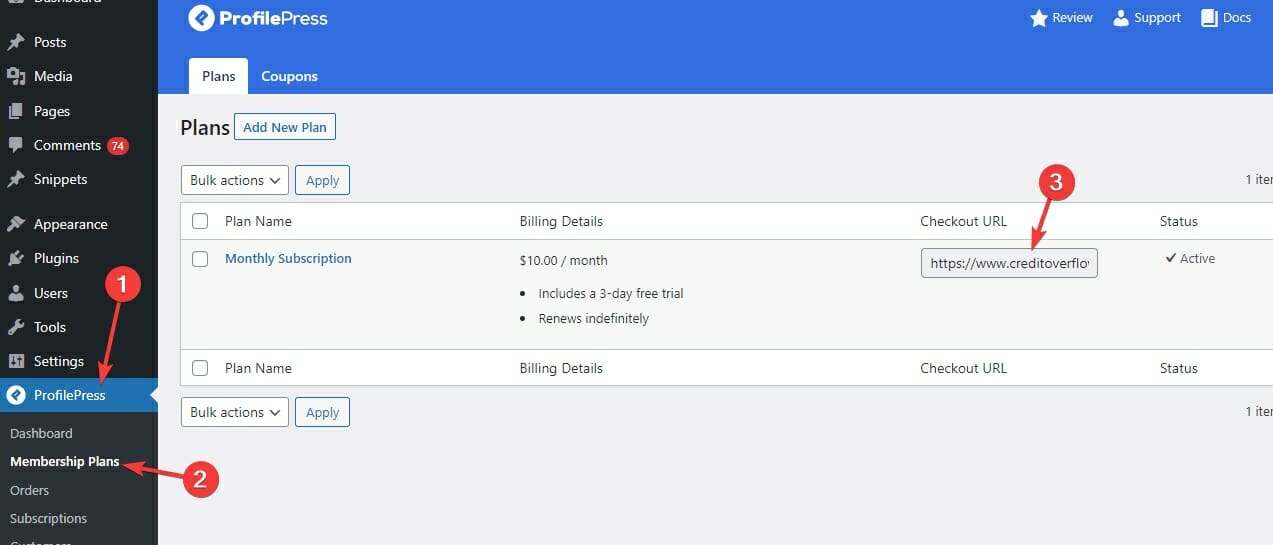
You can also find this link on the Membership Plans page under the ProfilePress section of your dashboard:
If you copy the link and open it in your browser, you’ll see this checkout page:
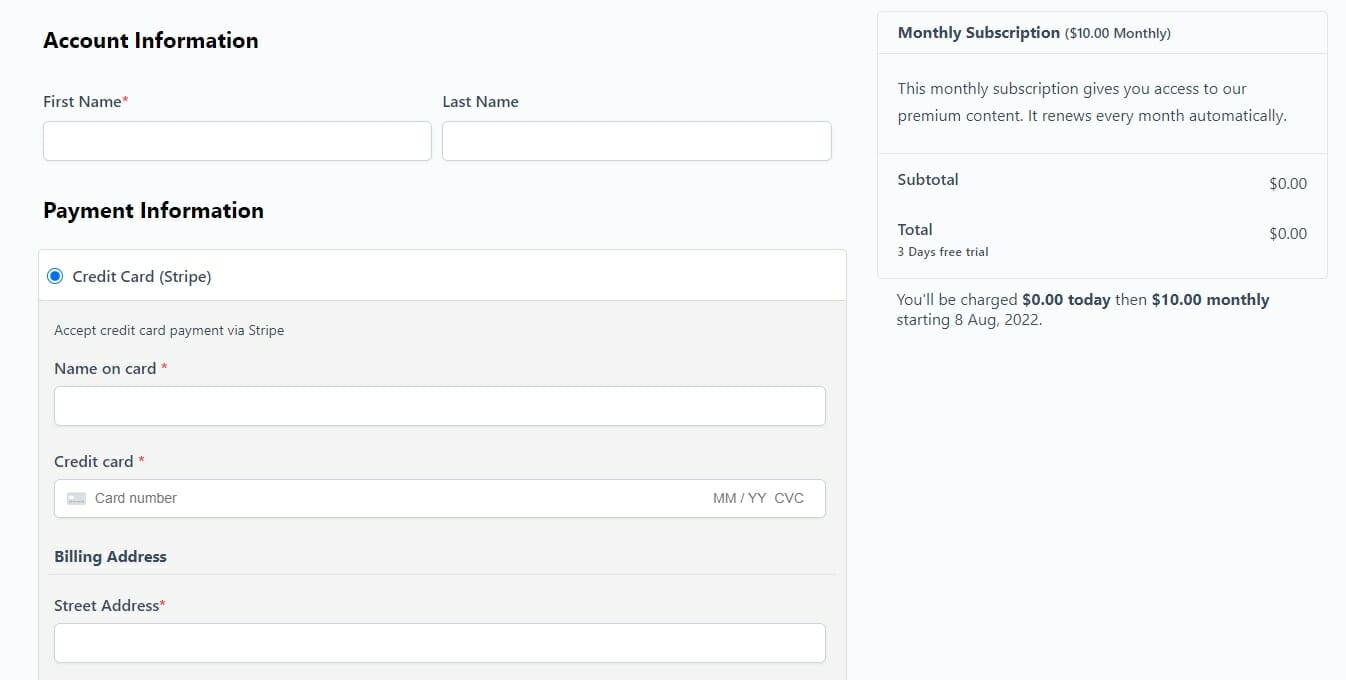
The section on the right displays the details of your plan. The description you added for your plan on the Add Plan page will be shown here. Ensure it’s clear and descriptive of what the user will get in this subscription.
If you’ve set up a free trial period, as I’ve, you’ll see $0.00 as the Total. This is fine! Your customer won’t be charged anything right now, but their credit card will be saved. They will be charged when the free trial is over.
Setup Payments
Before you can start charging your users for them to become paid members, you’ll need to set up a payment method. ProfilePress supports Stripe, PayPal, Razorpay, Paddle, Paystack, Direct Bank Transfer, Mollie.
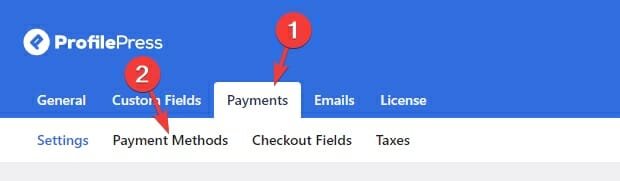
To do this, navigate to the Settings page of ProfilePress. Then, select the Payments tab and then the Payment Methods tab under it:
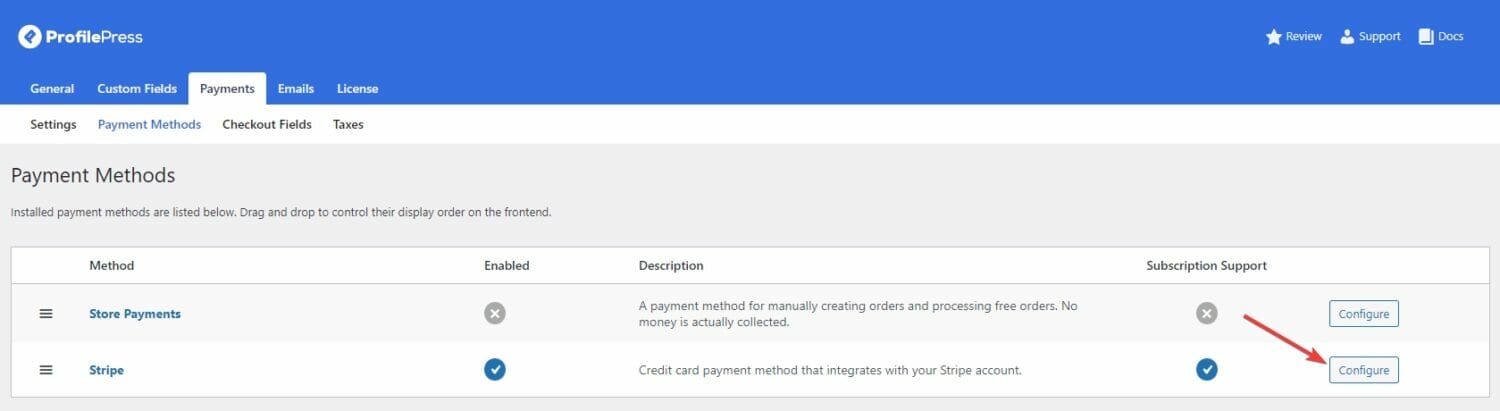
Now, click the Configure button next to your preferred payment method.
Restricting WordPress Content to Paid Members
Now that you’ve set up your new membership plan, you can restrict access to your premium content and make it available only to those with a premium membership.
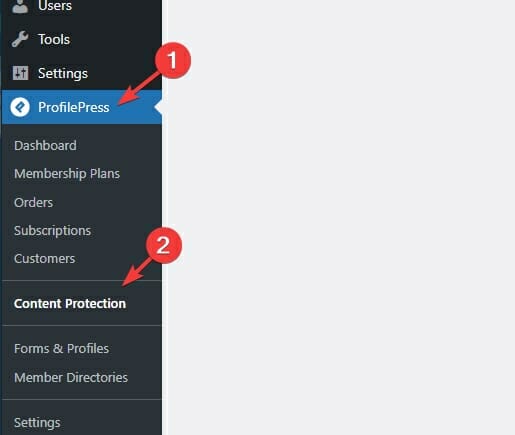
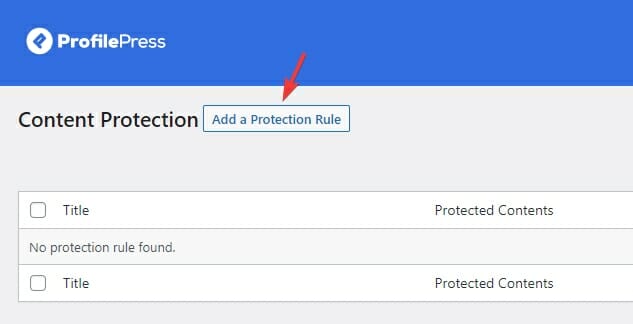
To restrict content, navigate to the Content Protection page under the ProfilePress section of your dashboard:
Now, click the Add a Protection Rule button:
You’ll now see the Add Protection Rule page:
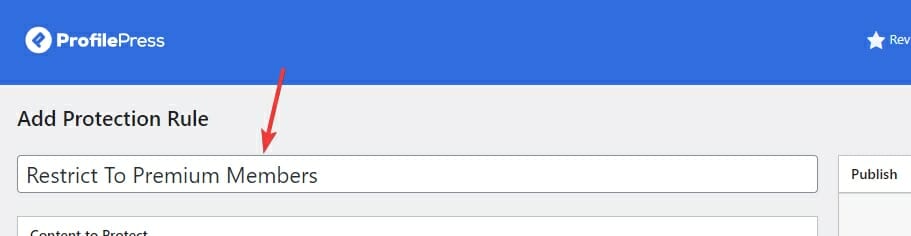
First, enter a name for your new Protection Rule. This is for your reference only…
Now, add some conditions for what pages should be restricted:
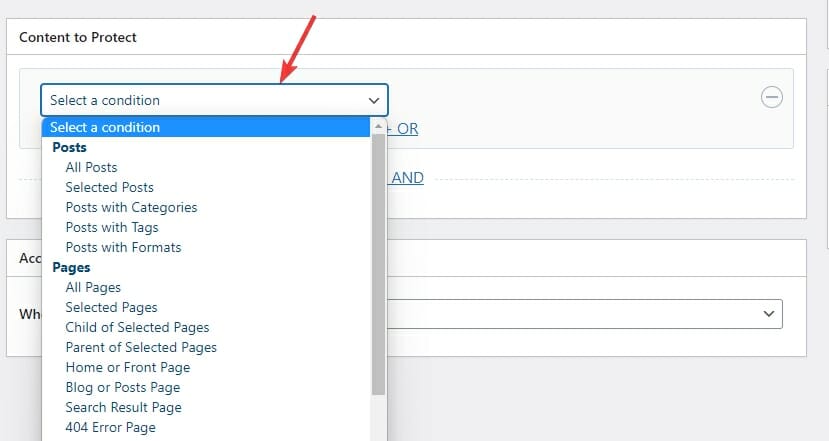
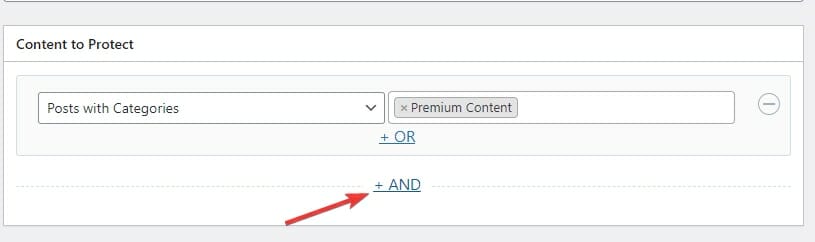
This is where you can select what type of pages you want to restrict access to. If you wish to restrict access to posts that fall under a specific category, select ‘Posts with Categories.’ Select that option for this tutorial.
Now, you can select the category you want to restrict access to:
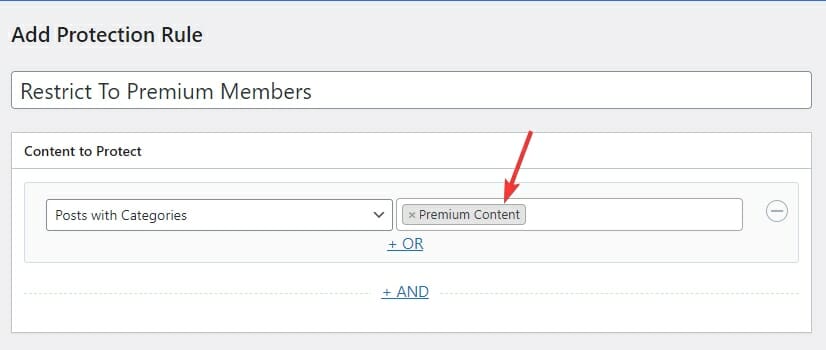
Please type the name of the category you wish to restrict access to and select it when you see it as a suggestion. For example, I’ve created a new Premium Content category and selected it here.
Selecting a category to restrict posts by is the easiest way to limit your WordPress site’s content. This way, you can add the category to any new posts you want to restrict.
This way, I’ll no longer have to add new pages to this Content Protection Rule. I can add the Premium Content category to any posts I want to restrict access to. You can also choose a particular tag if you want.
You can add as many conditions as you want by clicking the And link:
If you have a custom post type that holds your premium content, you can select it as a condition:
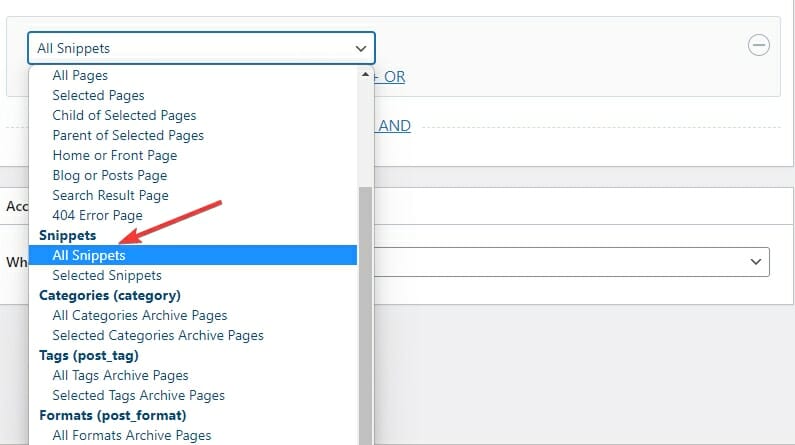
My custom post type is called Snippets. You can choose to restrict access to all posts by selecting the ‘All [YOUR CUSTOM POST TYPE]’ option or you can use the ‘Selected’ option under it to manually select the custom post type posts you want to restrict access to.
If you have linked Post Categories as one of the taxonomies for your custom post type, you can add the post category you selected above to them to restrict access.
If you don’t know what custom post types are, you don’t need to worry about it! It’s not necessary. 🙂
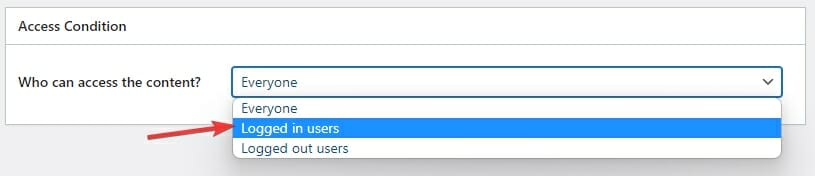
Once you have selected the conditions for restricting content, scroll down to the Access Condition section:

Right now, everyone is allowed to access this content.
Let’s set it to only Premium Members.
First, select Logged In Users from the drop-down menu:
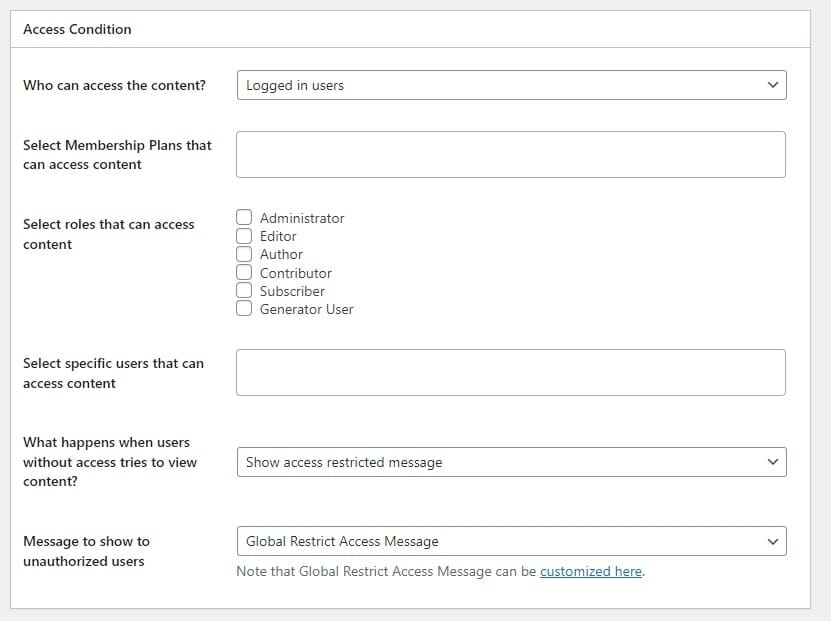
You’ll now see a lot of options:
Let’s go through these options one by one.
First, select the Membership Plans that you created by typing their name and clicking on them when they appear as a suggestion:

You can select as many plans as you want in this section. If you also have a yearly plan, you’ll want to select it here.
Anyone who is a paying subscriber to any of your selected plans will be able to view this content.
Next, you can select a user role you want to give access to:

If you’ve already chosen a Membership Plan above, there’s no need to choose a user Role. Whatever user role you select here will get access to this content whether or not they are a paying subscriber to your Membership Plans. You might want to give access to Administrators and Editors, though!
If you want some specific users to have access to your selected content, you can type their names here:

Now, select what happens to users who aren’t paying subscribers when they visit a restricted page:
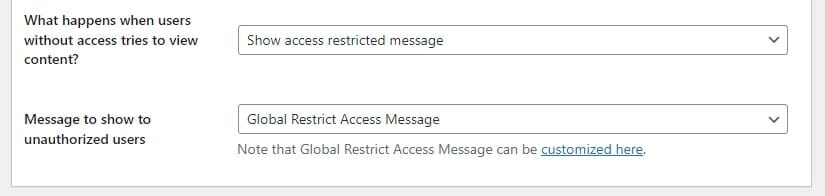
You have two options:
Option 1: You can leave it to the default option and display an error message:

This will display the Global error Message, which can be edited from the ProfilePress Settings.
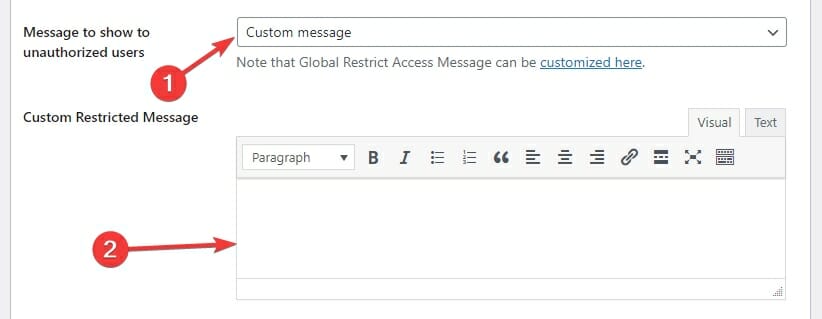
Or you can display a custom message by selecting the custom message option from the second drop-down:
Option 2: You can redirect the unauthorized user to some other page:

Then select the page you want to redirect the user to:

Select Custom URL if you want to redirect to a custom page. This allows you to redirect the user to your pricing page or a details page for your subscription.
Finally, when you’re done playing around with the options, click the Save Rule button on the top right:
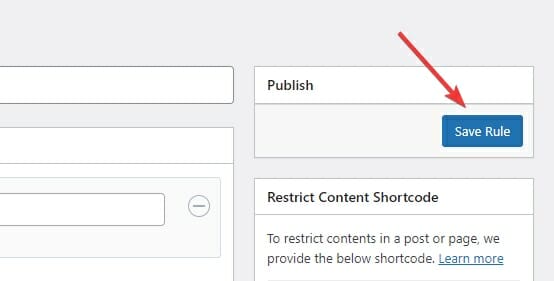
Your content protection rule is now live!
Anyone who isn’t an active subscriber to your selected membership plans won’t be able to view the WordPress content you’ve chosen to restrict.
How To Create Coupons
Now that you’ve set up your membership website, it’s time to get the first couple of paid members to your WordPress membership website
An easy way to entice people to sign up for your membership plans is to offer them a discount coupon. Lucky for you, ProfilePress provides an easy way to create discount coupons for your membership plans.
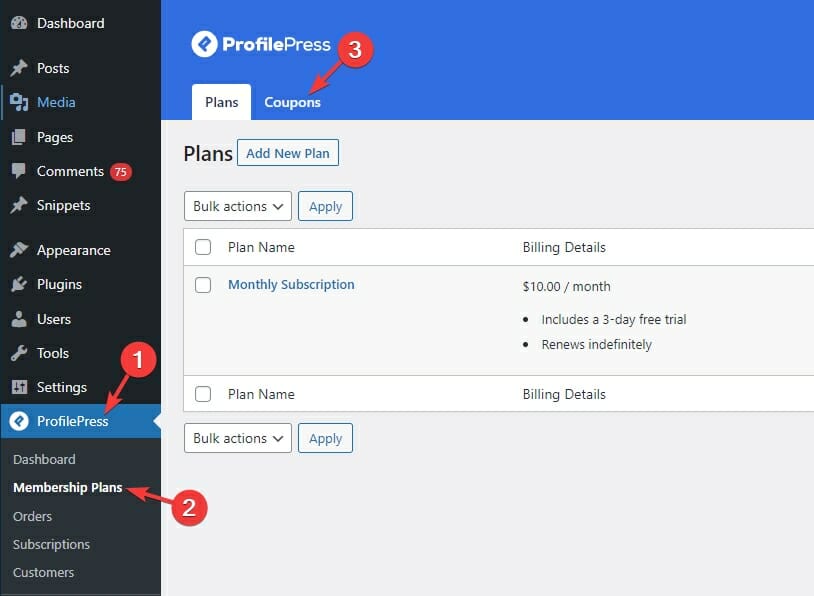
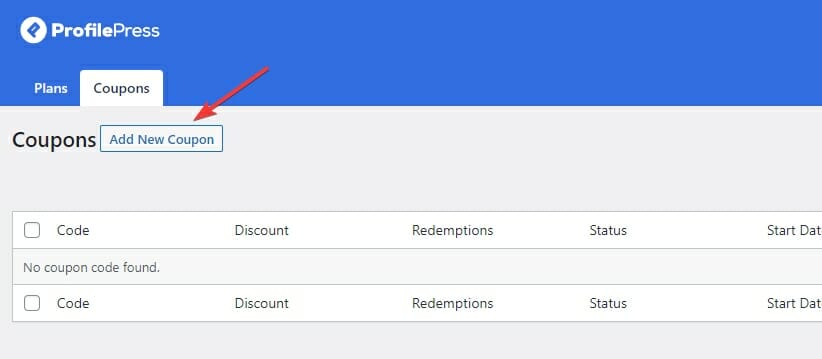
Navigate to the Membership Plans page under ProfilePress and then to the Coupons tab:
Now, click the Add New Coupon button:
Configure the basic options for your new coupon code:
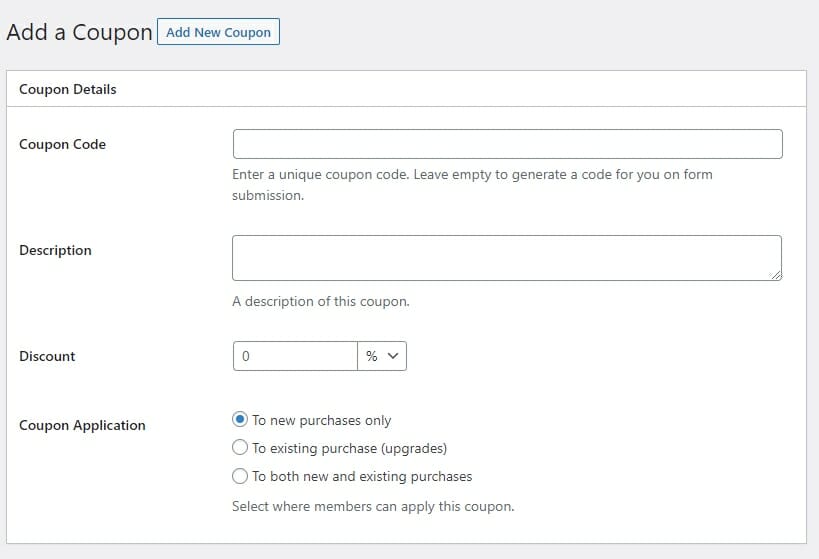
- Coupon Code: This is the code. For example, SALE-2022.
- Discount: You can select a percentage or a dollar amount.
- Coupon Application: Only select existing purchases if you want to allow your users to apply this coupon for upgrading their plans.
Scroll down, and you’ll see the Redemption Settings section:
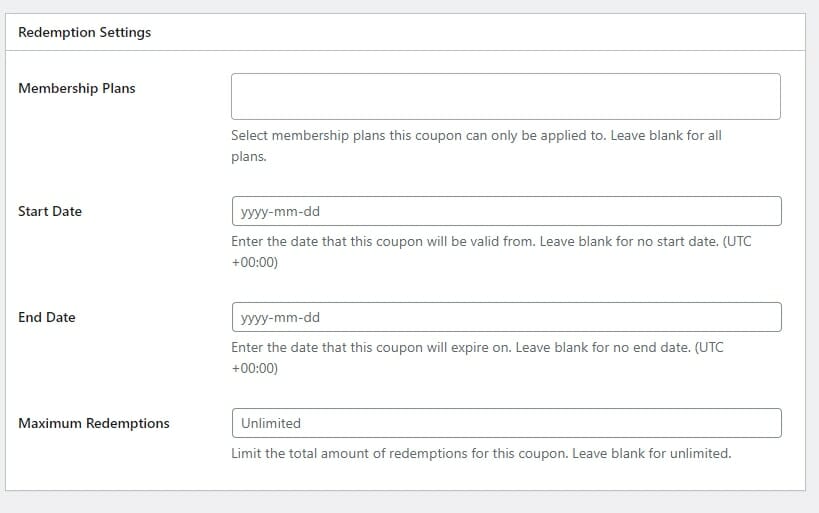
Here you can select the Membership Plans that this coupon is allowed for. You can also set the Start Date and End Date. If you want to limit the number of times (in Total by all your users) this coupon can be availed, then enter the desired limit here.
Once you’re done, click the Save Coupon button to publish this coupon:
Setup WordPress Content Restriction to Paid Members Today
Setting up a membership site and restricting access to WordPress content to paid members is an excellent way to monetize your website. With ProfilePress, the process has been simplified, and even non-technical users can set up a membership site with ease.
By following the steps outlined in this tutorial, you can create paid membership plans, set up a checkout page, and start charging your customers for access to your premium content.
We hope you have learned how to restrict content (posts, pages, custom post types etc) in WordPress to paid members.
So, what are you waiting for? Start monetizing your website with ProfilePress today